Thing practiced: building the holiest wall
(This is the second part of 3 — part 1 covers design, foundation, and framing; and part 3 will cover flooring, finishing touches, and routesetting.)
So far
There’s a frame, but no surface to mount climbing holds to. What next?

Tools used for climbing surface (utility rating out of 5):
- Stanley yellow panel carry handle (★★★★½)
- putty knife (★★★★)
- hand sanding block (★★)
- rubber mallet (★★★)
- 500 golf tees (★★★½)
- paint rollers and tray (★★★★)
- paint can opener (★★★★★)
- paint stirrer (★★★½)
- two Wal-Board Tools 8" taping knives (★★★★)
- Wal-Board Tools 14" mud pan (★★★★)
- a sacrificial sheet of 1" x 4’ x 8’ foam insulation (★★★★)
- Makita 7.25" circular saw with Diablo 40-tooth blade (★★★★½)
- tape measure (★★★★½)
- regular Sharpies (★★★★)
- metallic Sharpies (★★★★)
- 2’ level (★★★½)
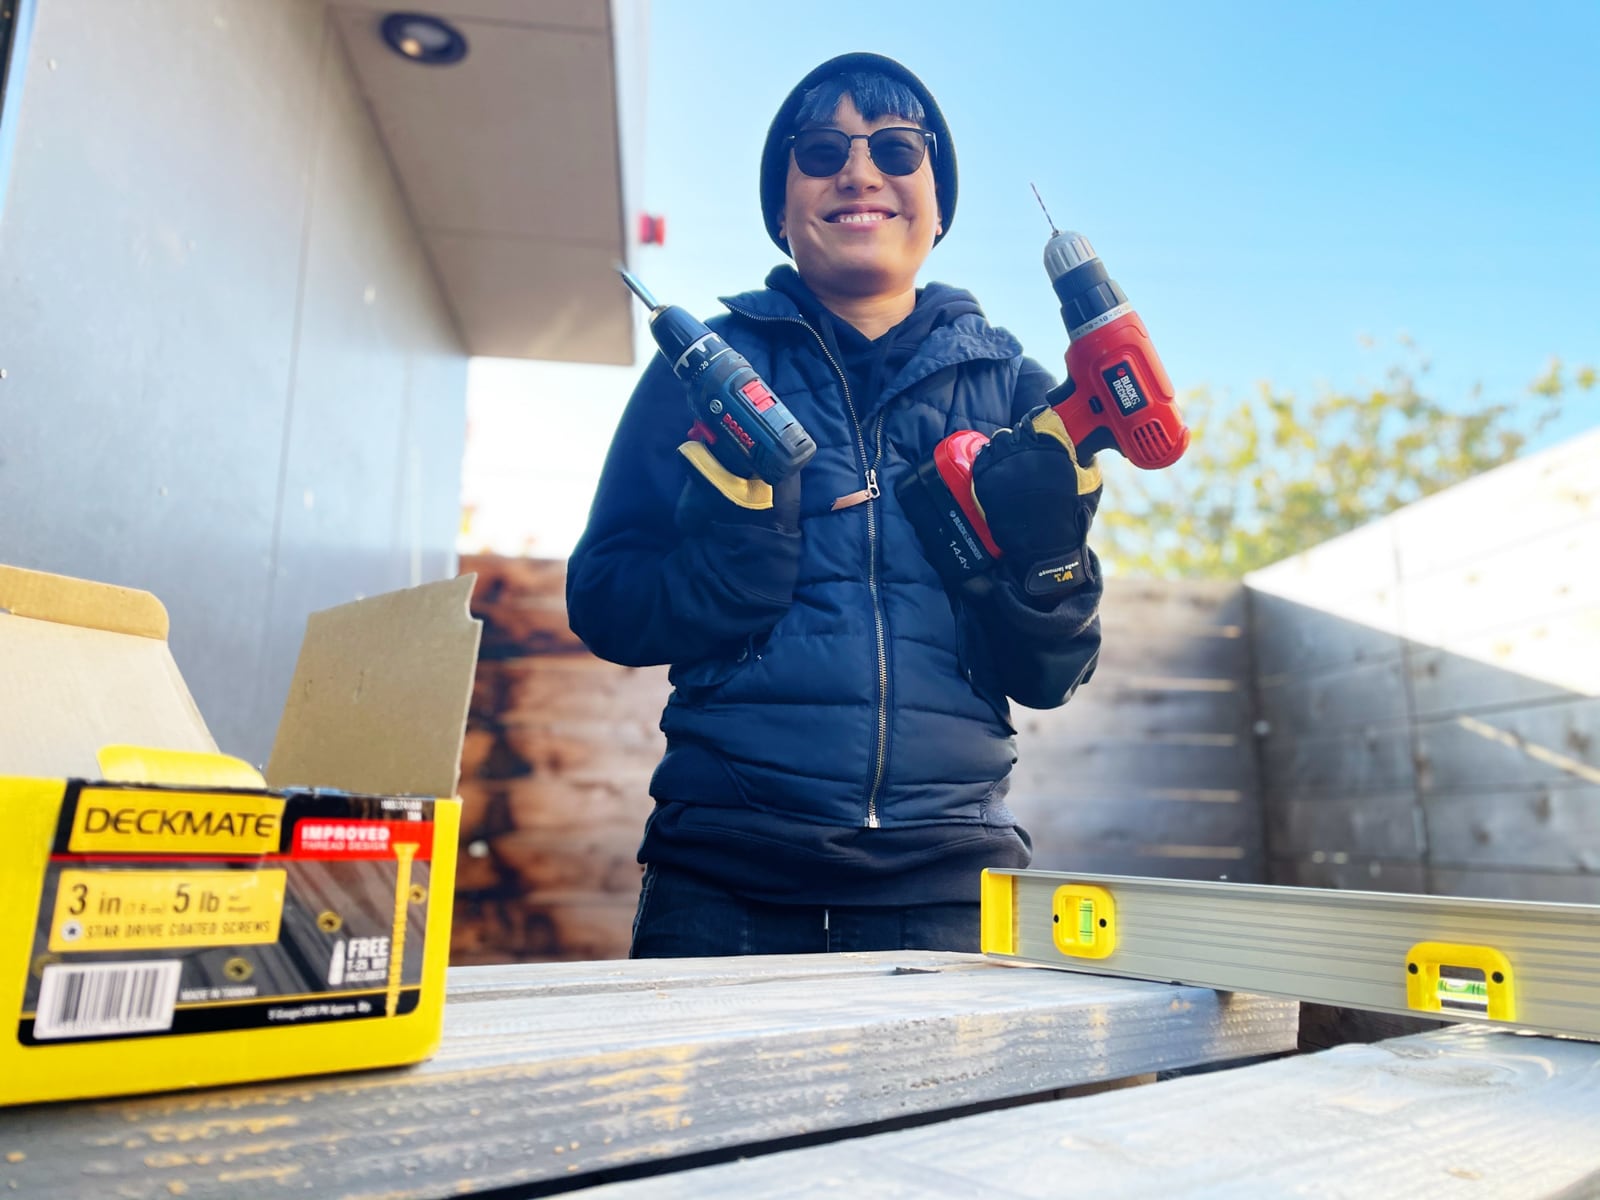
- Bosch 12V drill (★★★★½)
- Black and Decker drill (★★)
- Black and Decker 20V impact driver (★★★★½)
- Fisch 7/16" Forstner bit (★★★★★)
- standard drill bit and impact bit set (★★★★)
- ladder (★★★½)
- reciprocating saw
- hammer (★★★)
Other tools used:
- Google Sheets
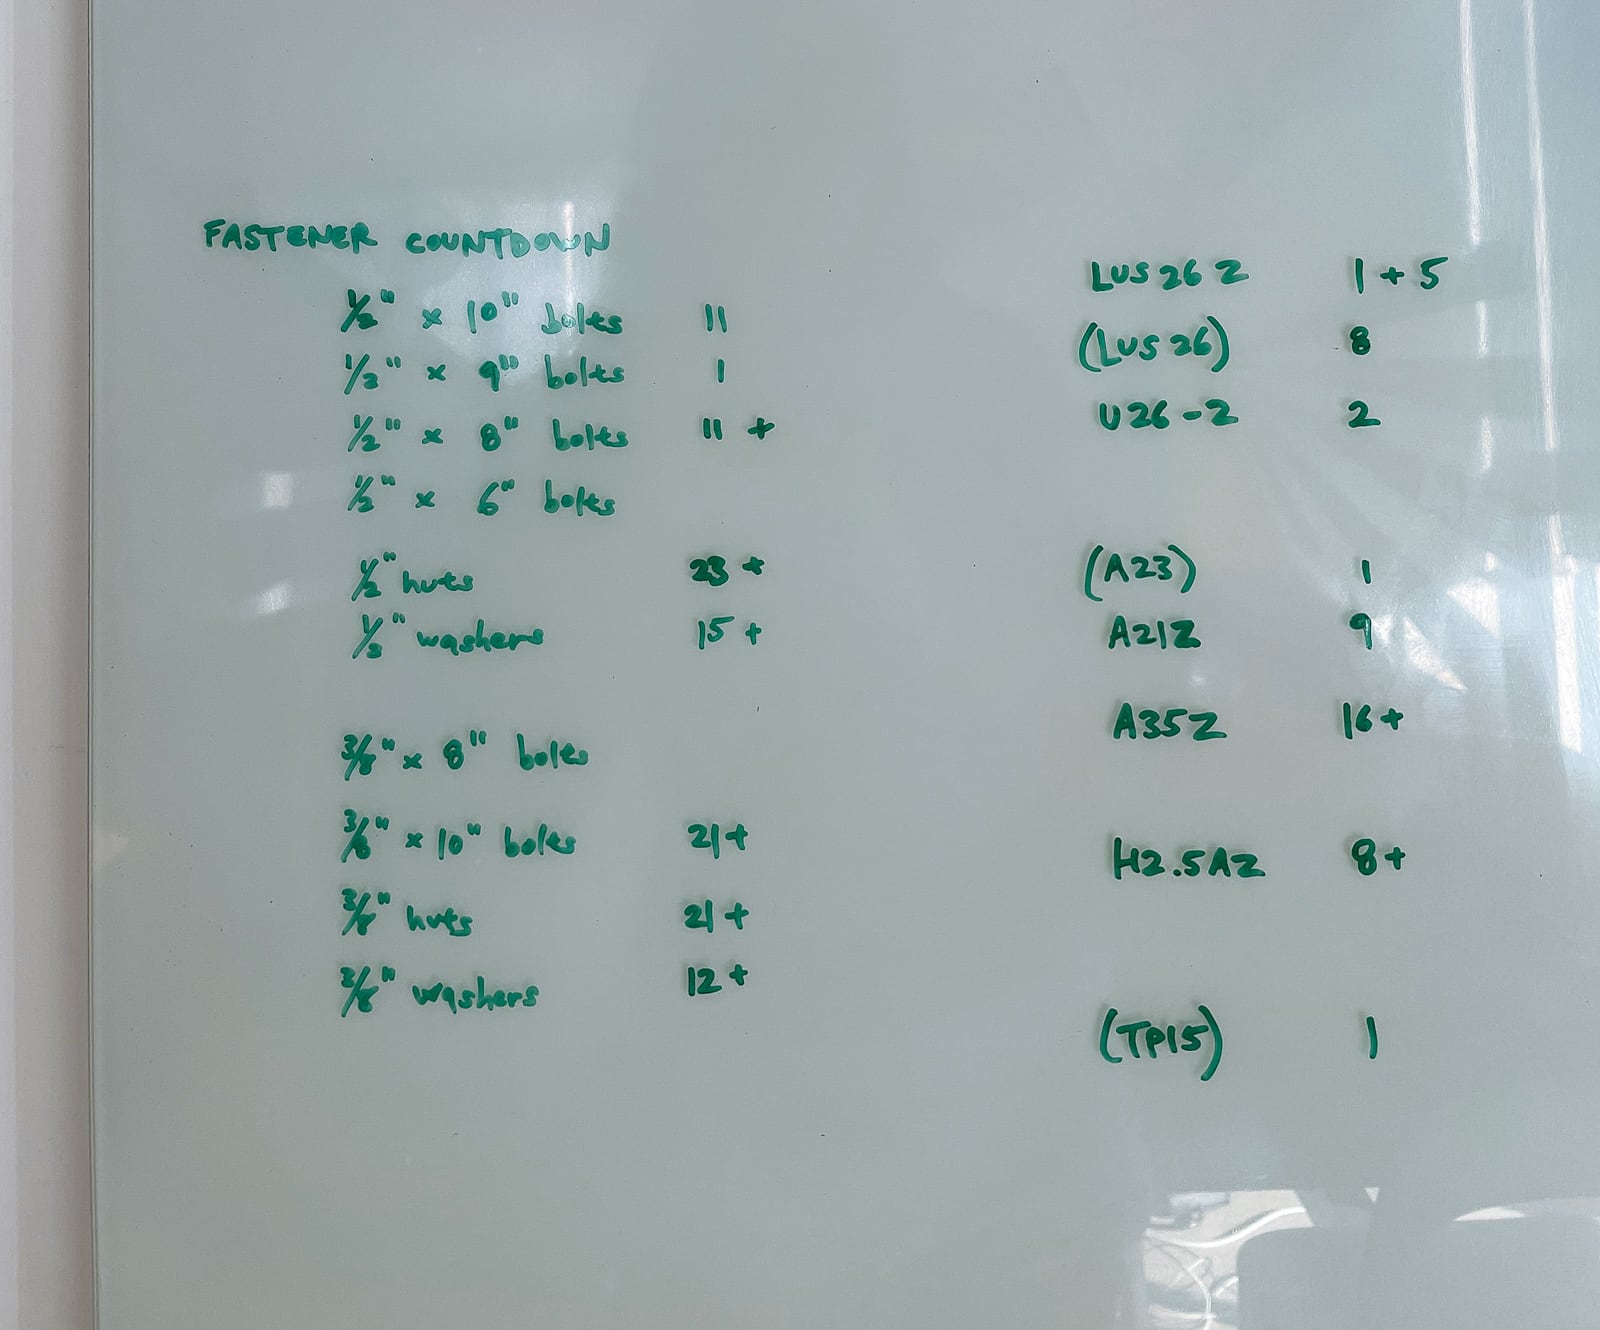
- whiteboard
- 8x11 paper
- several cameras
- JBL Charge 3 (★★★★★)
Parts list (climbing surface):
- about 800 2-hole T-nuts from Escape Climbing with accompanying mounting screws
- 11 sheets 3/4" x 4’ x 8’ marine-grade CDX plywood
- 3 Simpson Strong-Tie galvanized heavy angles
- 6 1/2" bolts/nuts/washers
- 400 Deckmate #9 x 3" screws
- 300 GRK #9 x 2.5" R4 screws
- 40 GRK 5/16" x 4" RSS structural screws
- 40 GRK 1/4" x 2.5" RSS structural screws
- 2 gallons KILZ 2 interior/exterior primer
- 2 gallons Behr porch and patio paint (silver gray low-lustre enamel)
- 7 gallons drywall mud
- 15 pounds play sand
- 3 lbs DAP Plastic Wood-X wood filler
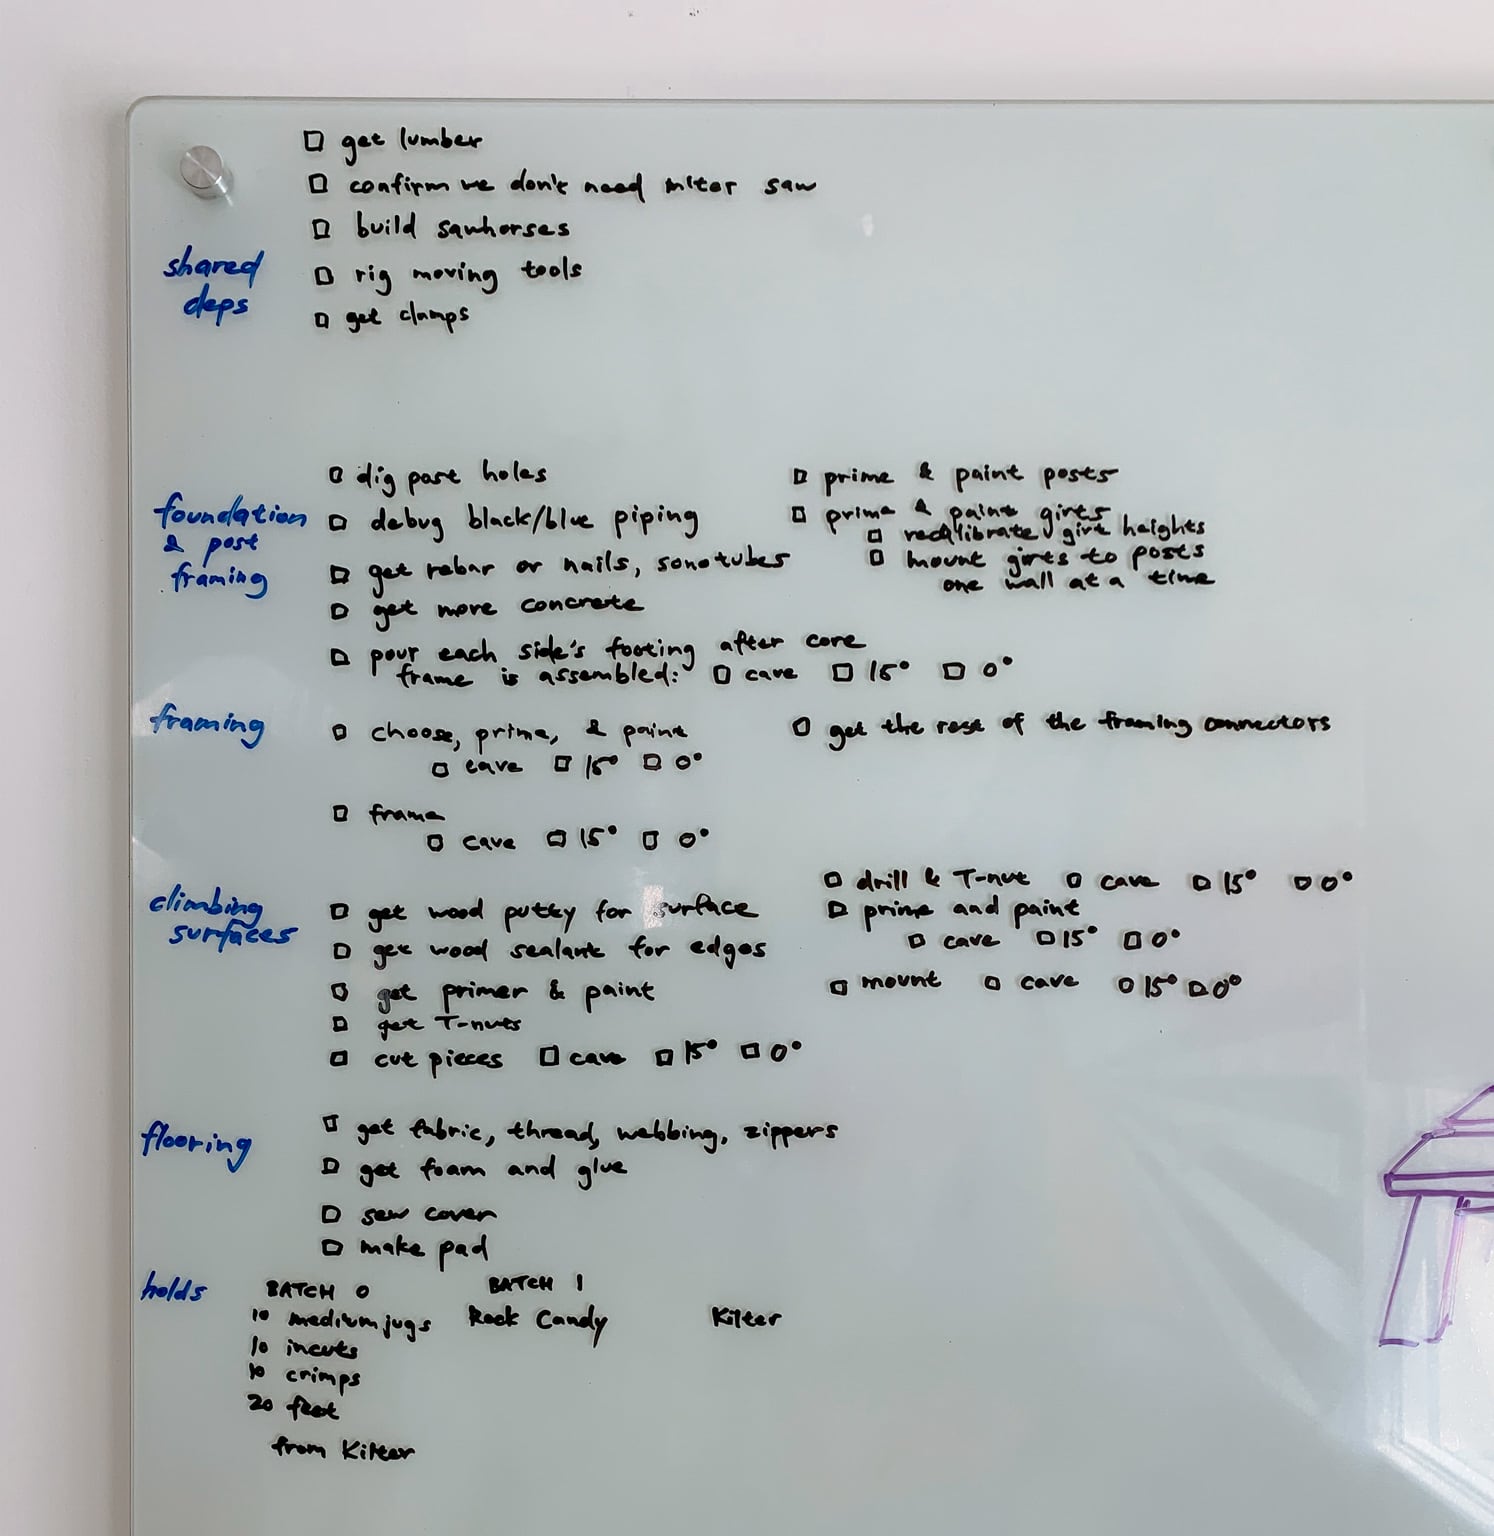
Planning
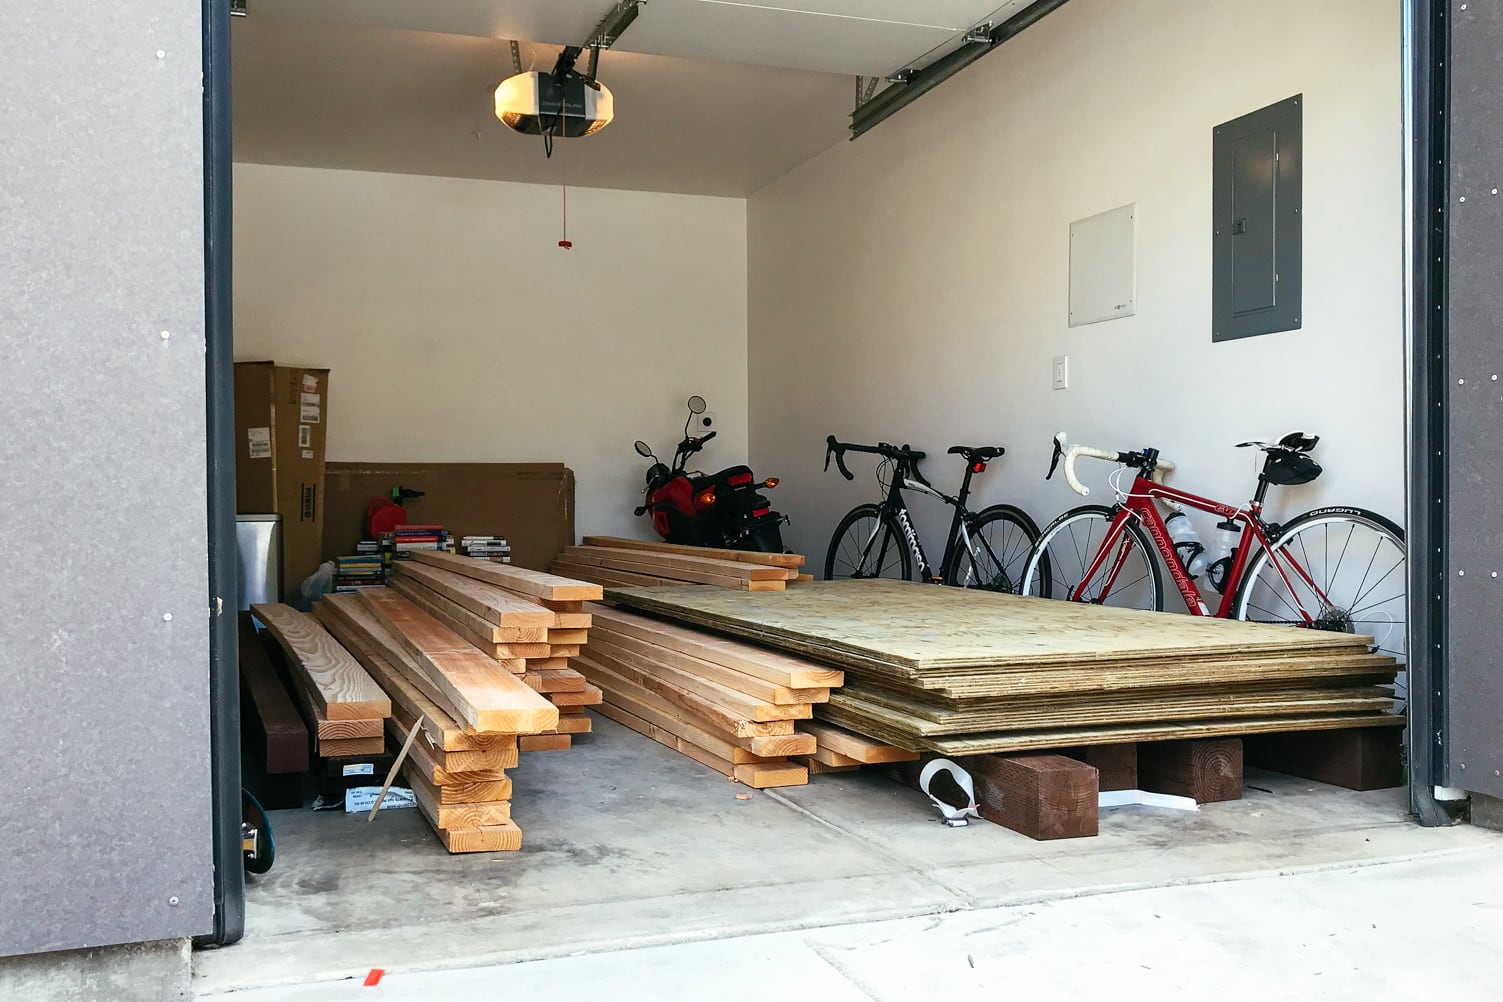
1. Deciding on the plywood to use
Based mainly on the perceived safety of obtaining sheets mid-pandemic, we decided to go with 3/4"-thick marine-grade, pressure-treated plywood from Economy Lumber Oakland. Each sheet was a standard 4’ x 8’, and we decided to get 11 sheets to cover all our surfaces and leave some extra for adding volumes later.
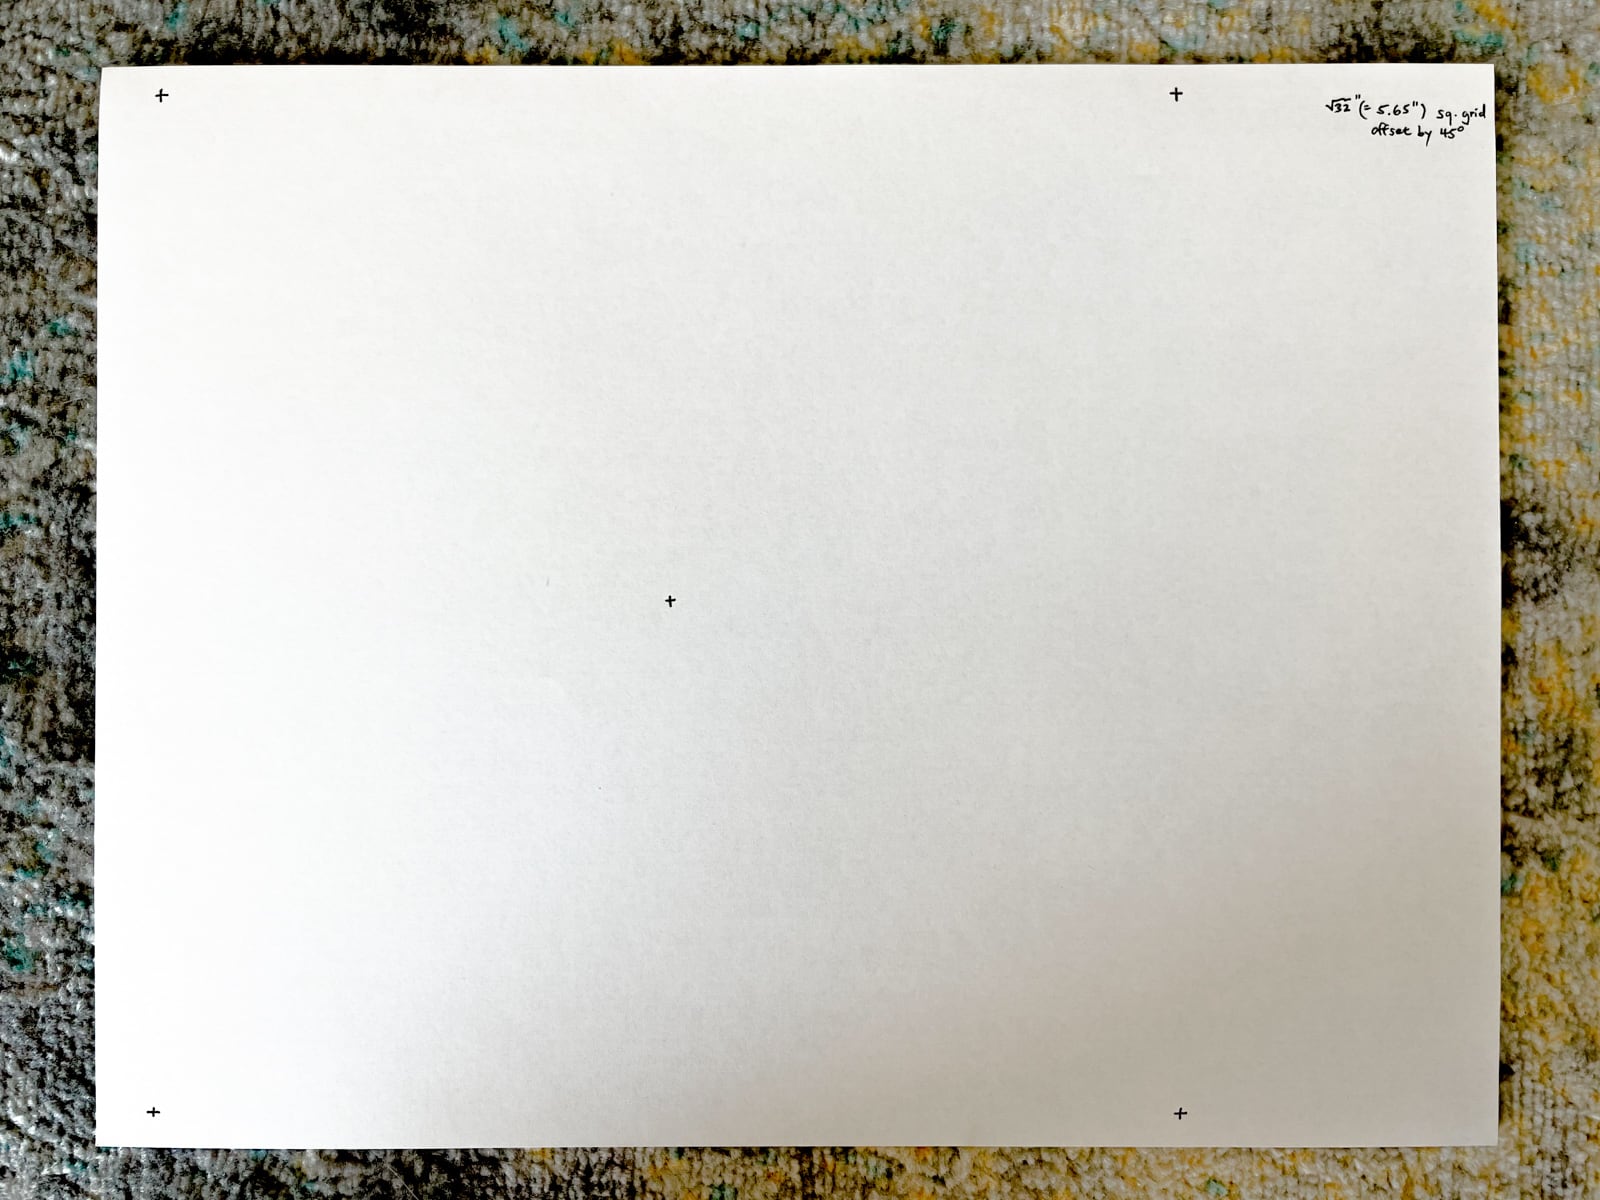
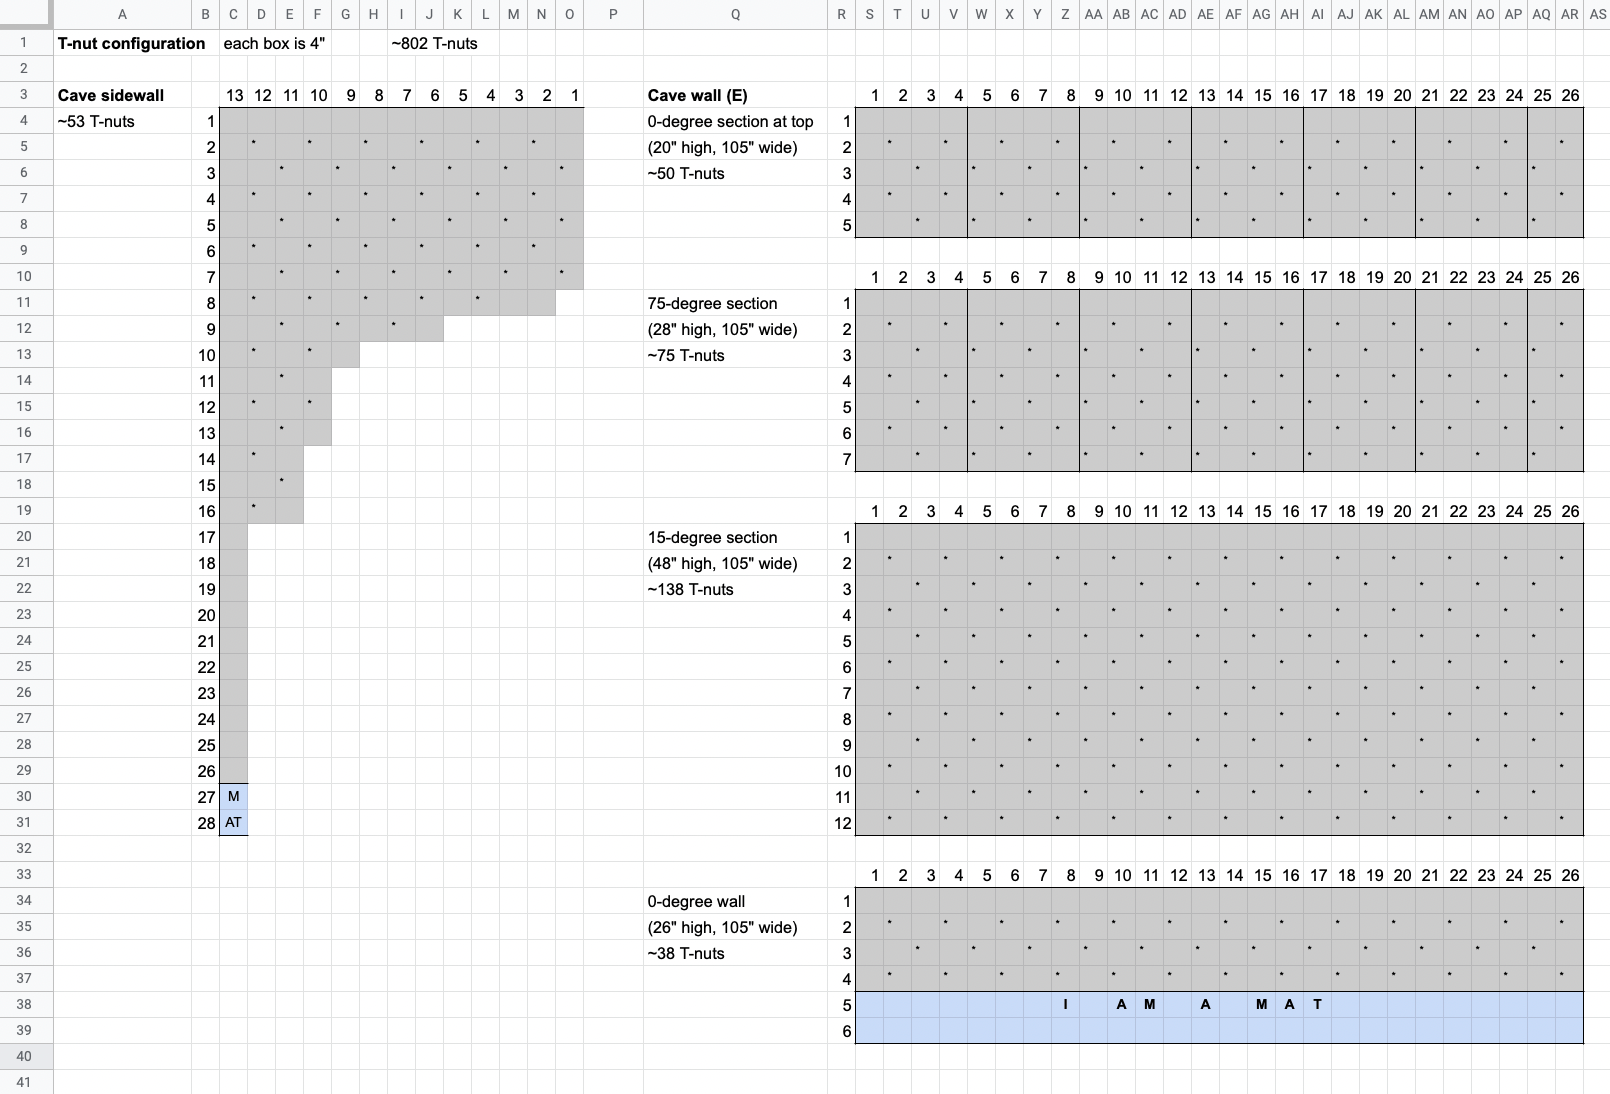
2. Choosing the T-nut layout
Climbing holds are mounted to a climbing surface (whether made of wood or not) with 3/8"-16 bolts threaded into 3/8"-16 T-nuts that are attached firmly to the climbing surface.
Before getting started with preparing our climbing surface, we needed to decide how we would lay out our T-nuts.
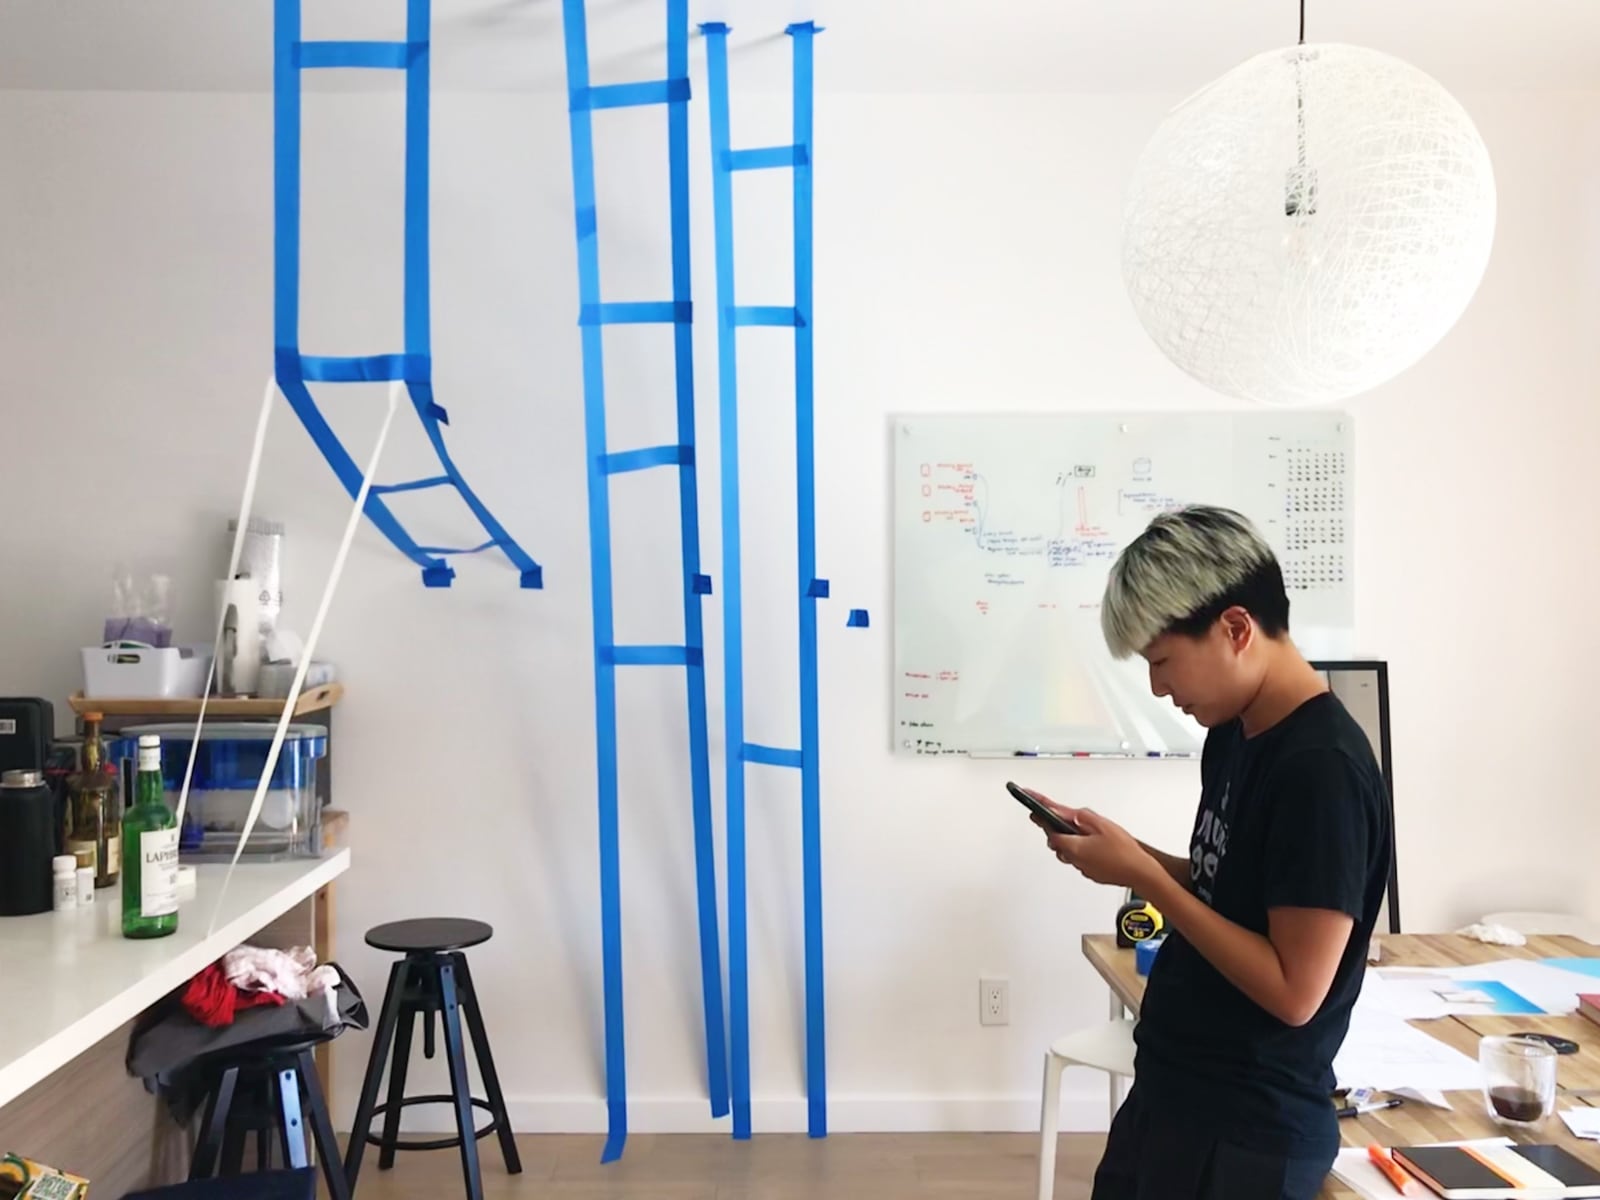
To do this, we looked around at other people’s builds, and drew alternatives out on sheets of 8.5” x 11” paper, and settled on a grid with holes sqrt(32) == 5.66” apart, diagonally (equivalent to rows of holes 8" apart horizontally, spaced 4" apart vertically, and offset horizontally by 4" per row).
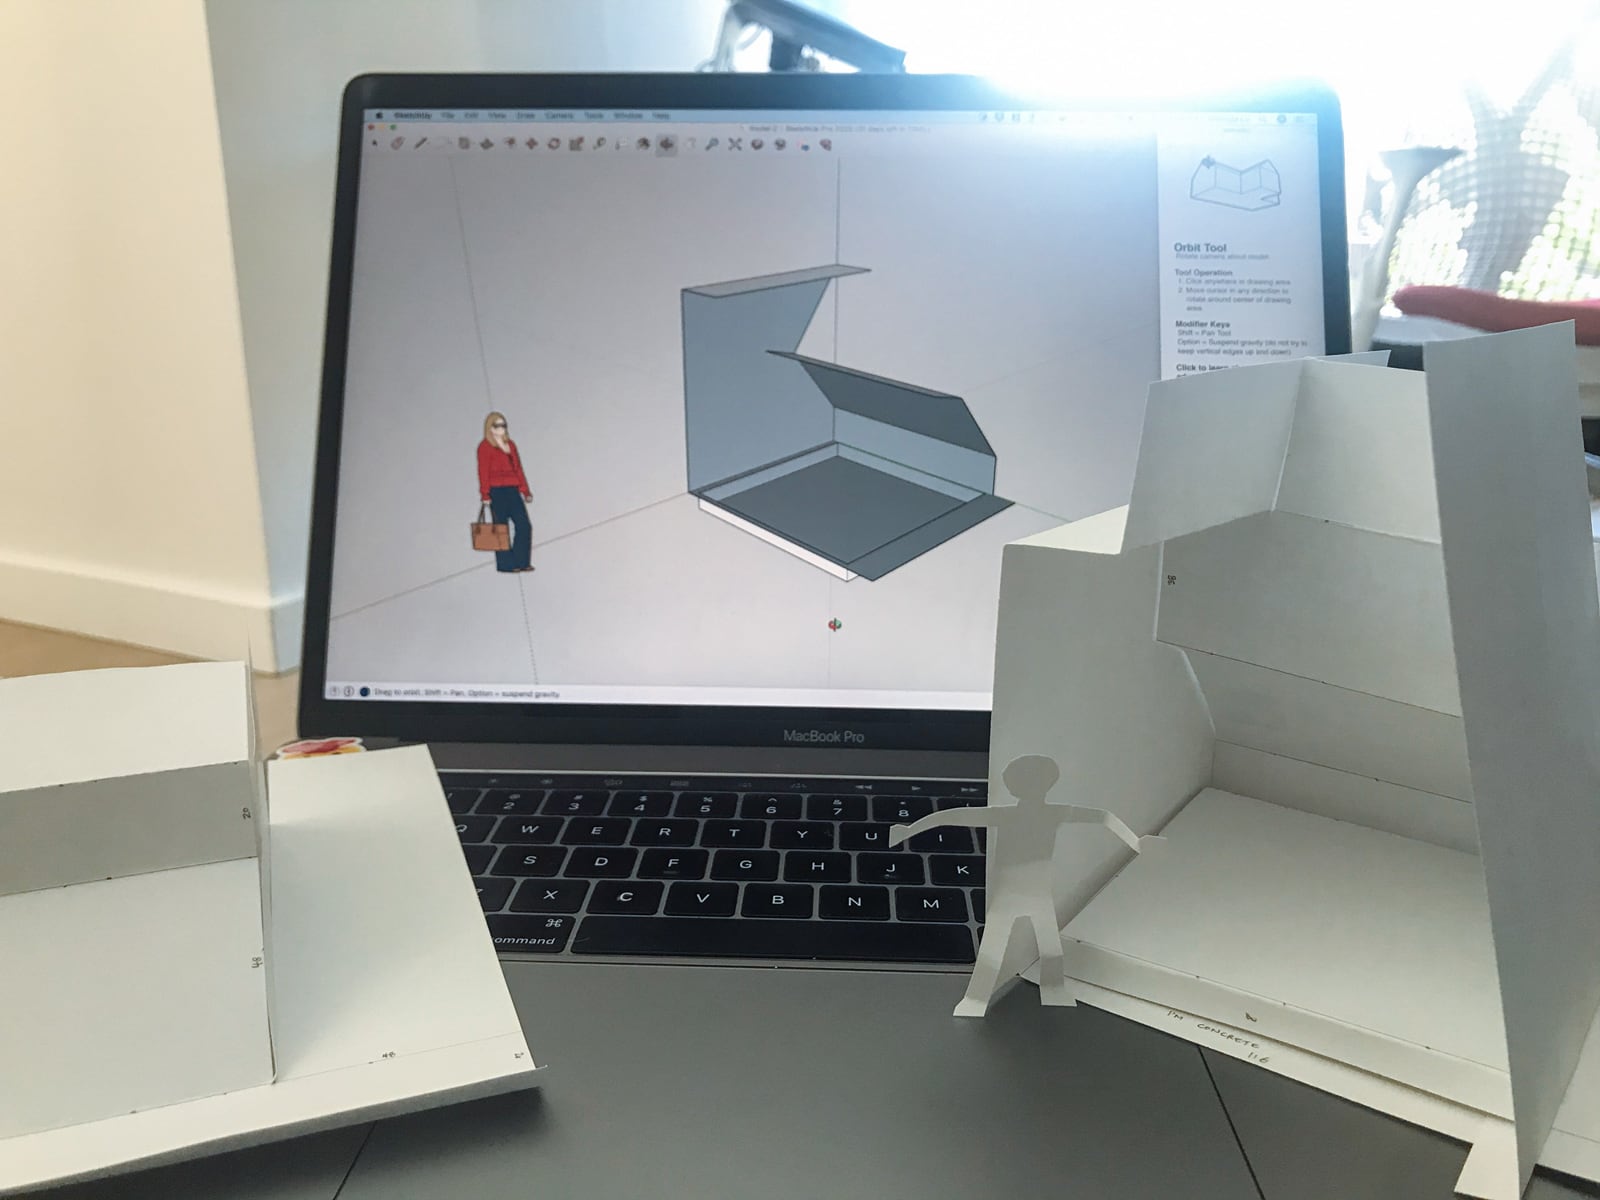
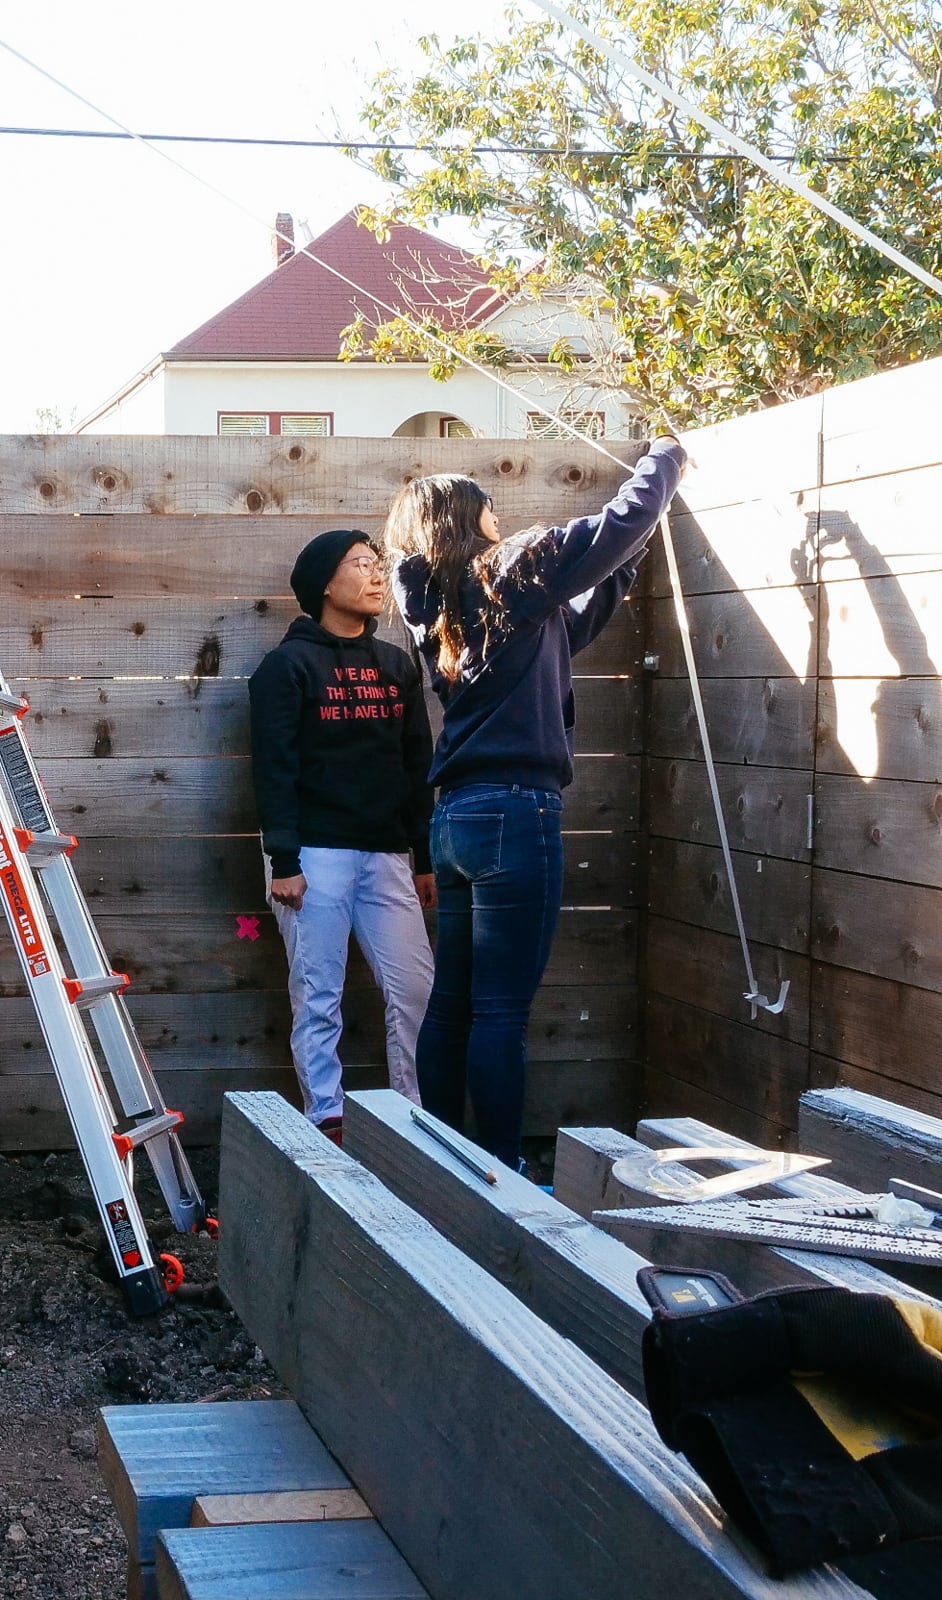
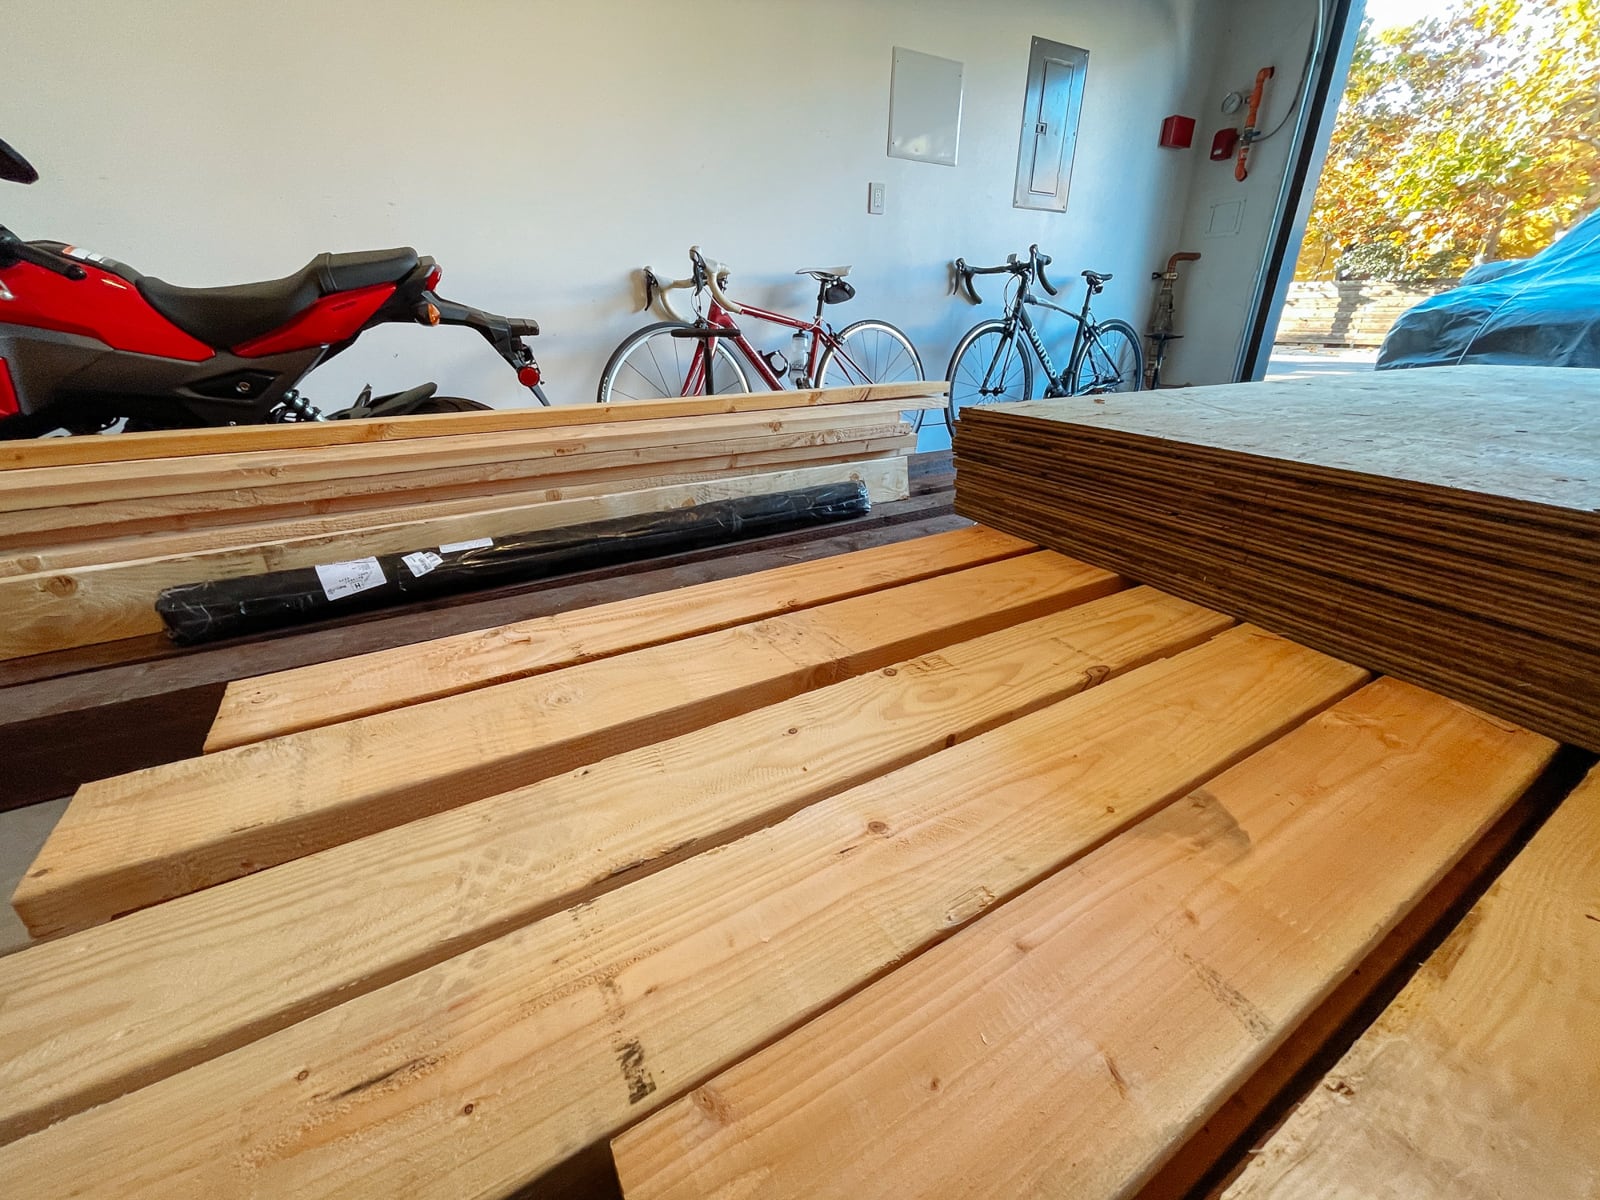
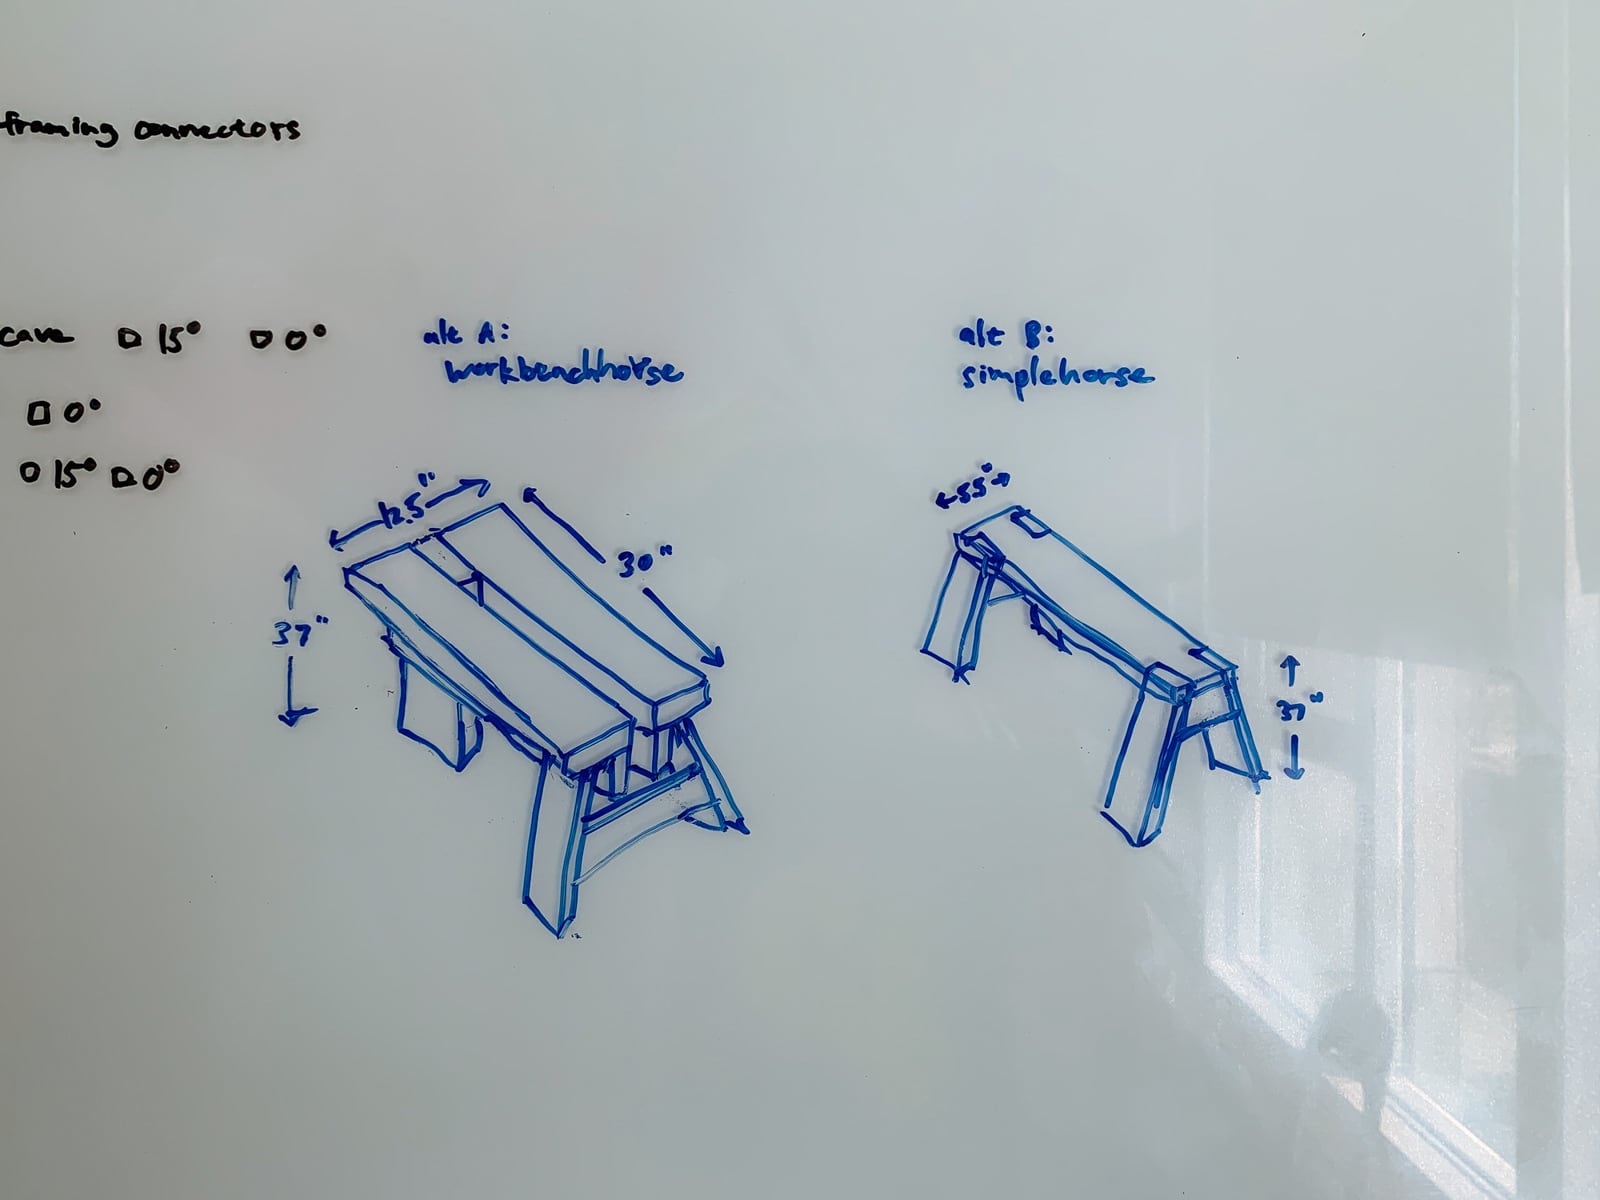
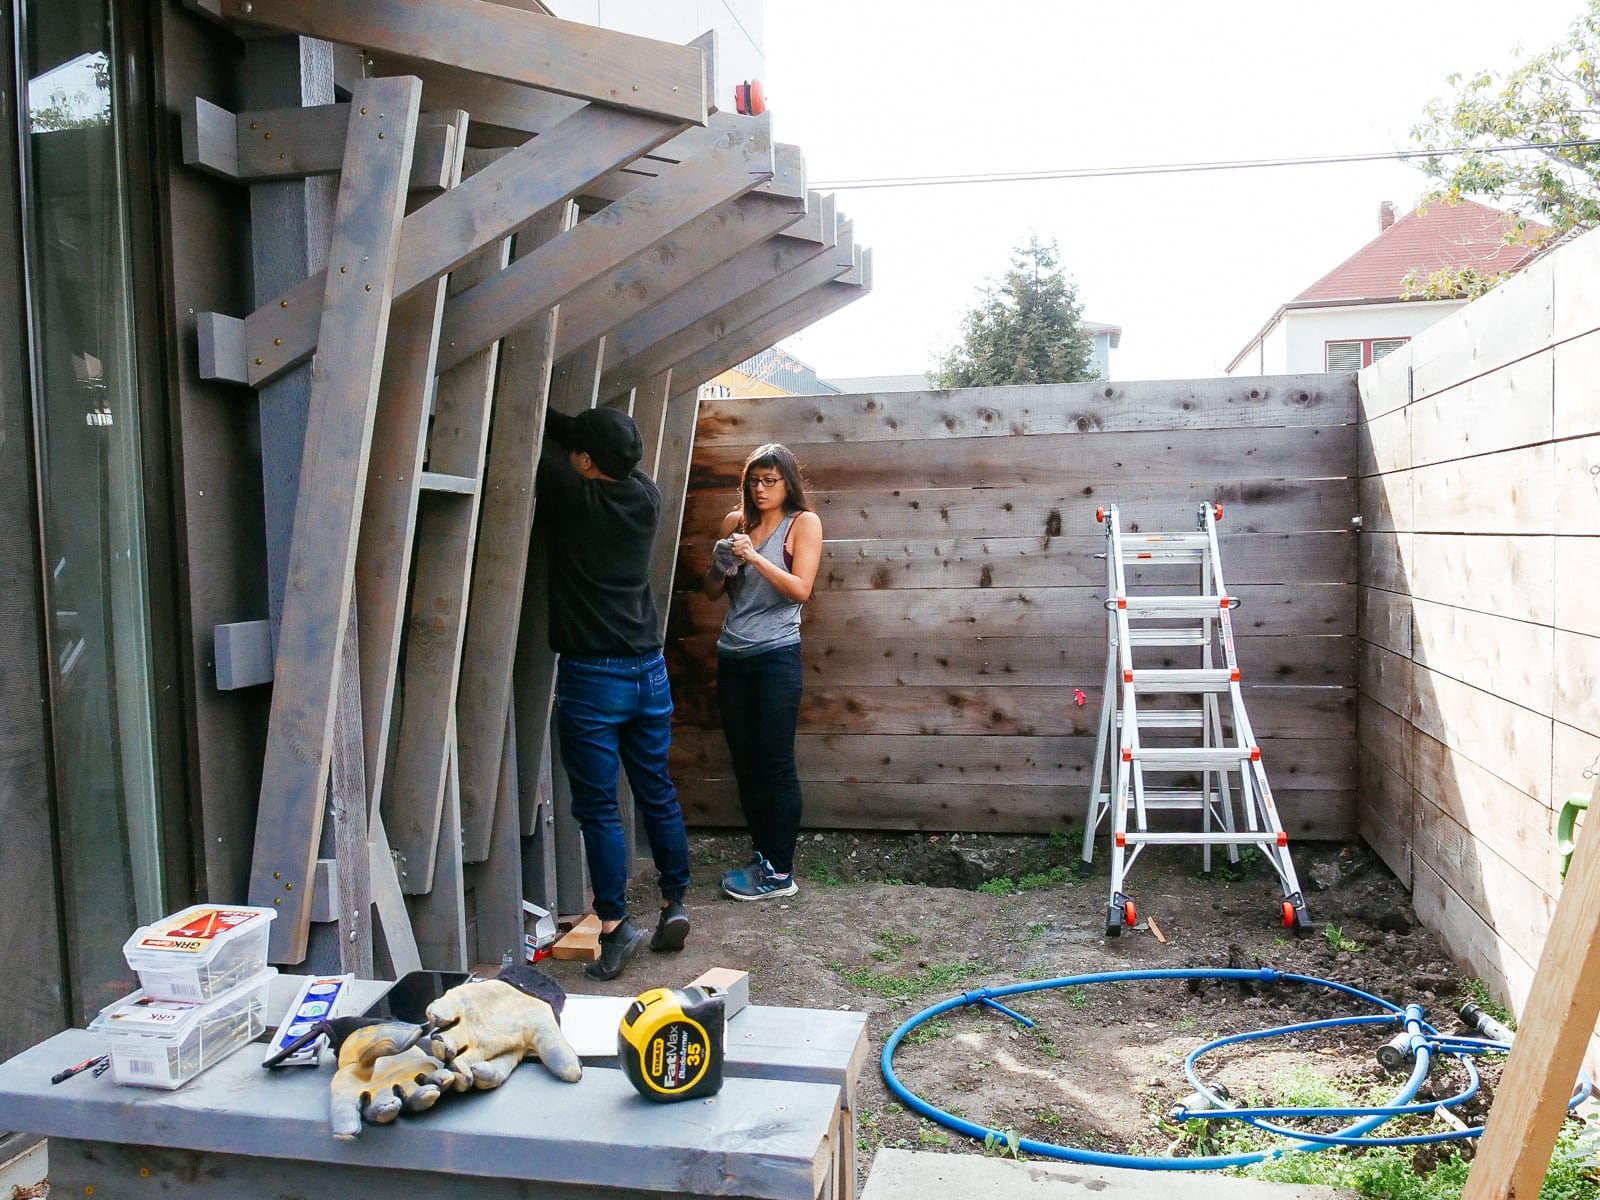
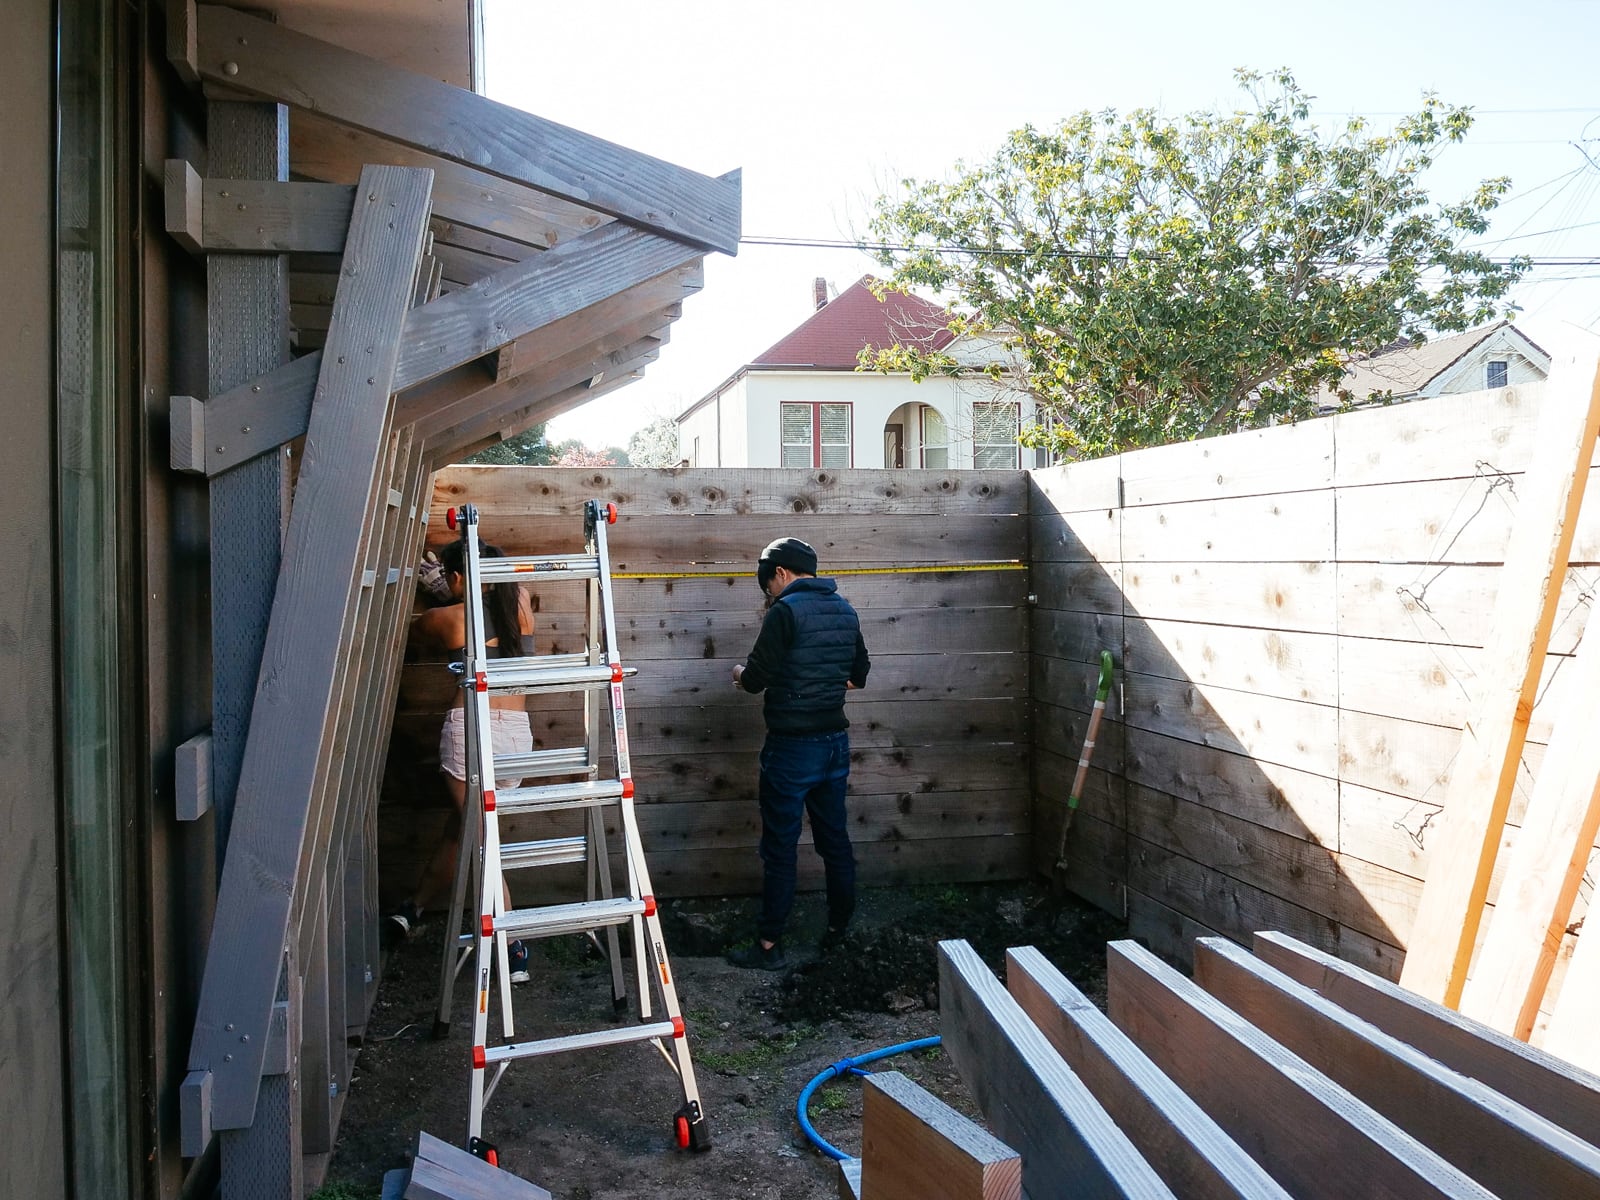
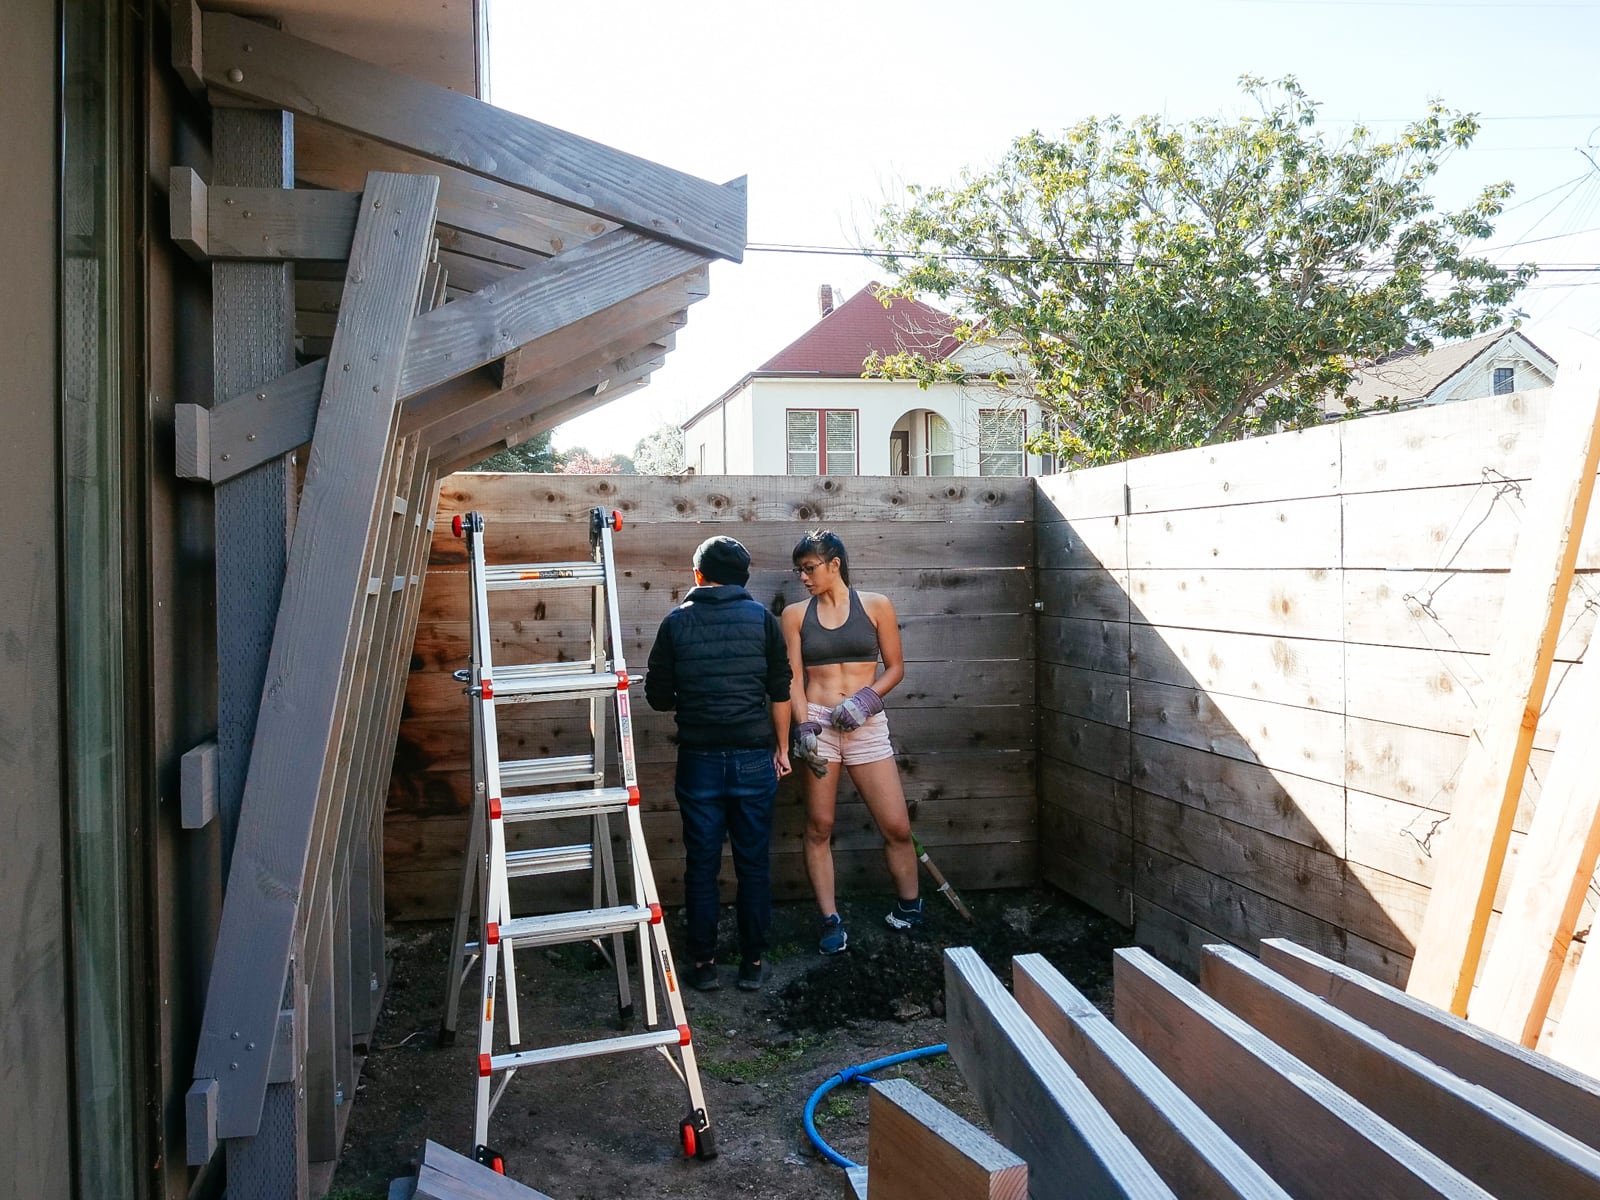
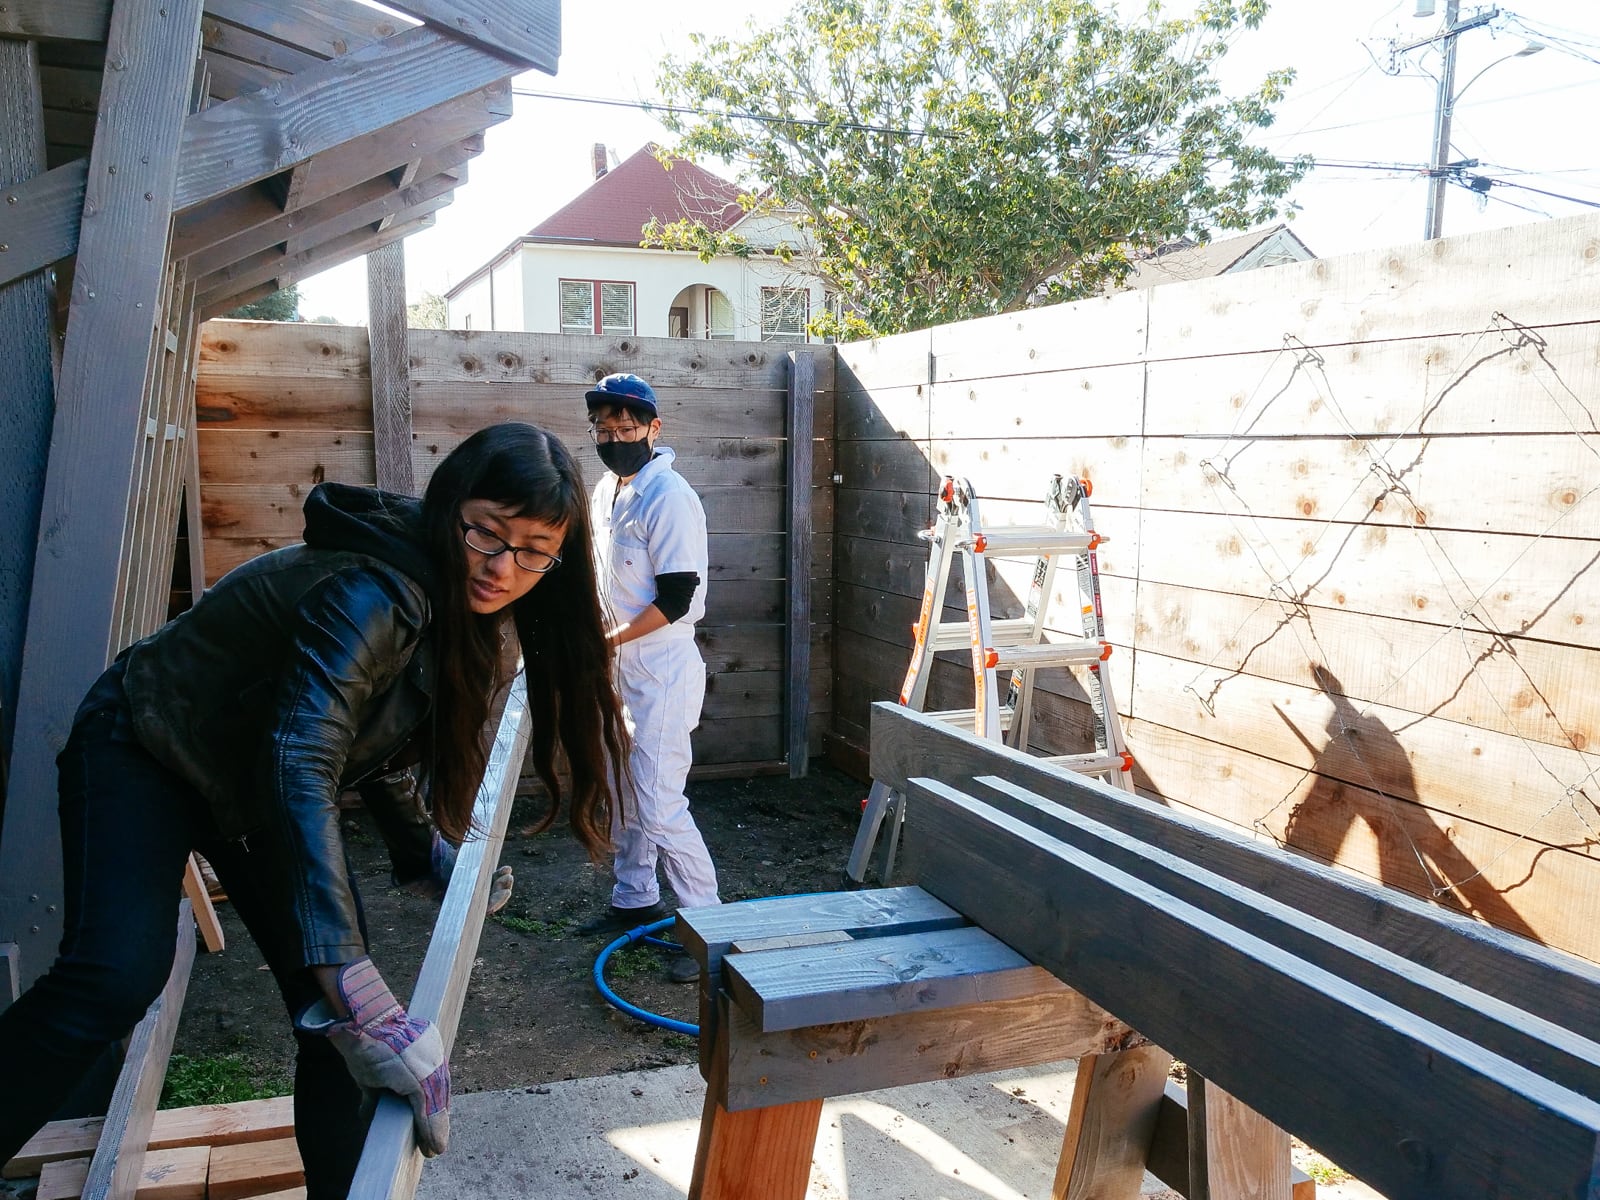
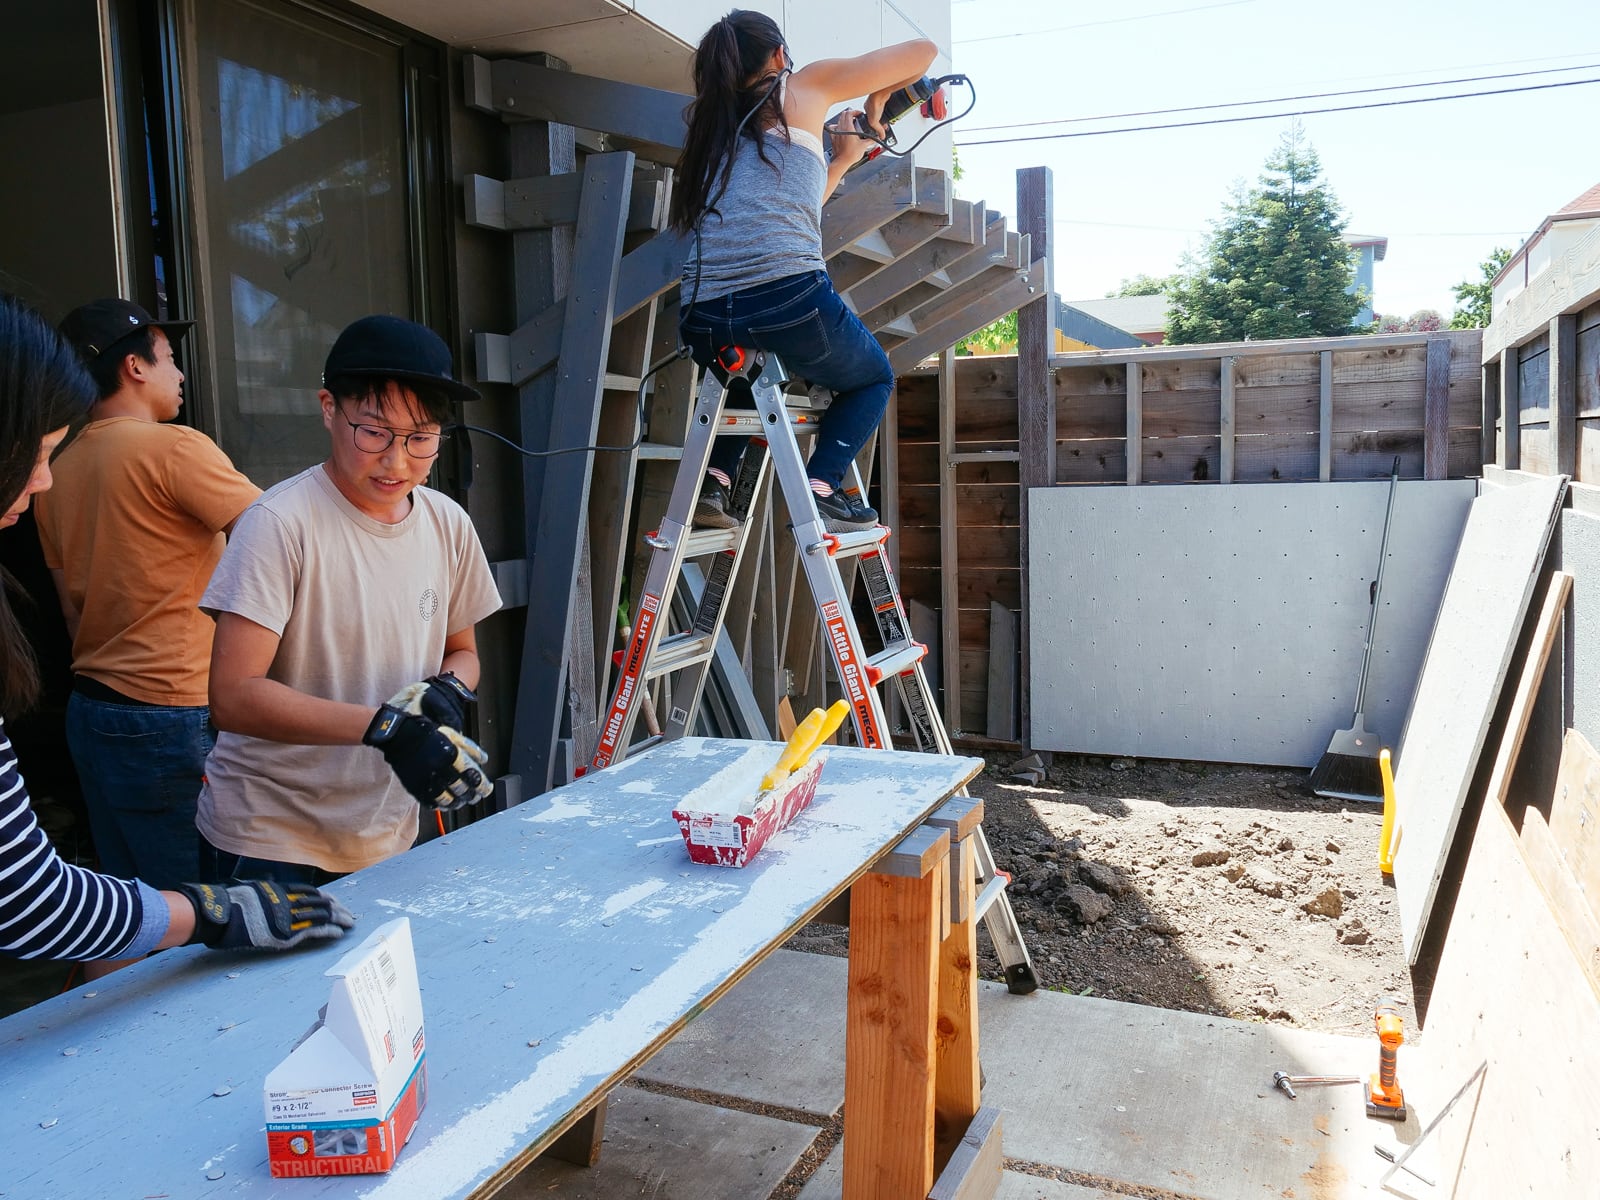
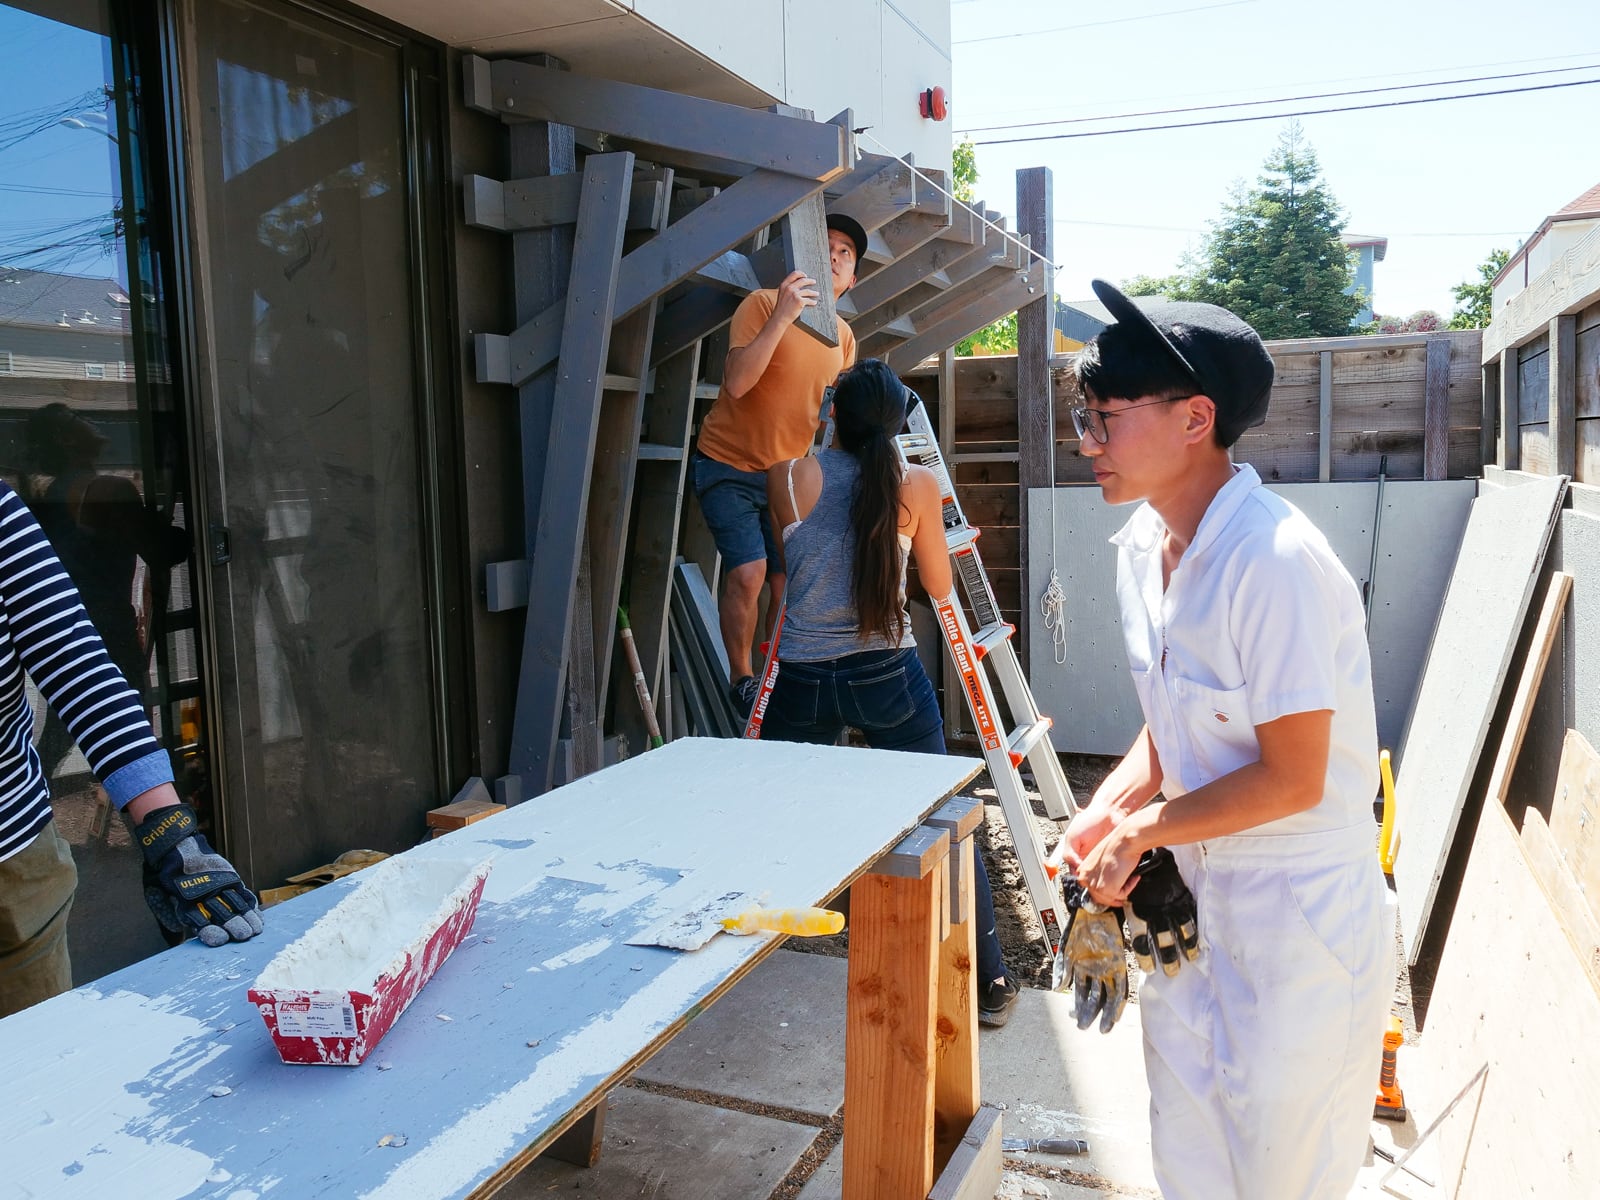
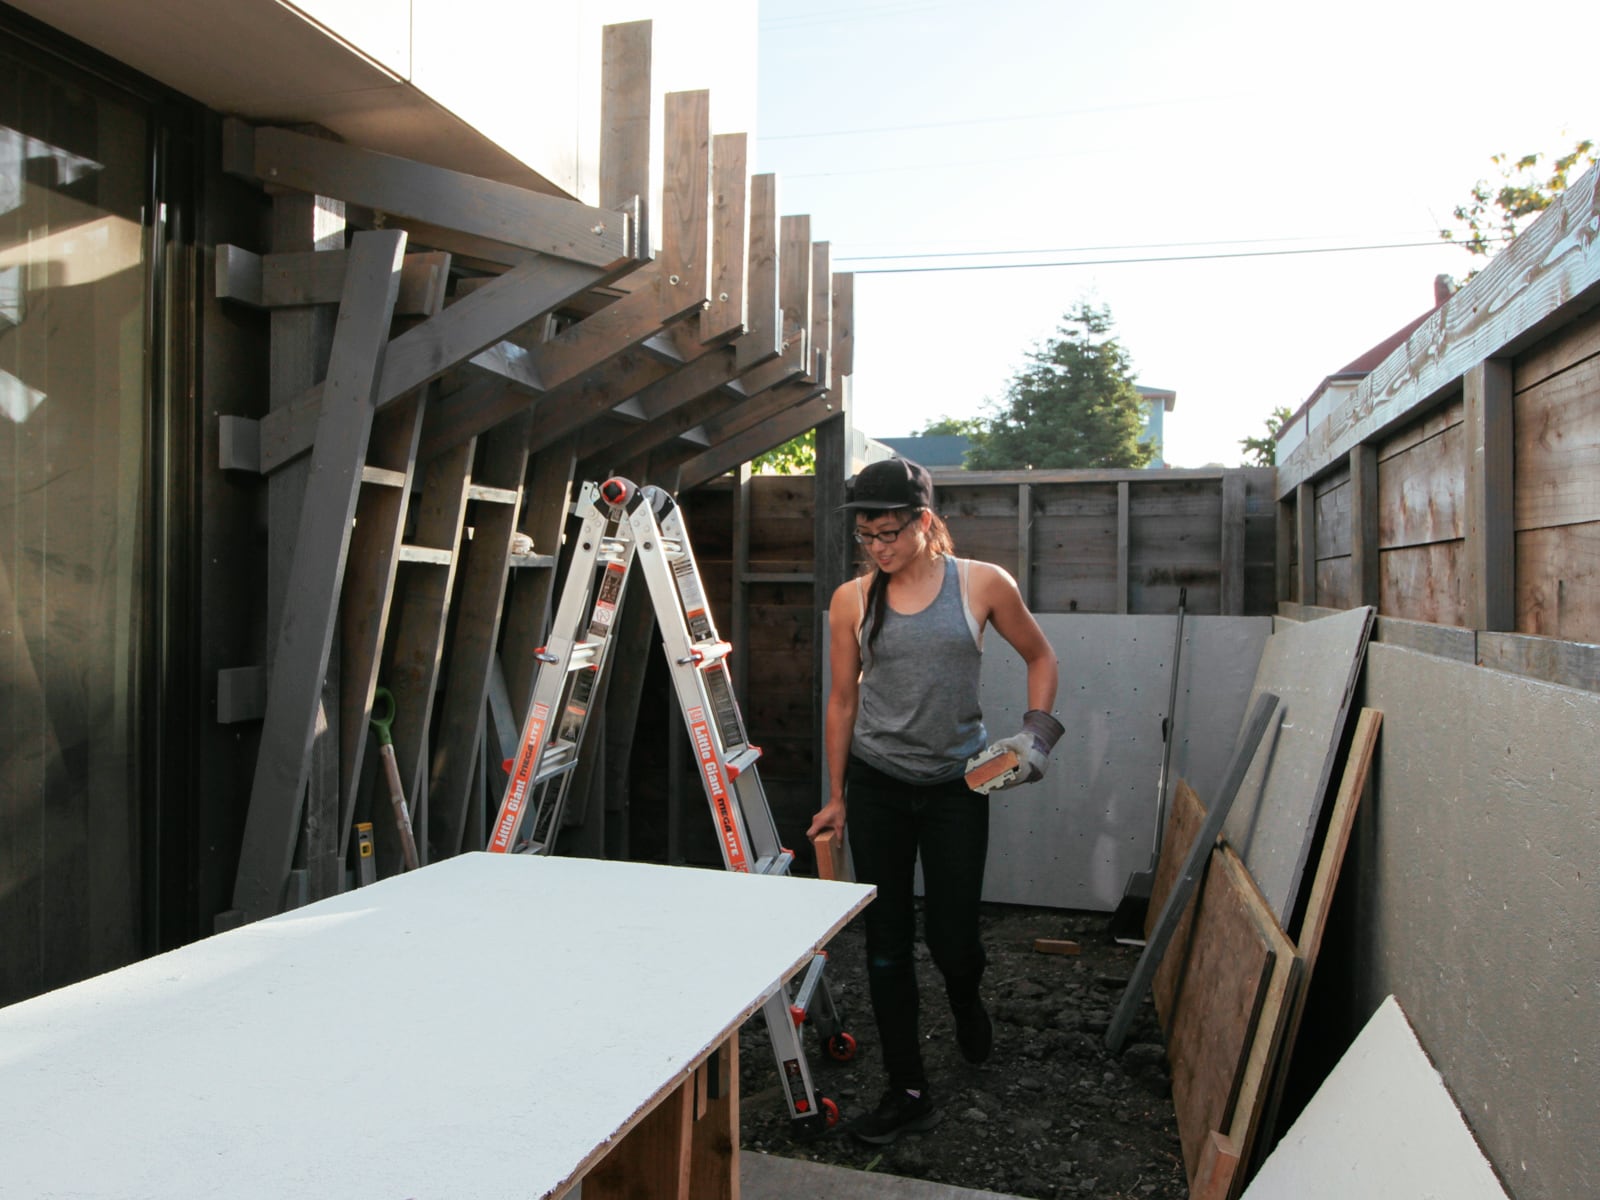
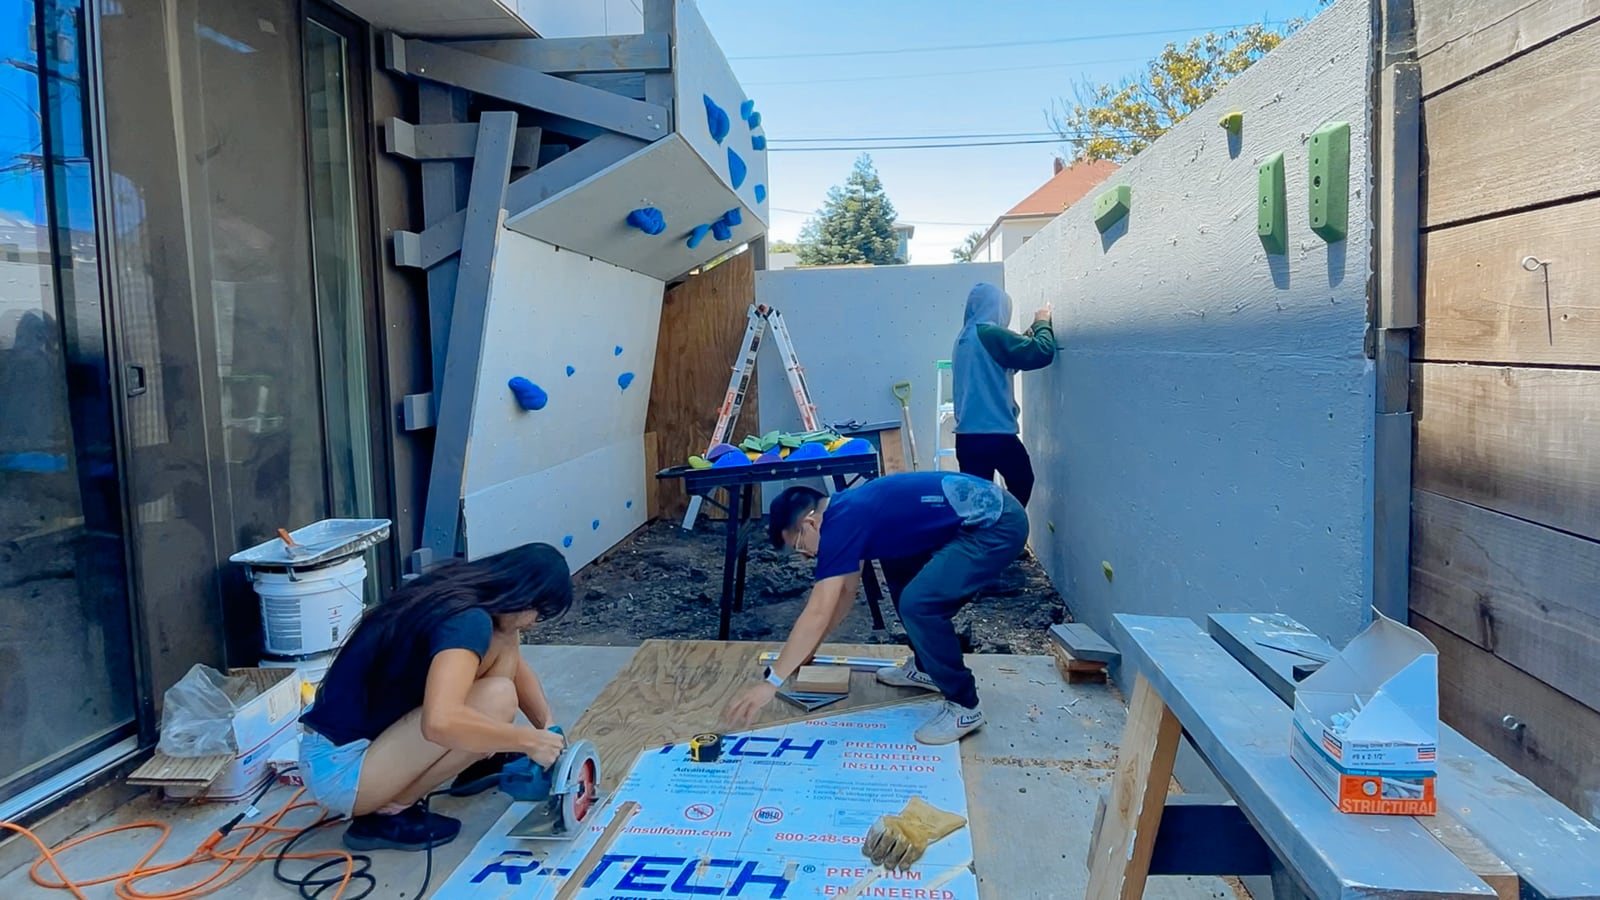
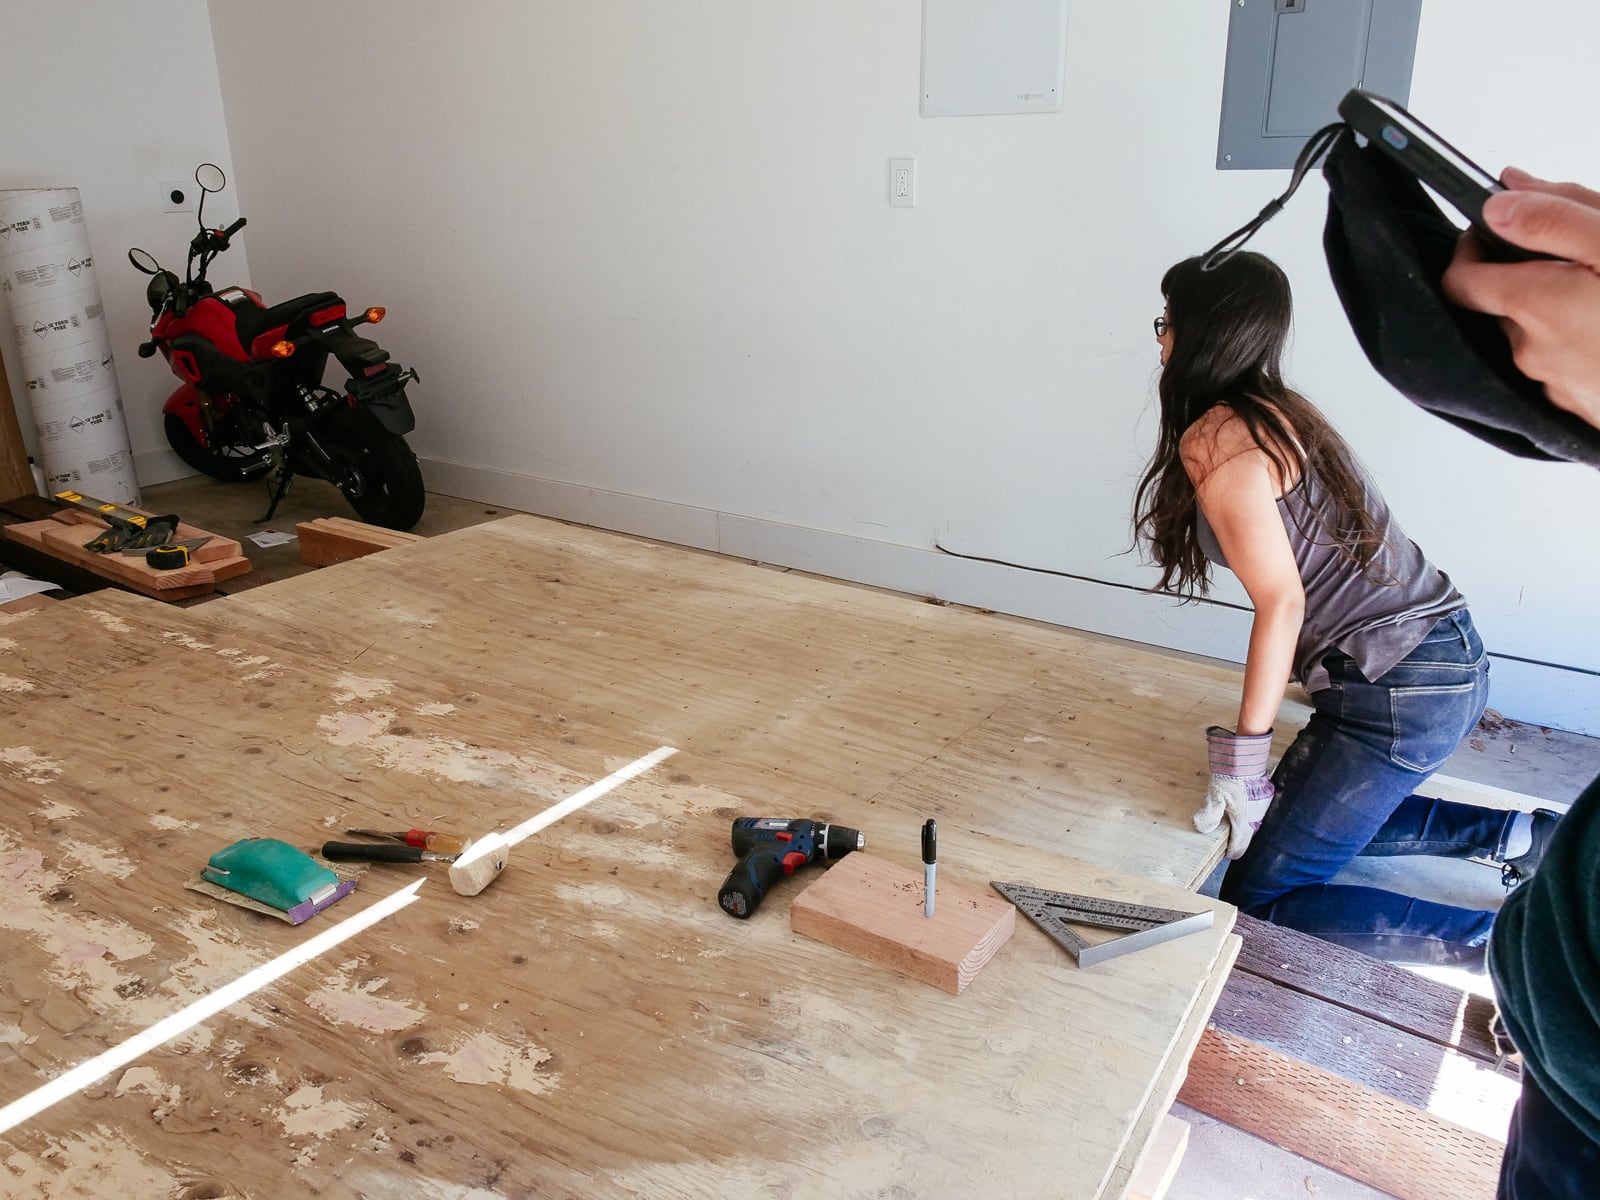
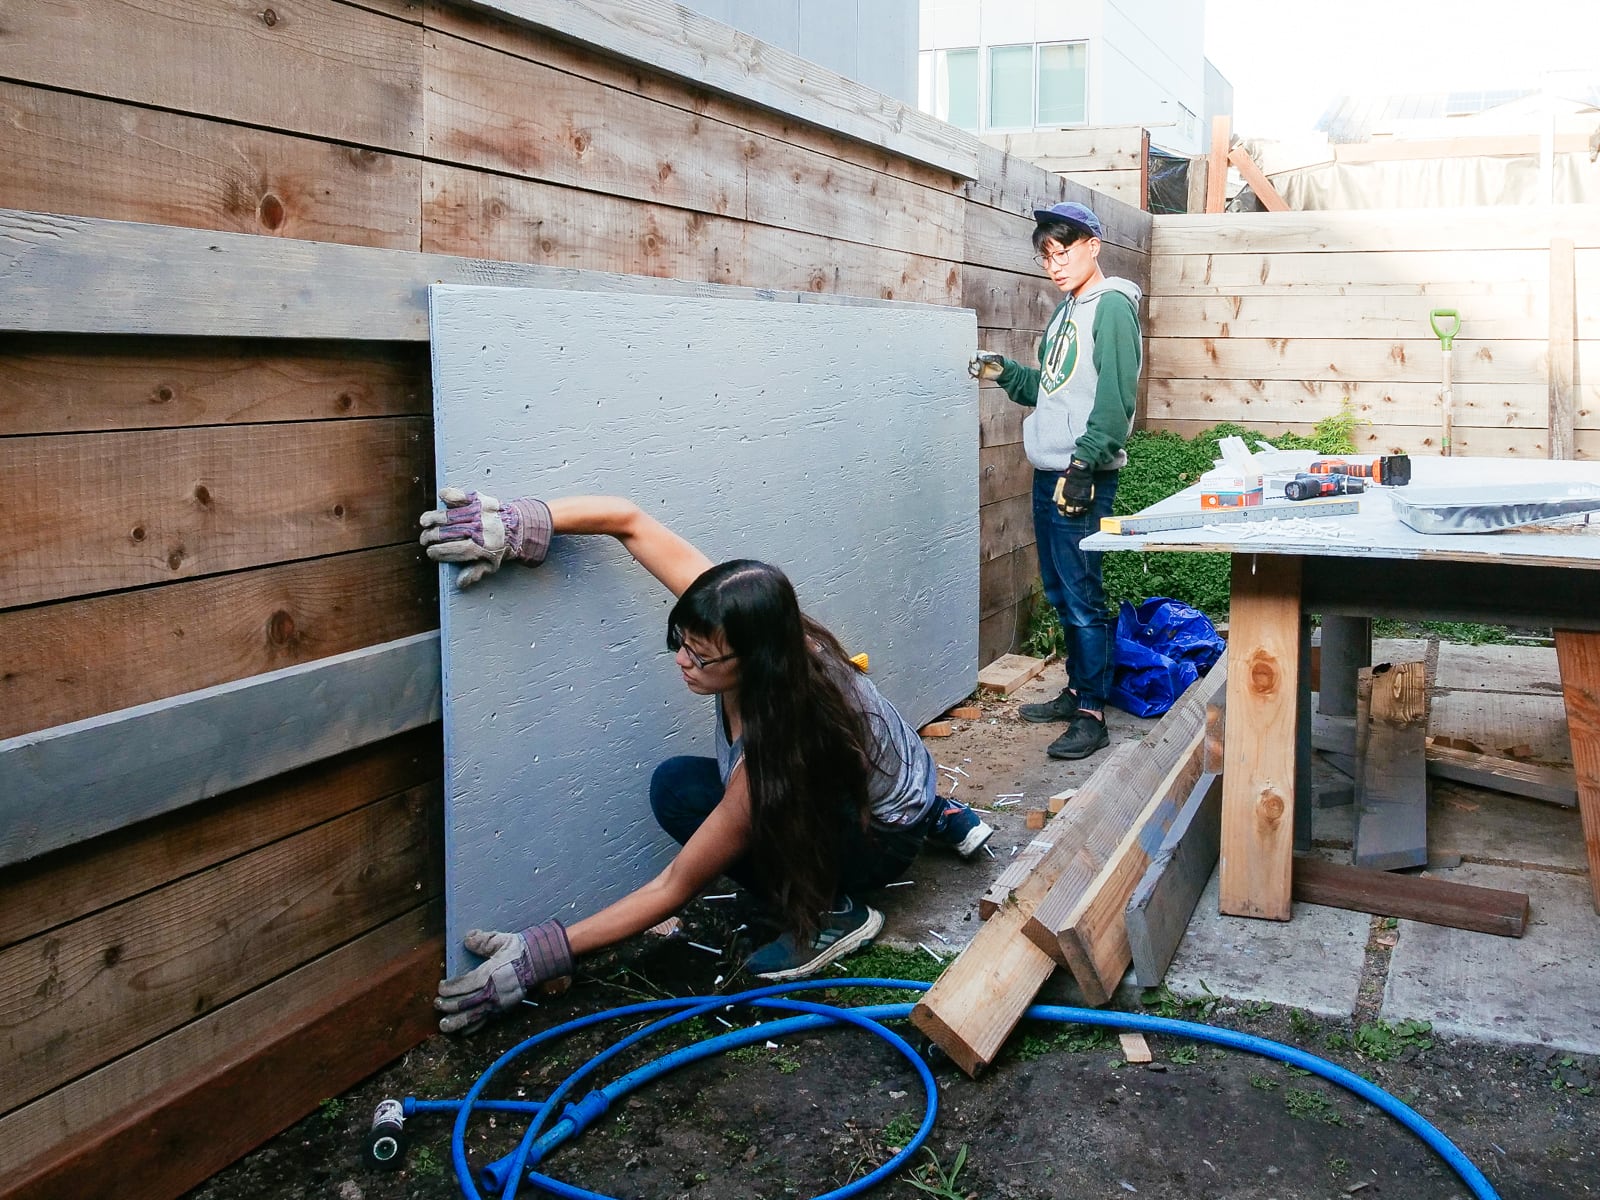
3. Setting up the workspace
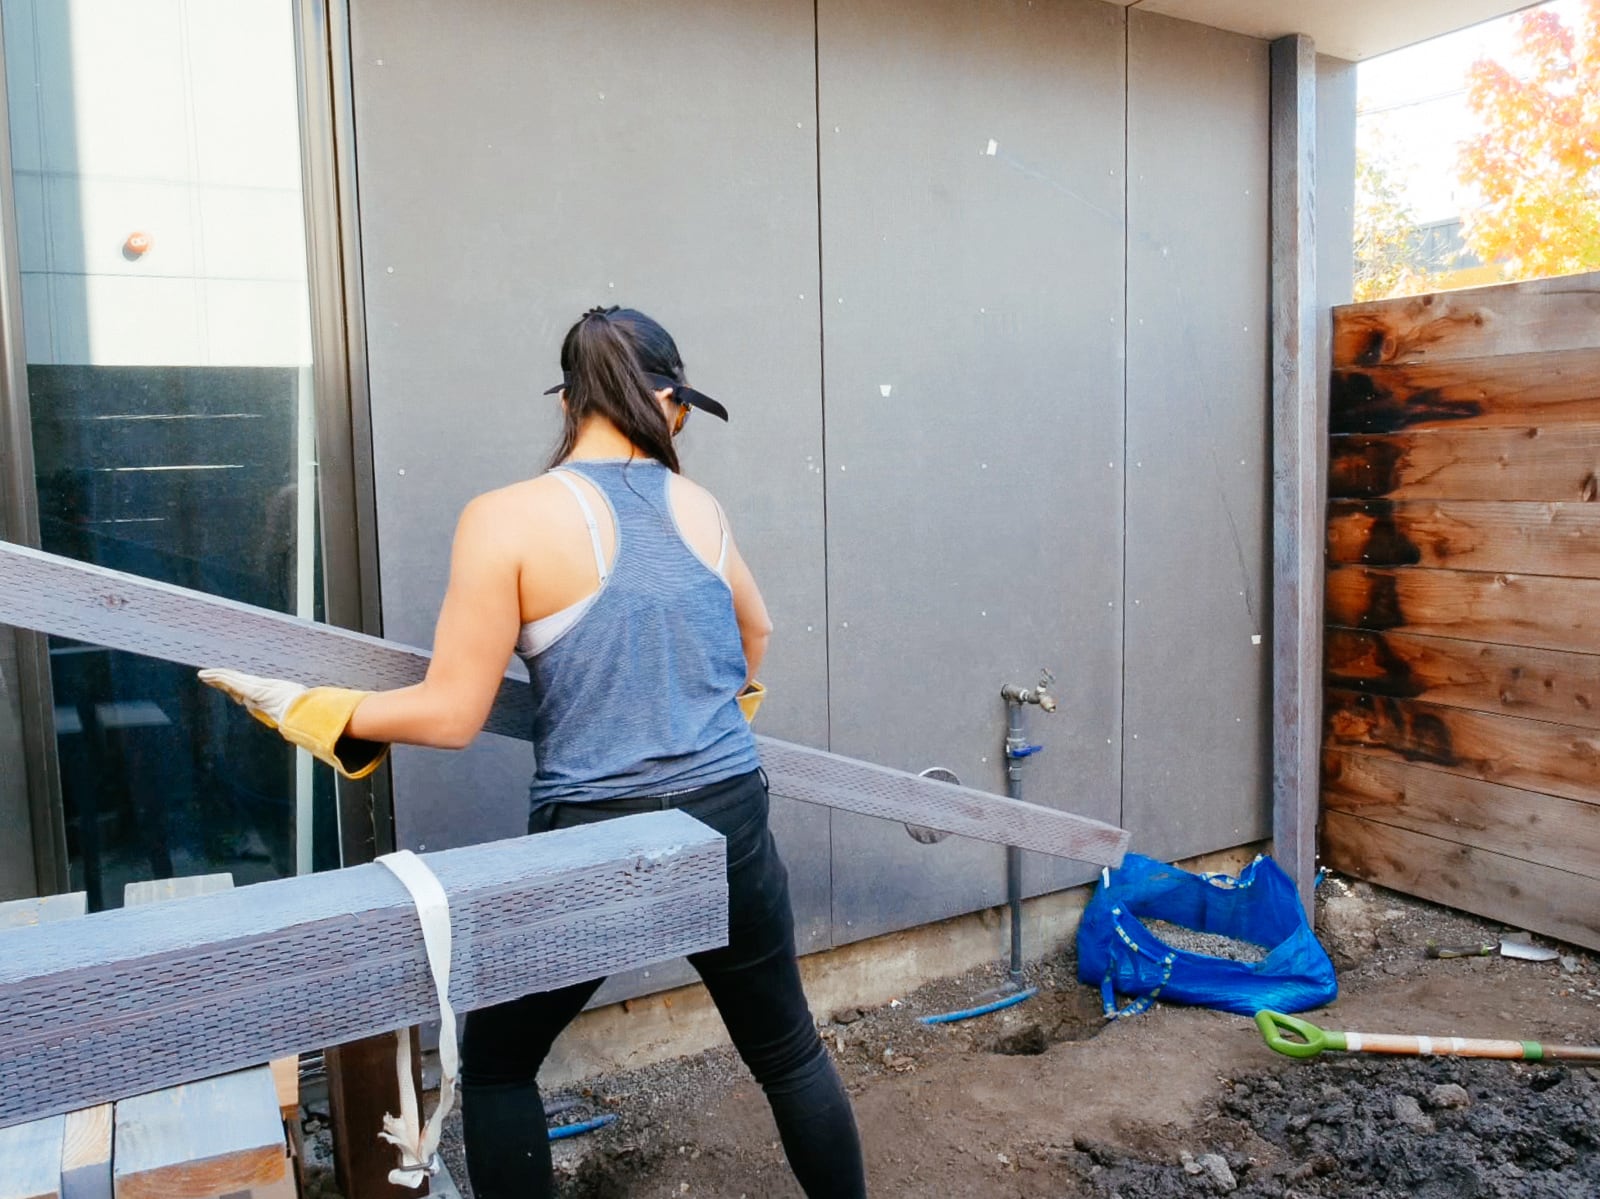
Four feet by eight feet of plywood turn out to be way more cumbersome to handle in practice than they are in theory, so we needed to amass a few tools and clean out some space to make it possible to work with our plywood sheets.
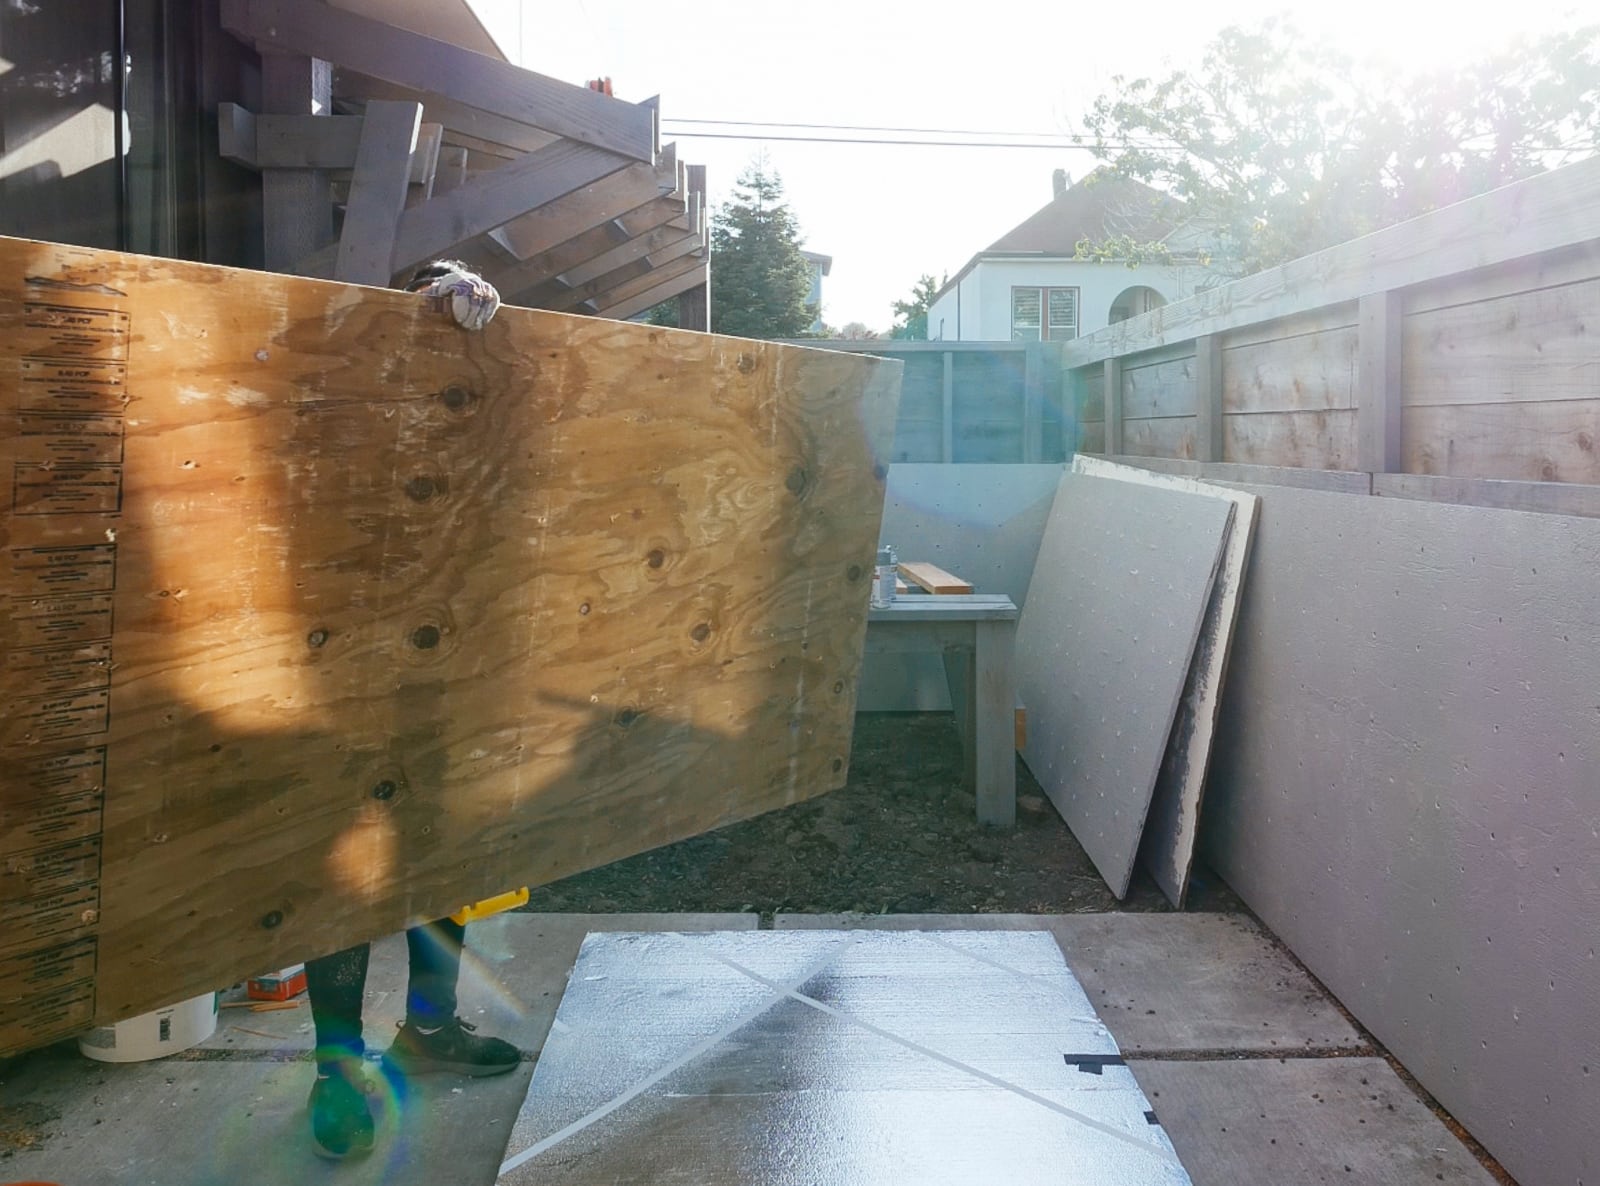
First, we needed to figure out a way to cut our sheets, without snagging our saw blade (i.e. if the sheets collapse in from two sawhorses supporting each short end) or wasting too much wood cutting into our supports (i.e. if we used long 2x6s to support the sheet along its length). After trying to come up with cleverer options, we decided to just get a cheap piece of 4’ x 8’ foam insulation from Home Depot to place under an entire sheet of plywood as we cut it, and be okay with shredding the insulation over the course of the project. This worked pretty well.
Then, learning from the failures of the stubborn approach to post digging last time, we decided to purchase a sheet-goods lifter. This is a $5 plastic handle-type thing that you use to make it possible to get both arms around a wide sheet to carry it safely. This, disappointingly, also worked pretty well.
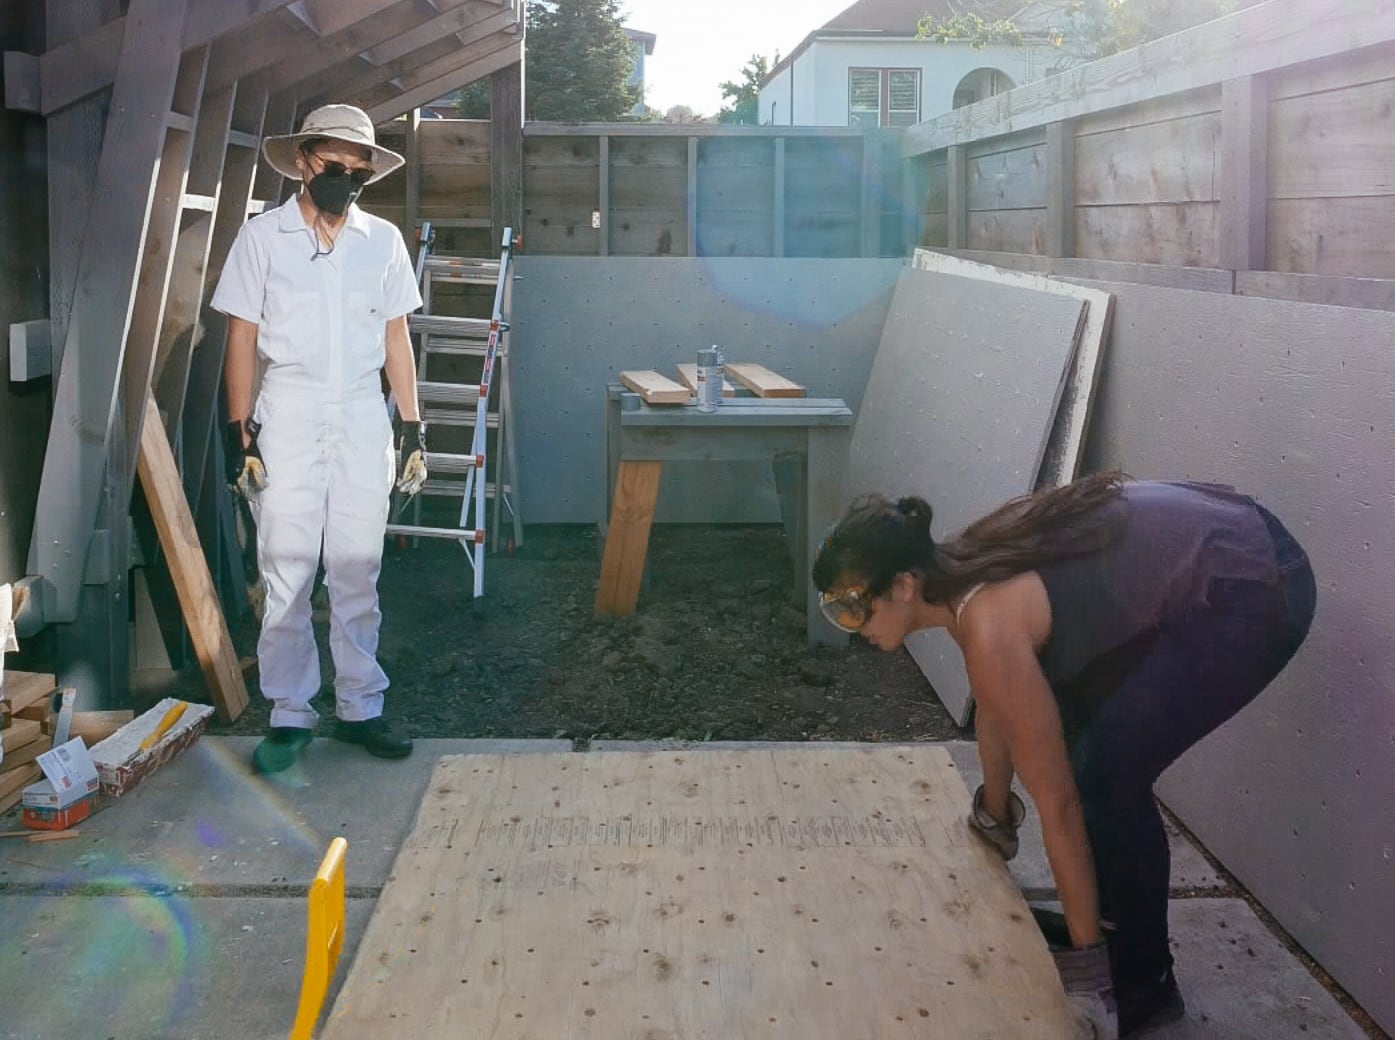
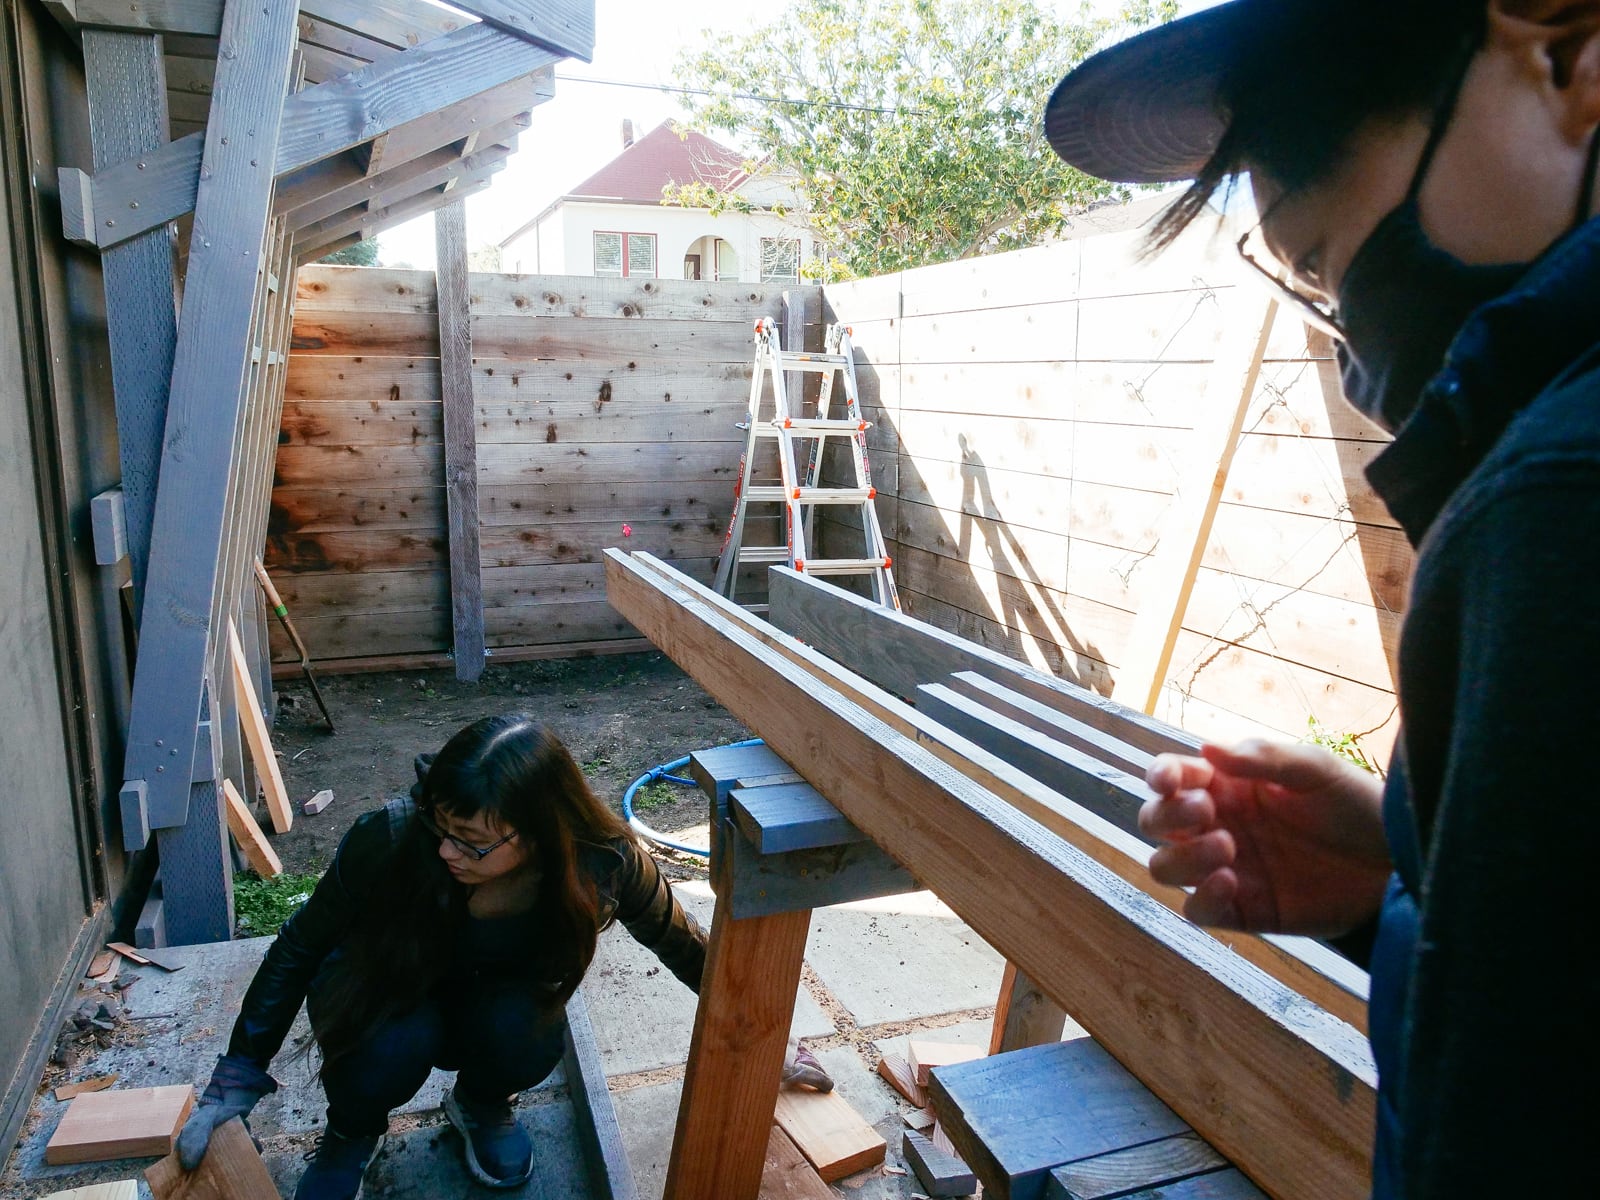
Then we spent some time moving lumber/other stuff around our home until there was a large-enough space to have three flat-sheet-of-plywood-size spaces: one for resting, one for marking and drilling, and one for one of: cutting, T-nut mounting, priming, texturing, or painting.
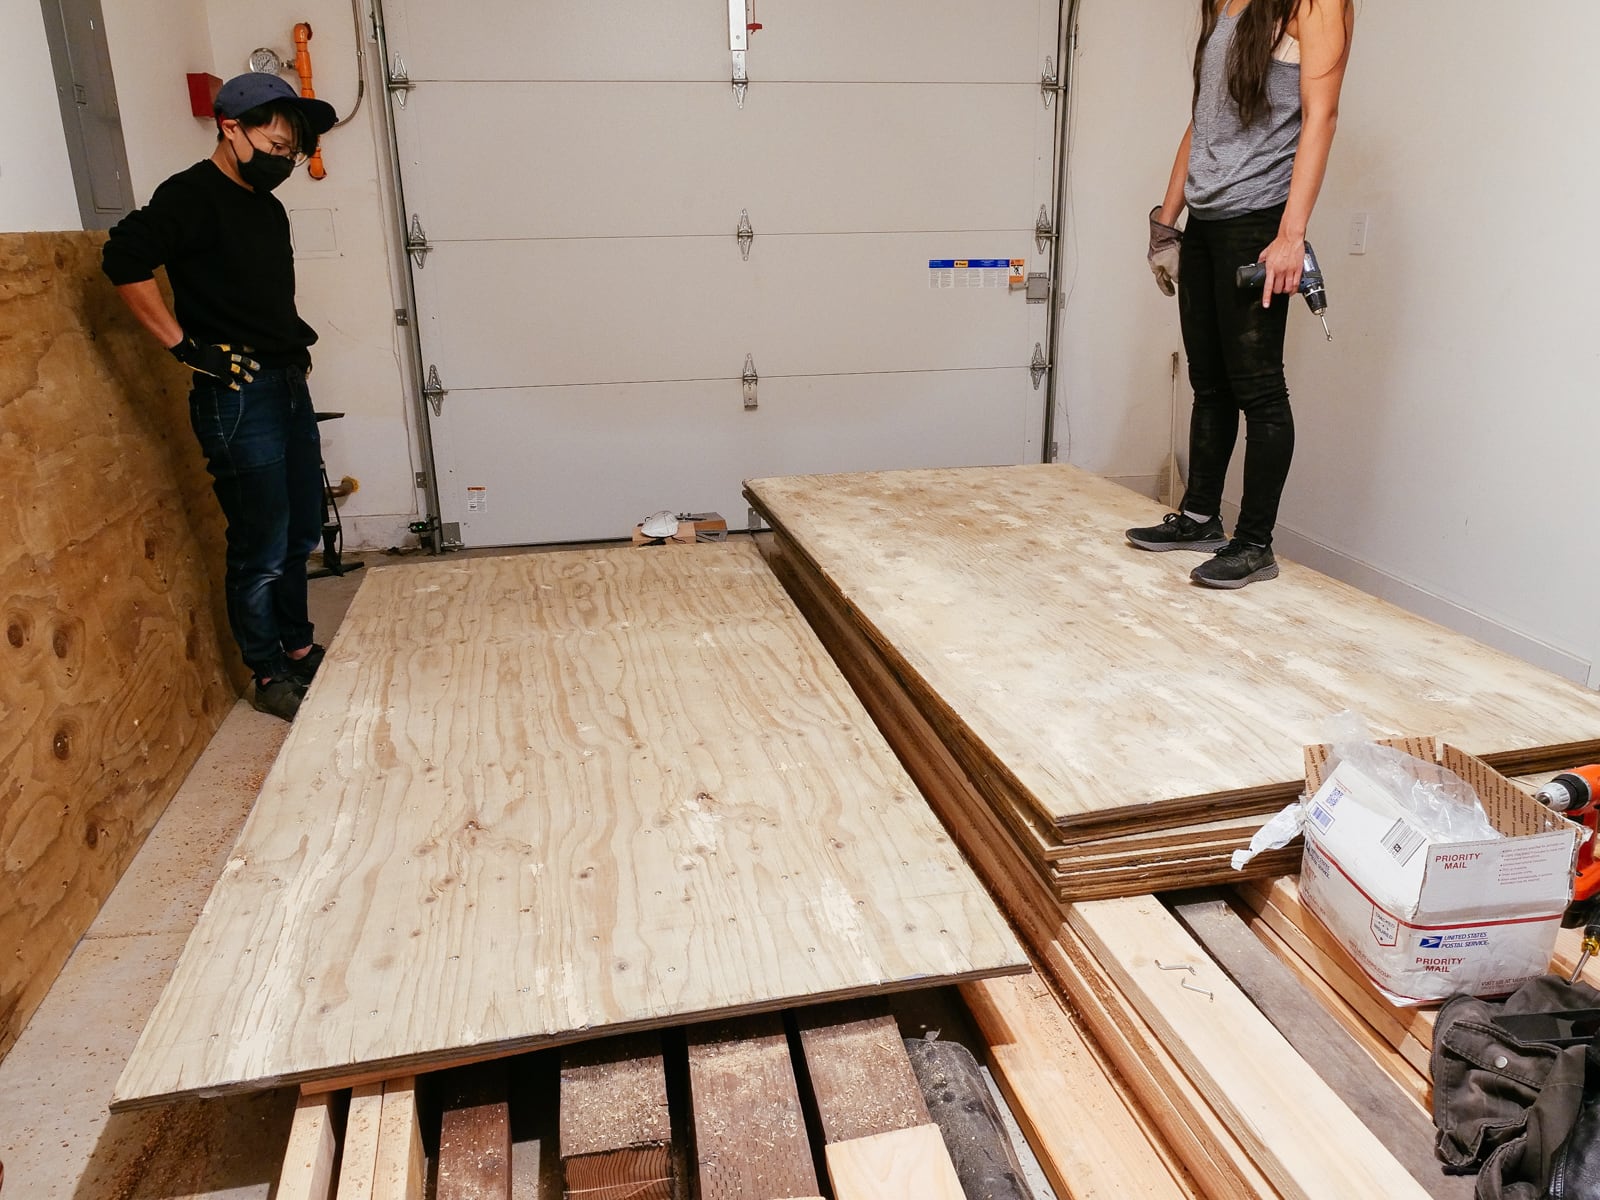
Plywood
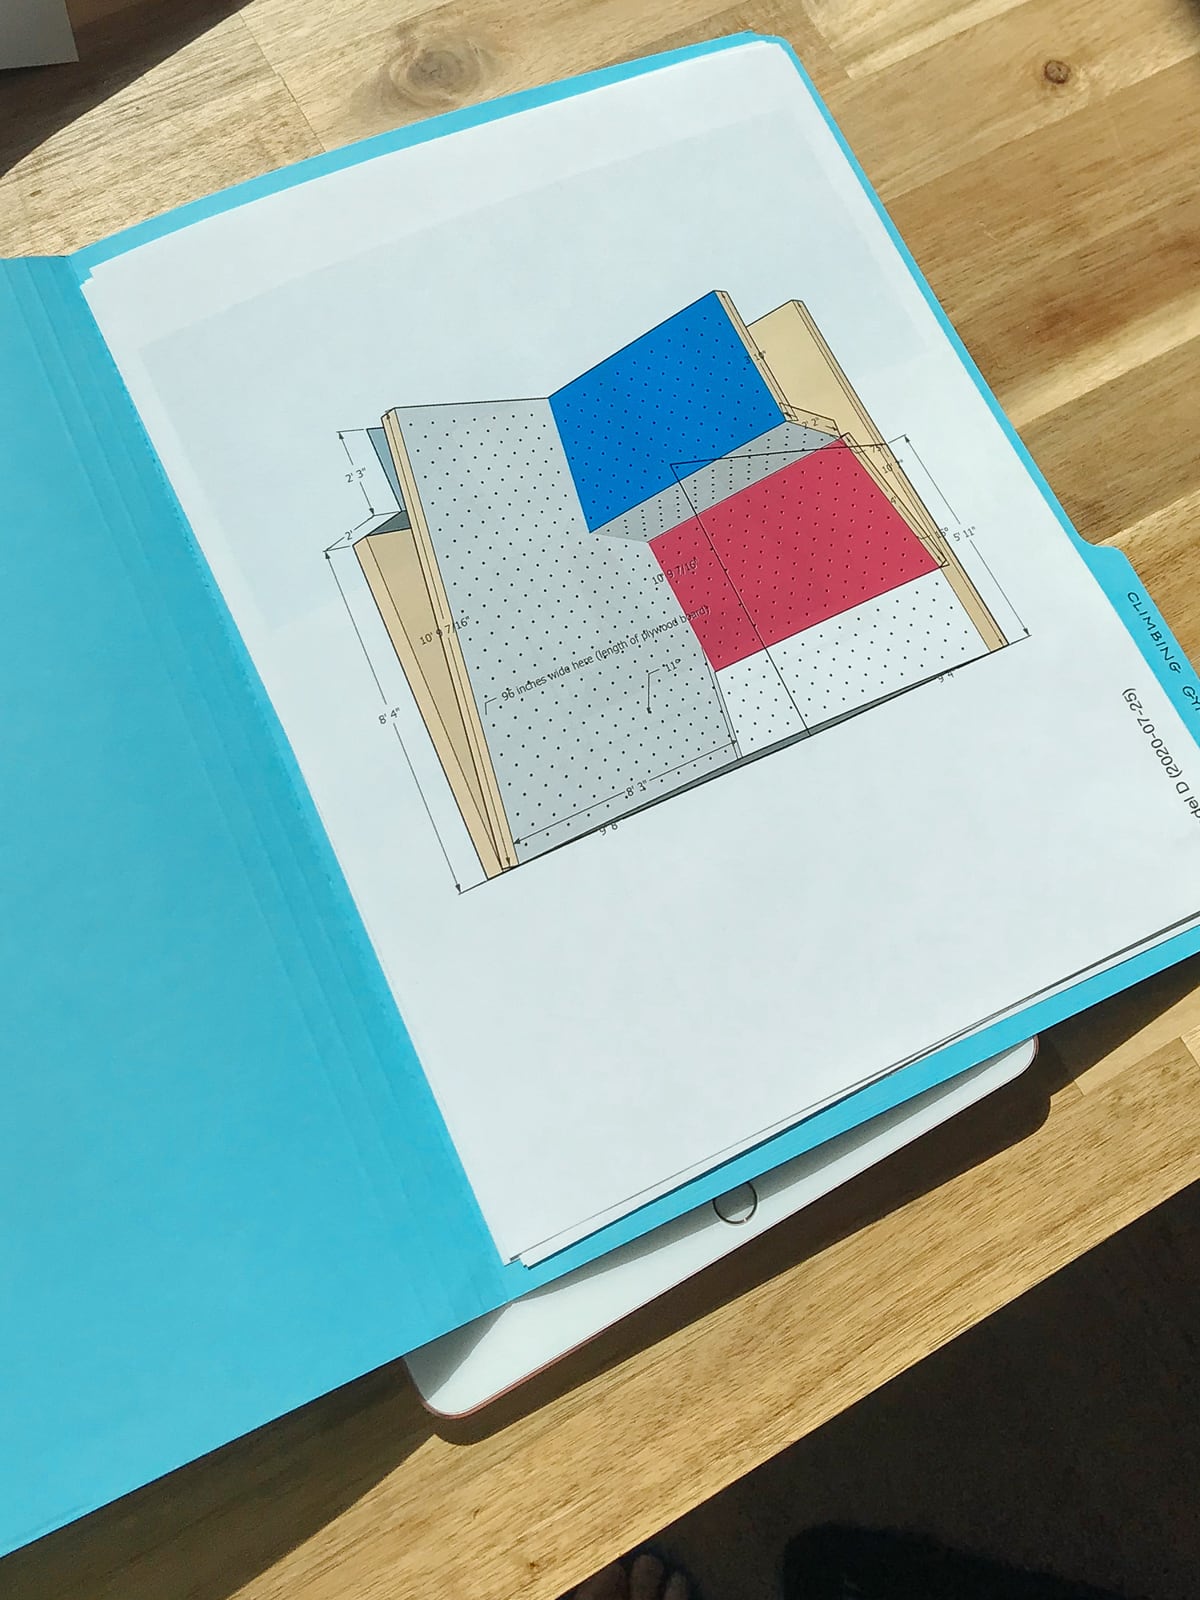
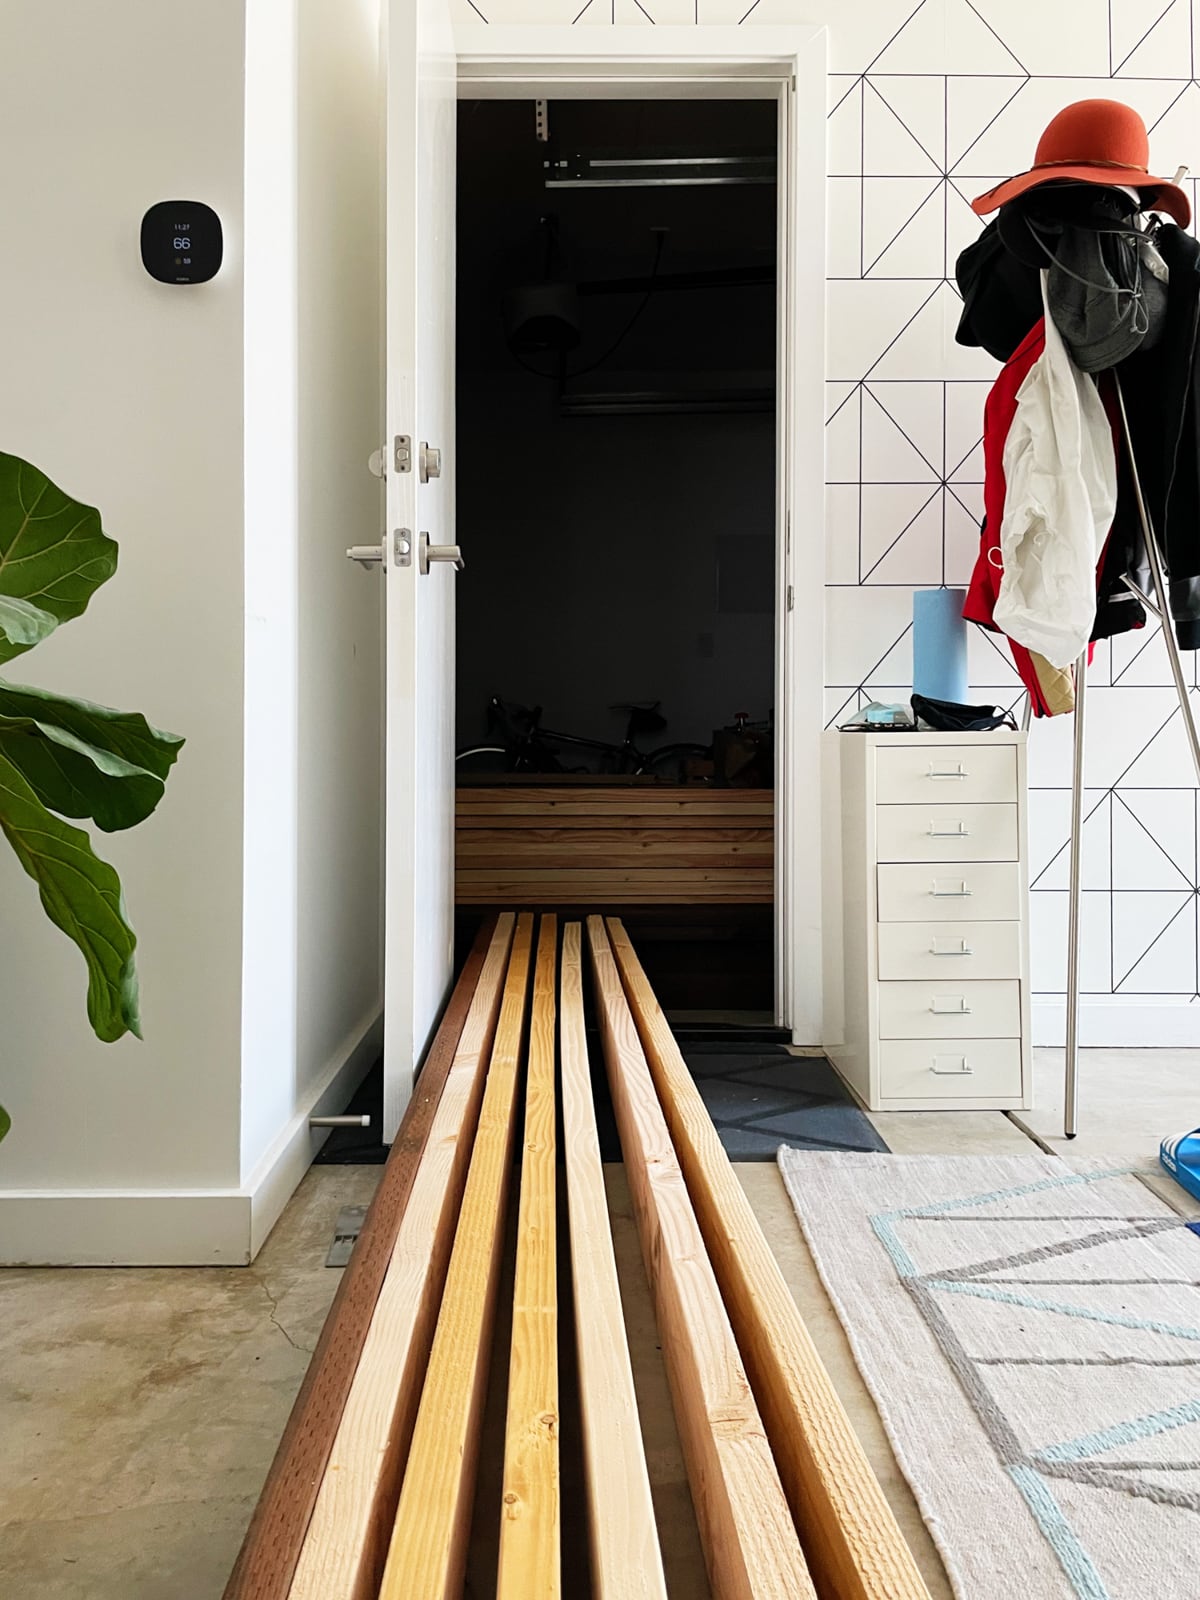
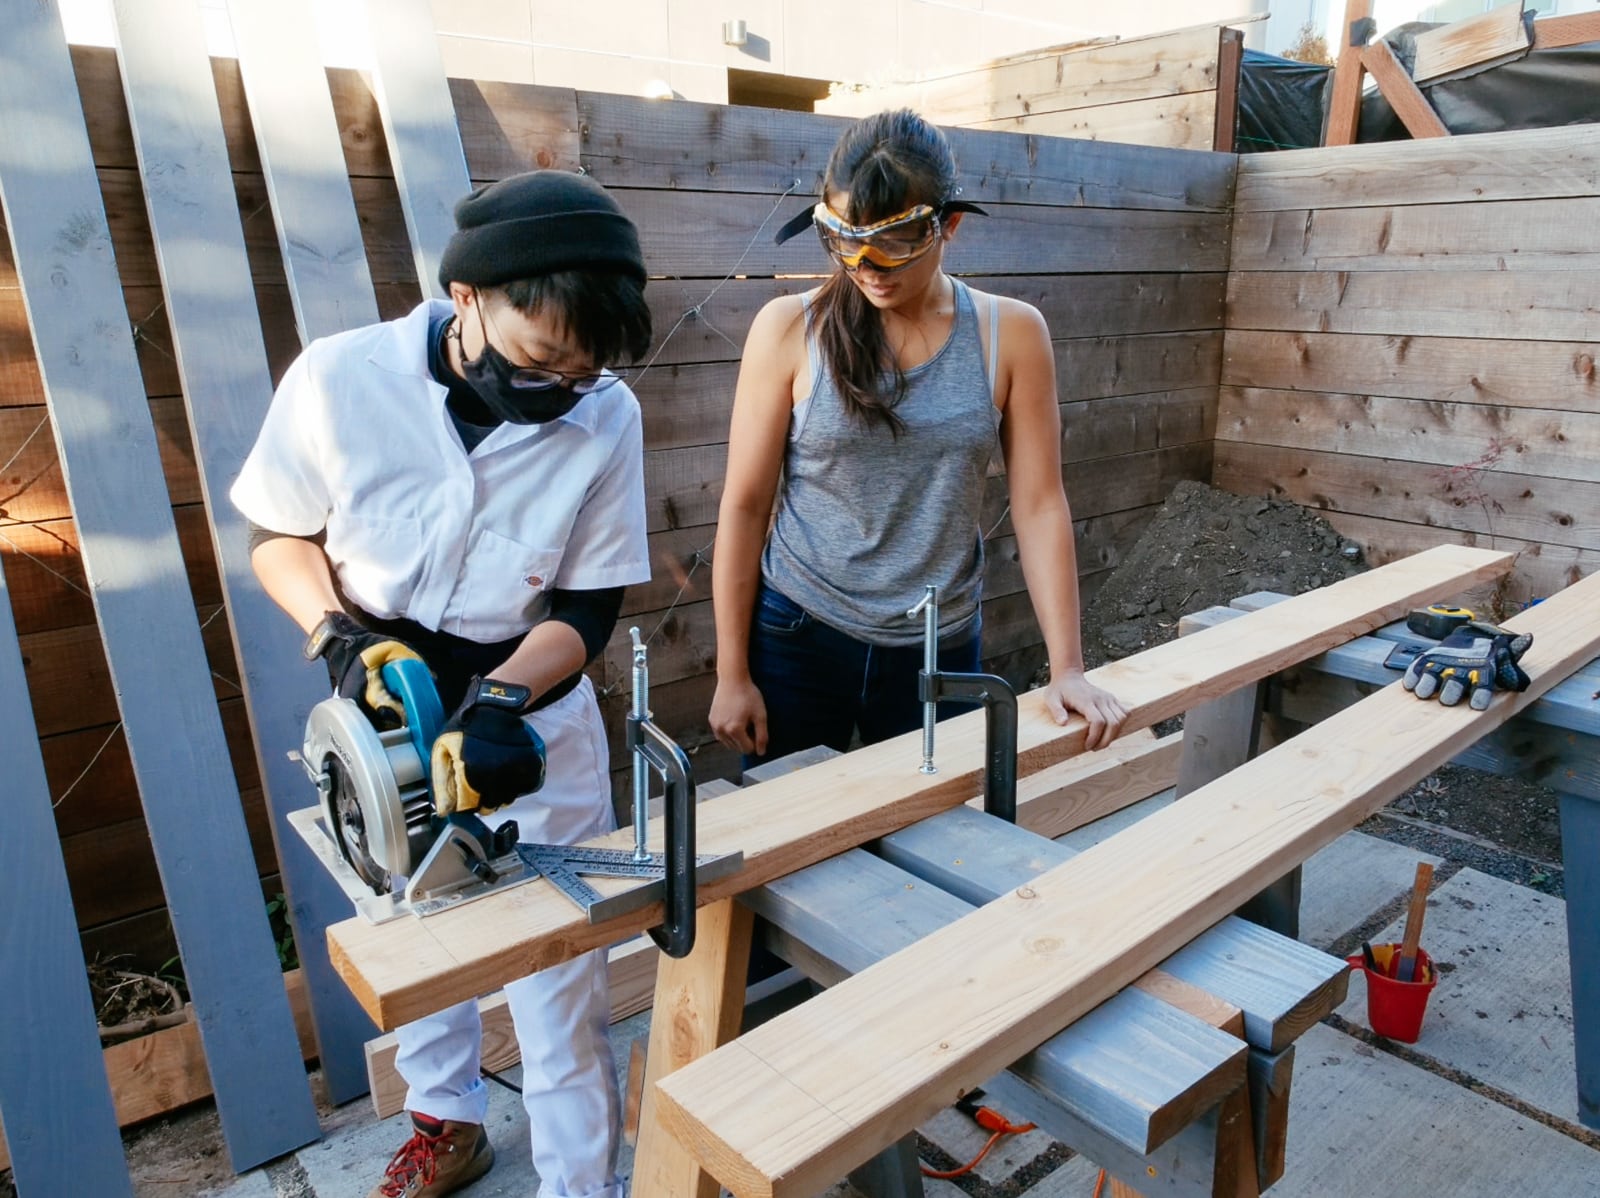
4. Cutting to size and filling in the surface with wood putty
We tried to design the shape of our wall to use an intact sheet of plywood where possible, to minimize excess cutting. The whole climbing cube is pretty small, though, so there were only three sections that were 4’ x 8’ or larger flat — so there were only three sheets of plywood we could keep whole.
For the rest of the climbing surface, we tried to close-pack our sections as tightly as possible to minimize material waste:

To make the cuts, we placed the foam insulation directly underneath the sheet being cut, marked our cuts, then just ran the circular saw across the plywood — leaving cuts in the foam but a neat and unburred plywood cut, and no cut-up sawhorses.
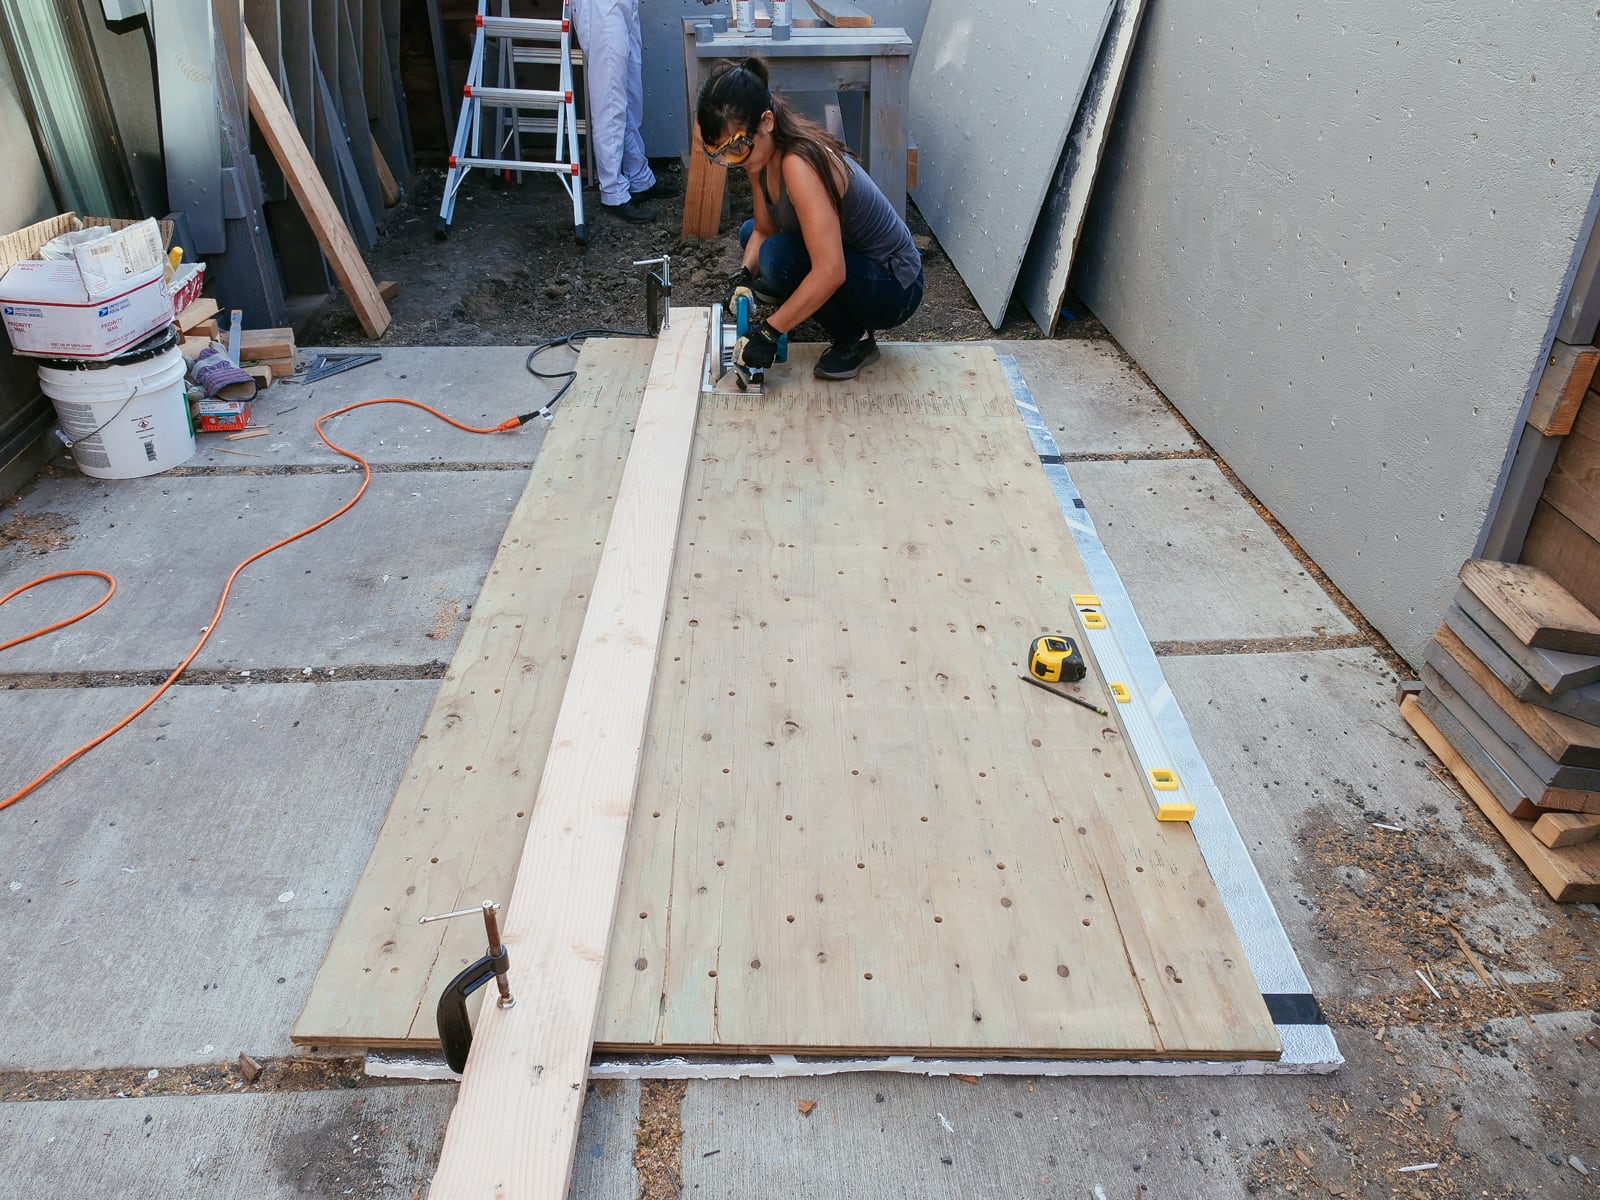


Because we were using CDX plywood (which has faces of quality C and D — not good), there were significant flaws and gouges in most of the sheets. We tried our best to fill these with wood filler, then sand the surface down to be reasonably flat (but not perfect — we knew that we’d still be texturing and painting on top).
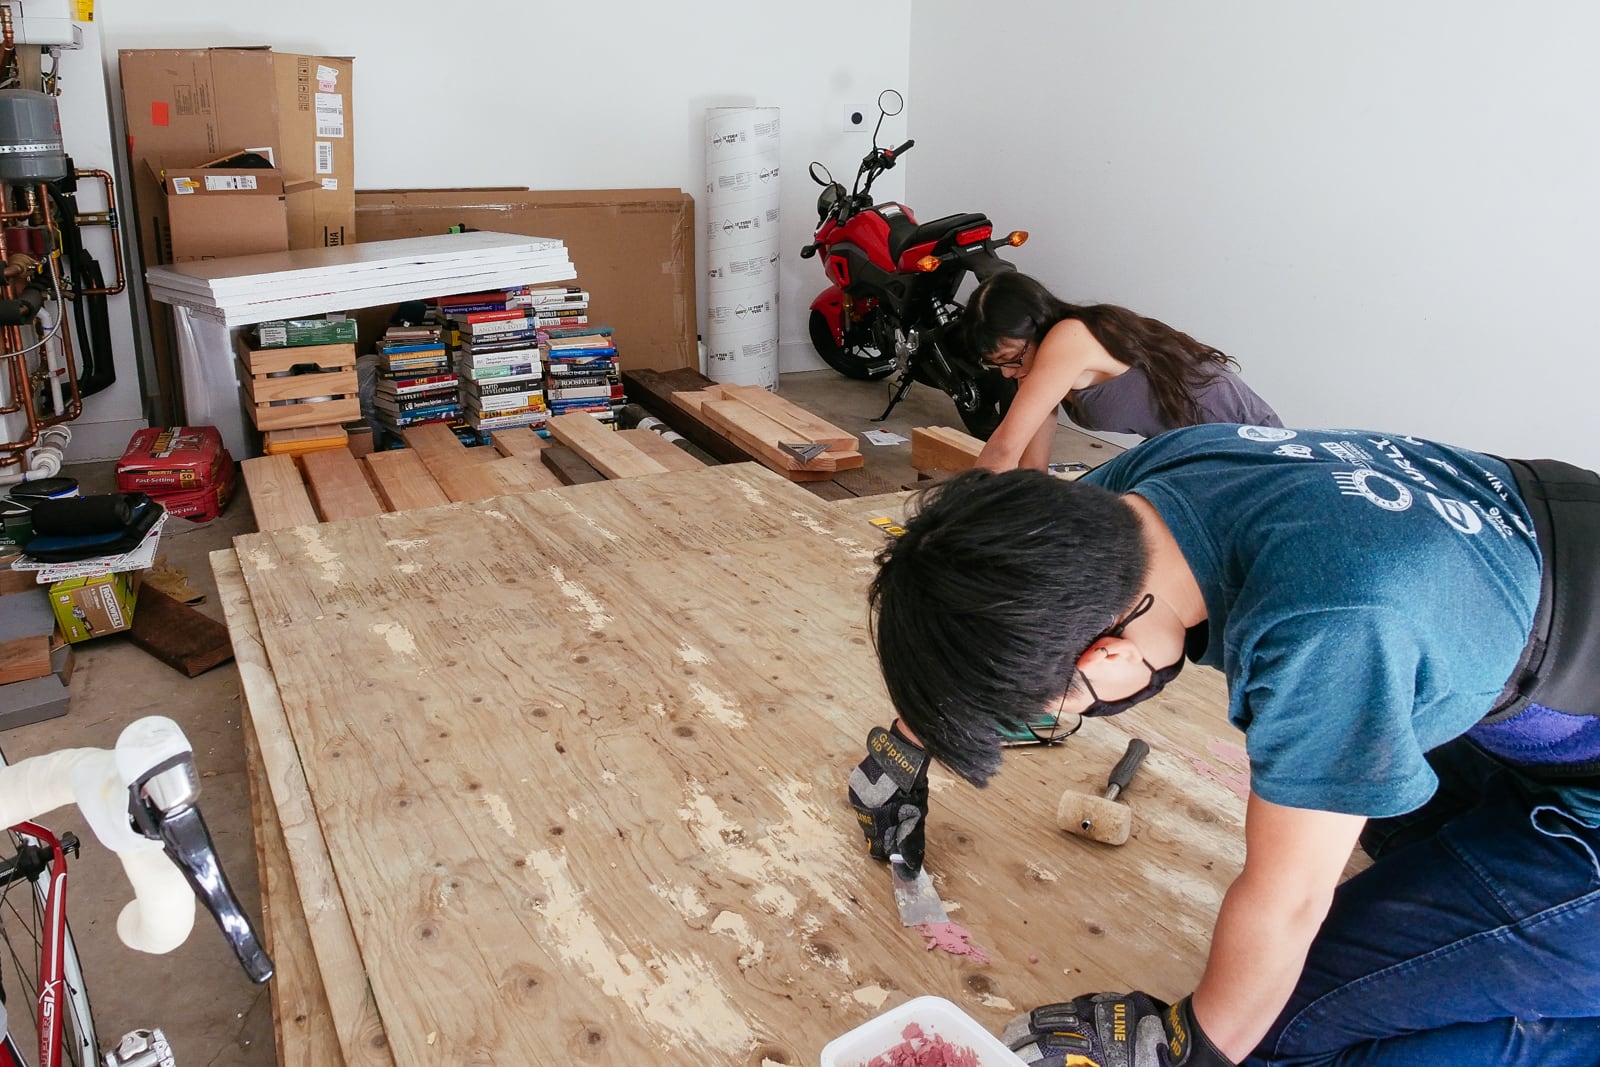
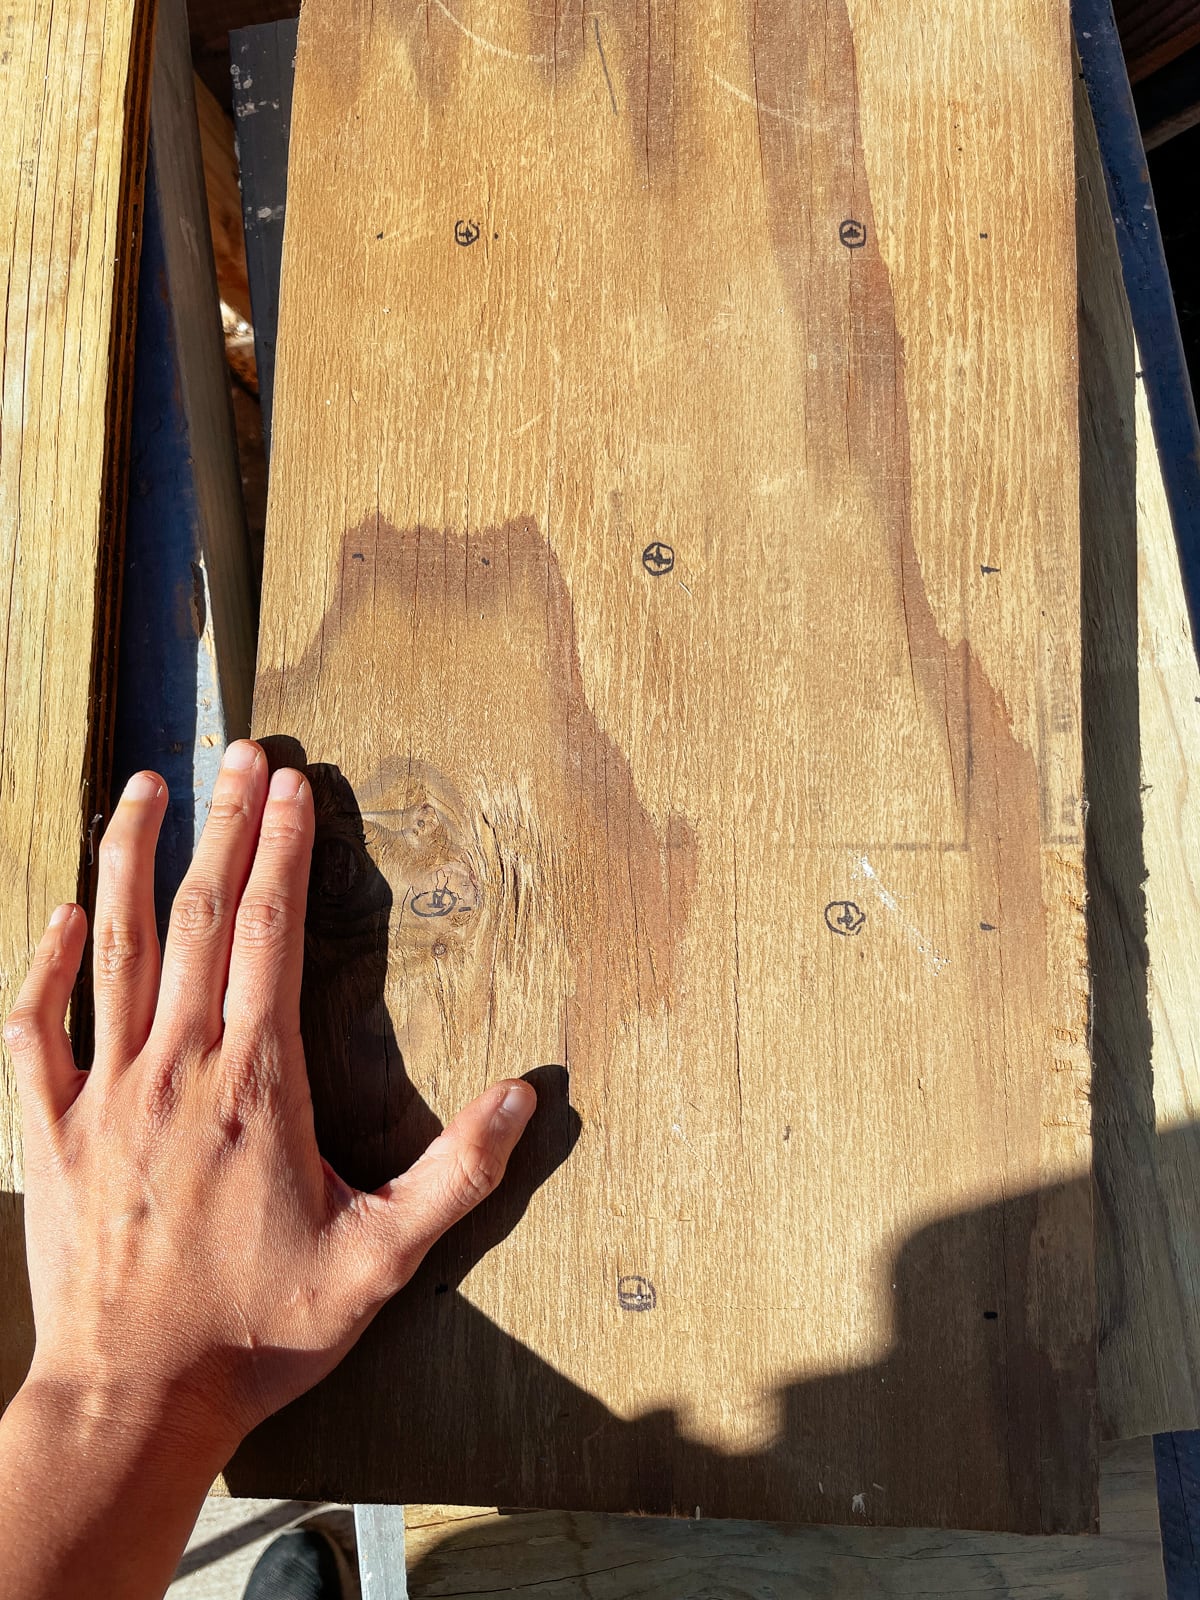
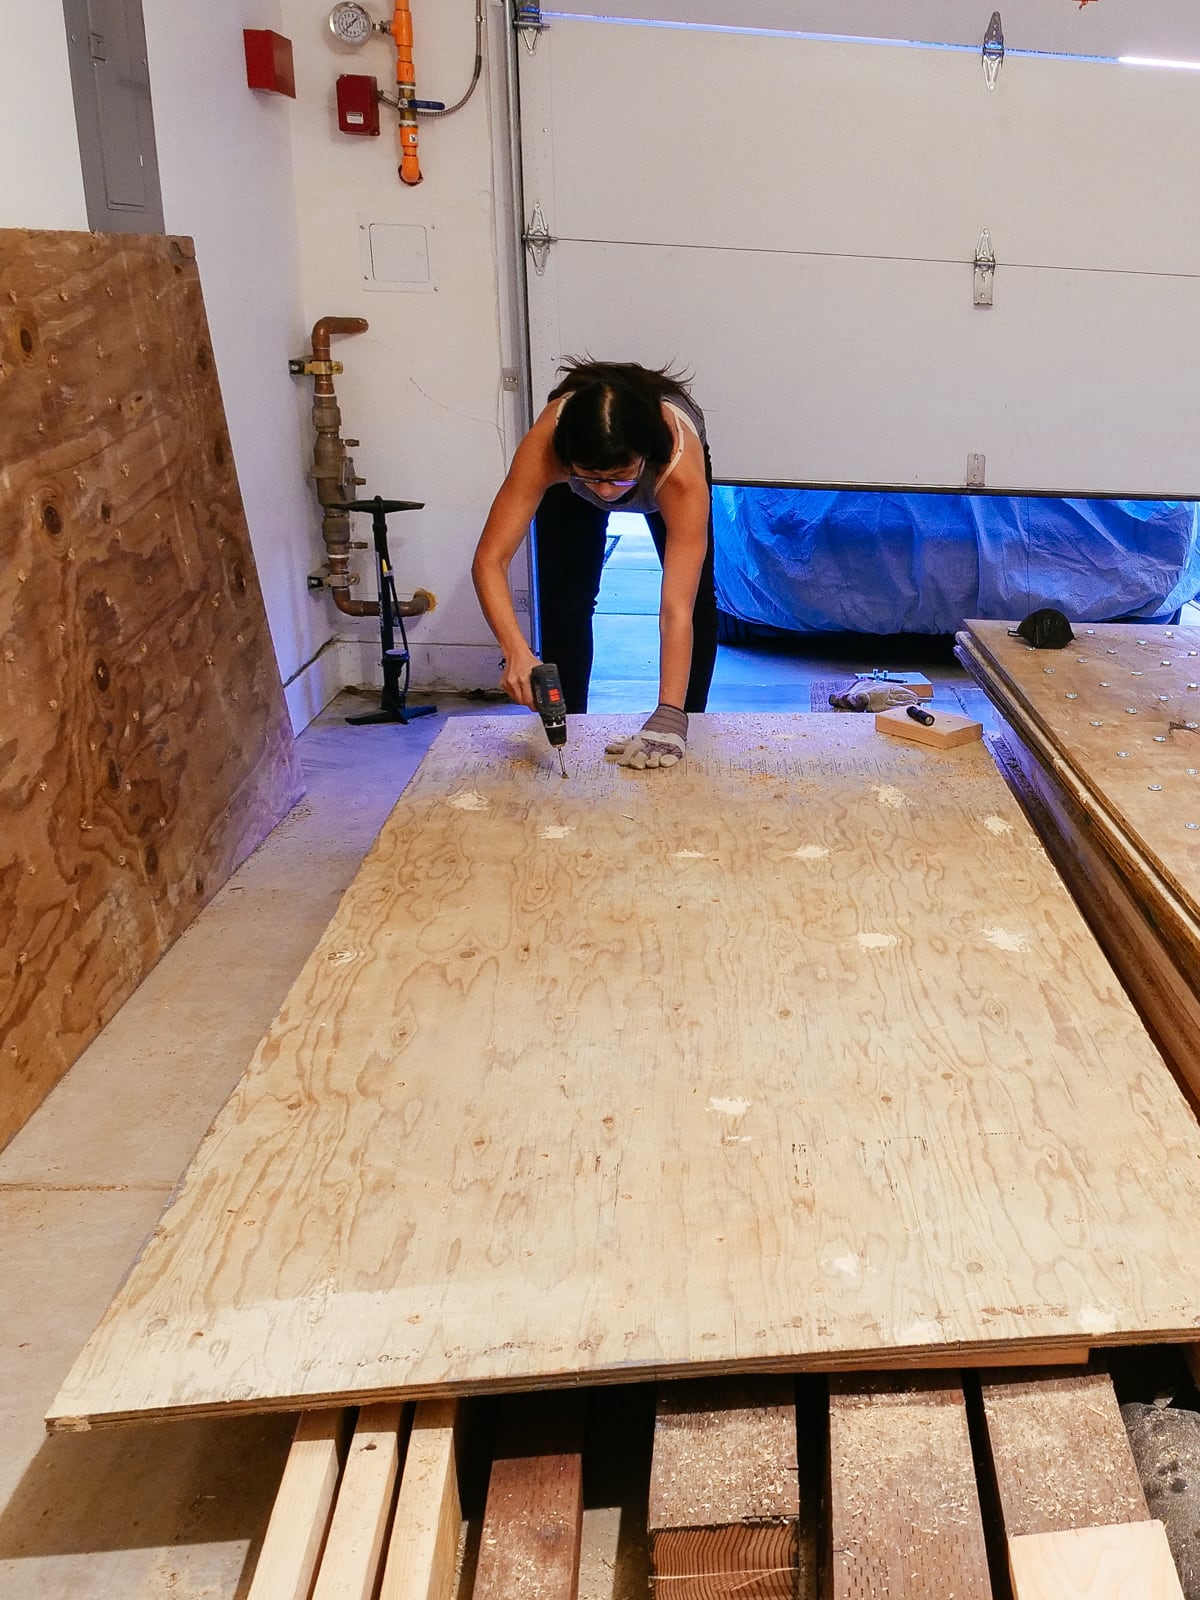
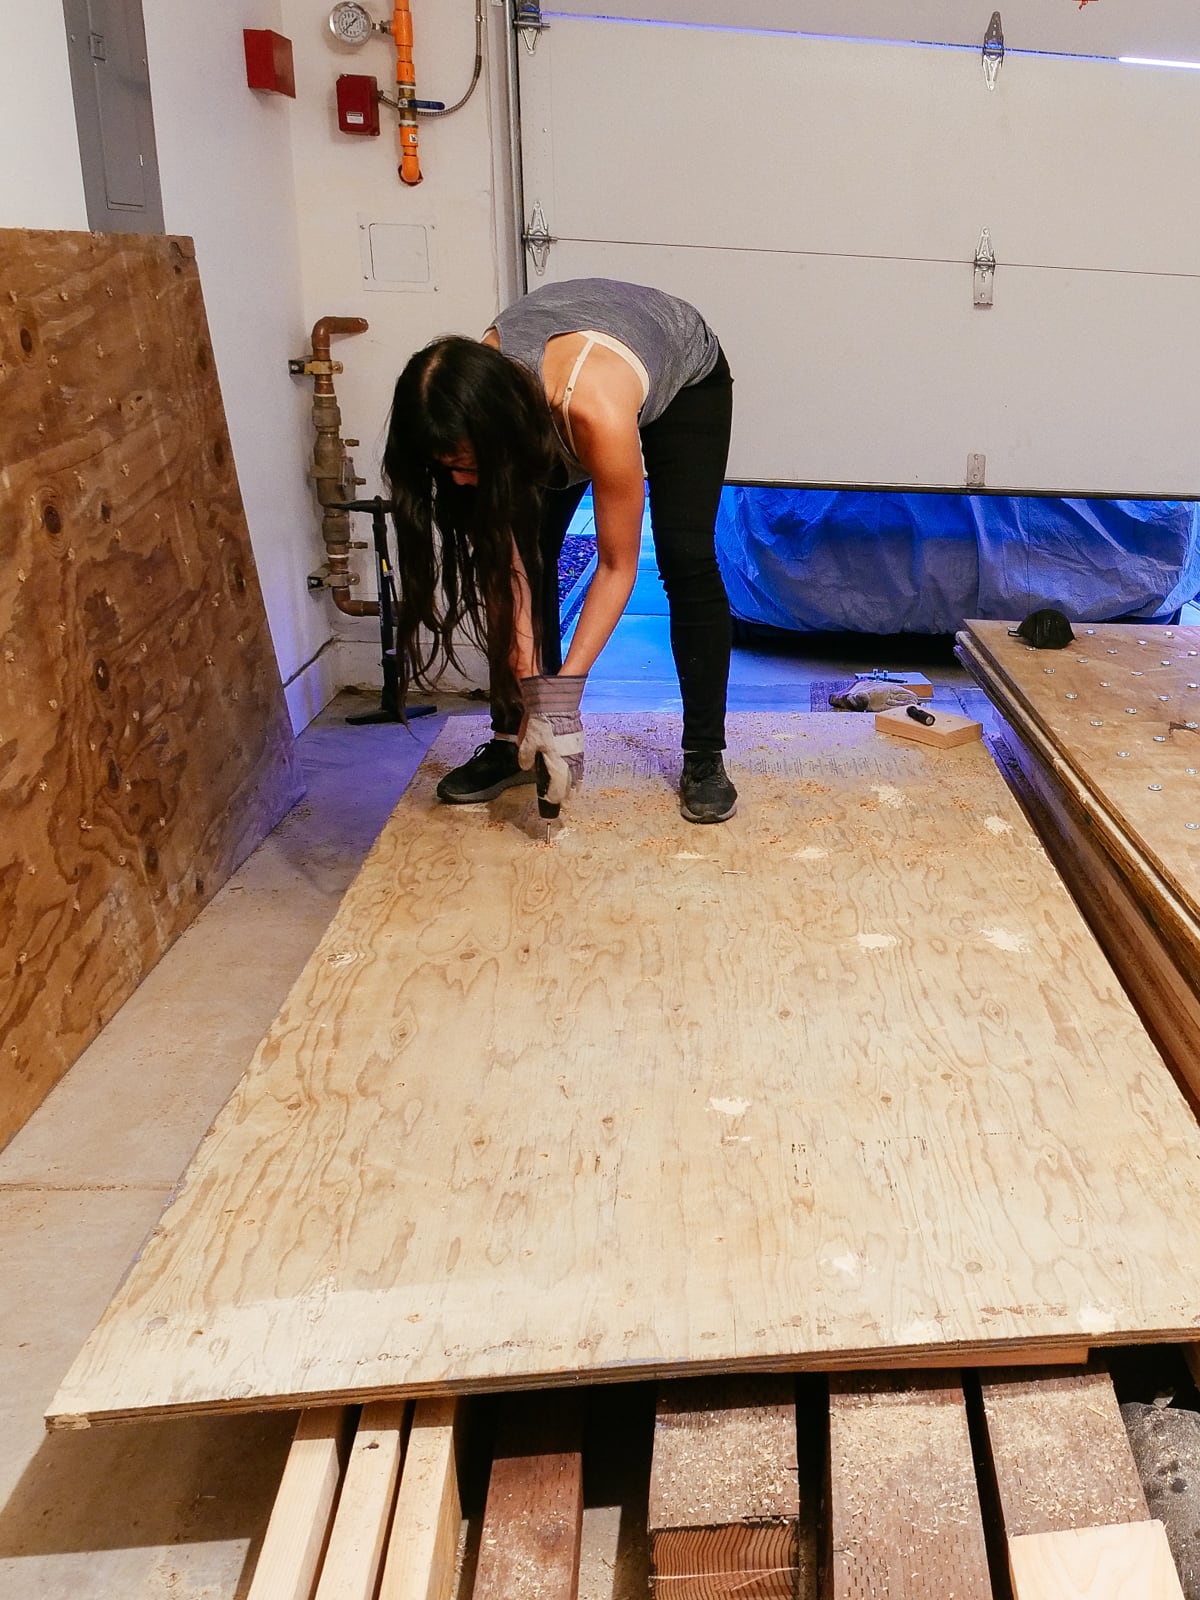
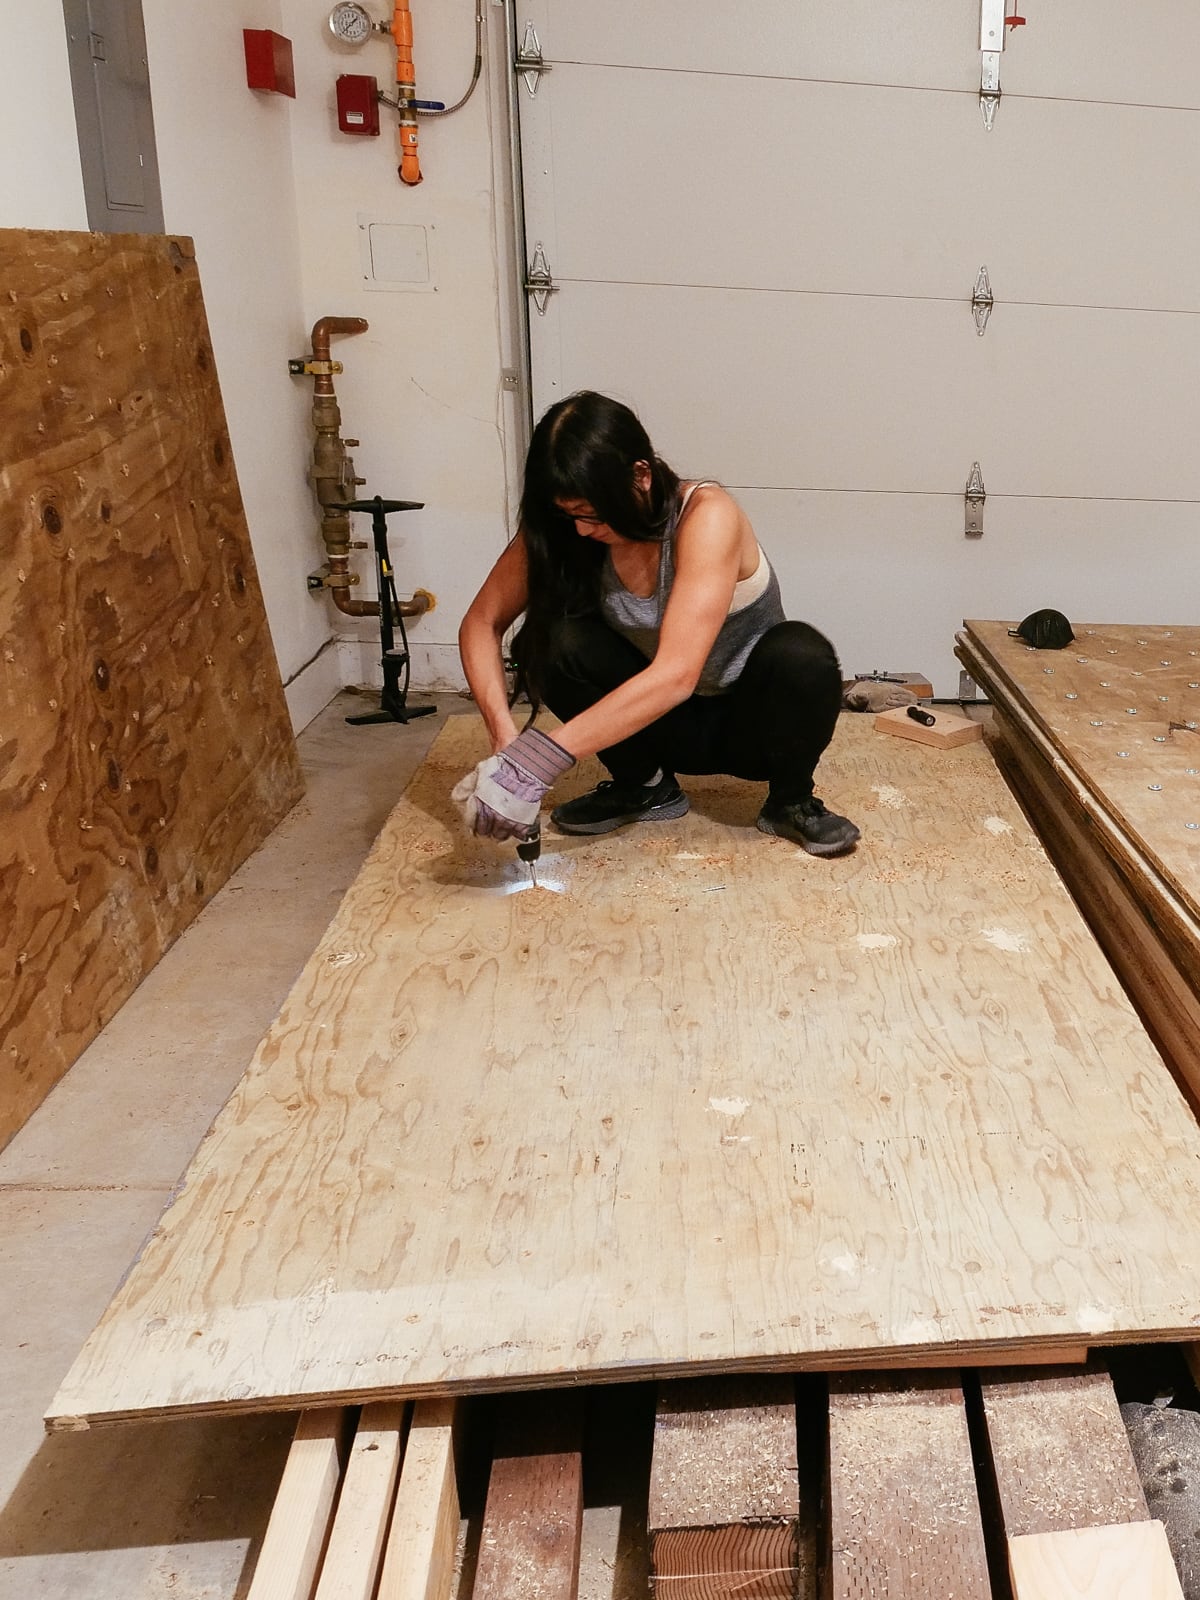
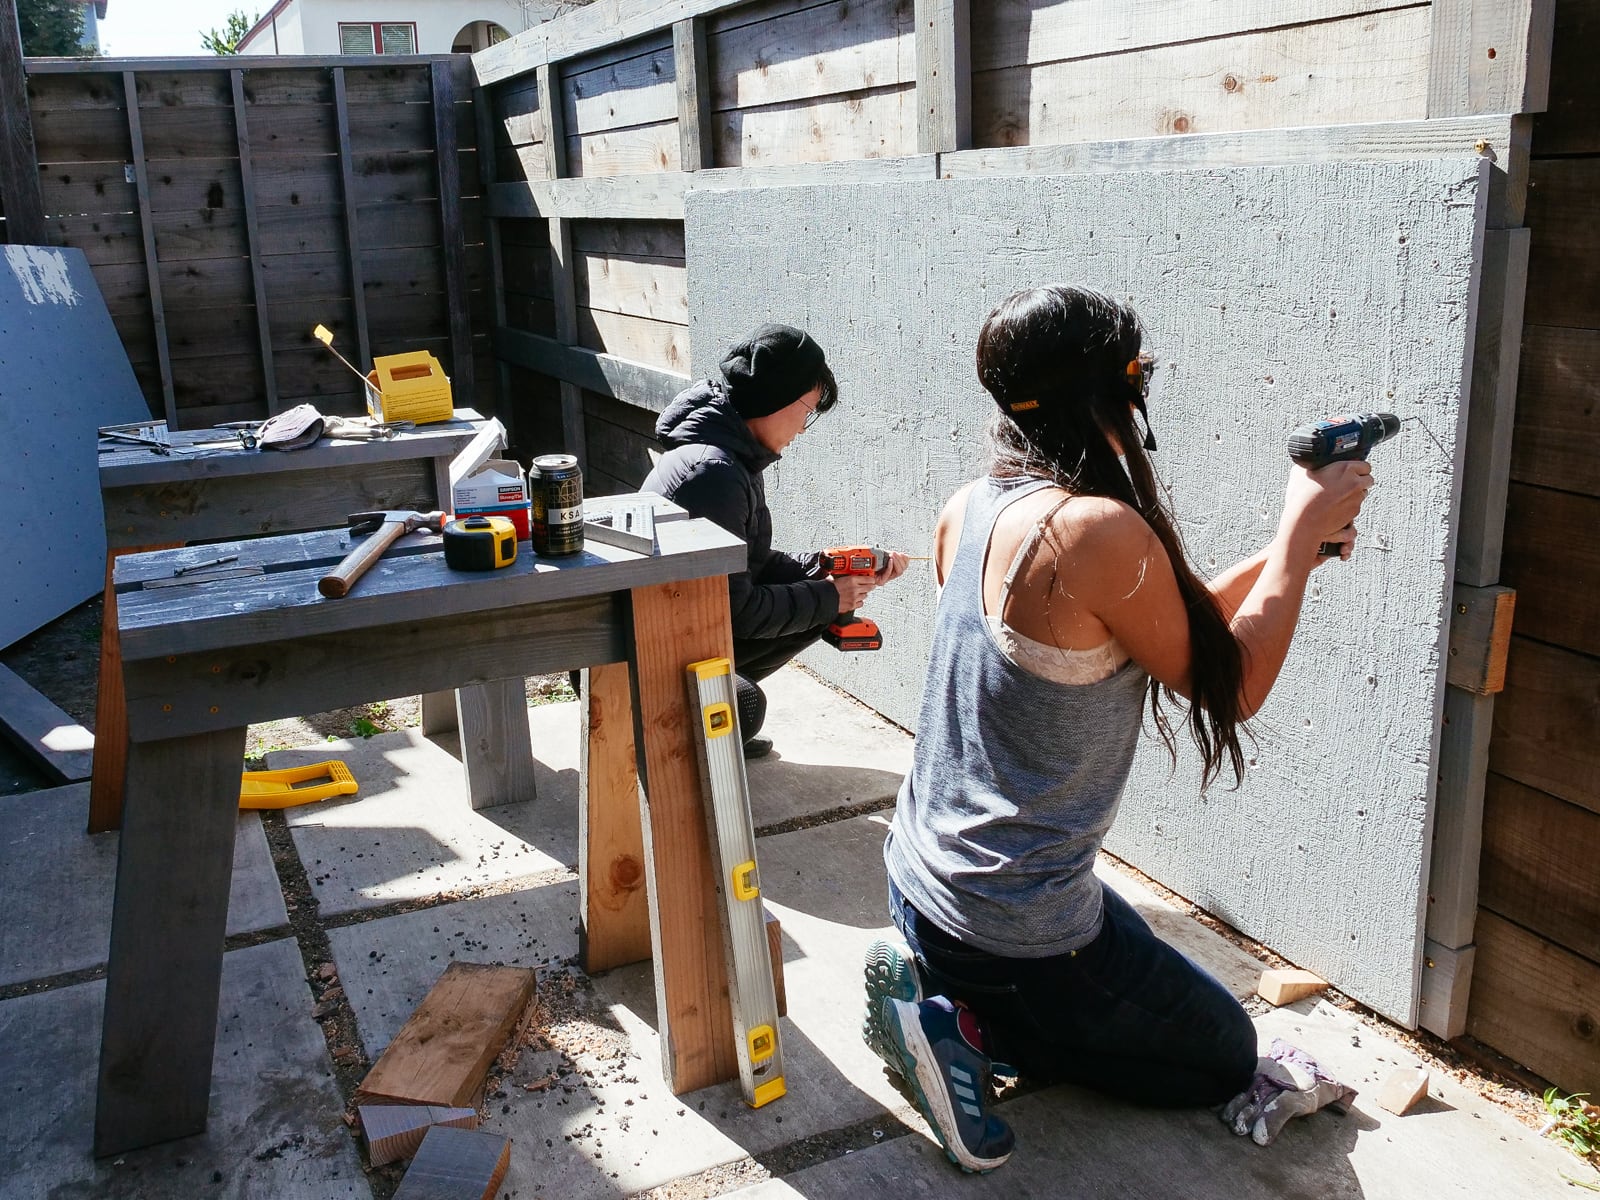
5. Marking and drilling
After each sheet was cut to size and roughly-flat, we marked and drilled holes for our T-nuts. We tried to stick to the 5.66" grid described in 2., with some holes offset to avoid hitting the framing members that would sit behind them.

To make the holes the T-nuts would fit into, we drilled using a 7/16" Forstner bit, which was the perfect size to have the T-nuts sit snugly. (Forstner bits are expensive but make fantastically precise, crisp-edged holes — if we’d used standard bits, the holes would likely be too ragged to fit our T-nuts perfectly.)
We thought it’d be important to make the T-nut holes as perfectly perpendicular to the surface as possible, to make sure the holds would mount securely. To try to achieve this without too much tooling, we used a block of wood with a hole drilled through it as a guide. This was imprecise enough (but I was lazy enough to not make a proper jig) that we ended up abandoning this partway through and just doing this by eye. So far this has turned out to be workable.
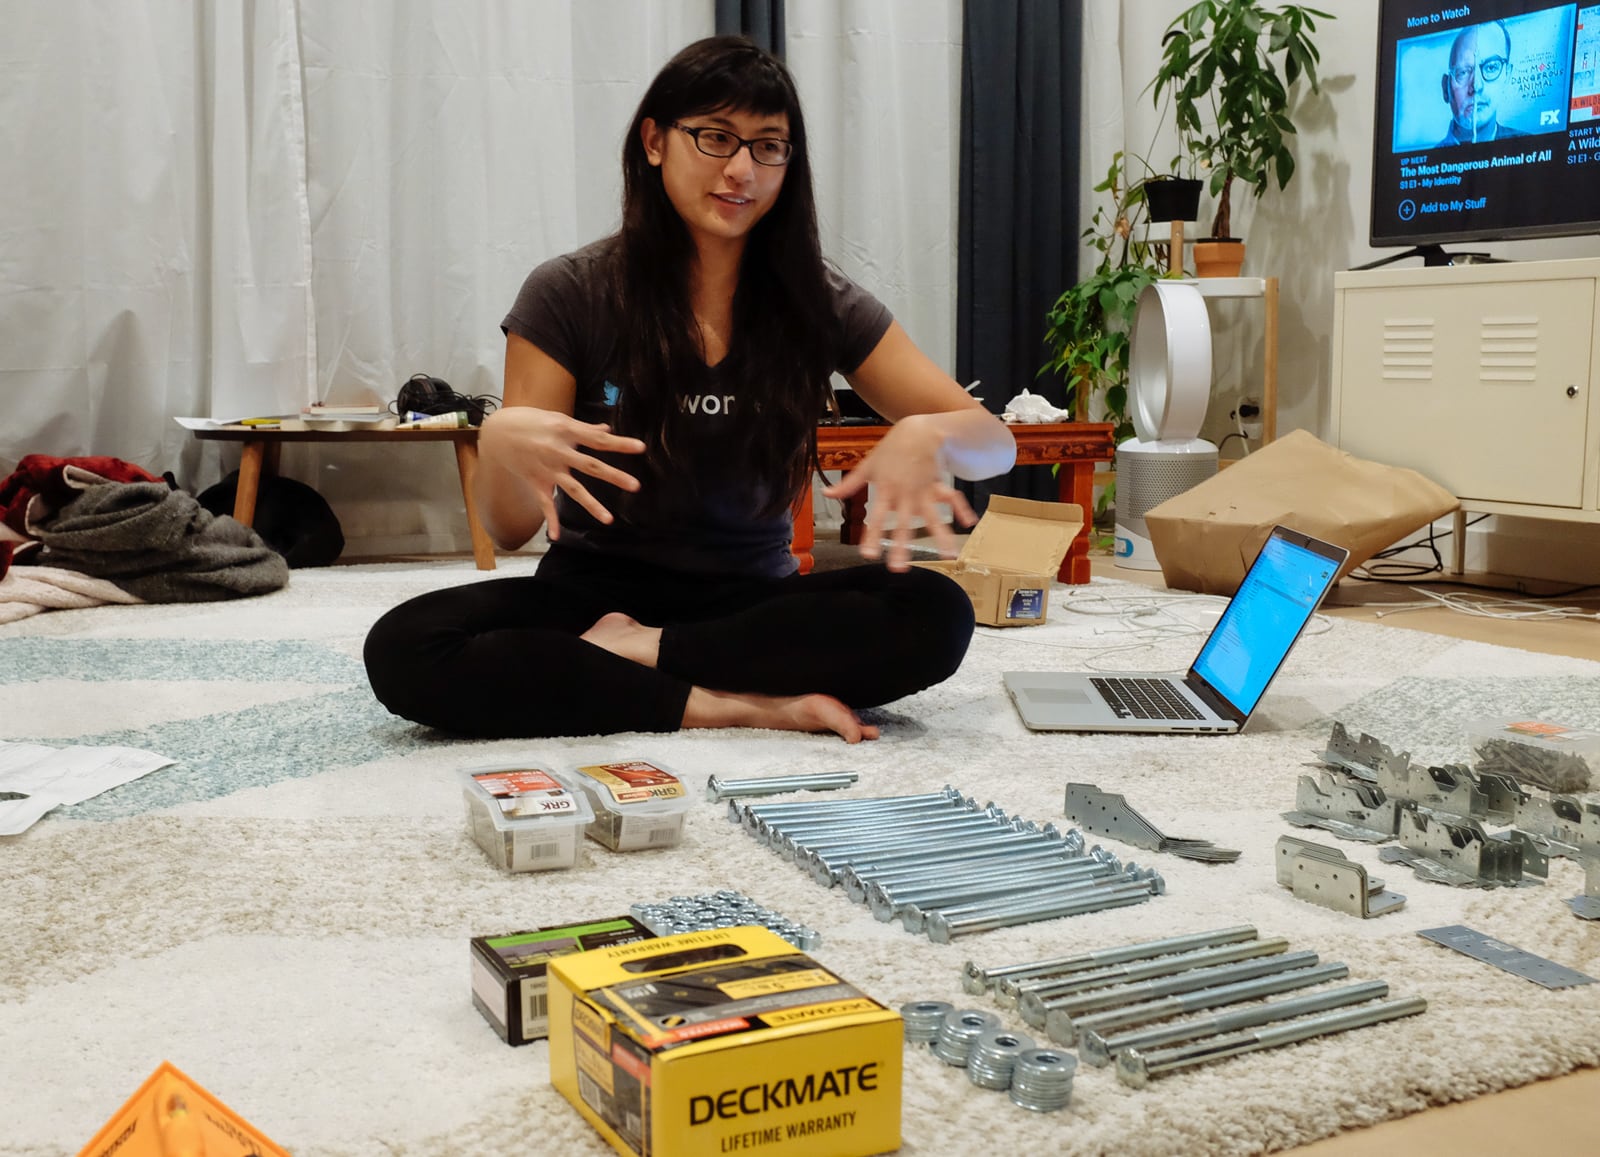
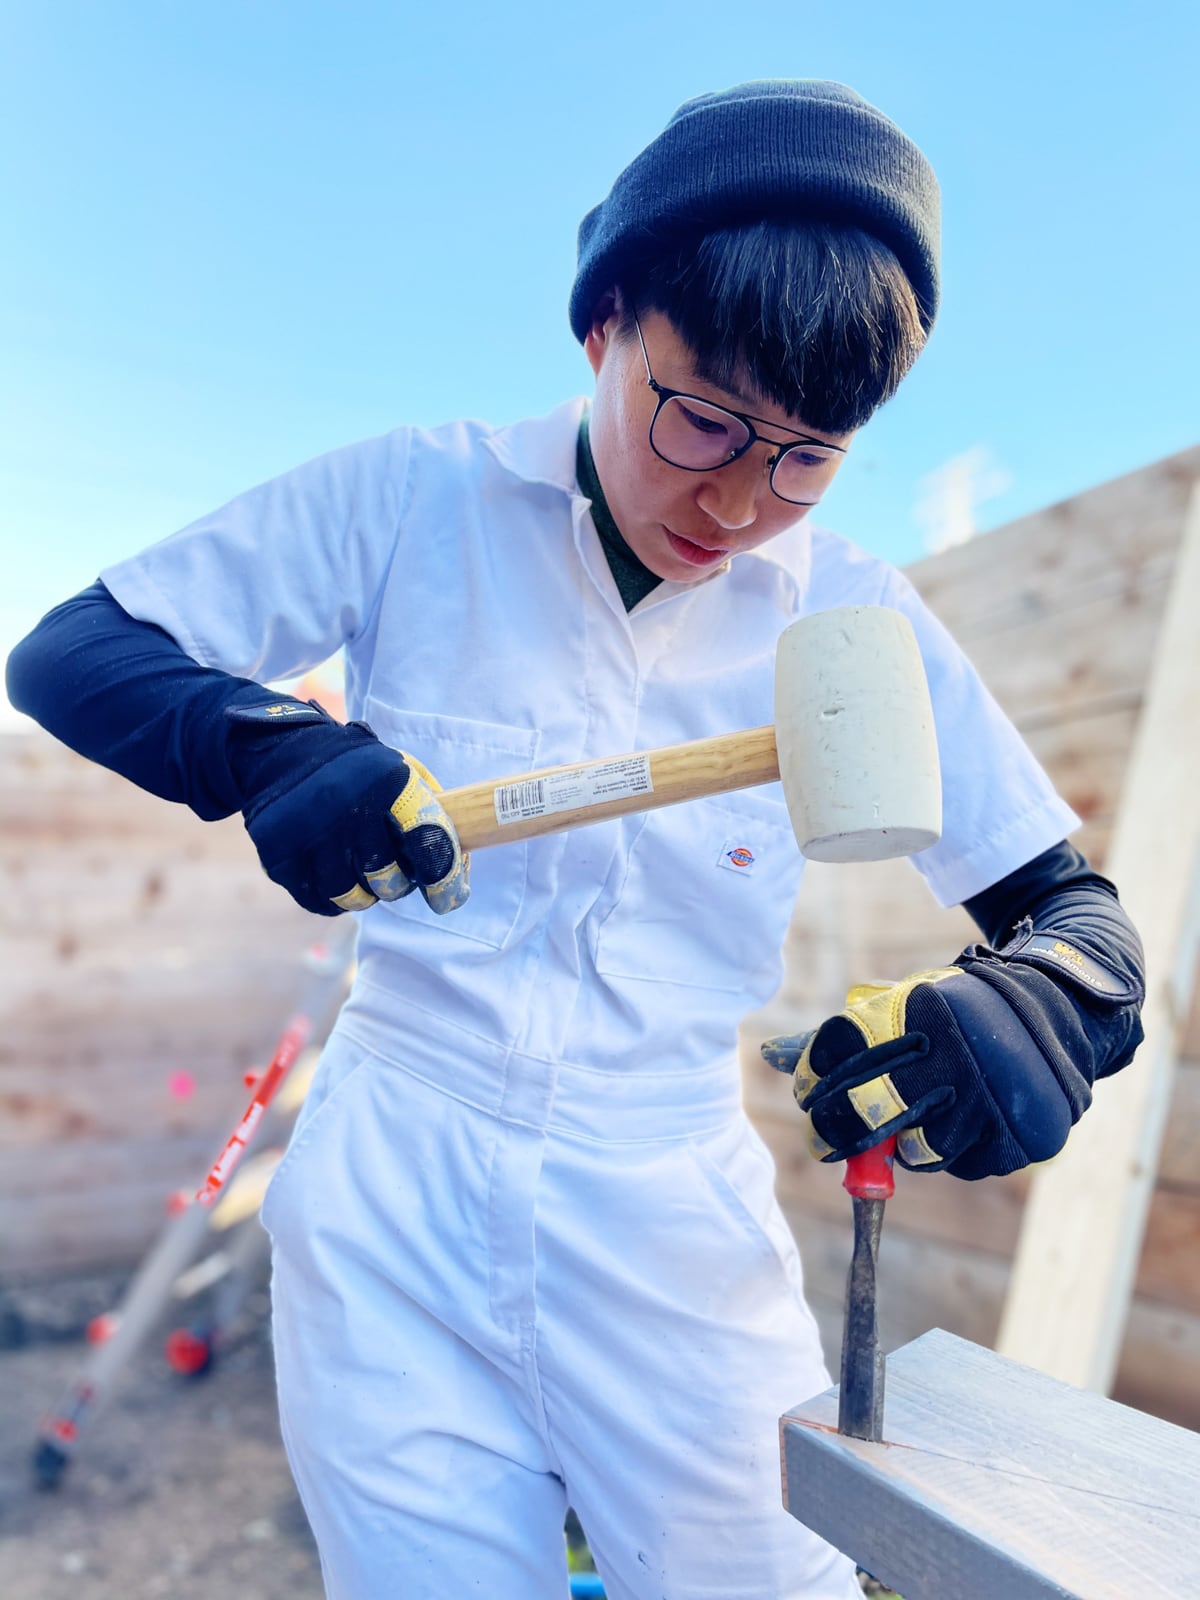
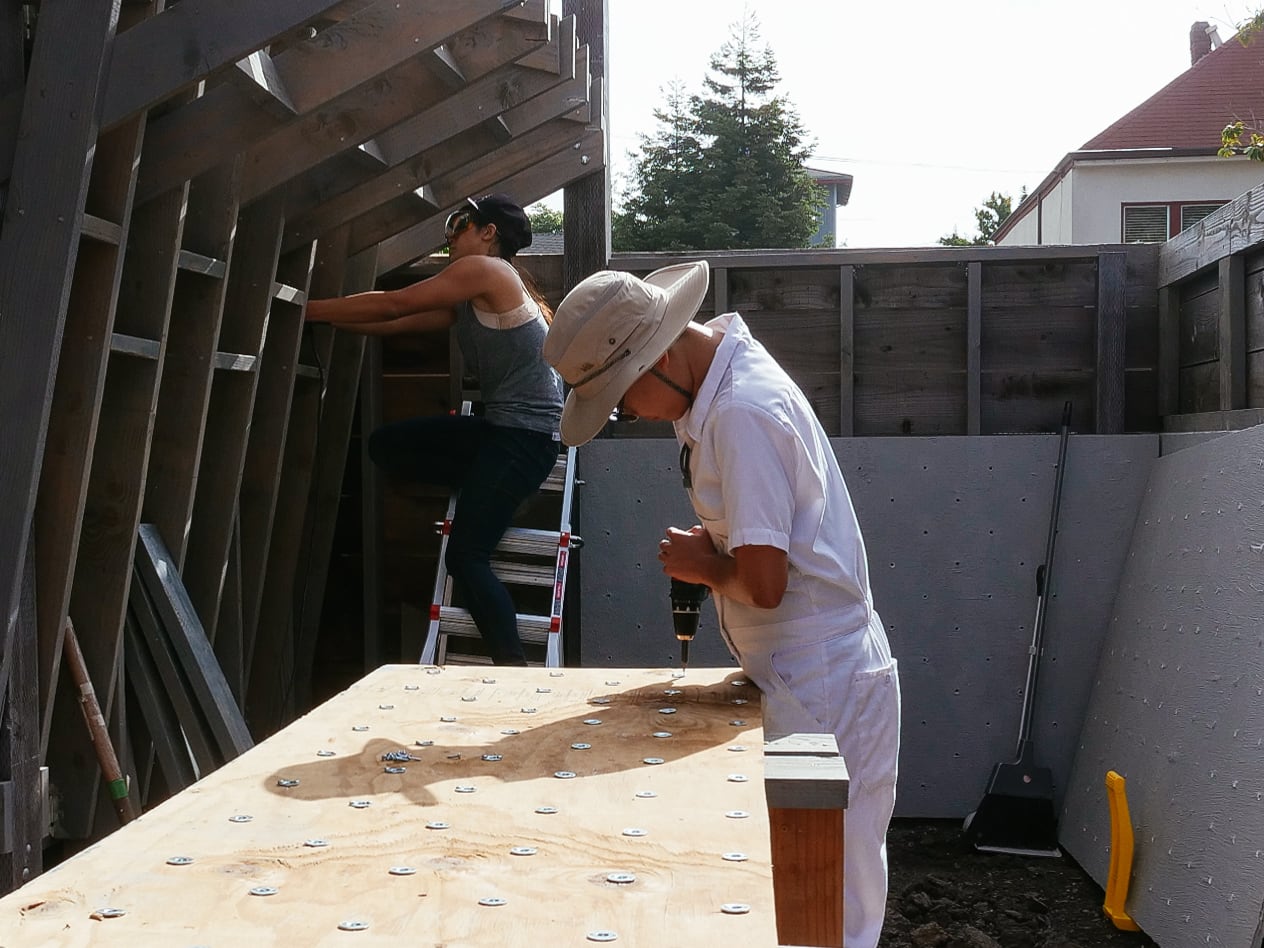
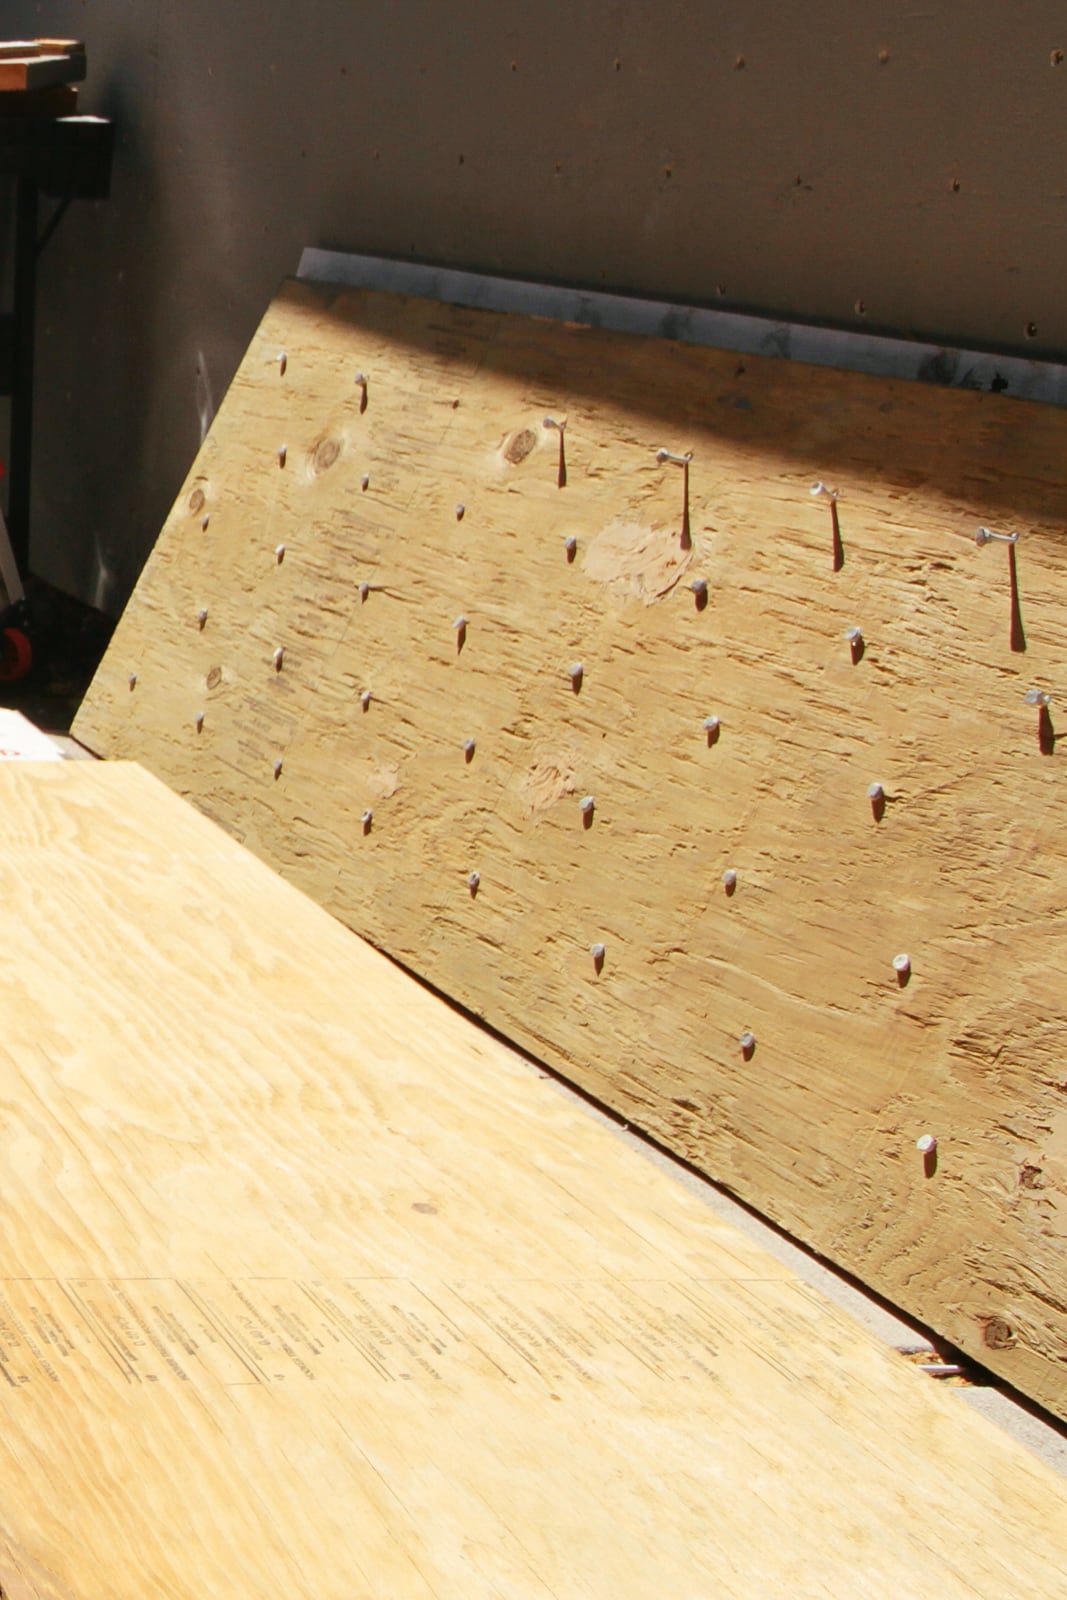
6. Mounting the T-nuts
We chose 2-hole T-nuts from Escape Climbing, which hit a sweet spot in optimizing for barrel length, corrosion-resistance, and availability during the pandemic. (In an ideal world these would be stainless and I would’ve gotten to order them from the McMaster-Carr catalog, but that option was prohibitively more expensive.)
To mount the T-nuts into the plywood, we hammered them in with a big mallet, predrilled pilot holes in each screw hole, and attached with two (provided) screws.

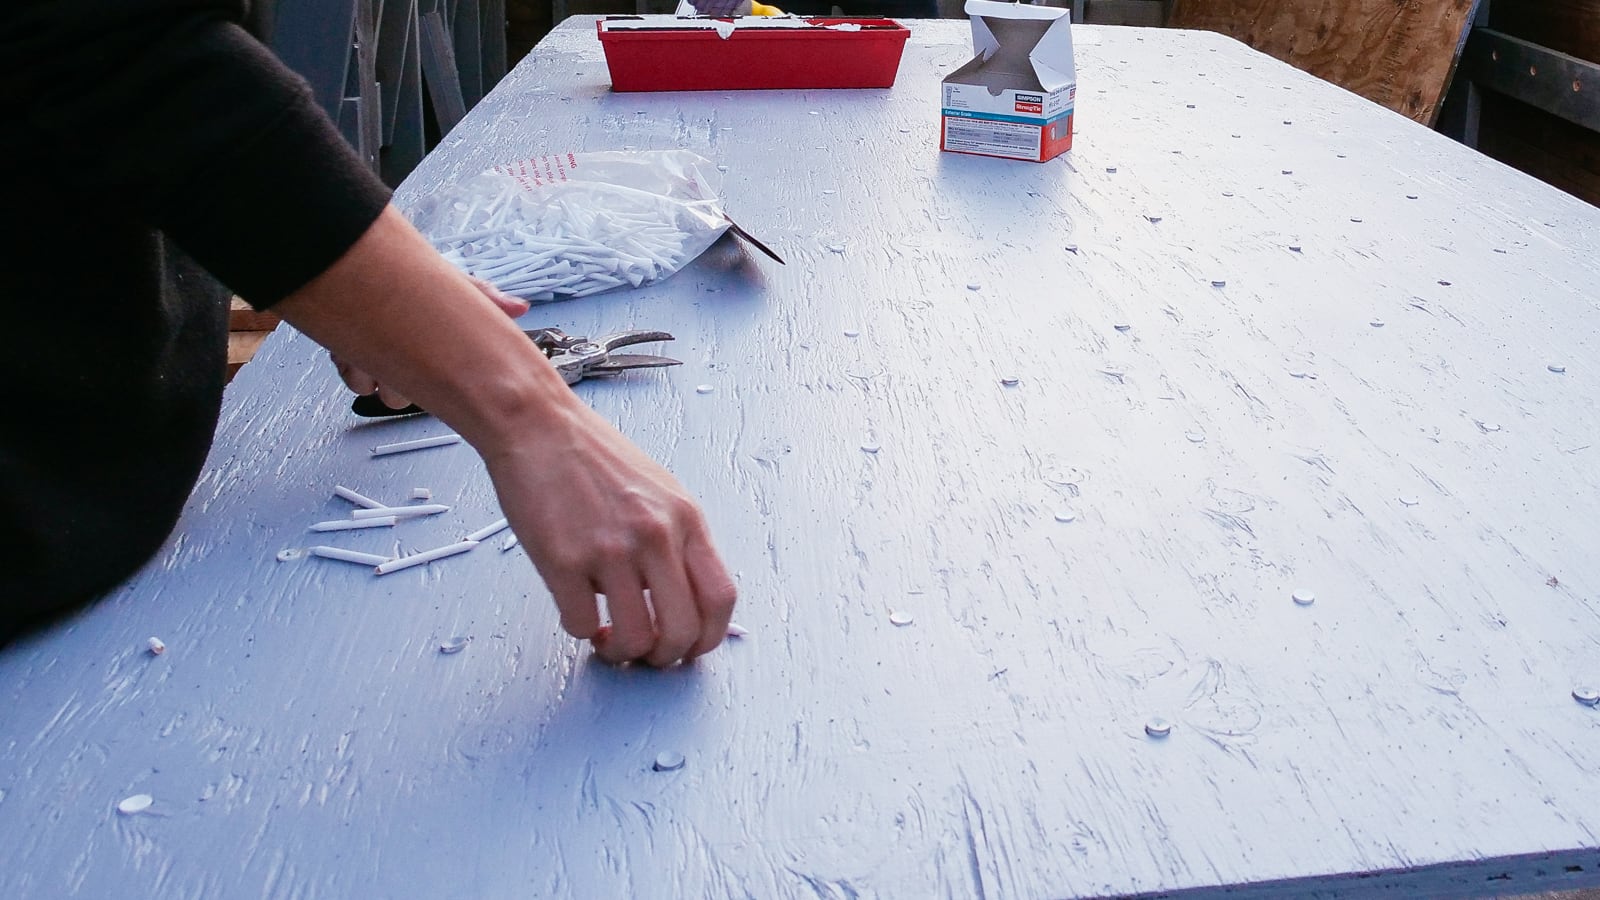
7. Teeing
Now, with the sheets cut to size and full of T-nuts, we were ready to add the surface finish to the plywood. To avoid getting any primer/texture/paint into our arduously-mounted T-nut threads, we stole an idea we saw on YouTube and plugged them with golf tees.
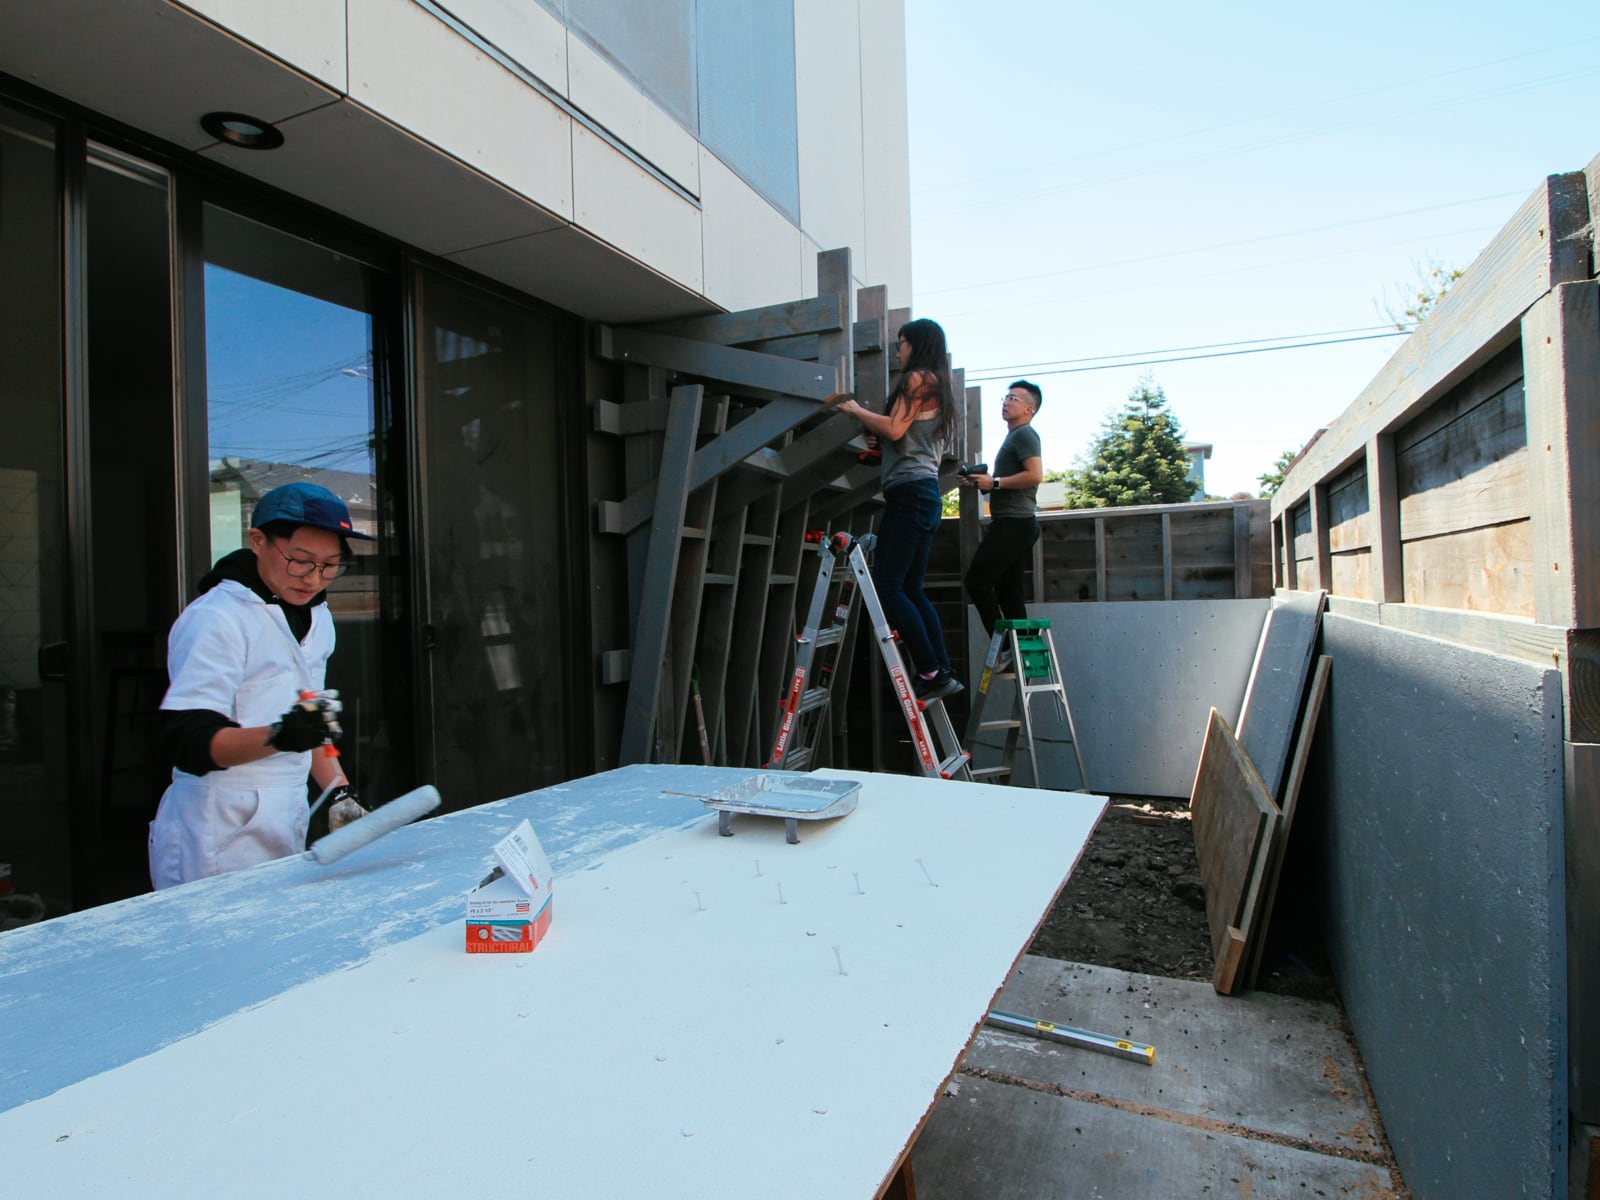
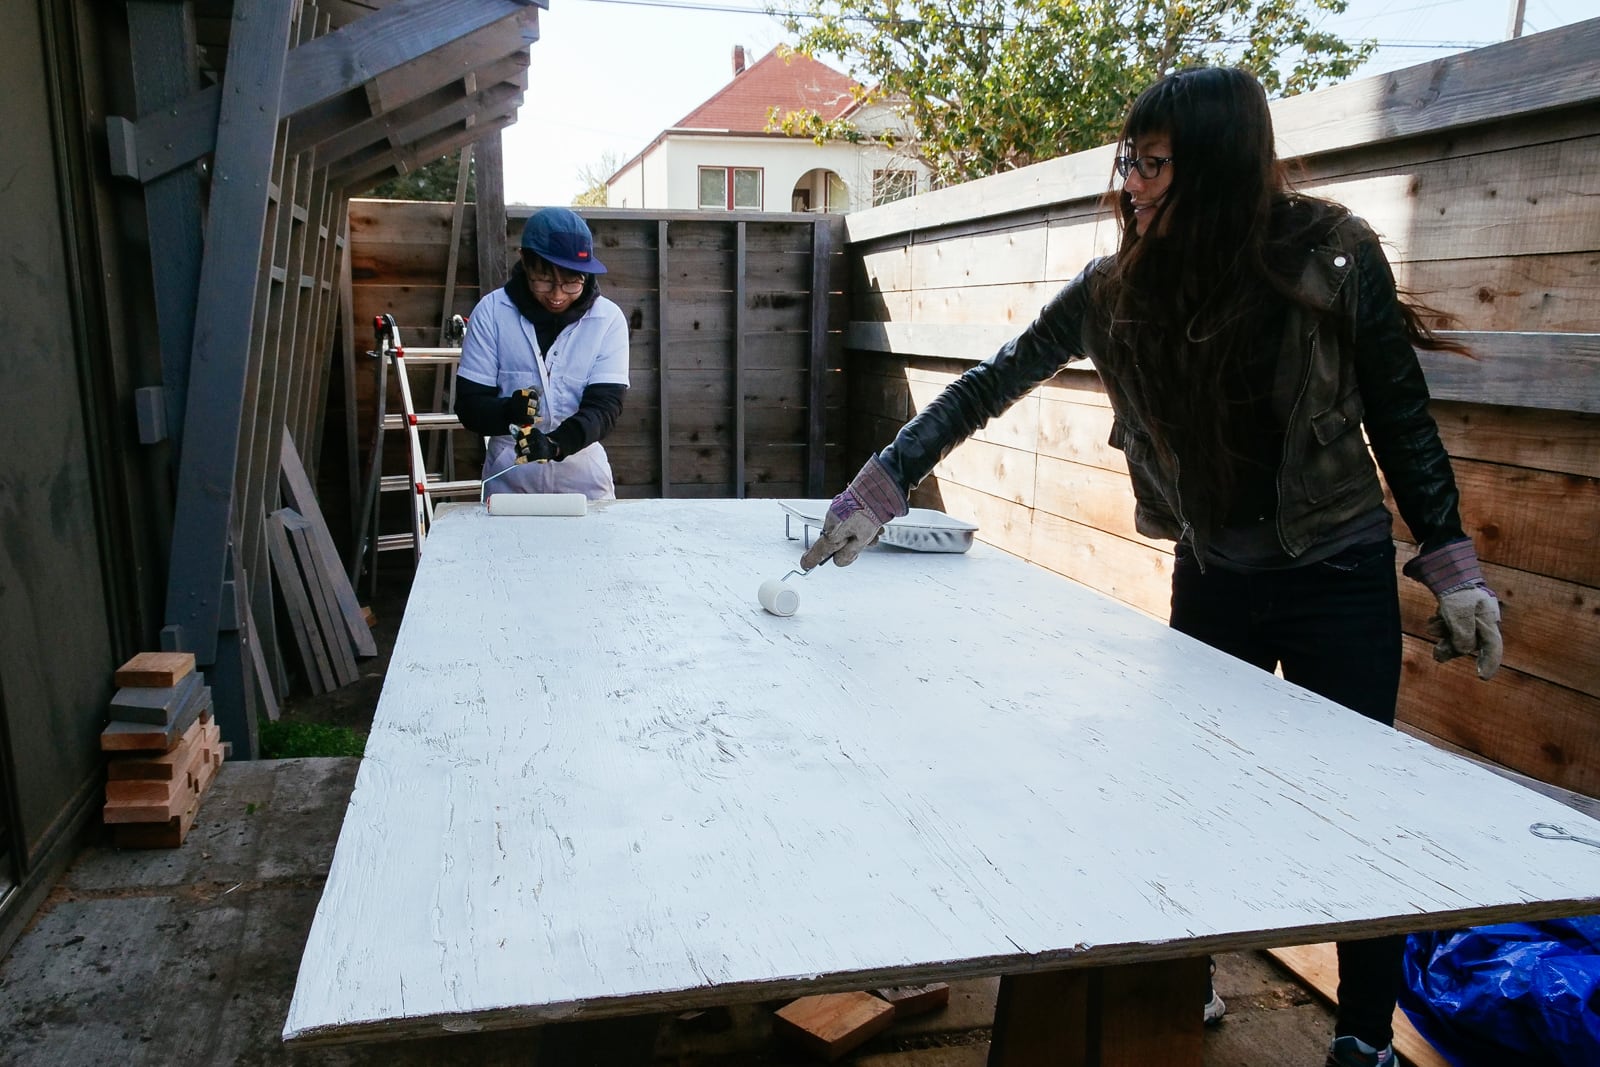
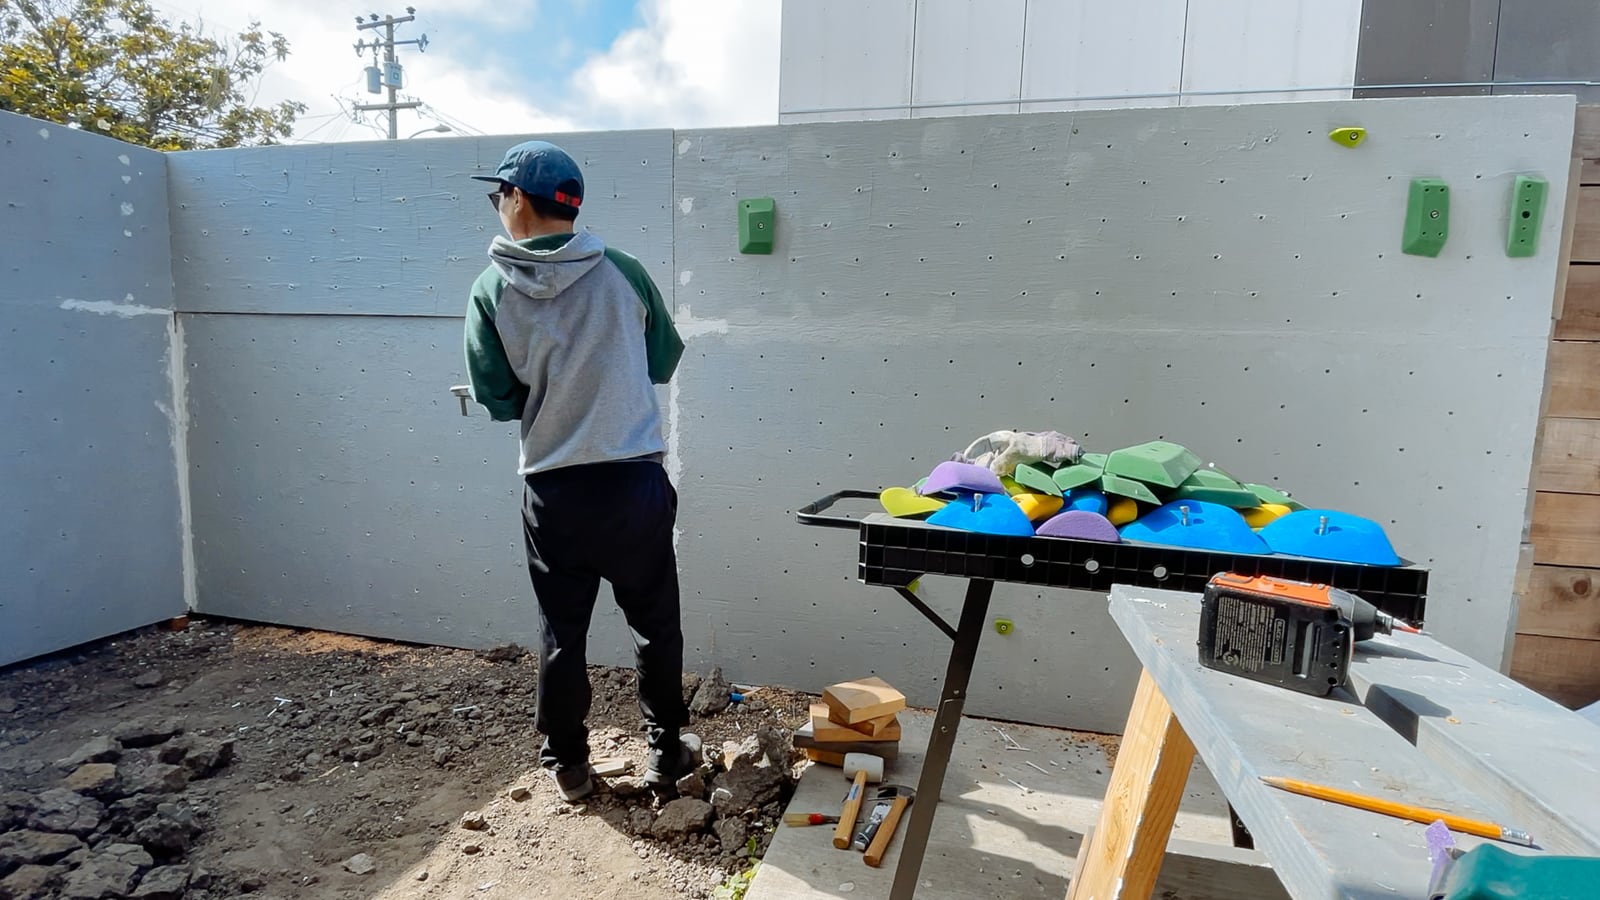
8. Priming
To improve adhesion of our texture to the plywood, we started with a latex primer layer. We used KILZ 2 interior/exterior primer, which seemed to be reasonably priced for the quality.
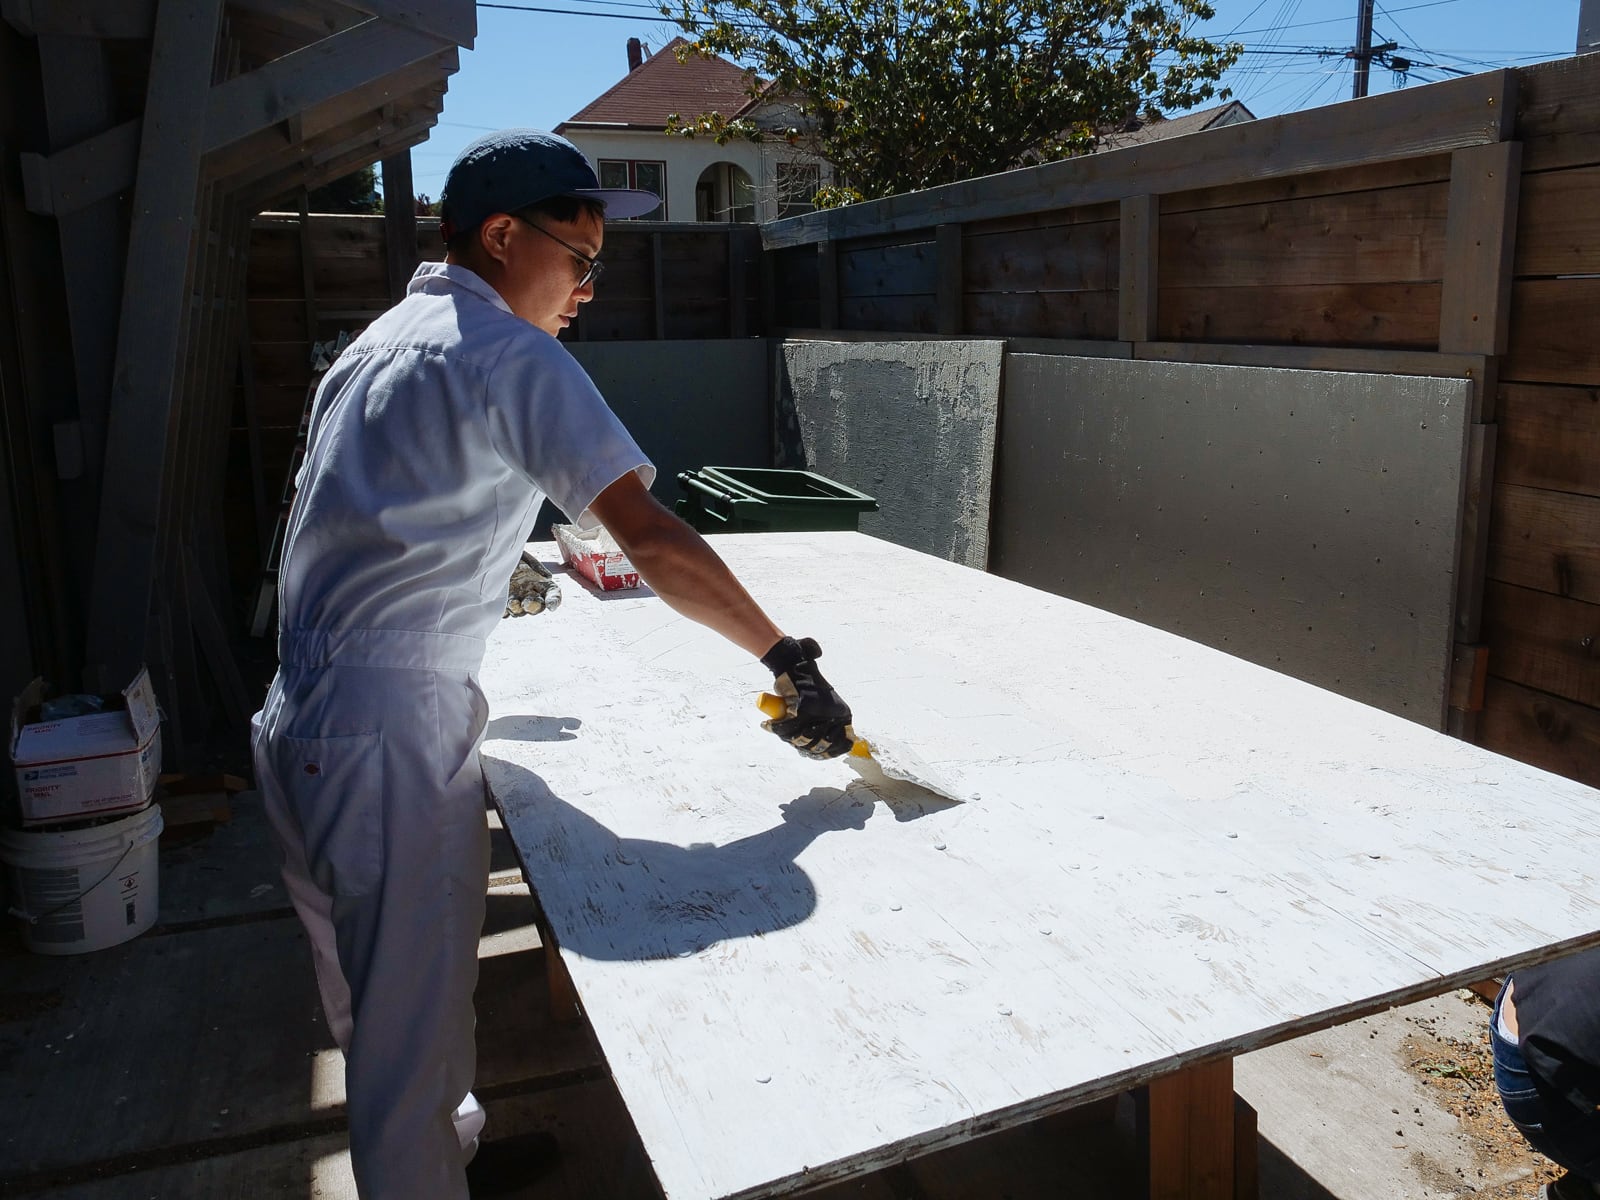
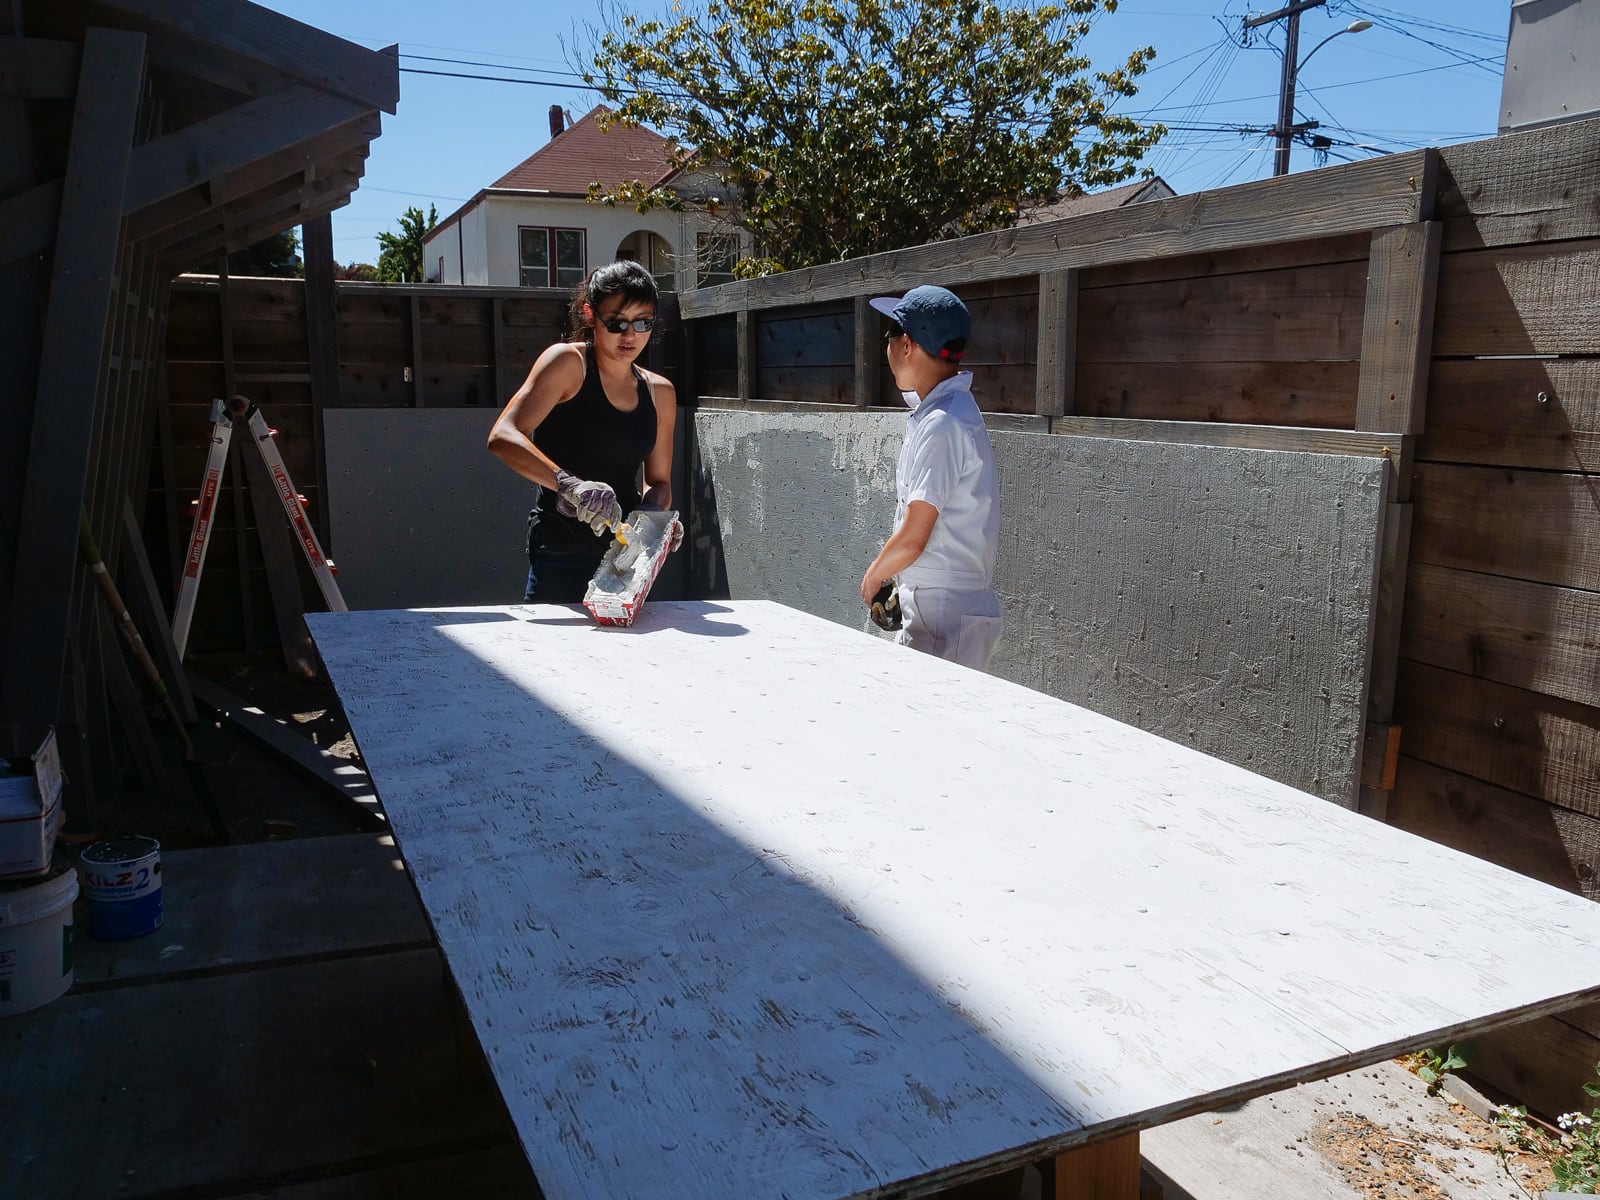
9. Surface texturing
We were originally going to skip this step and just use paint with some sand in it directly on top of the primer. We tried this on one sheet, though, and found the wood texture was too pronounced to allow for smearing, and gave us a headache.
We thought we’d be consigned to misery forever, but our friend Kris suggested that we look into rock texture, and instead of giving up we figured out how to mix up something nicely-thick that would still stick well to the plywood: about 2:3:8 by volume of sand, primer, and drywall mud. We applied this with drywall taping tools instead of a paint roller, although in retrospect it might’ve been easier to thin it with water and apply with a paint roller.
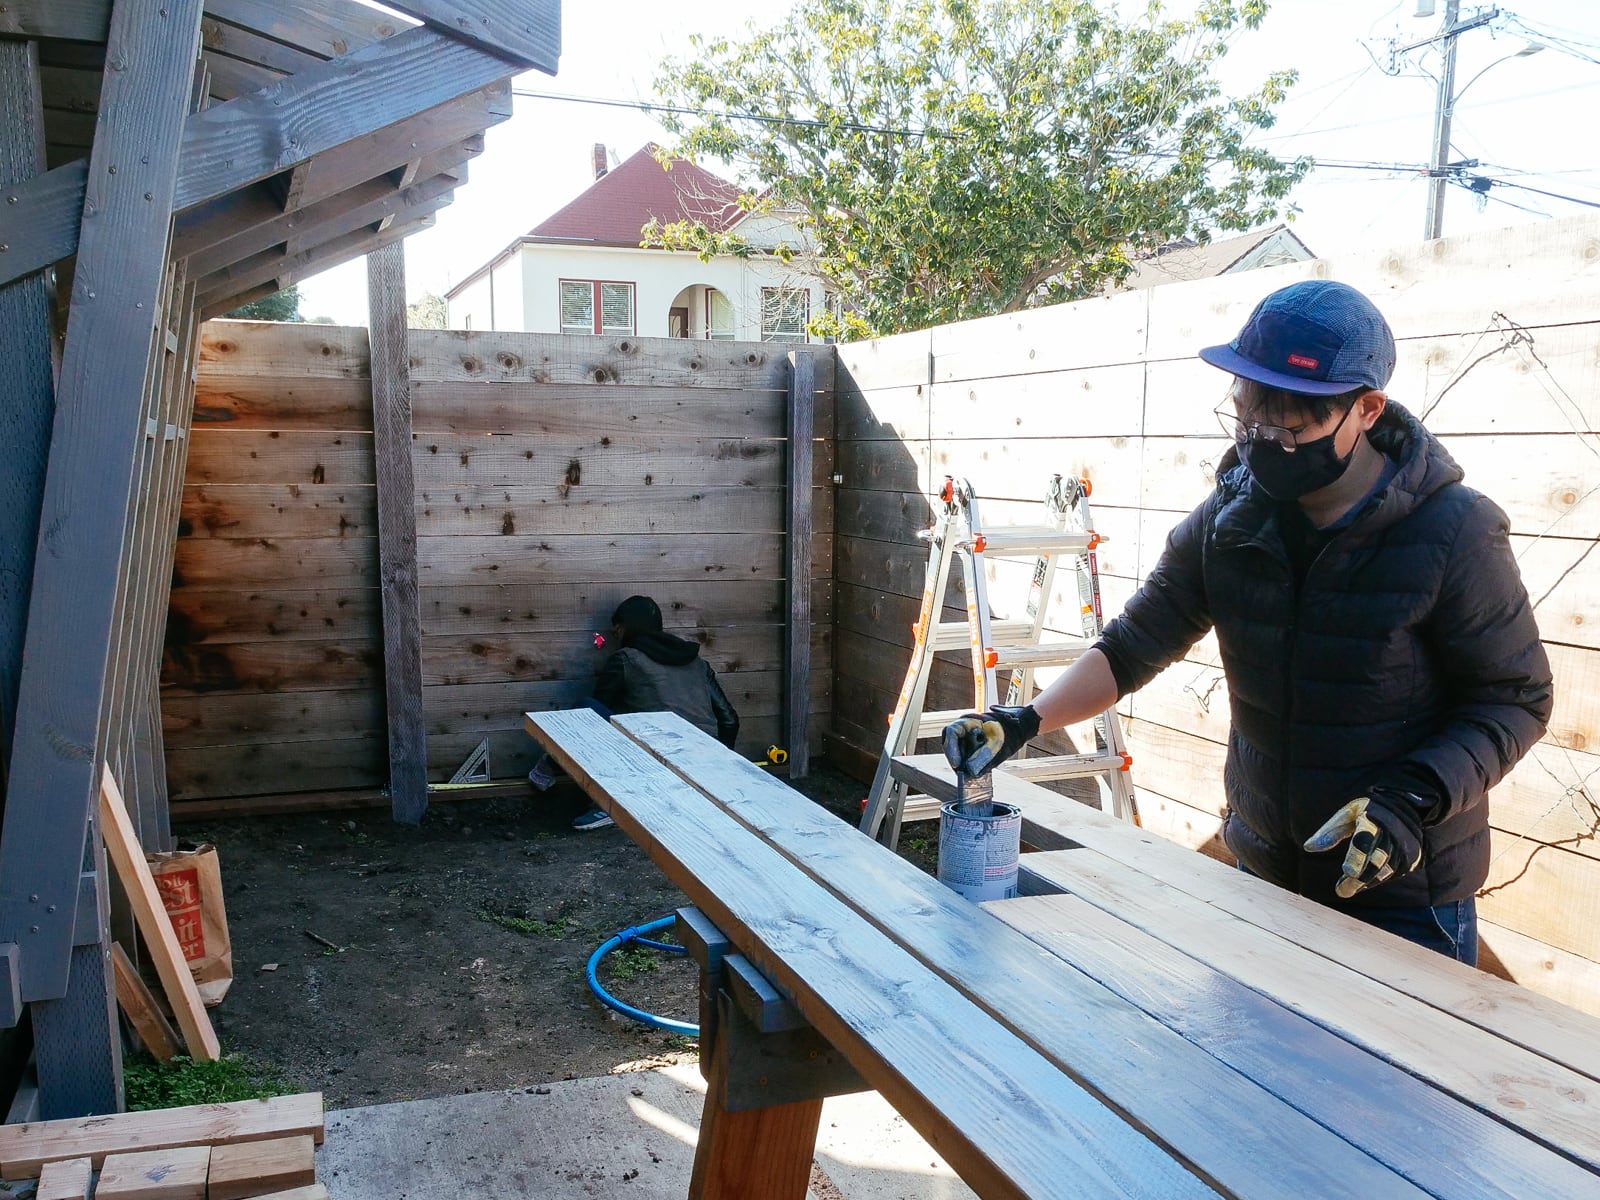
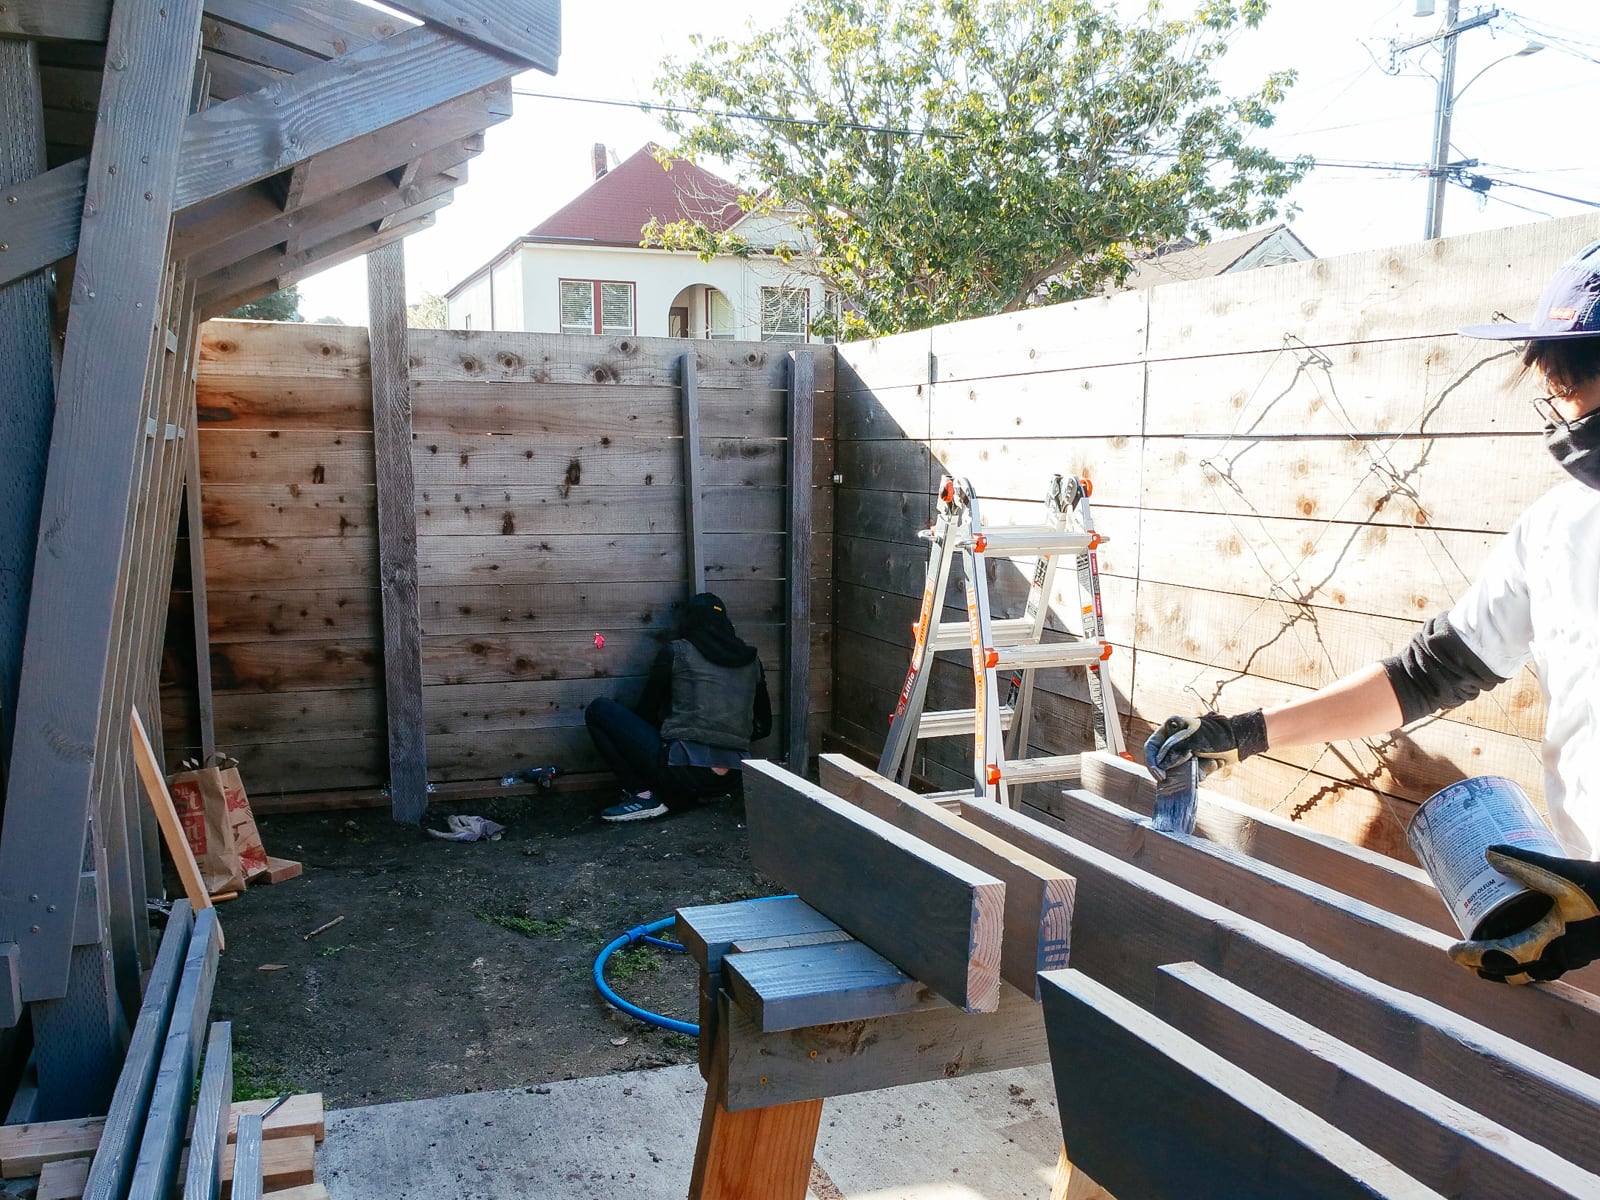
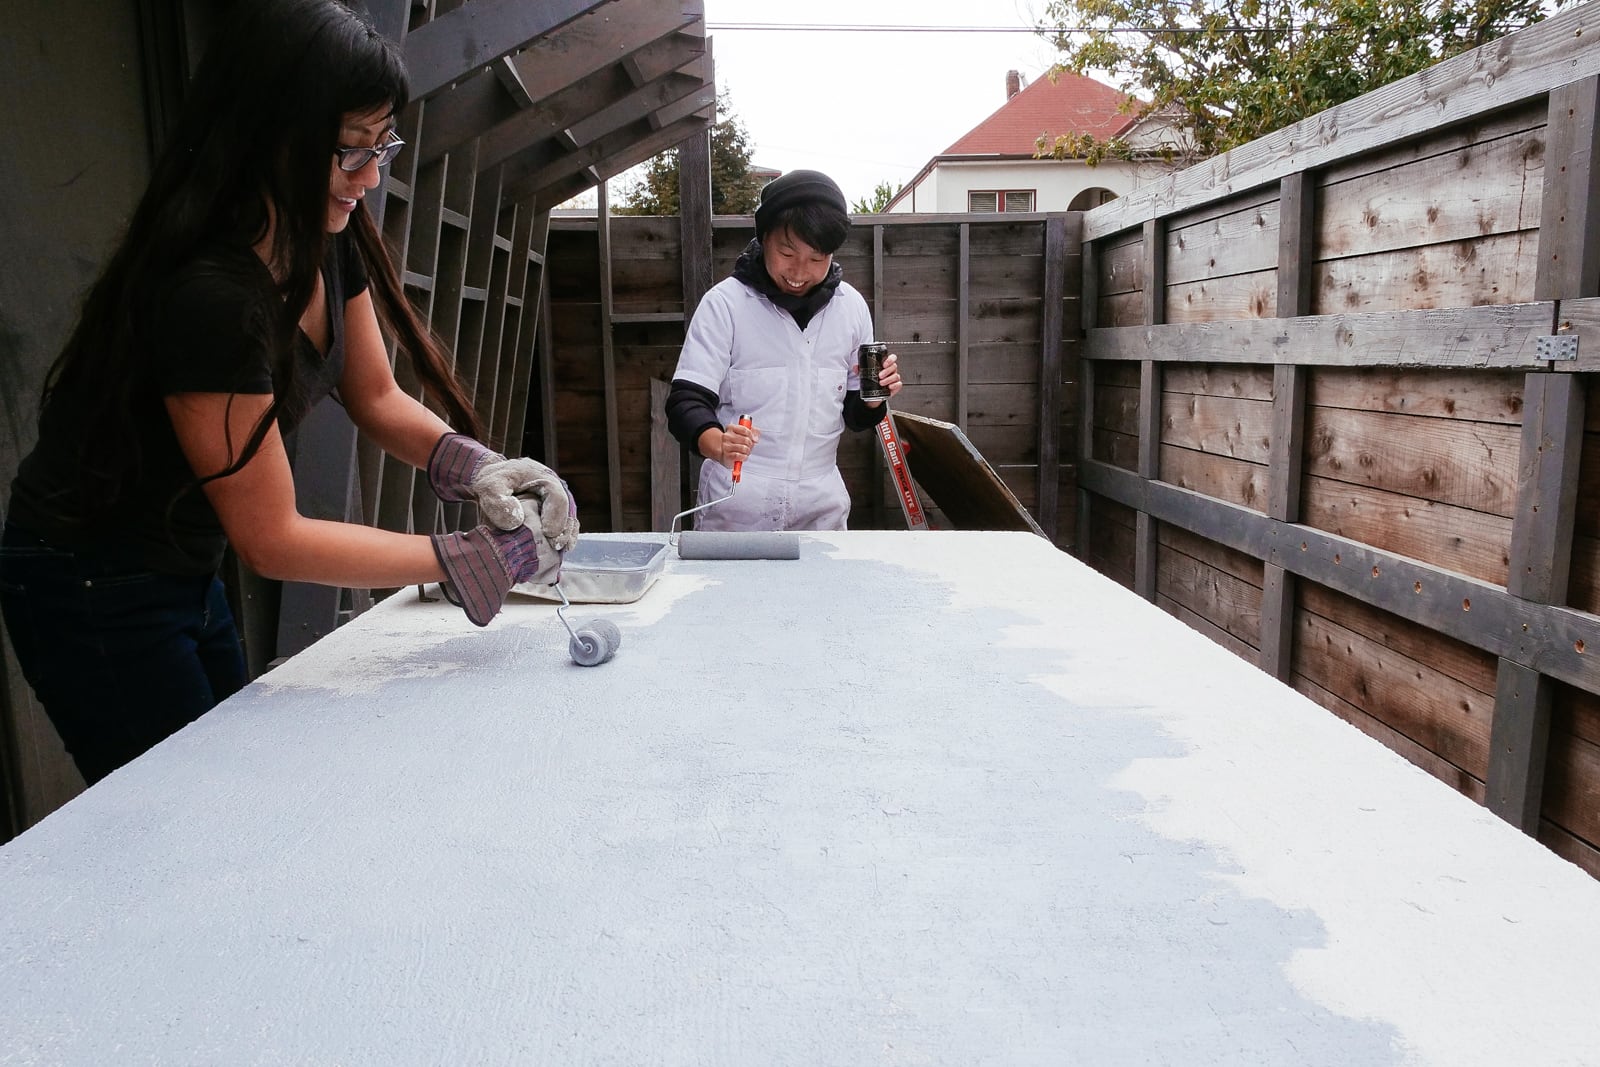
10. Painting
By this point we were really bored of doing this. But, painting is fun? We chose Behr porch and patio paint because their display at Home Depot was appealing and because climbing walls, porches, and patios are all walked on with feet.
Putting it all together
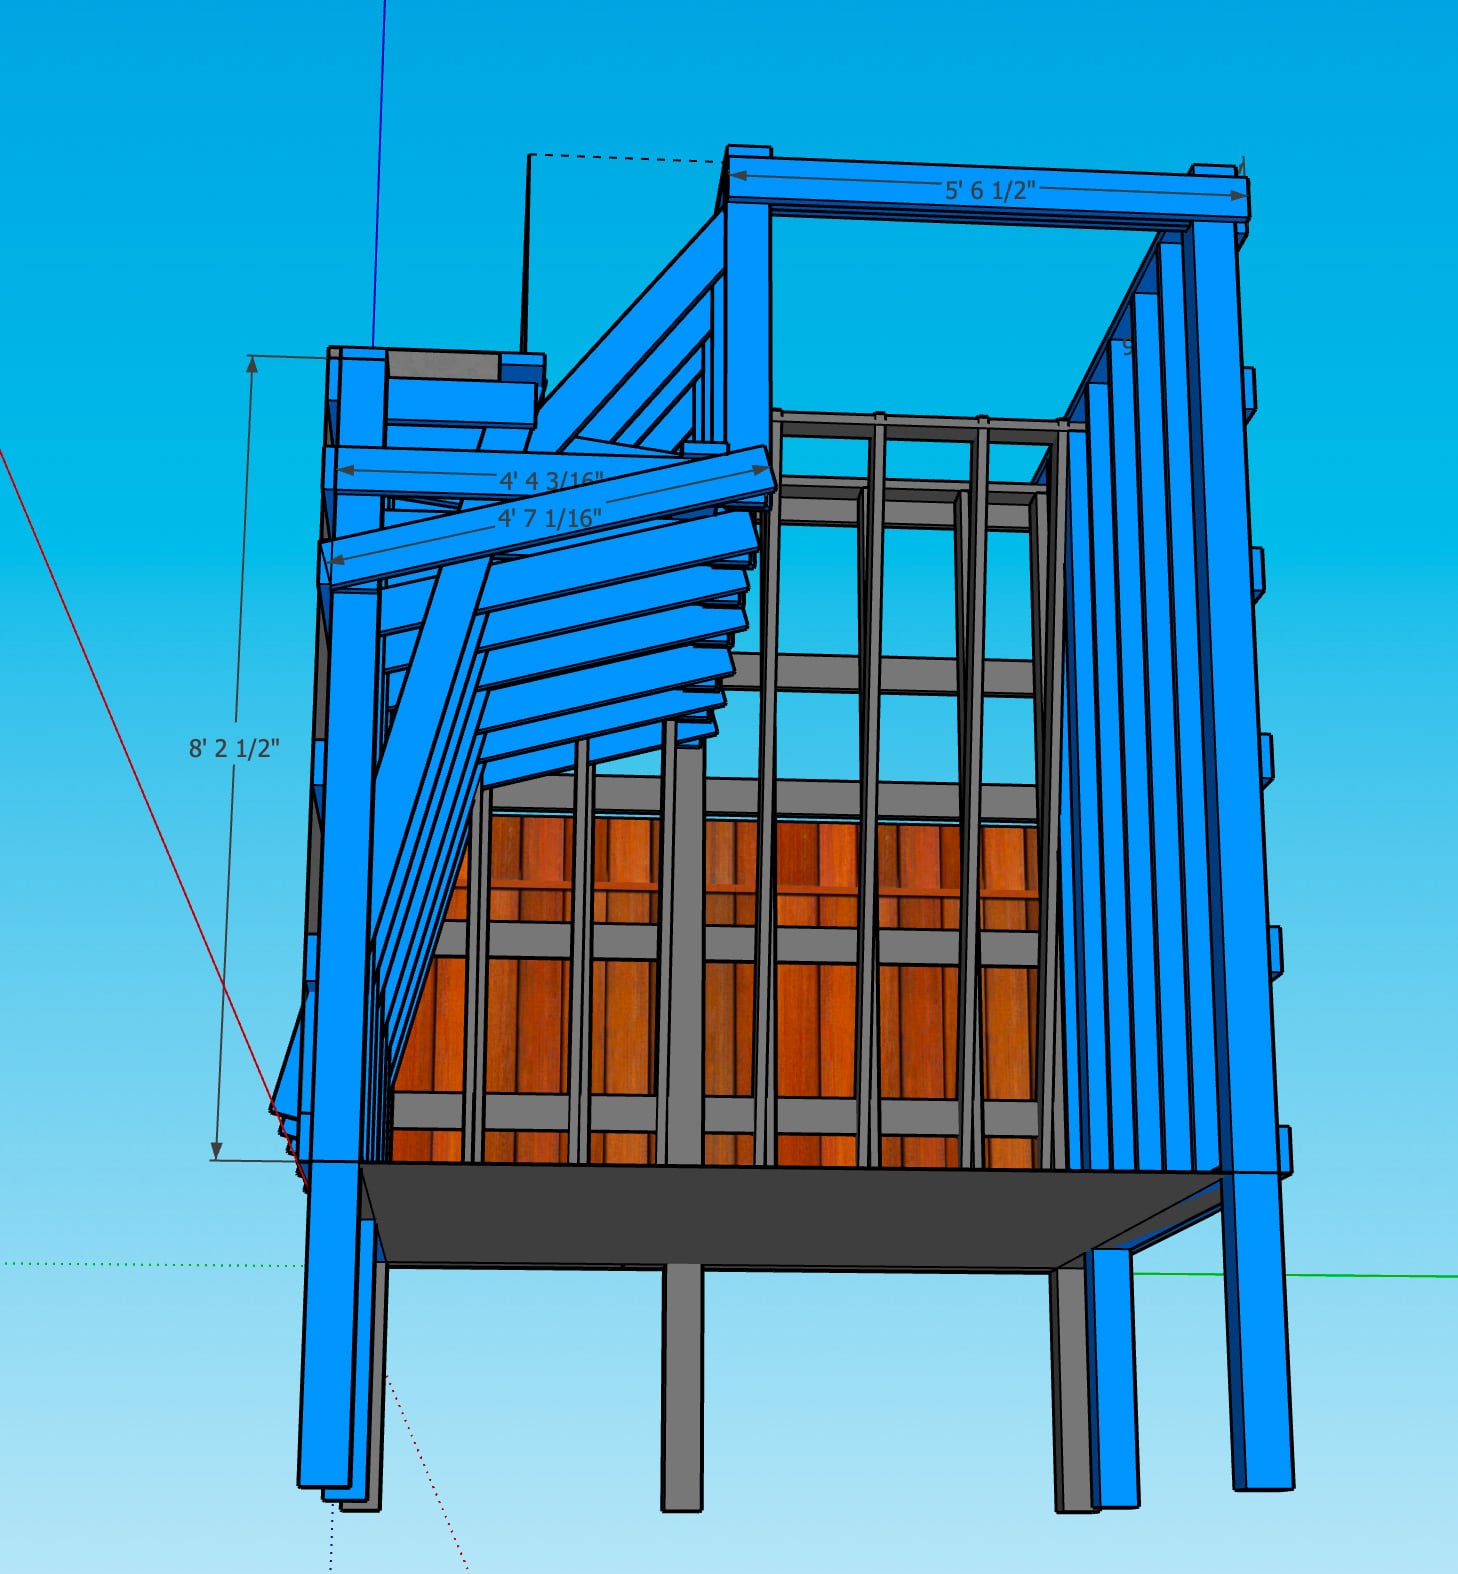
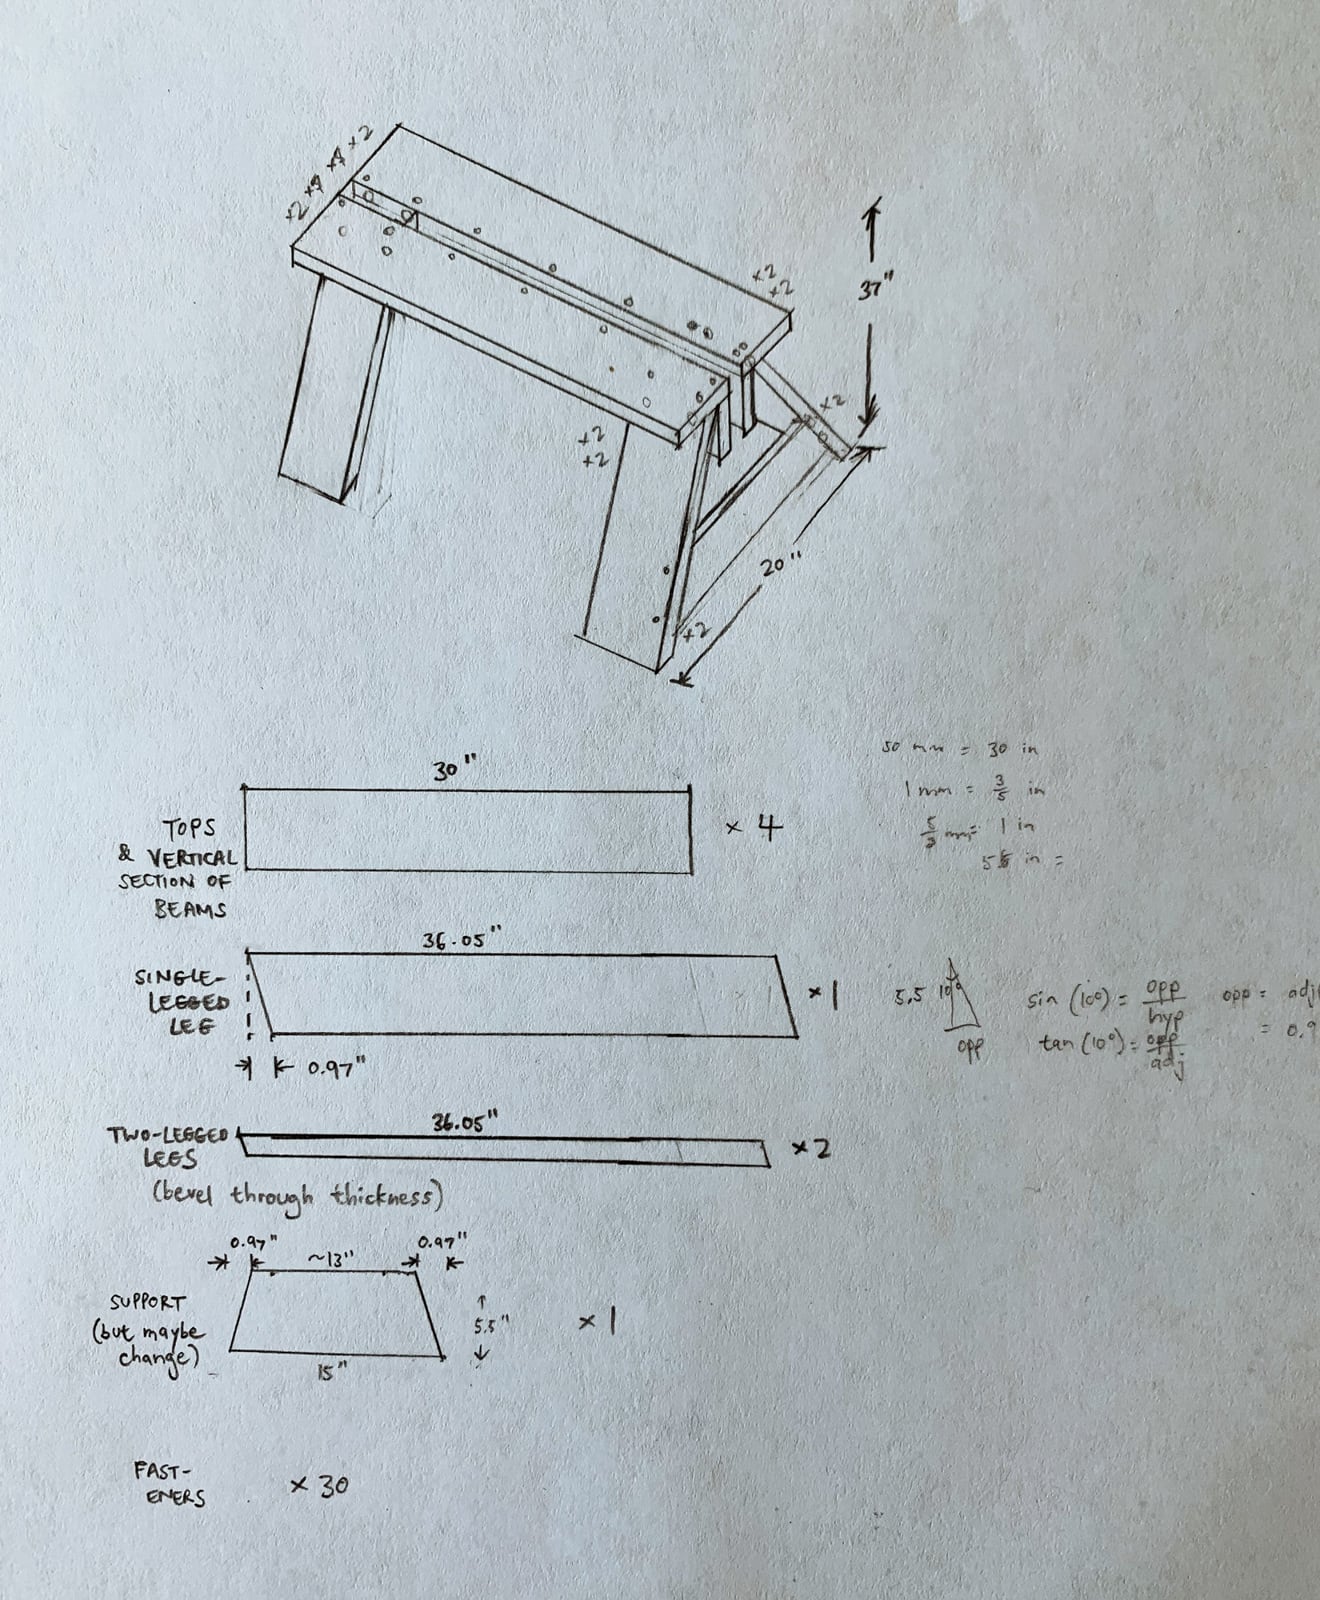
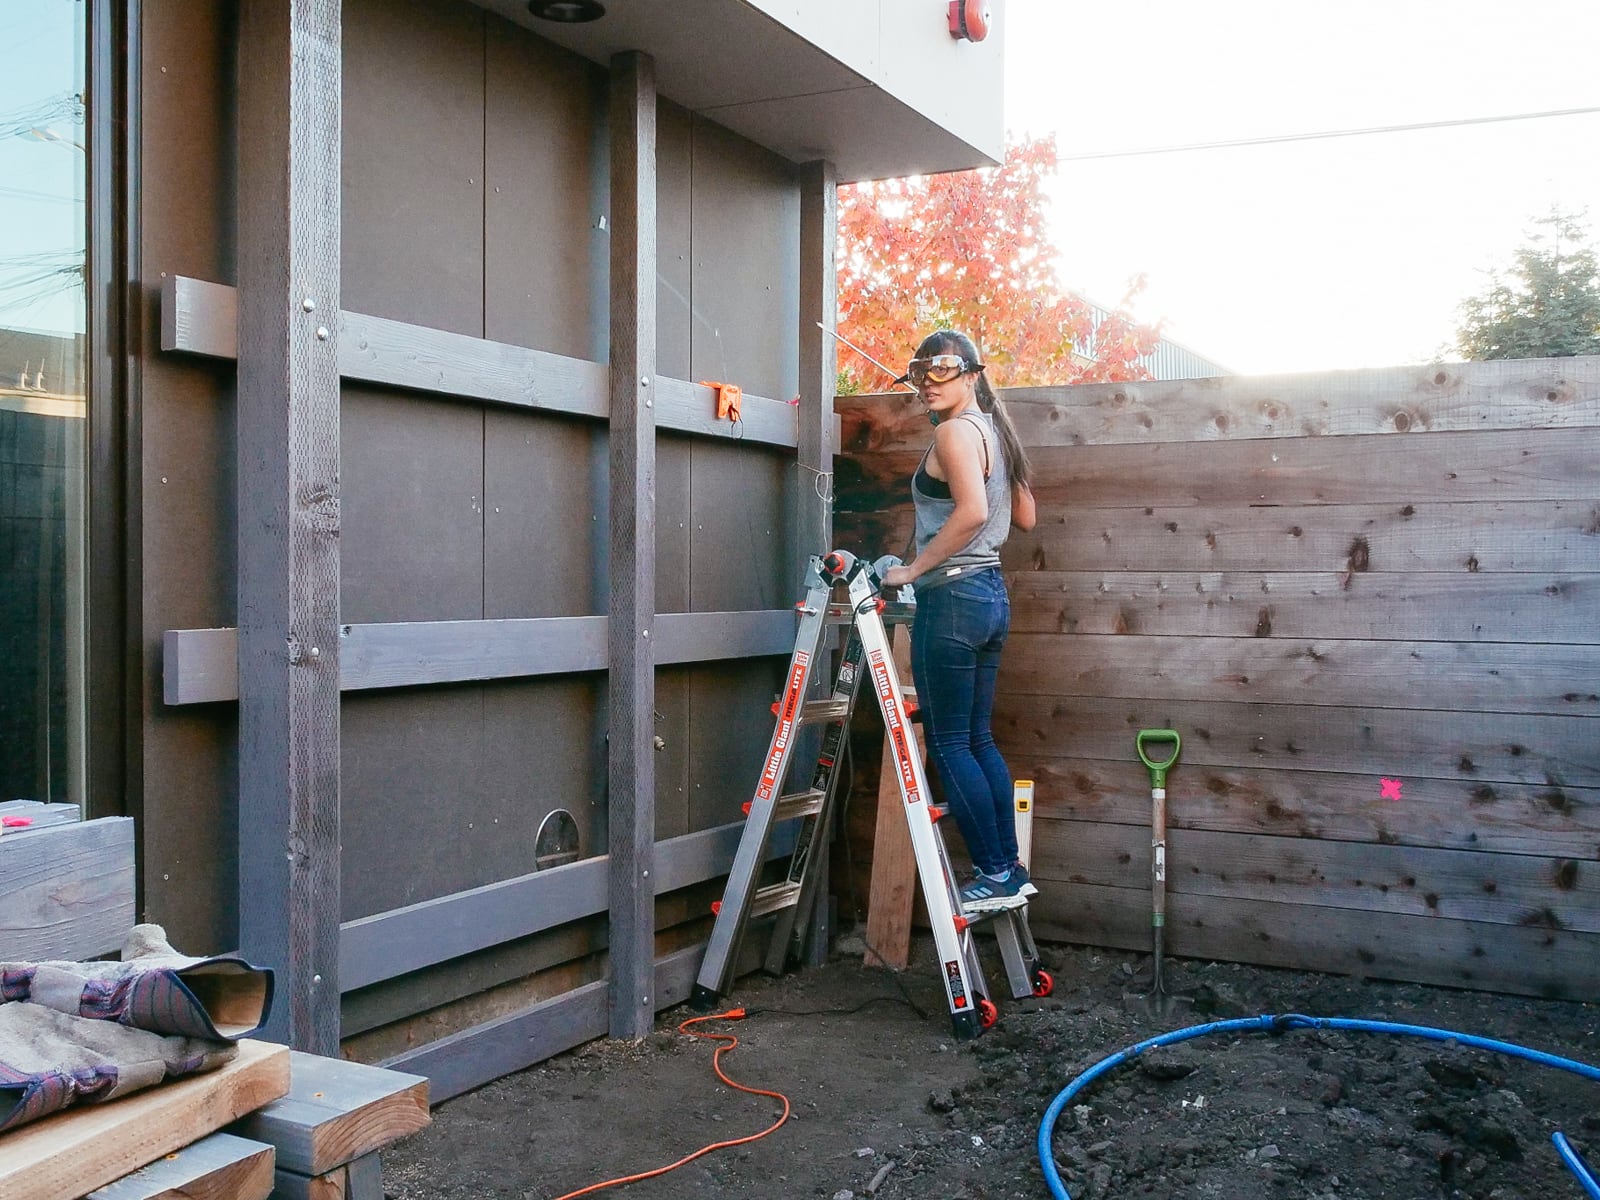
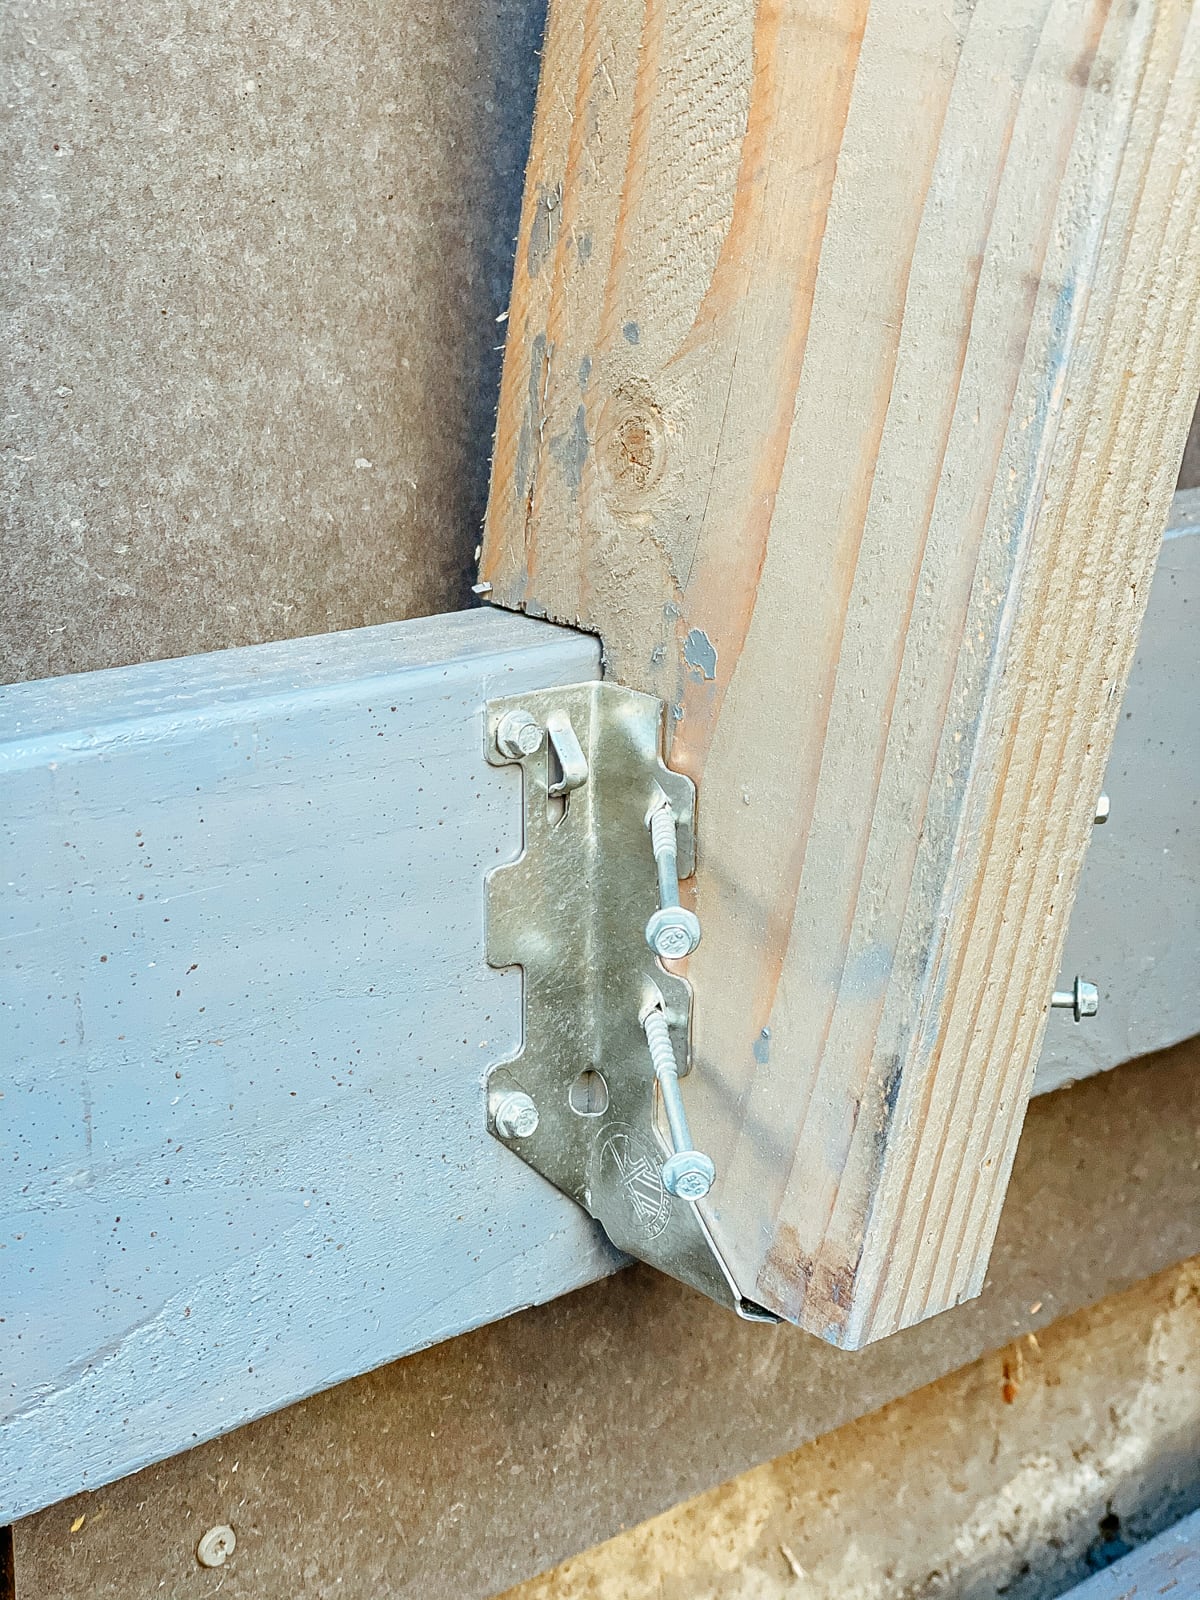
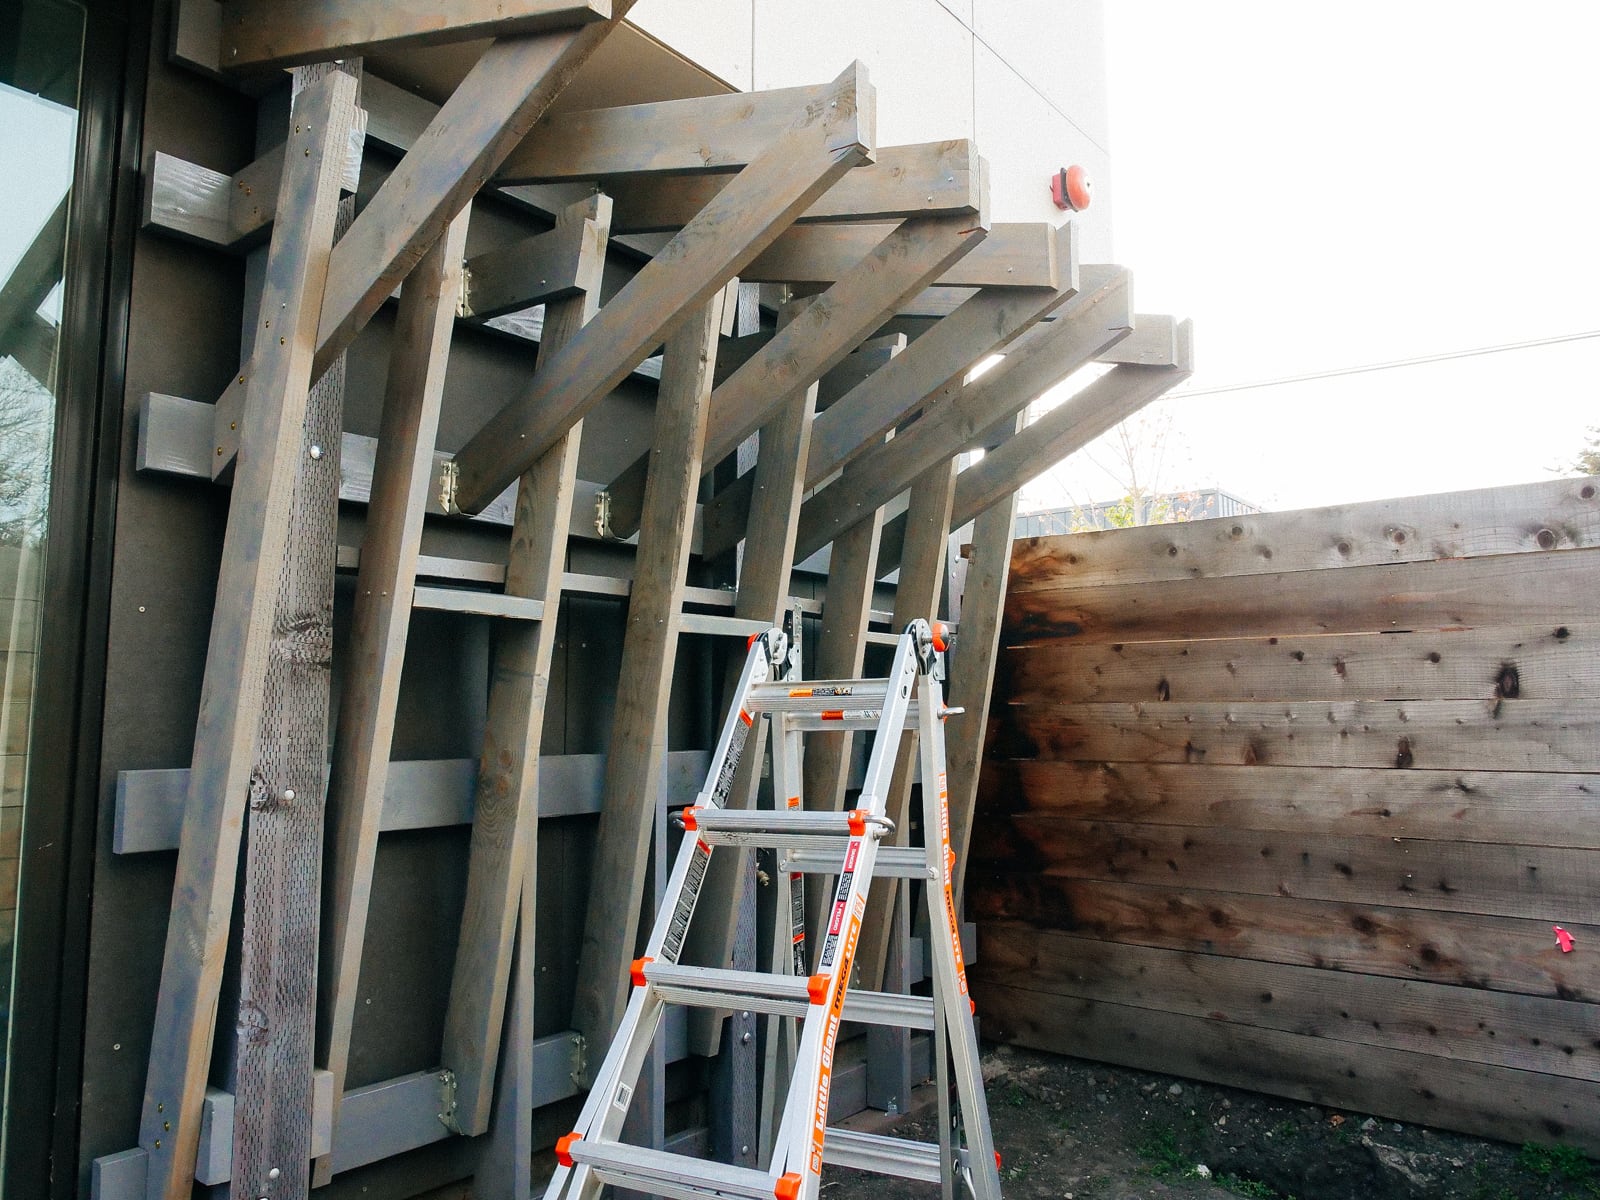
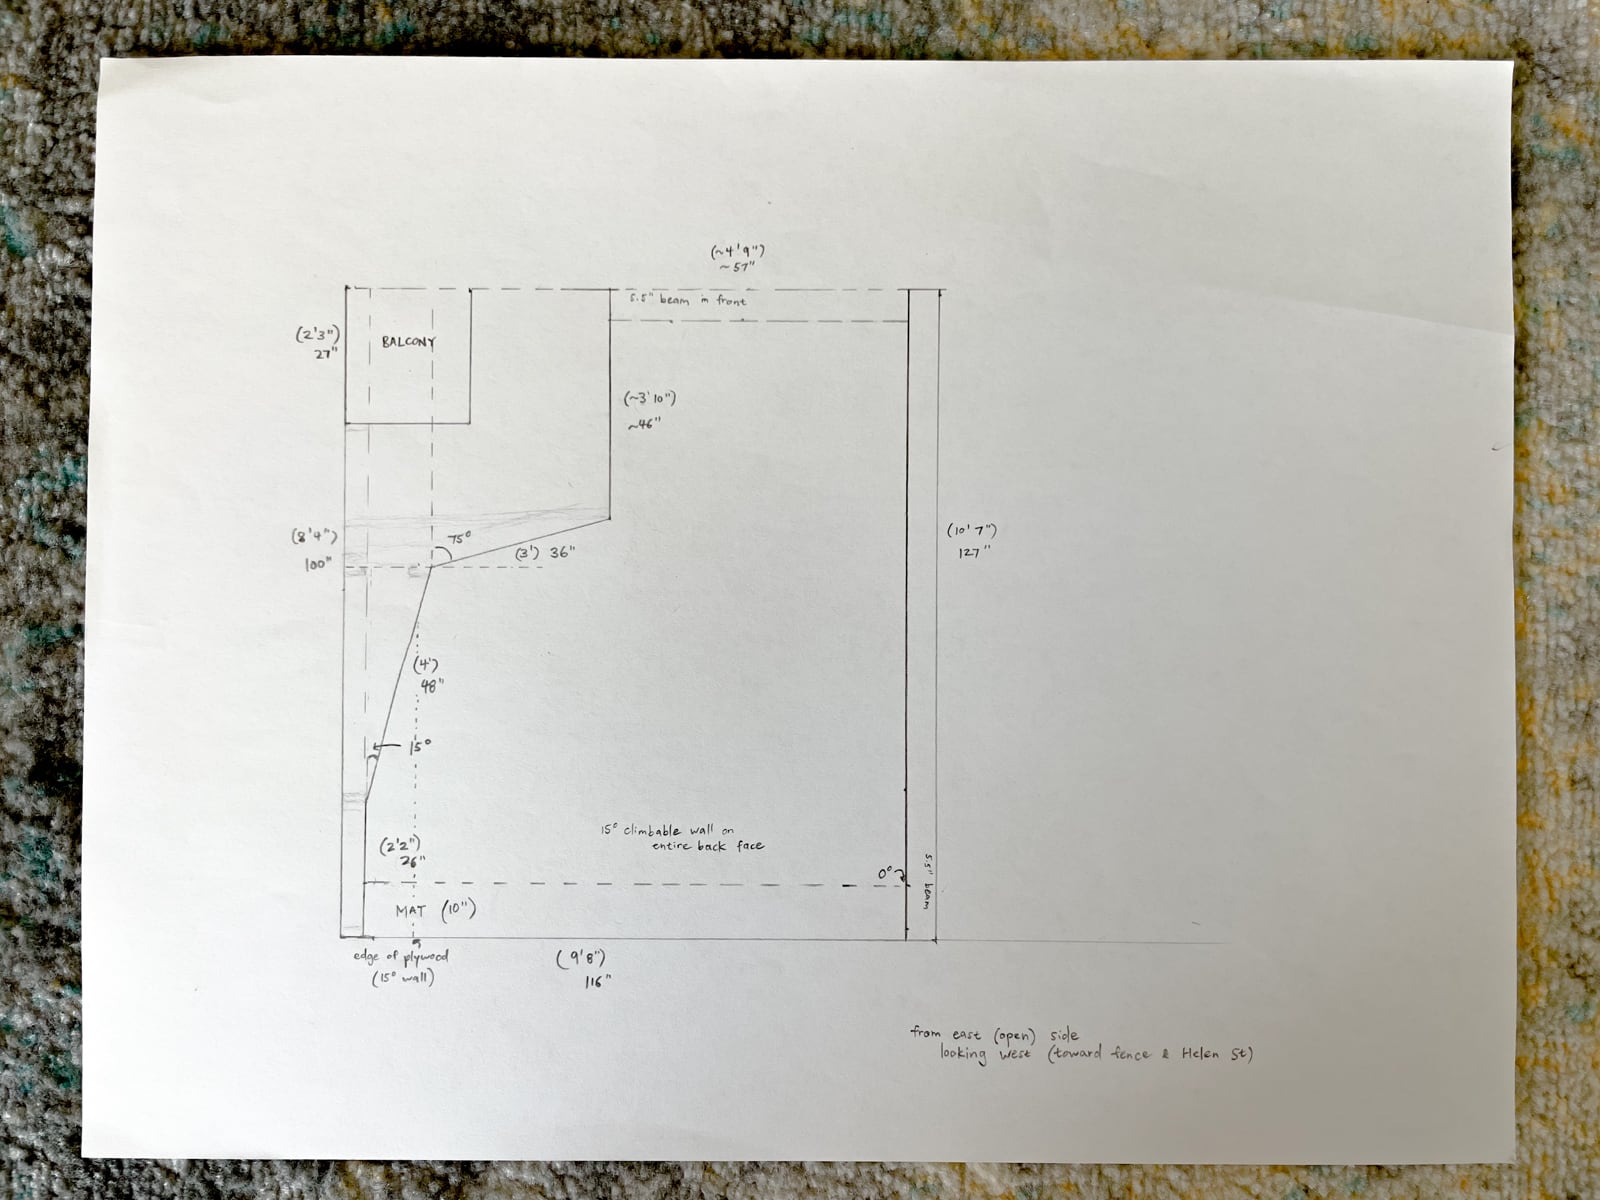
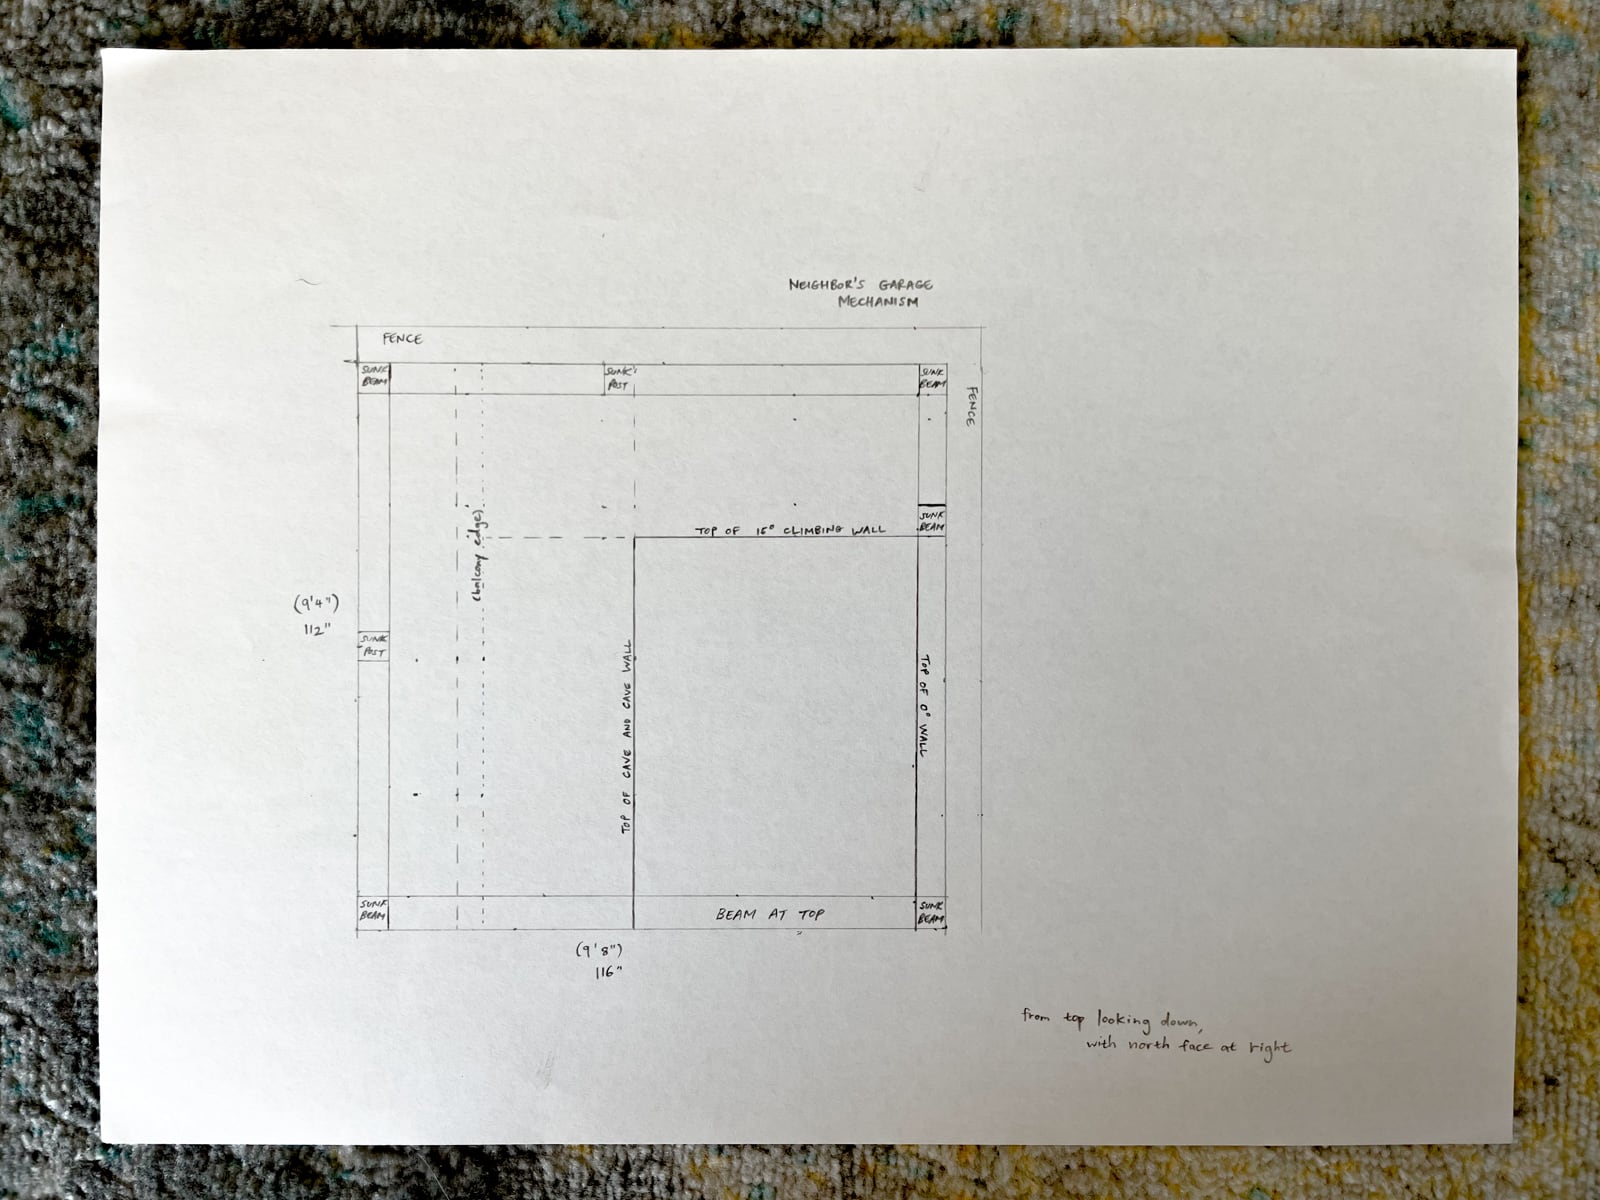
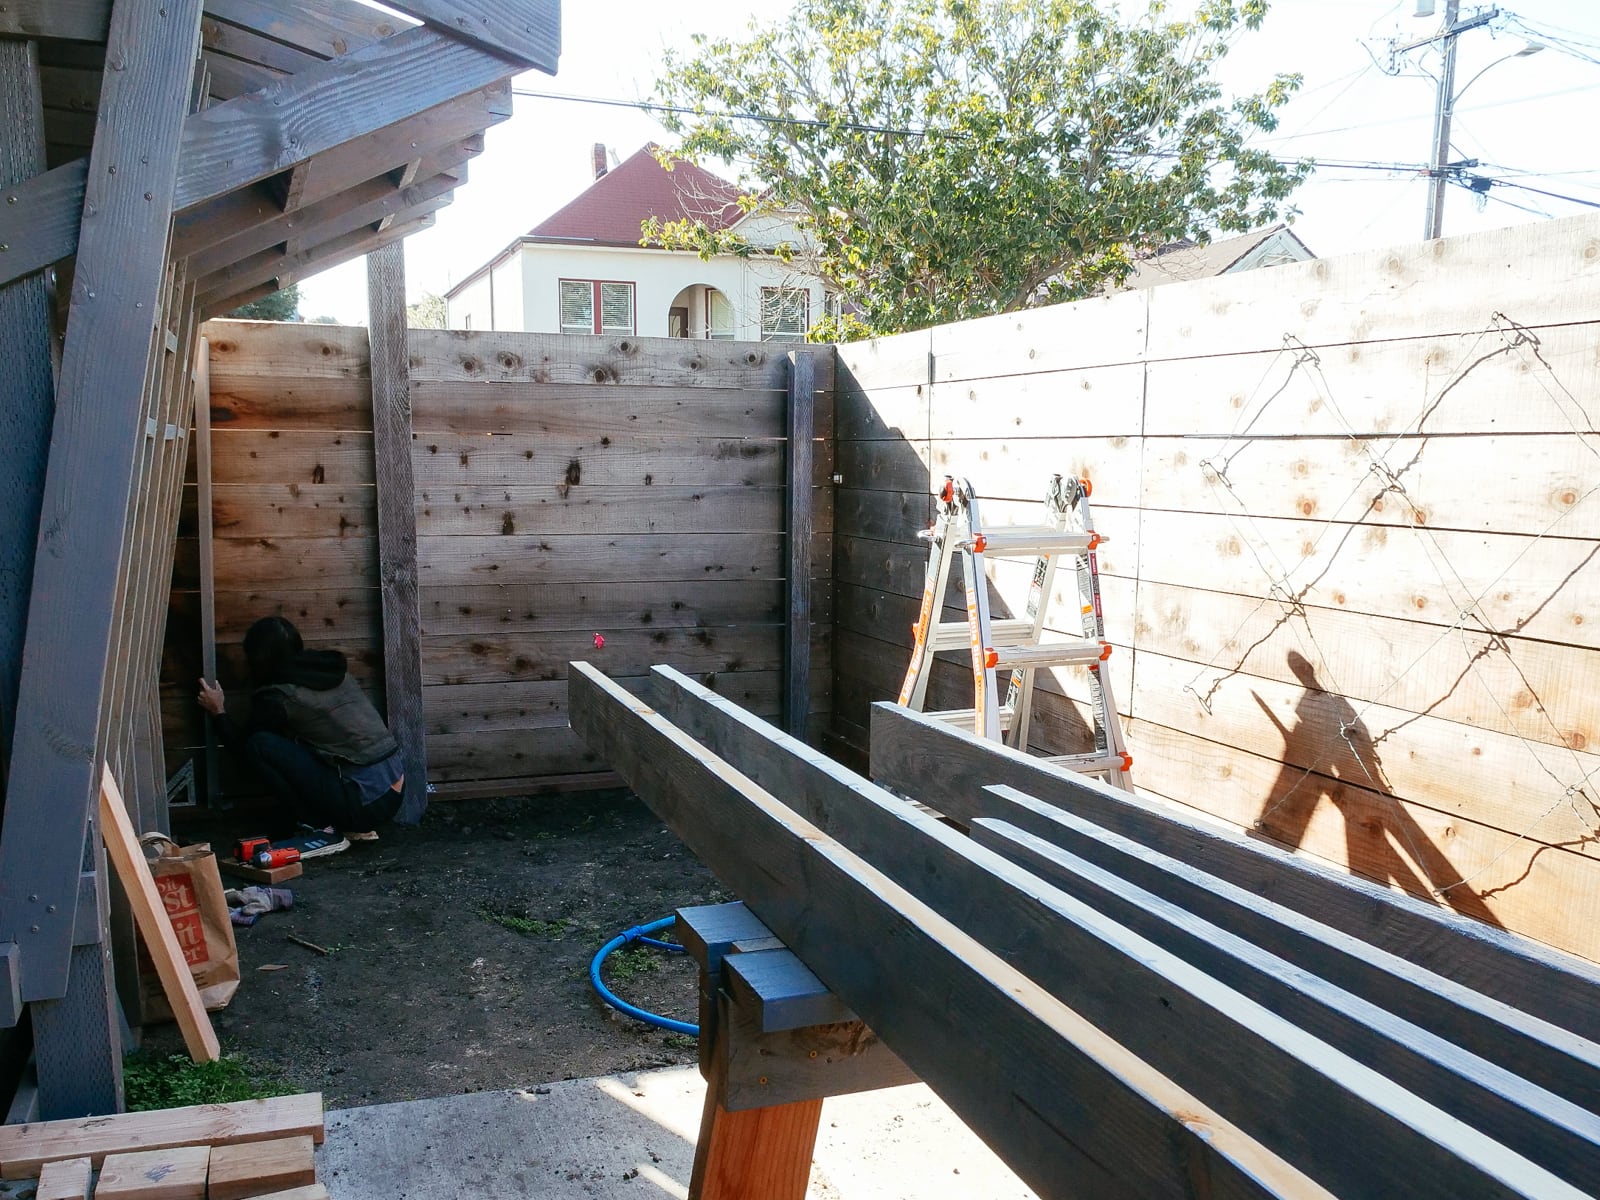
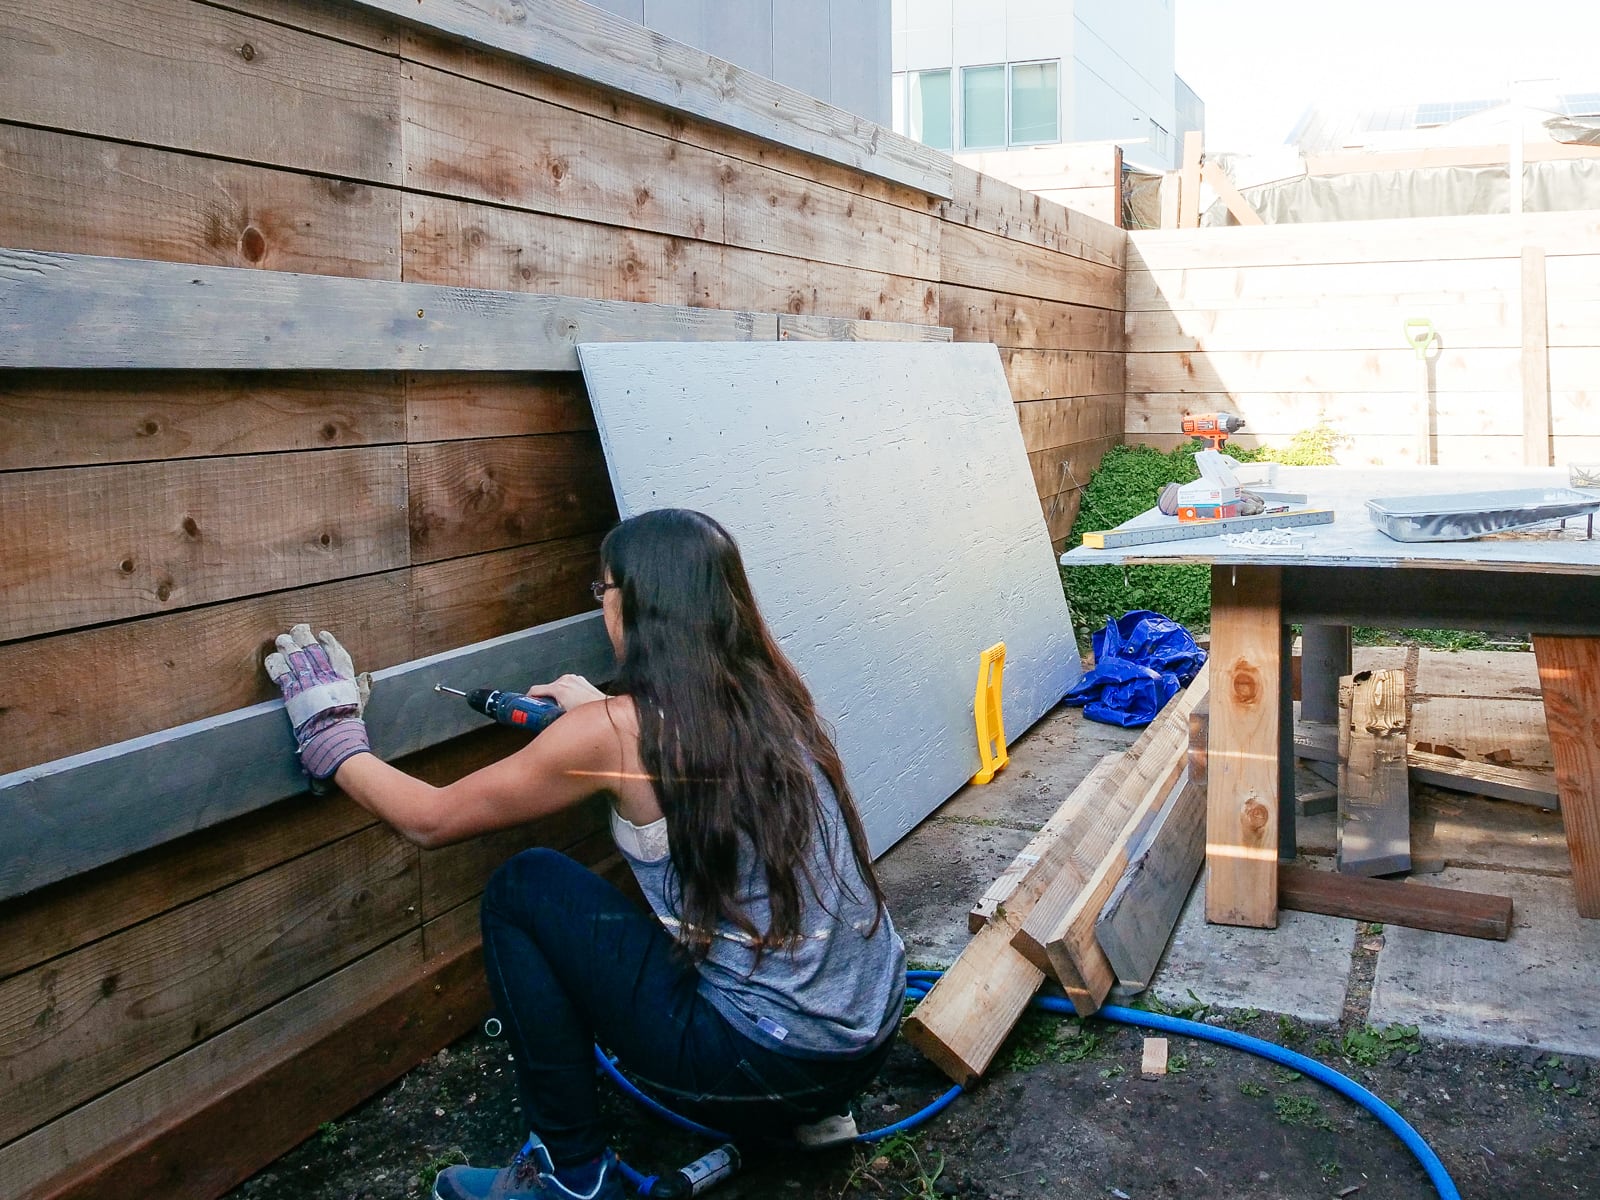
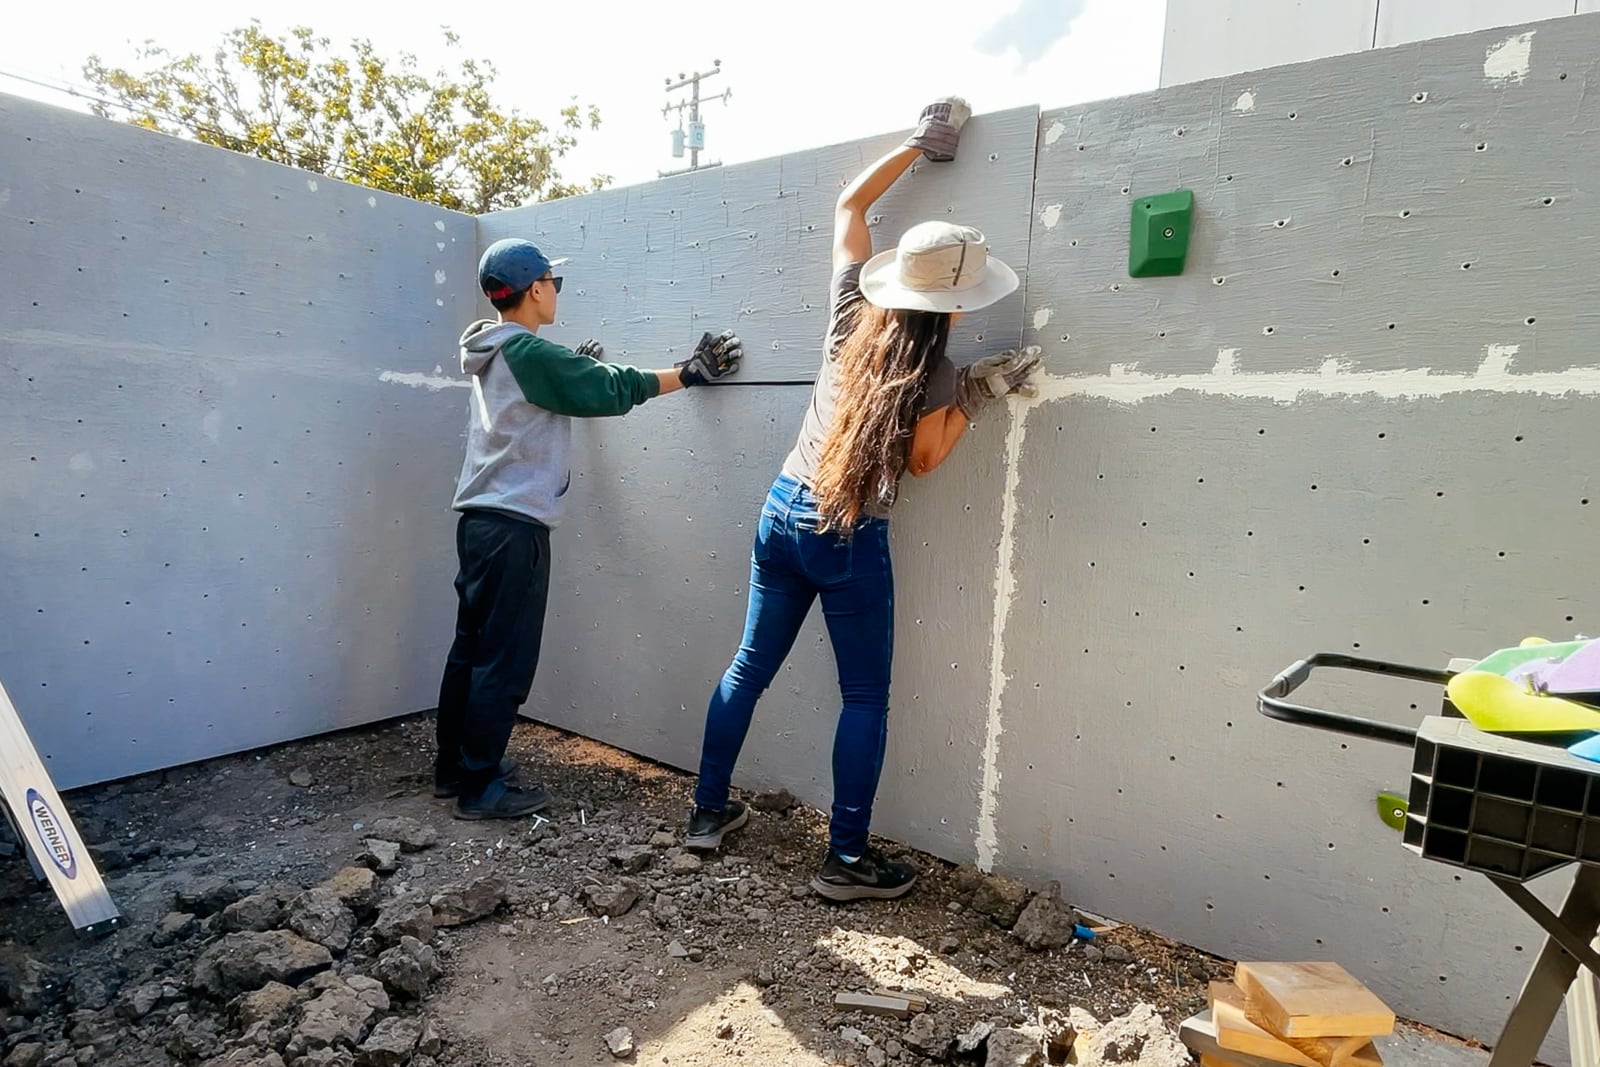
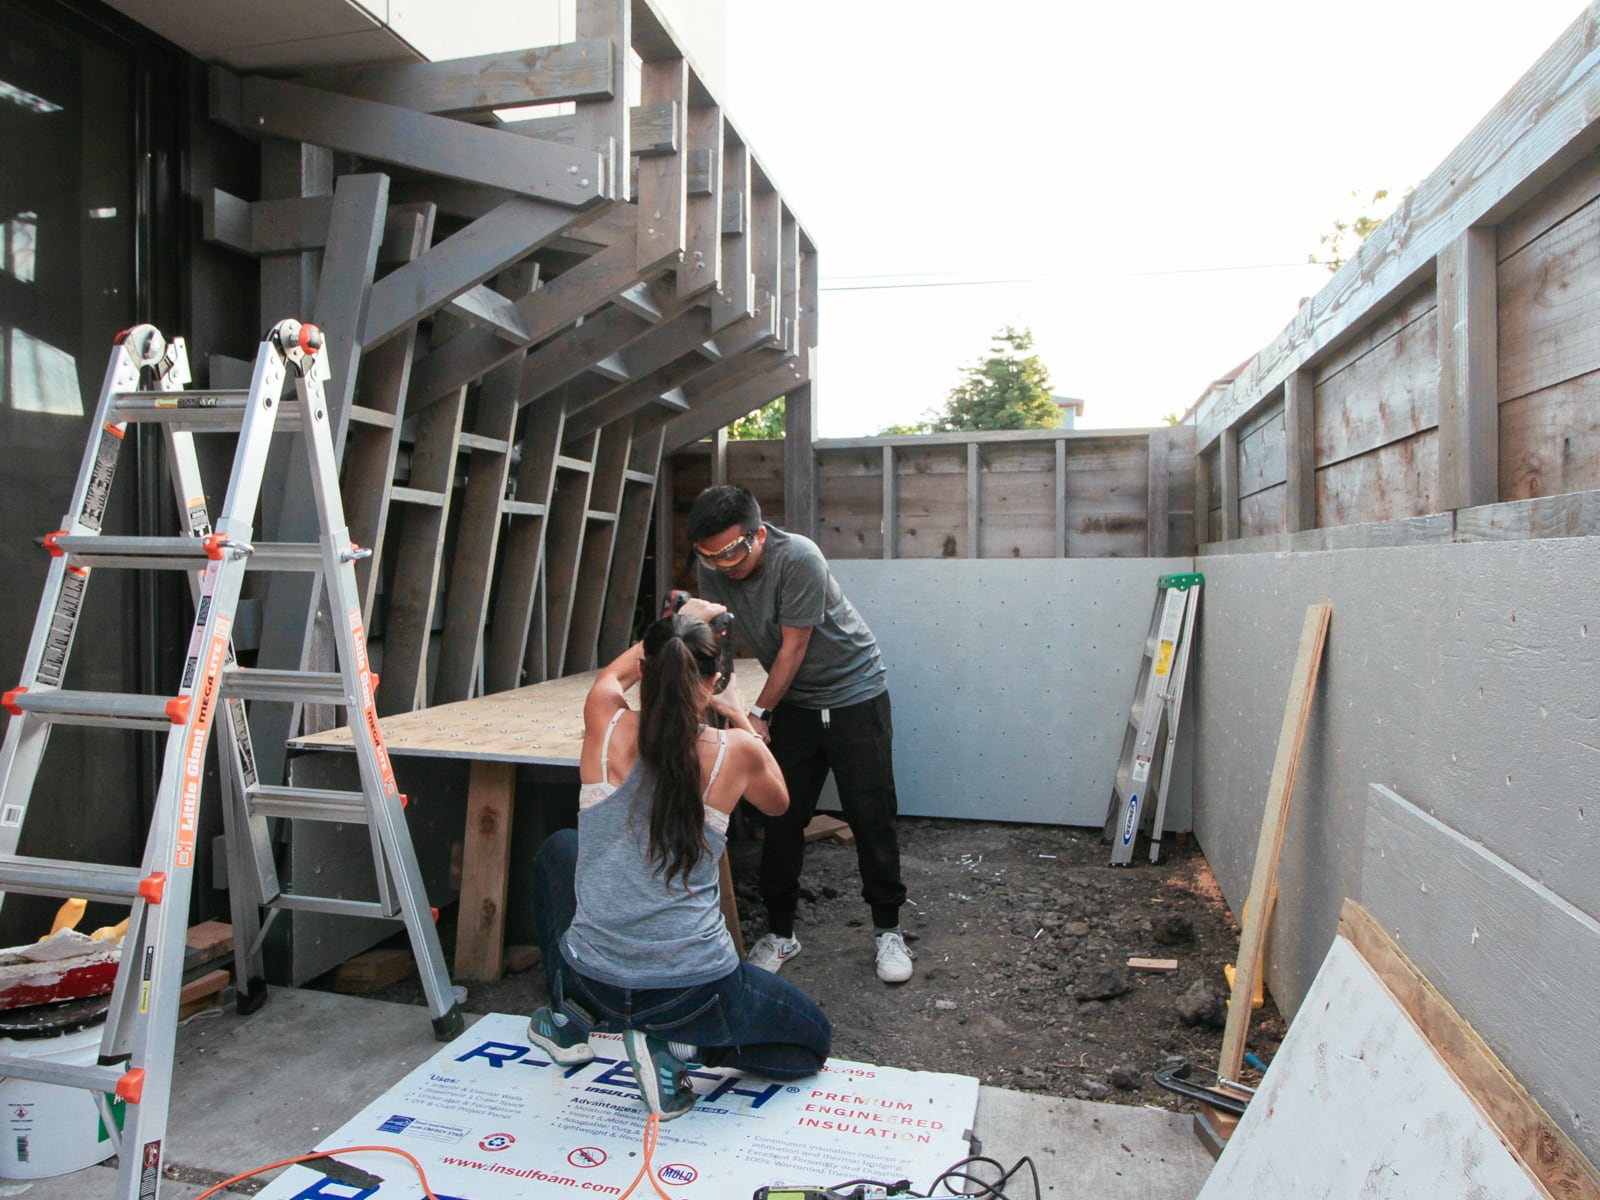
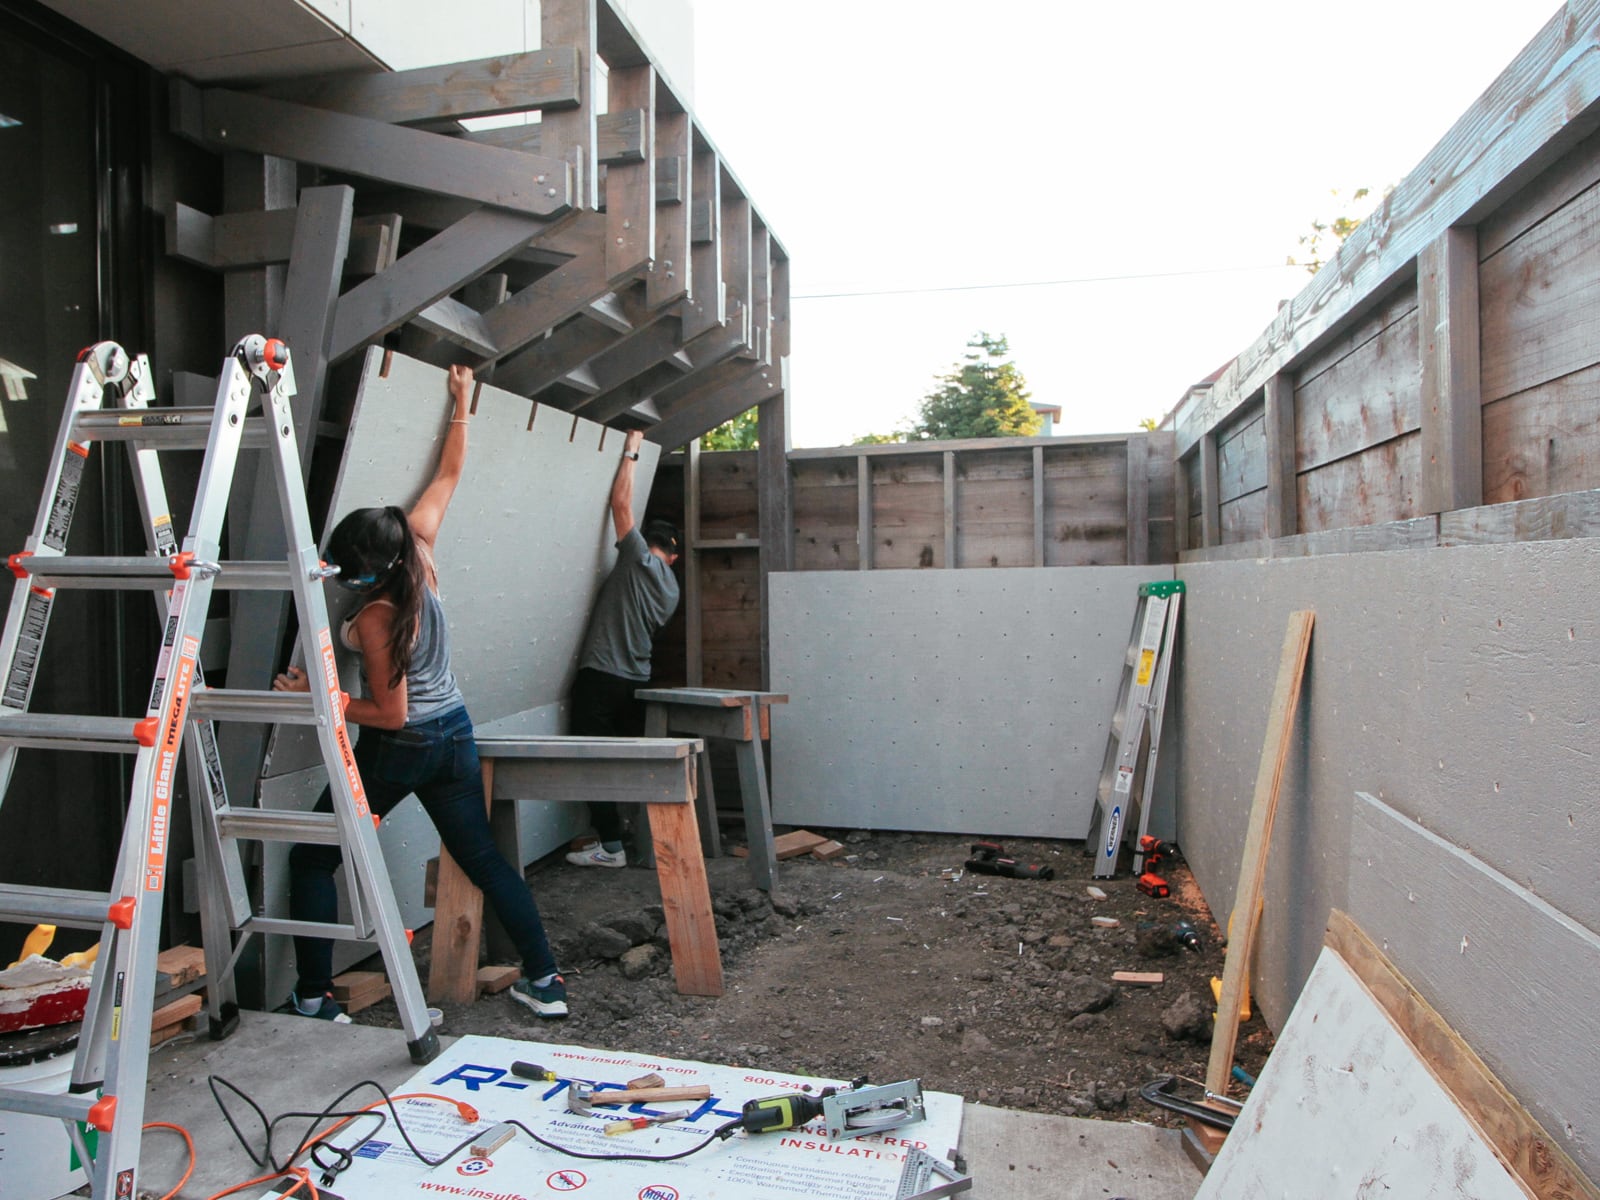
11. Mounting the wall G plywood to frame G
We had decided (when framing) to use our existing fence posts (which were already concreted down 16") as our main frame, with 2x6s added horizontally to carry load to the posts. Because these 2x6s were placed with their 5.5" face flush to the fence, in order to place the plywood flush against them, we needed to drill out holes where the T-nut backs and hold bolts would intersect with the girts.
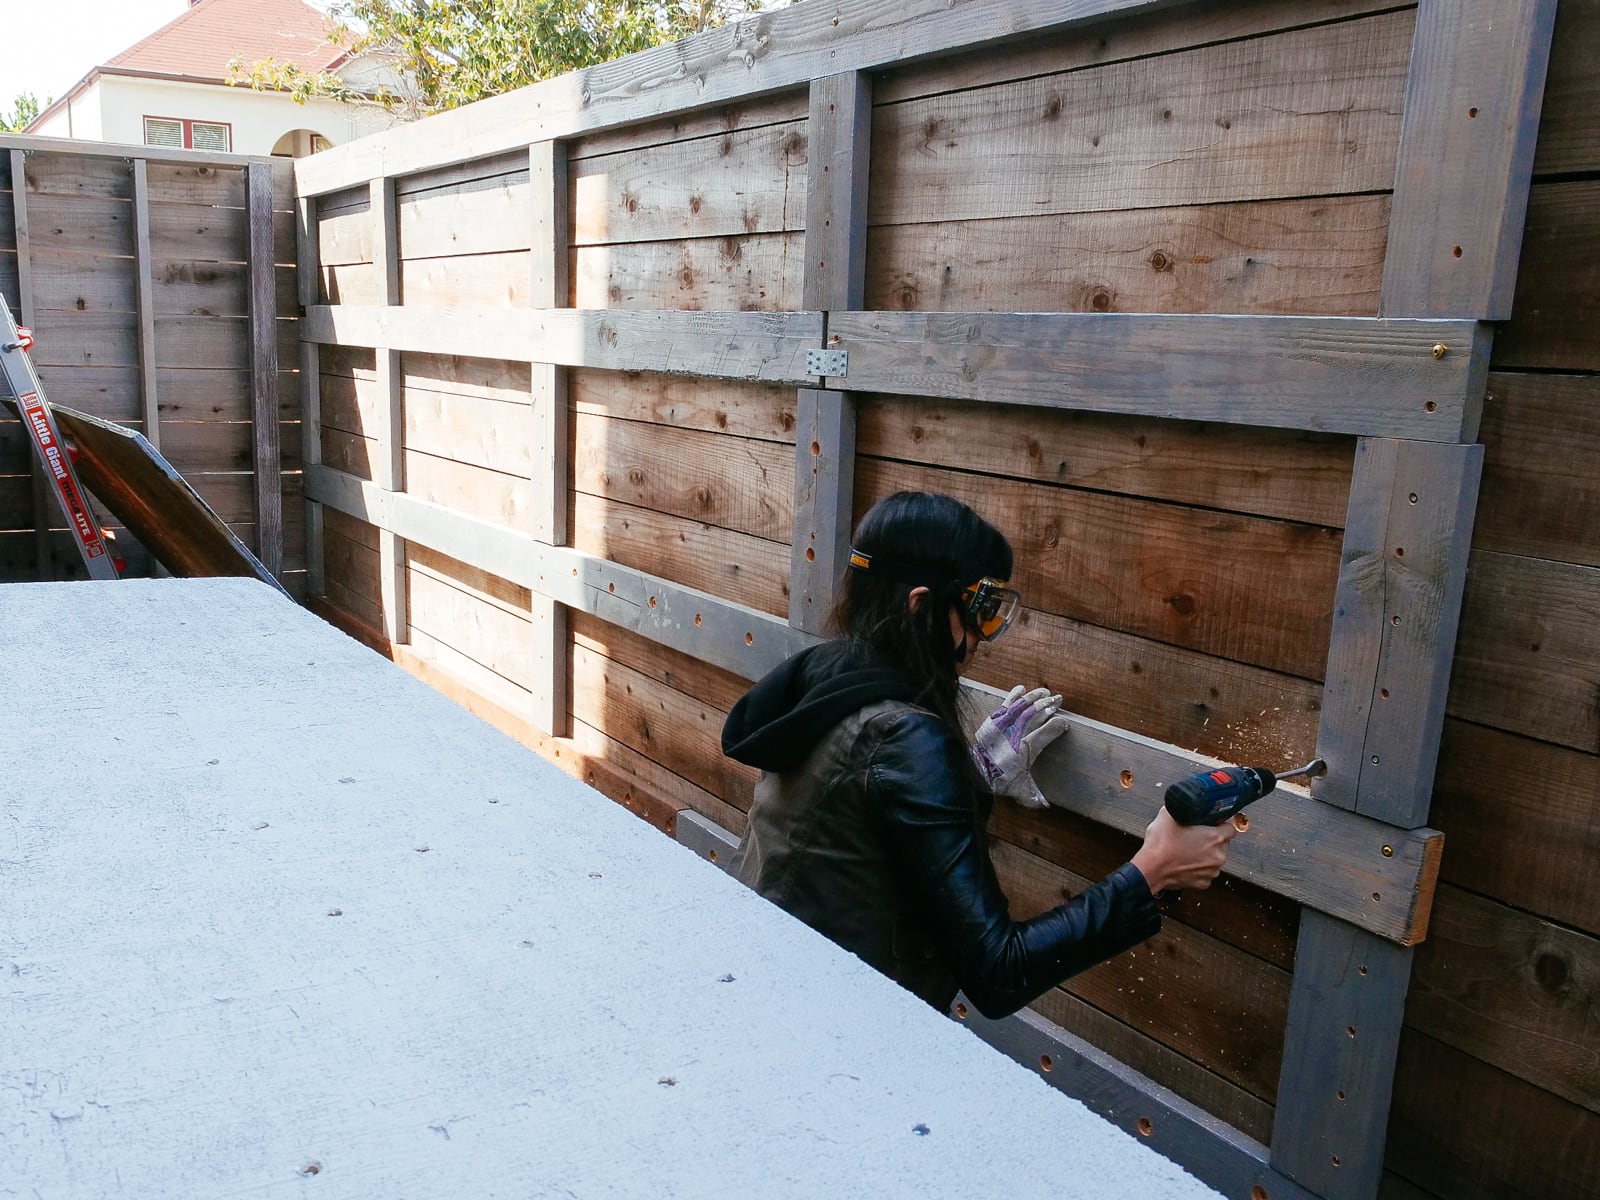
After preparing the framing members, mounting the sheets was straightforward: we used a handful of large structural screws and several handfuls of wood/decking screws per sheet to attach the plywood both directly into the fenceposts and to the girts.
12. Mounting the wall F plywood to frame F
Mounting the surface for the right half of wall F was even more straightforward: because the 2x6 framing stringers were mounted in a standard balloon-frame configuration, we had been able to drill our T-nut holes to avoid hitting the stringers. We mounted the sheets using structural screws and wood/decking screws both directly to the posts and to the stringers across the sheet.
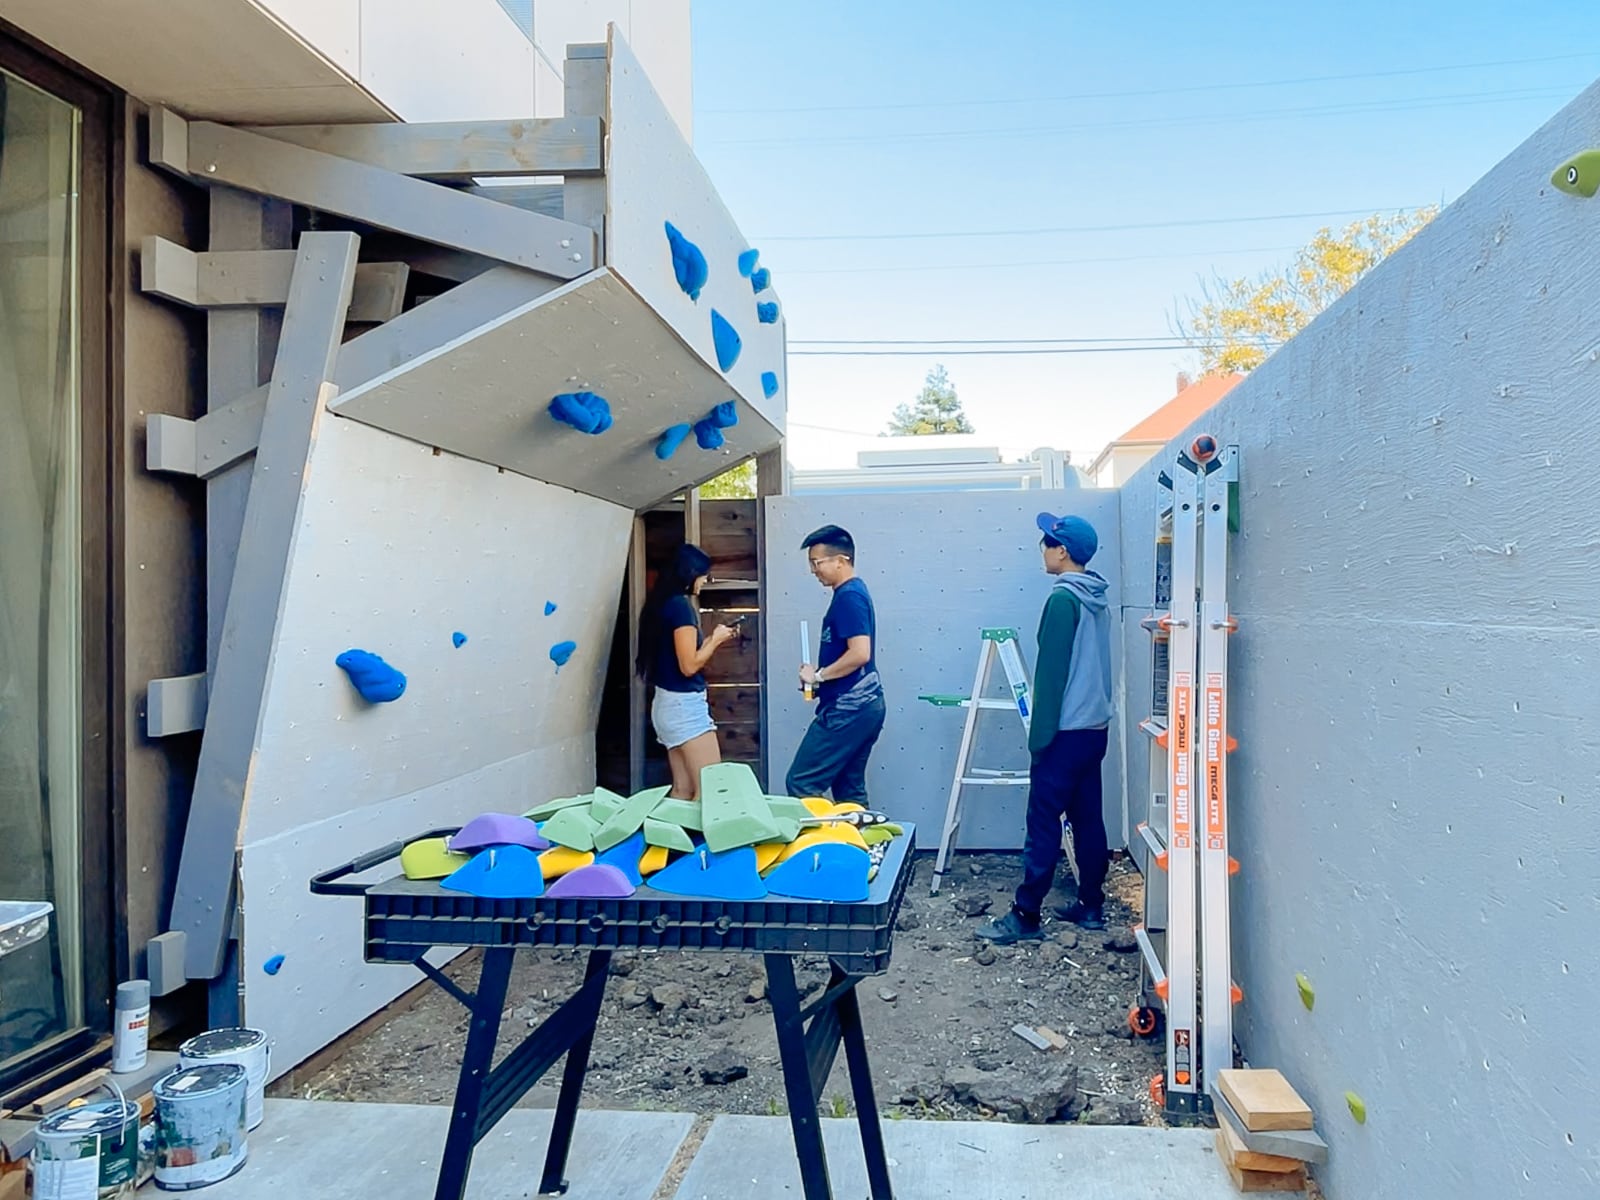
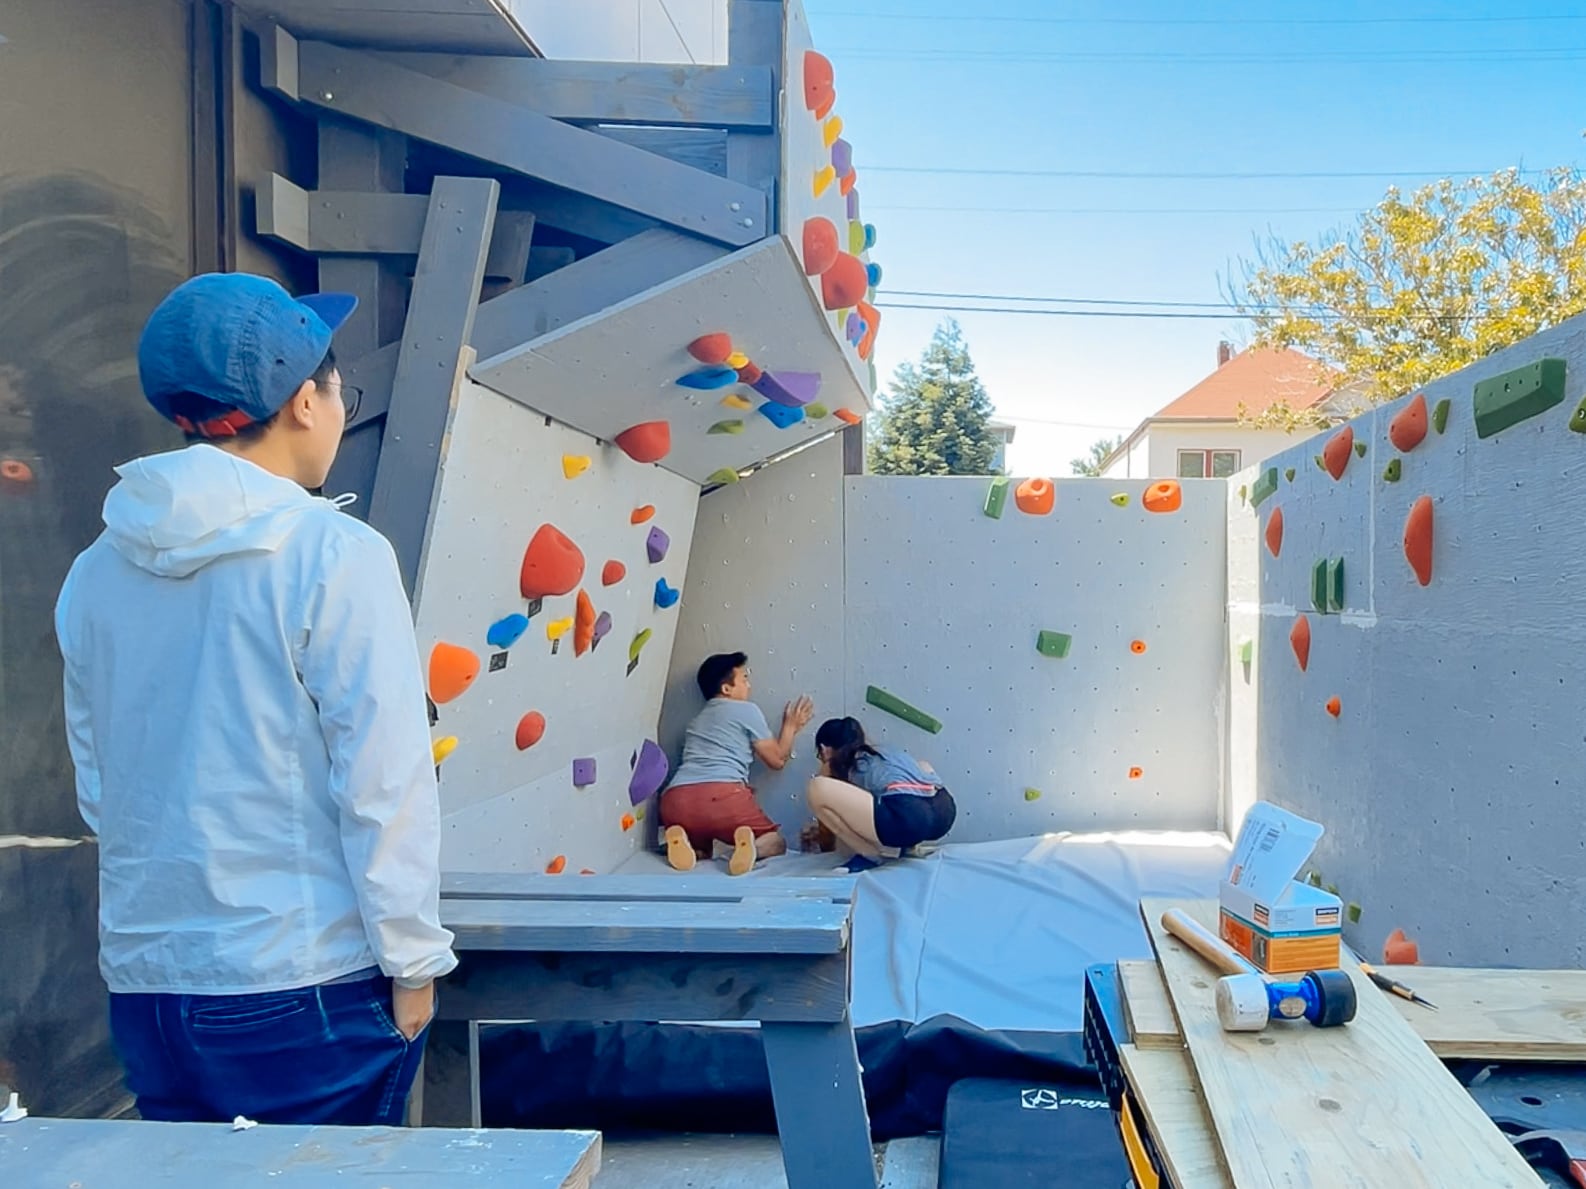
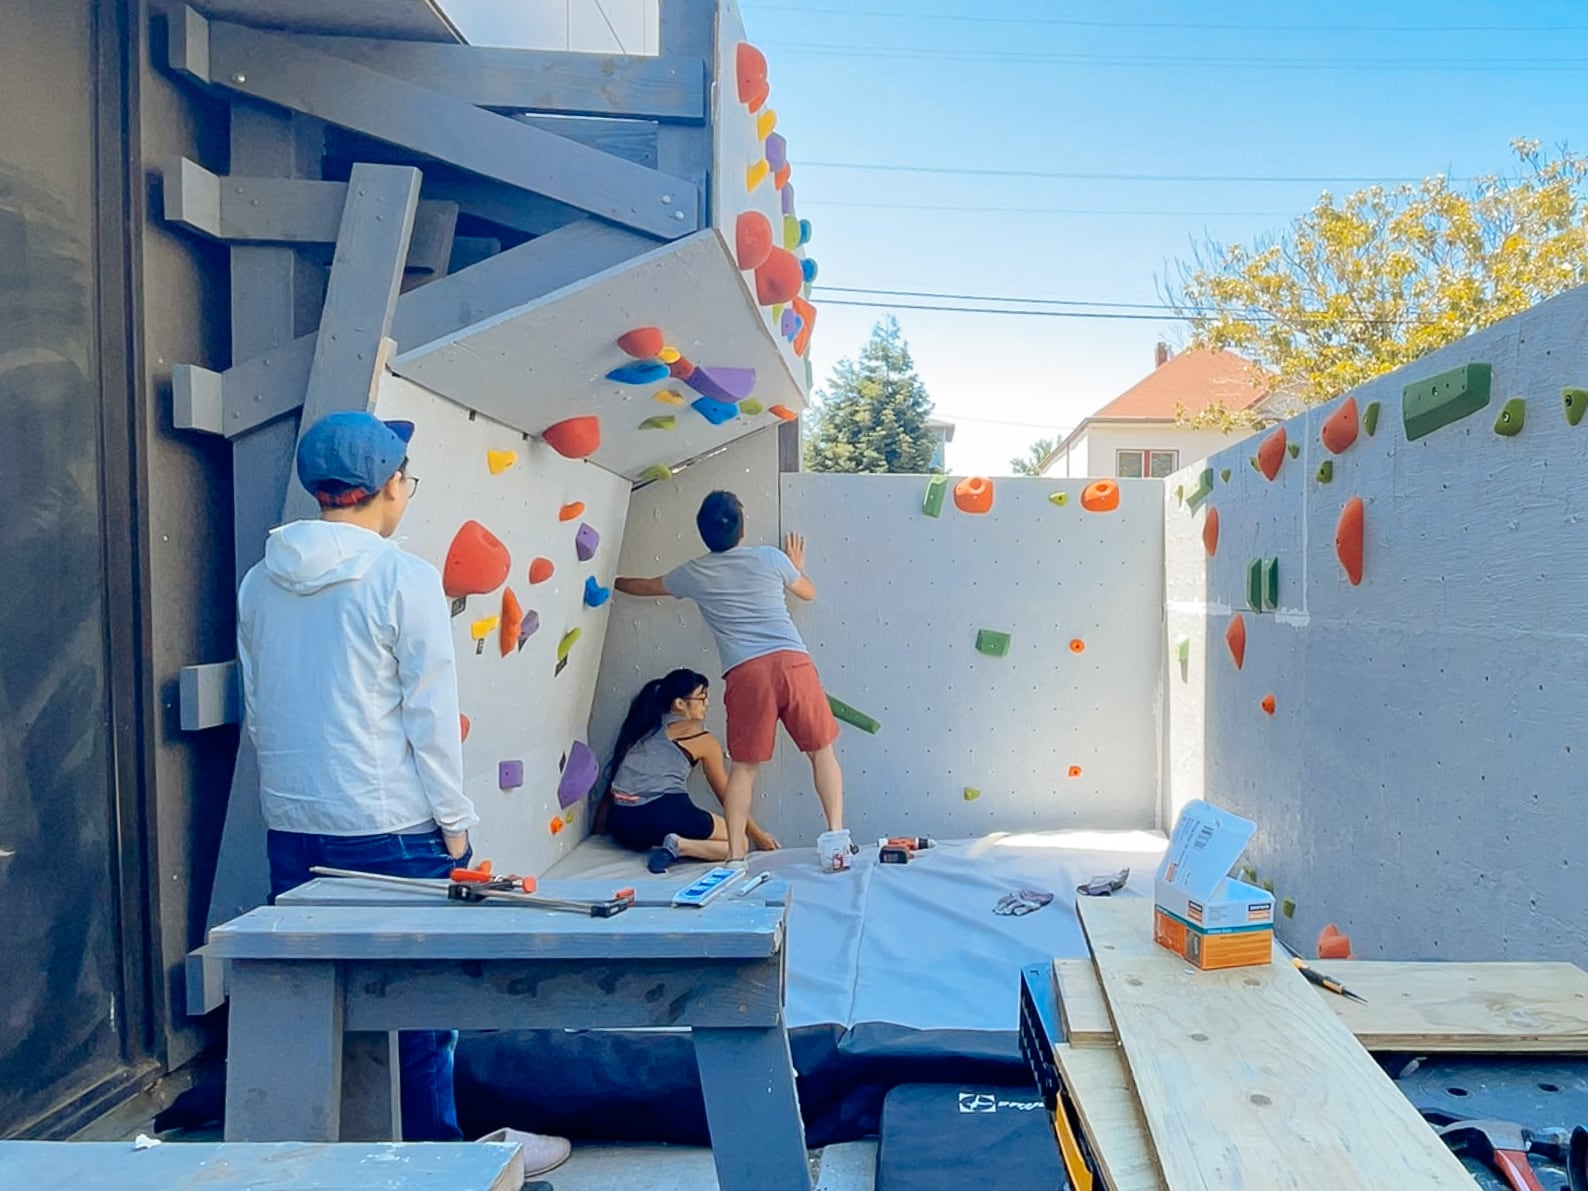
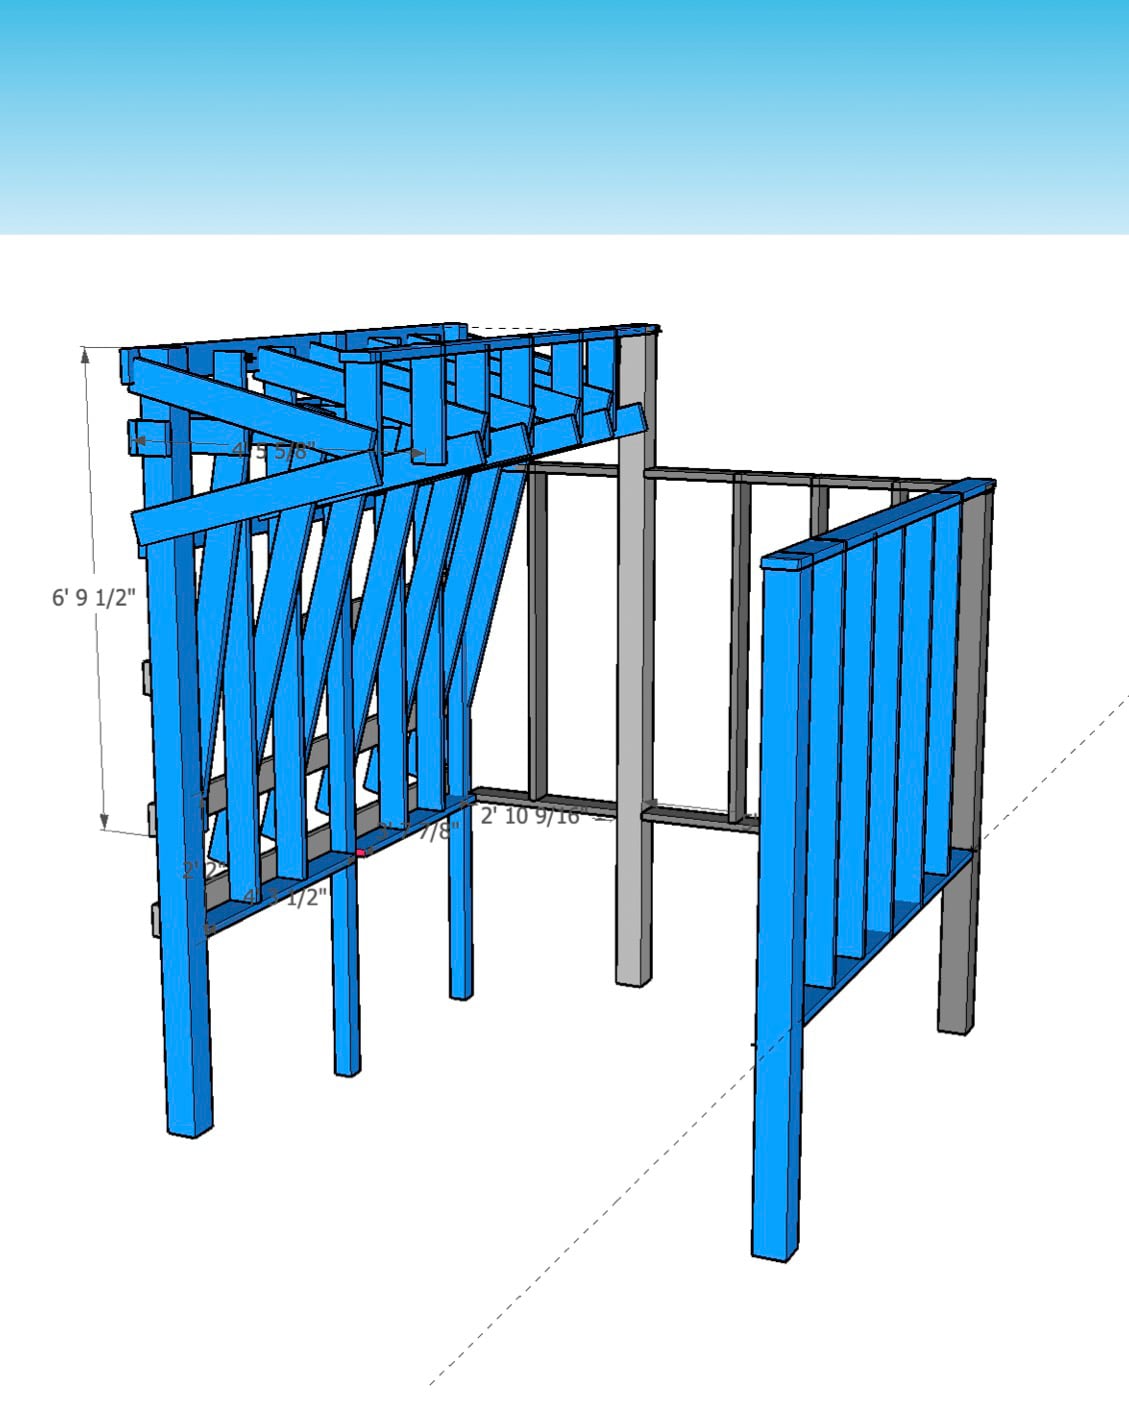
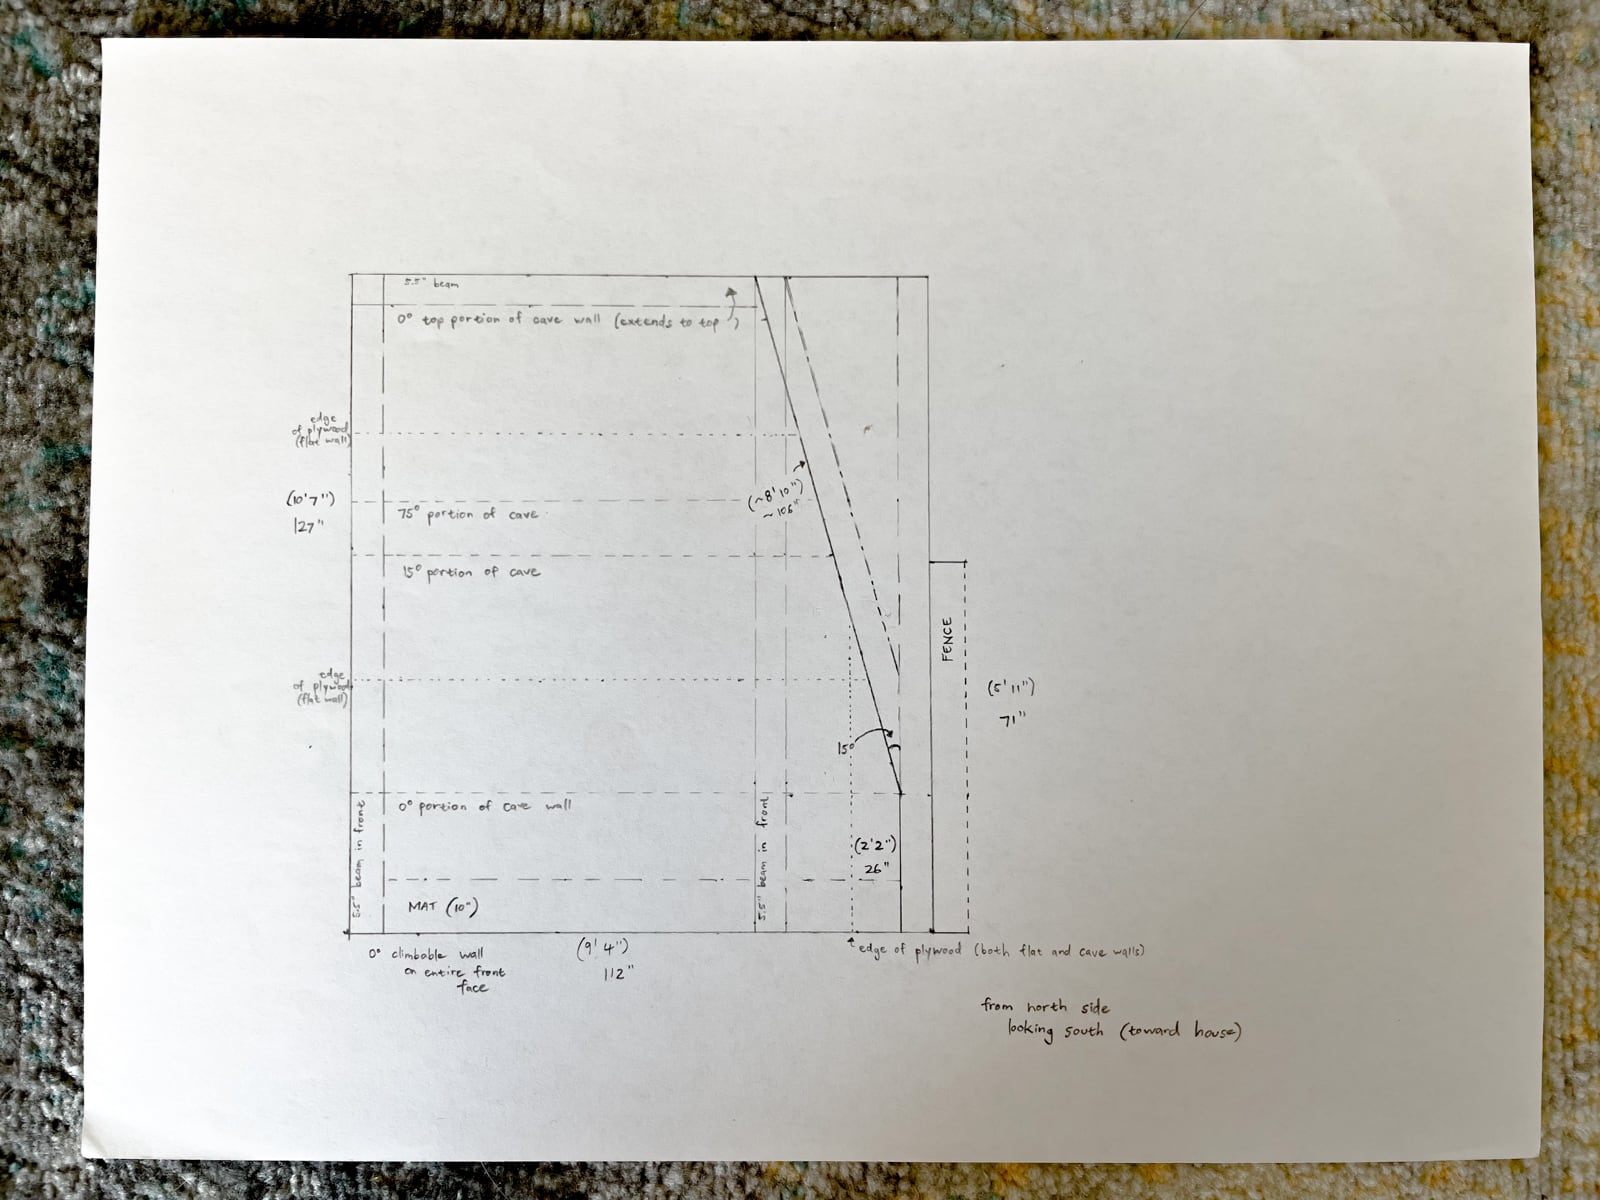
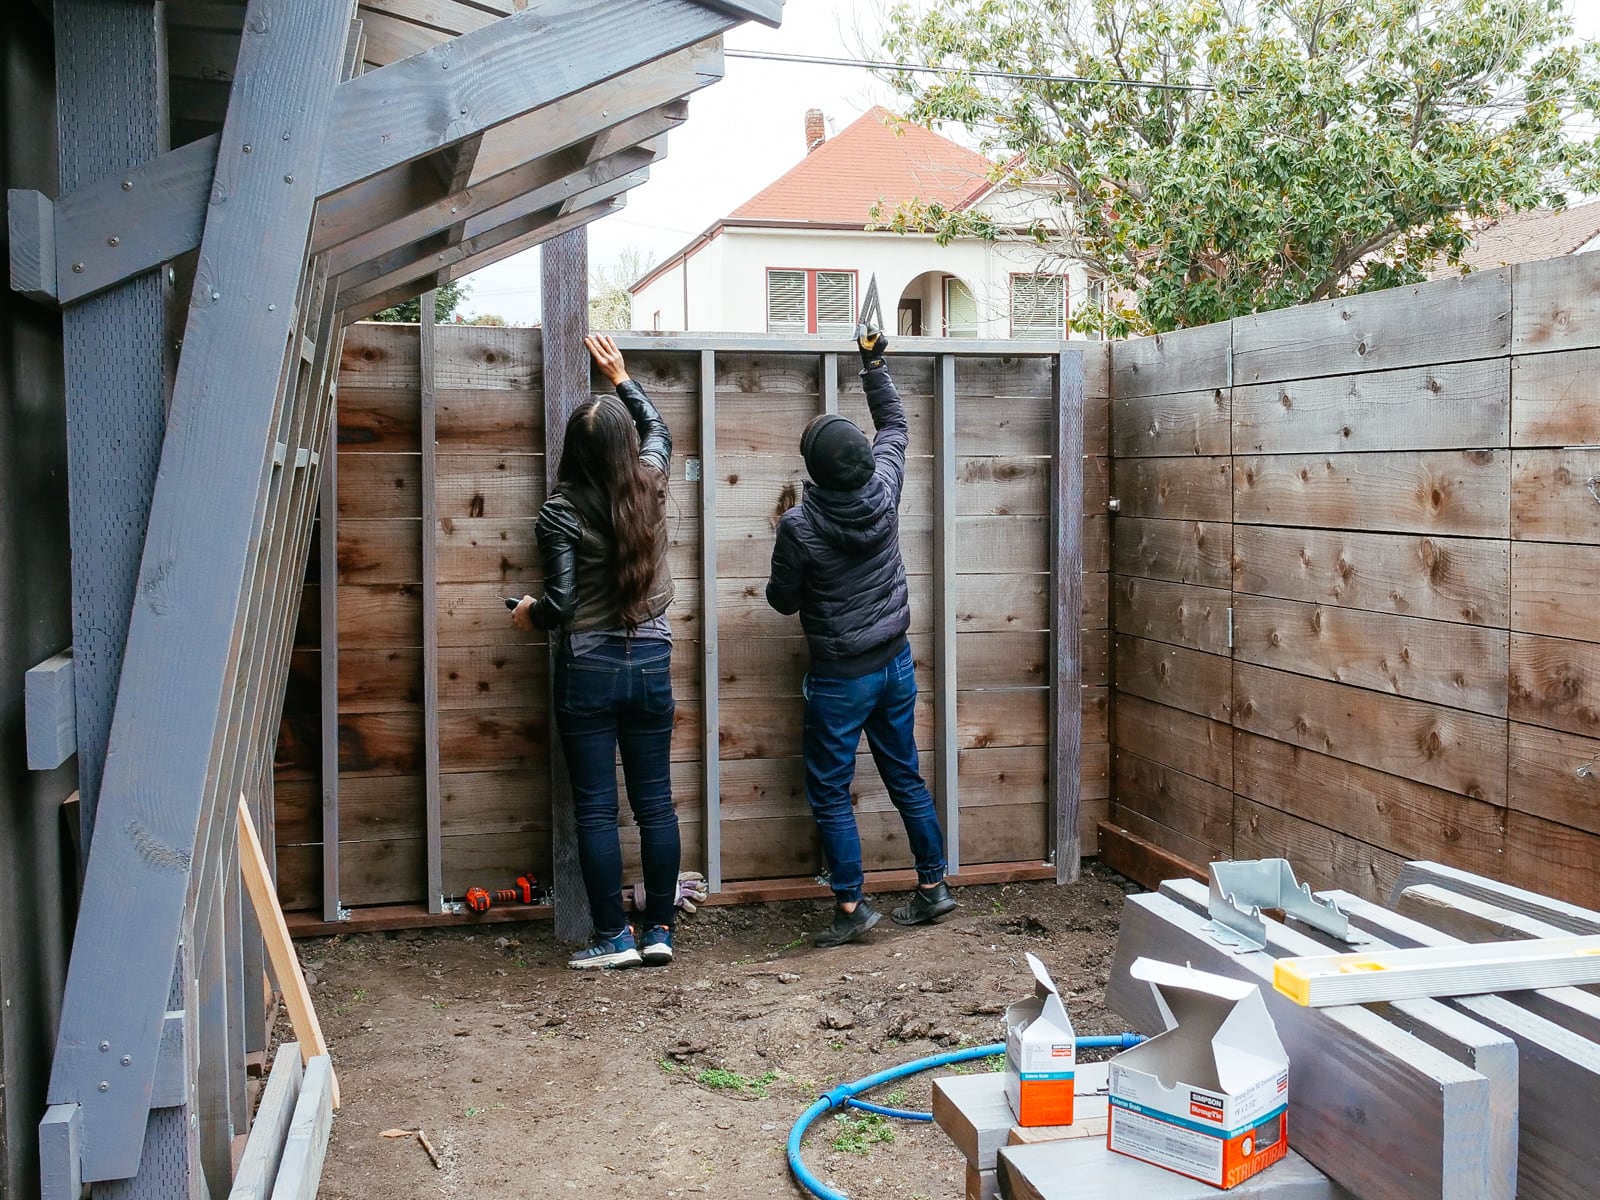
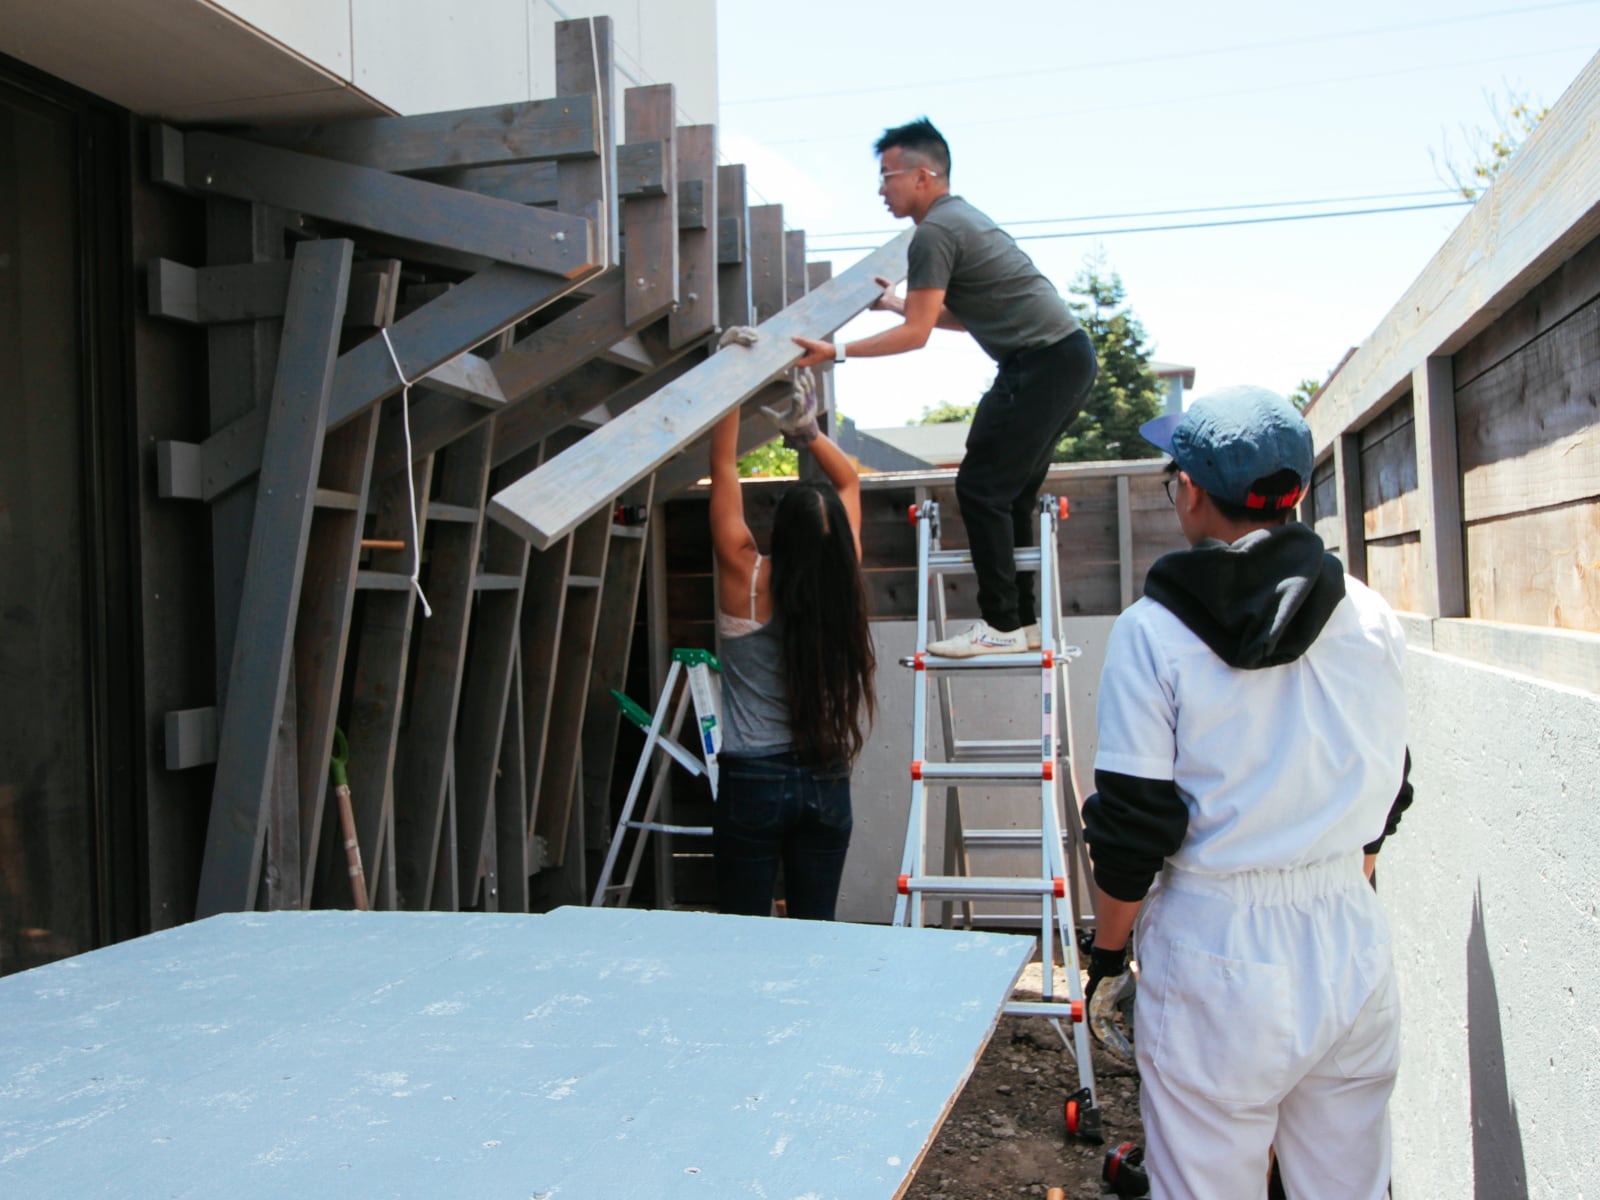
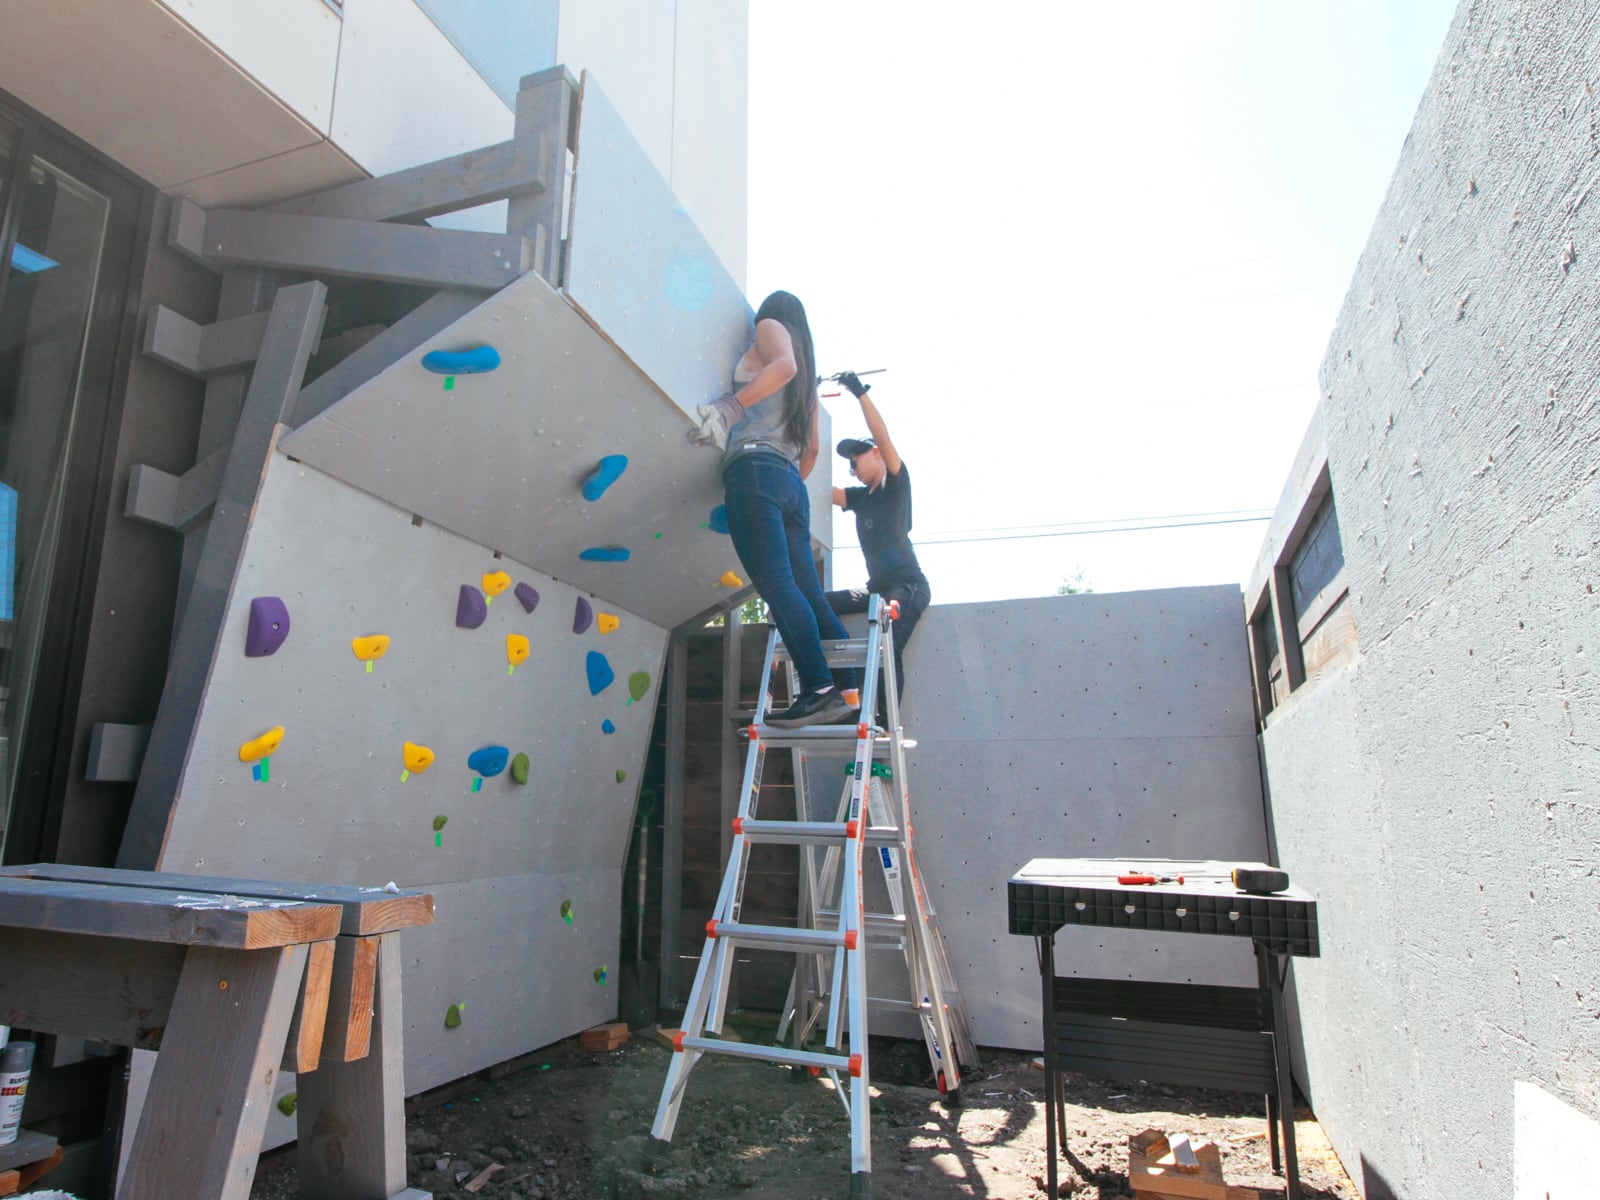
13. Mounting the WALL·E plywood to FRAME·E
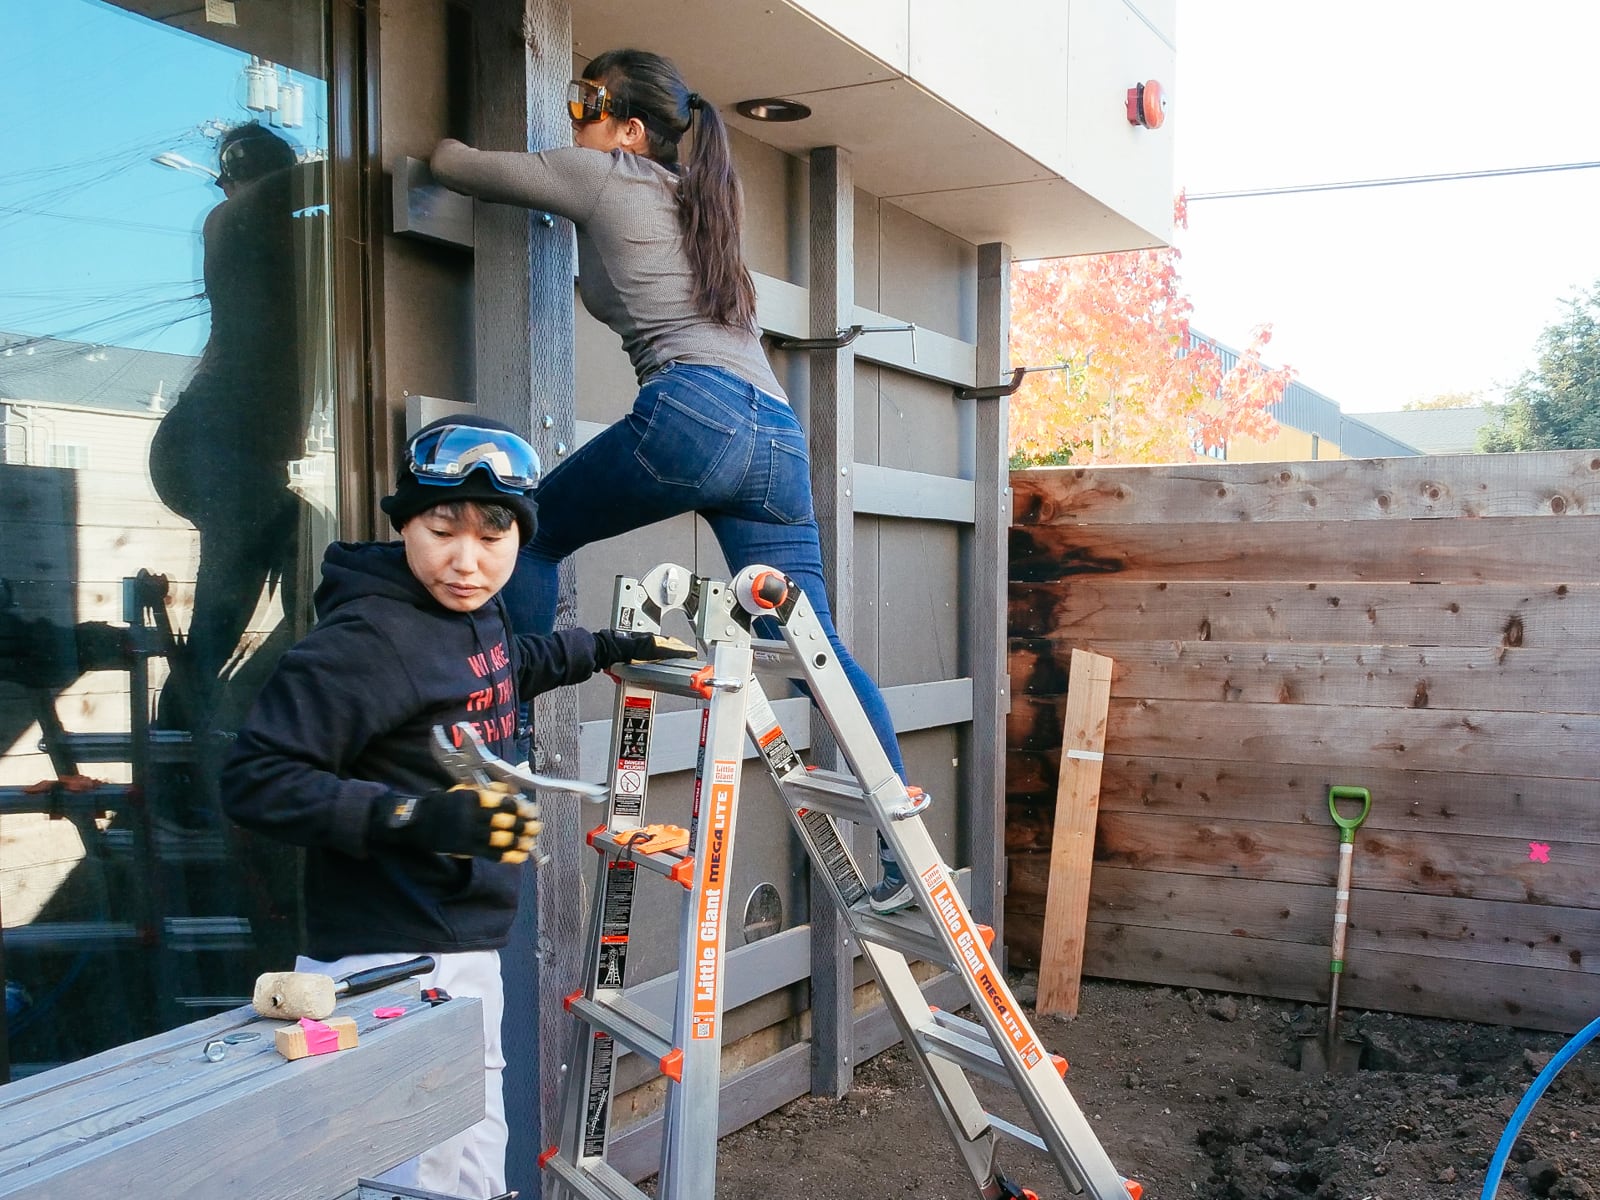
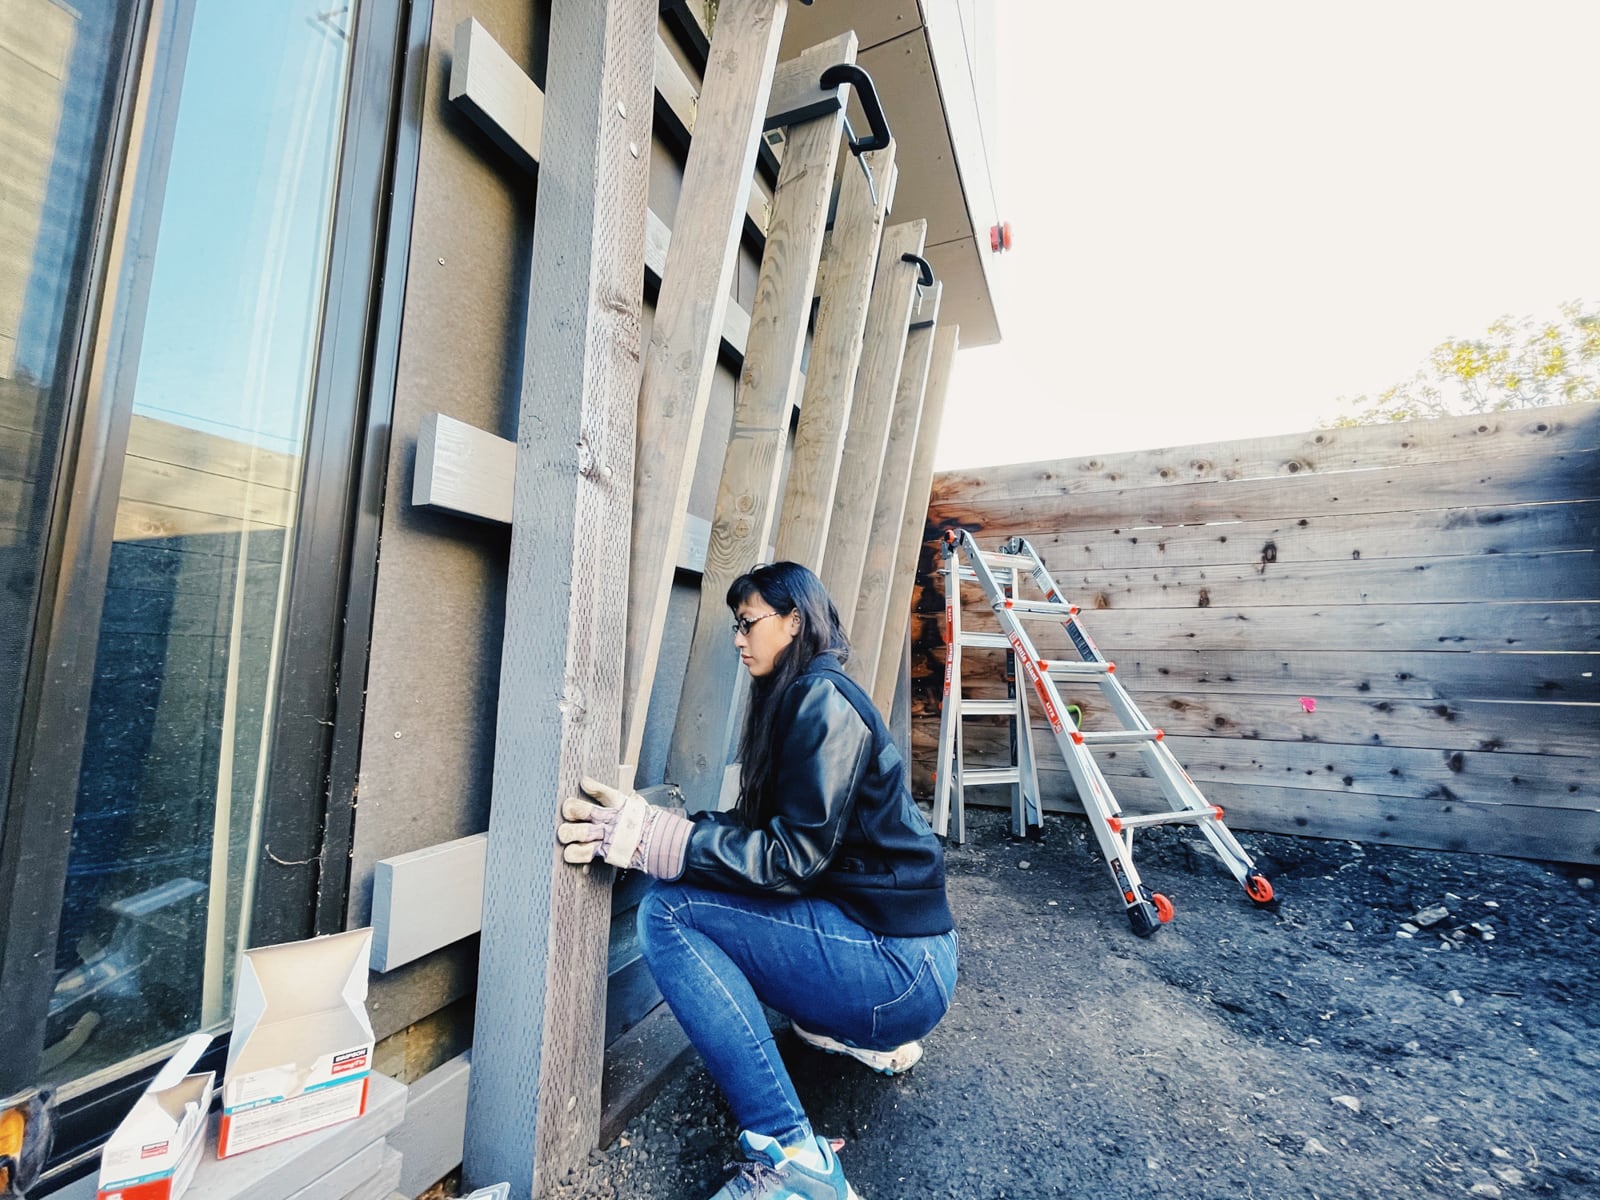
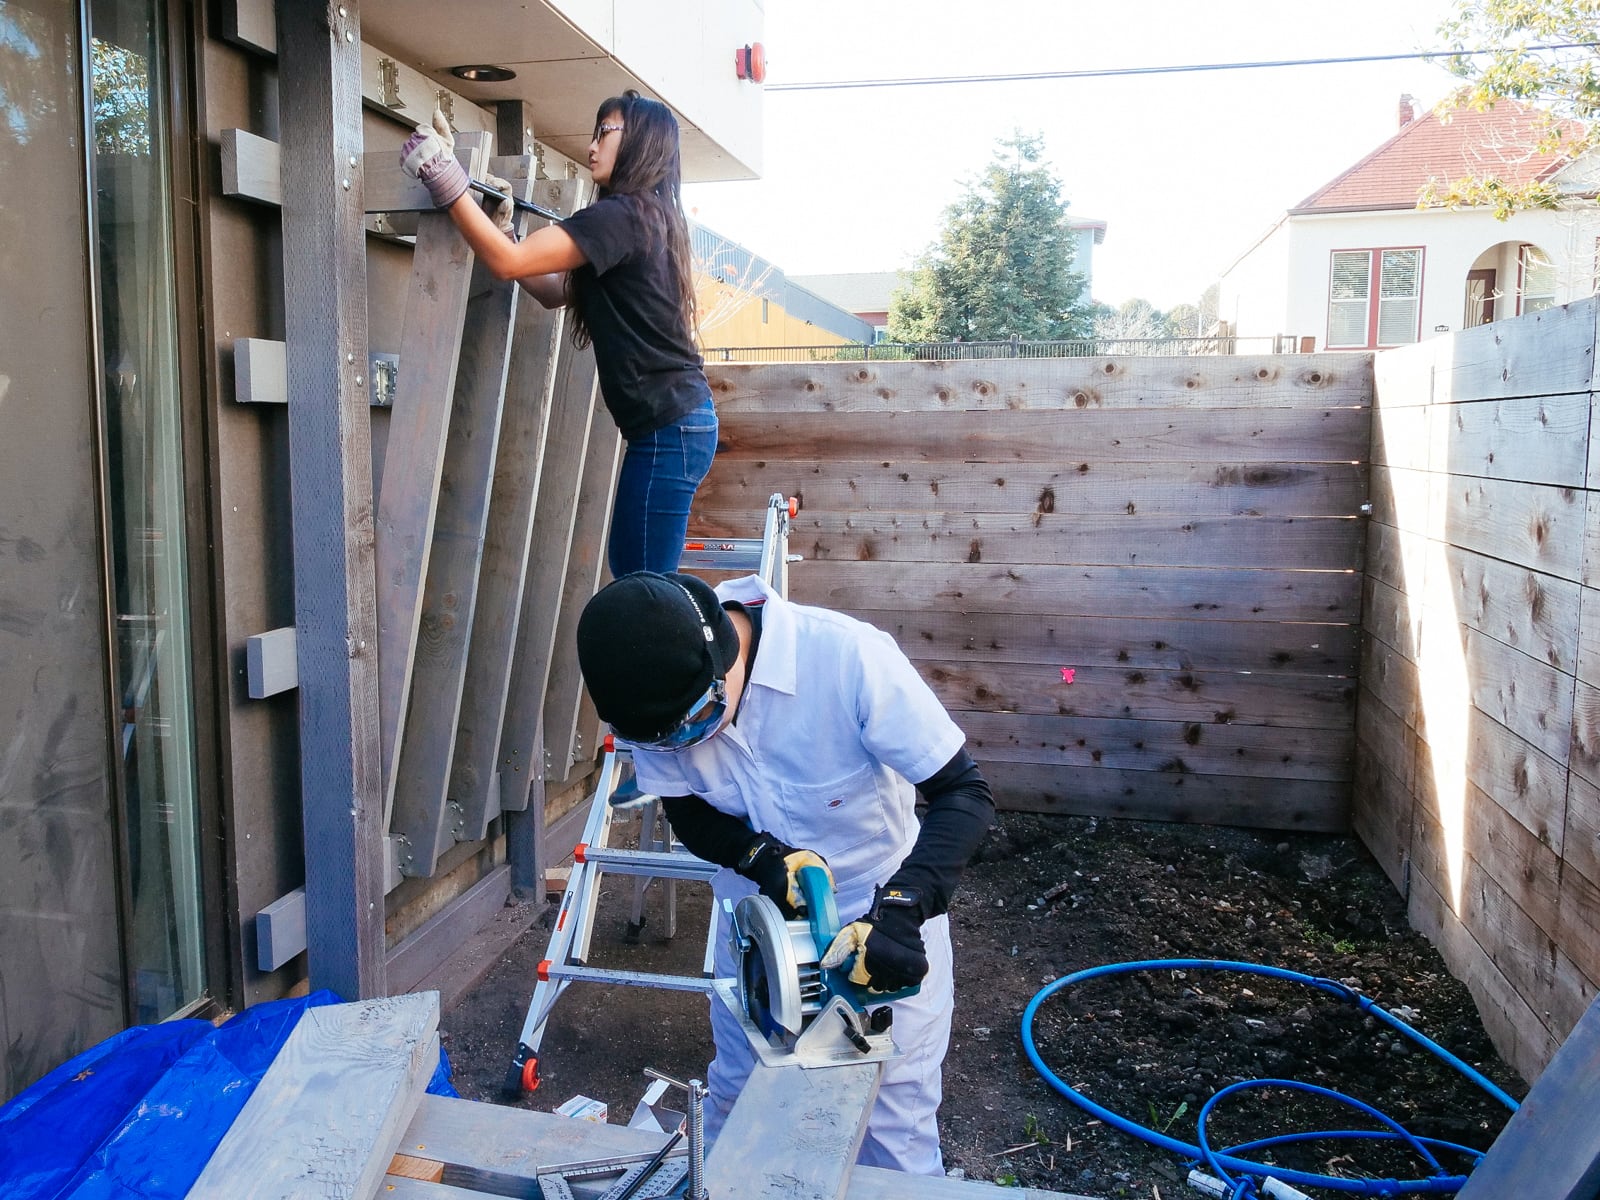
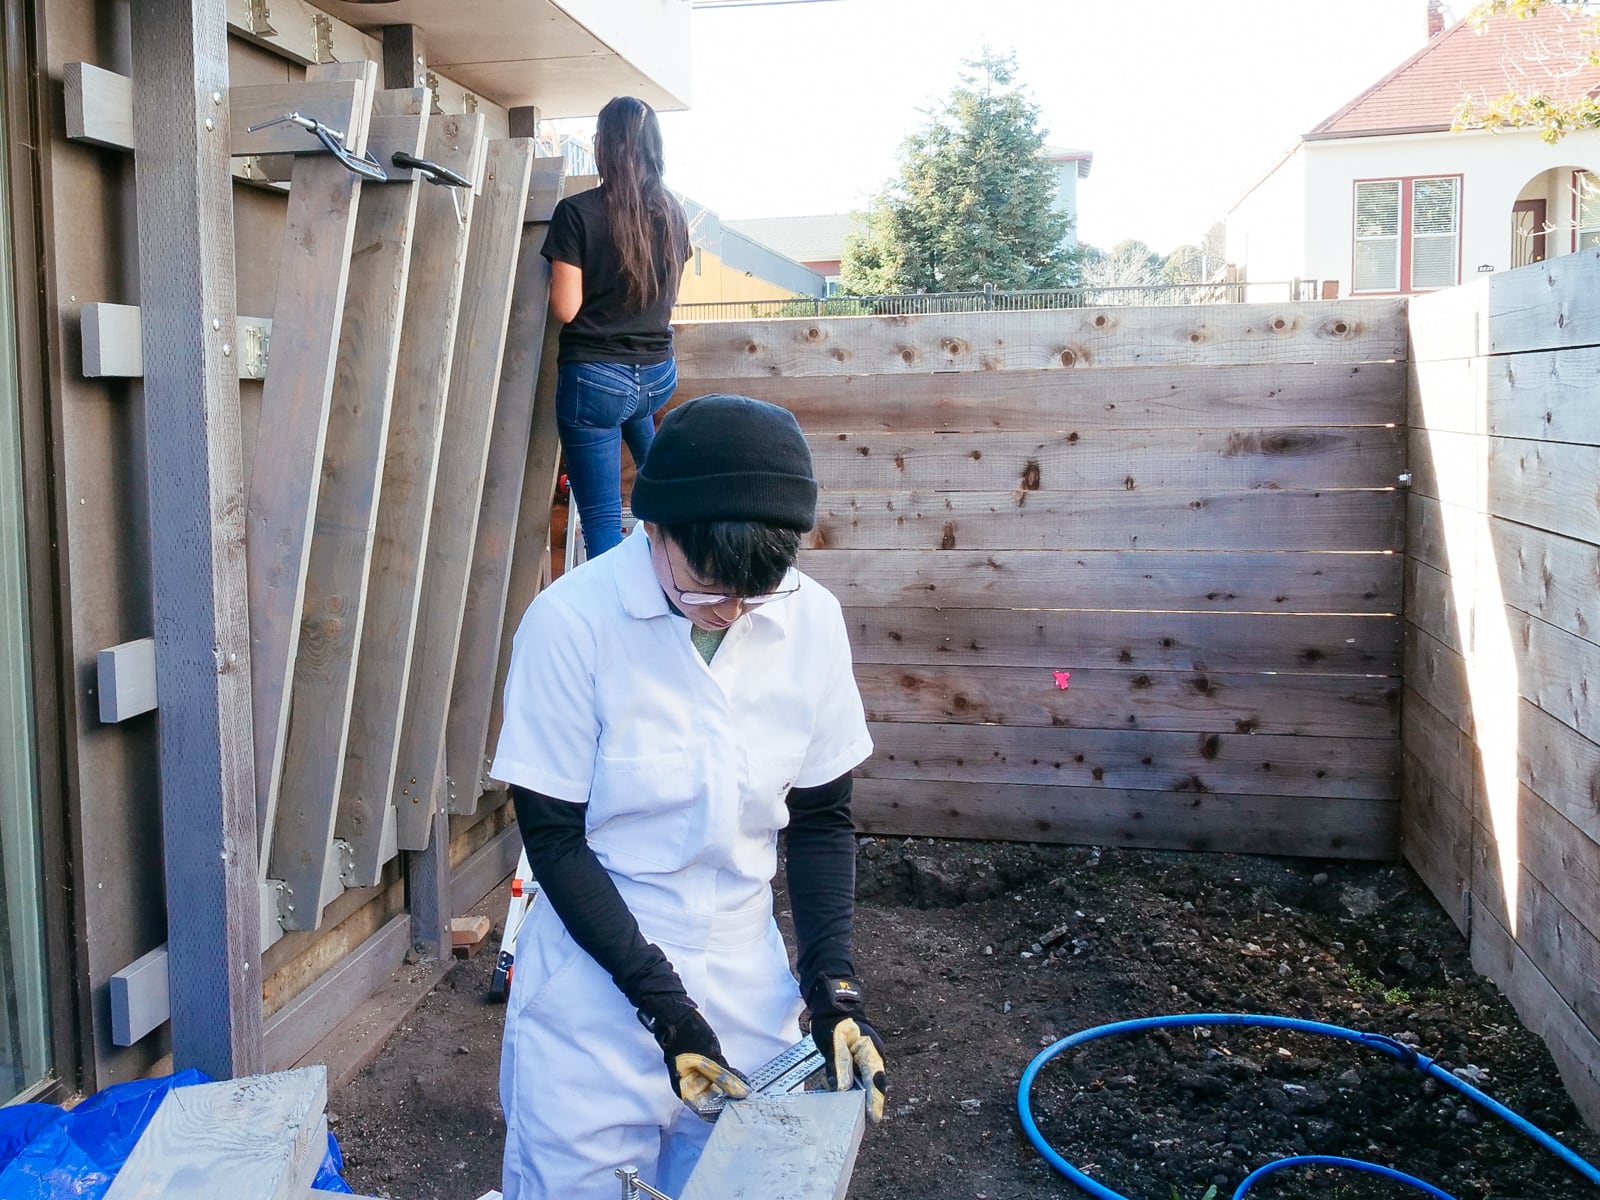
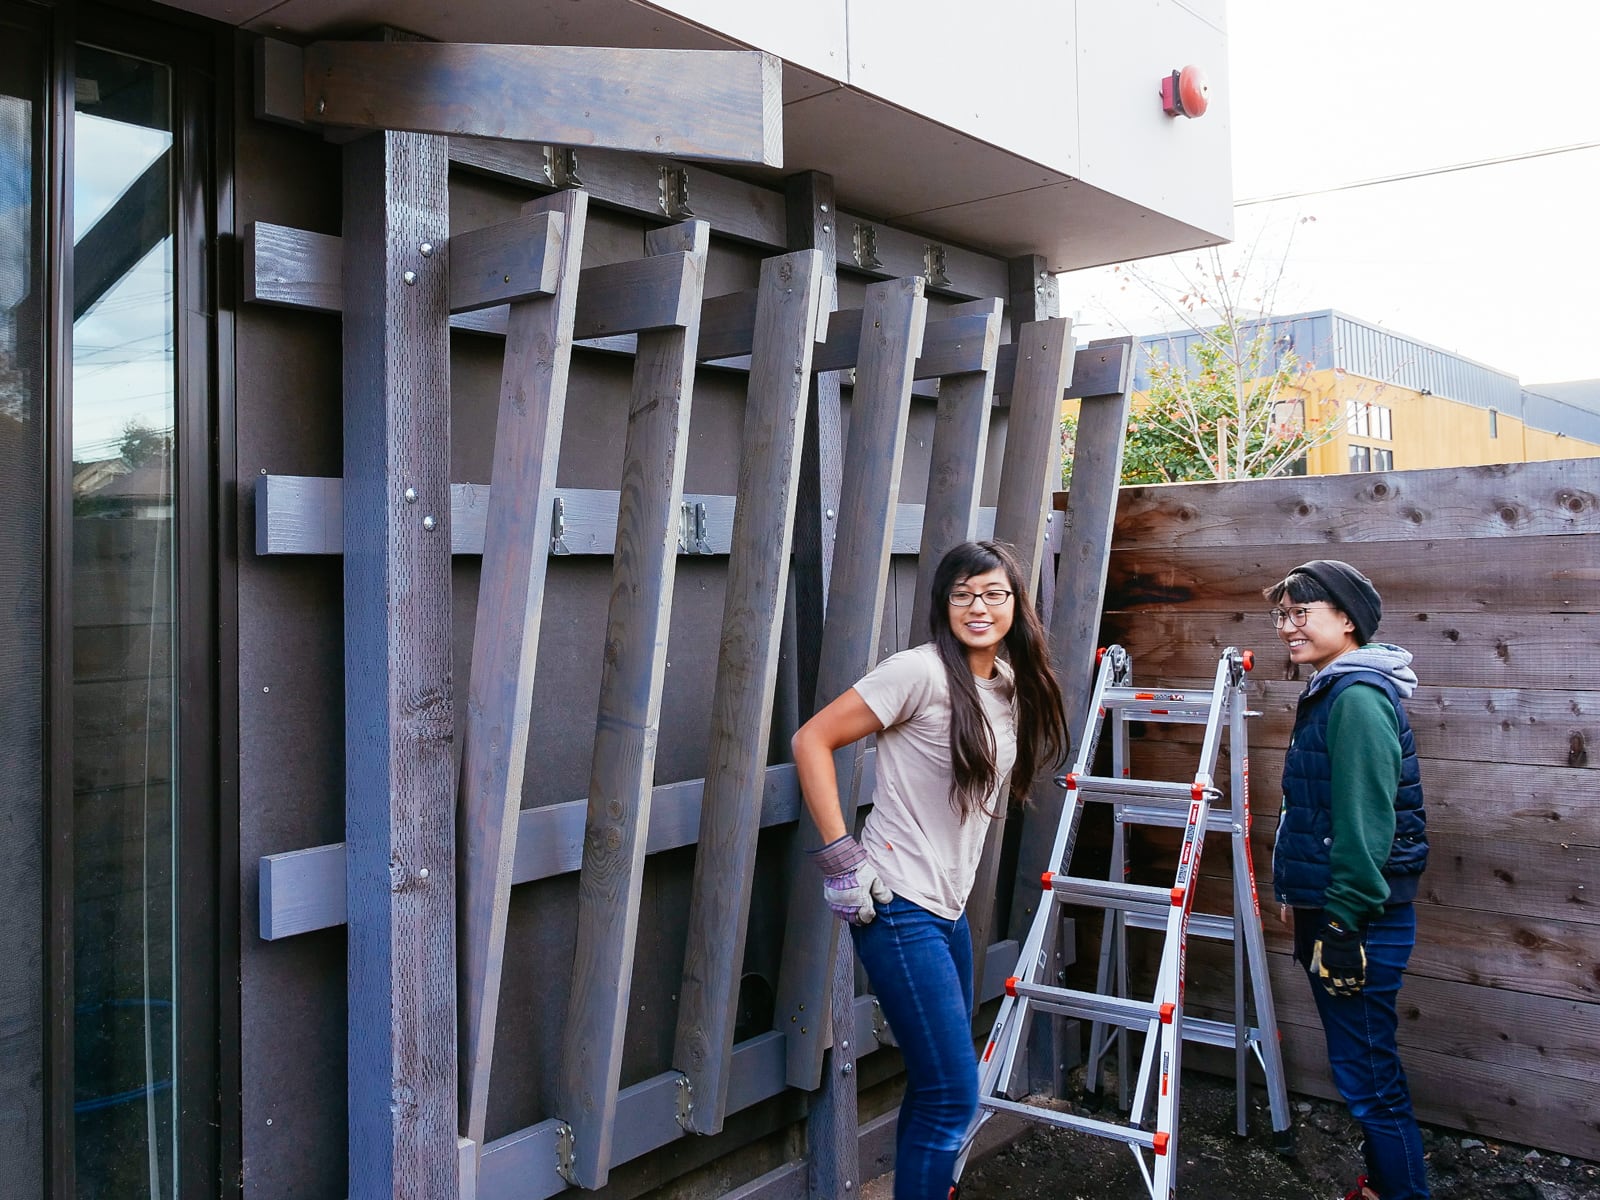
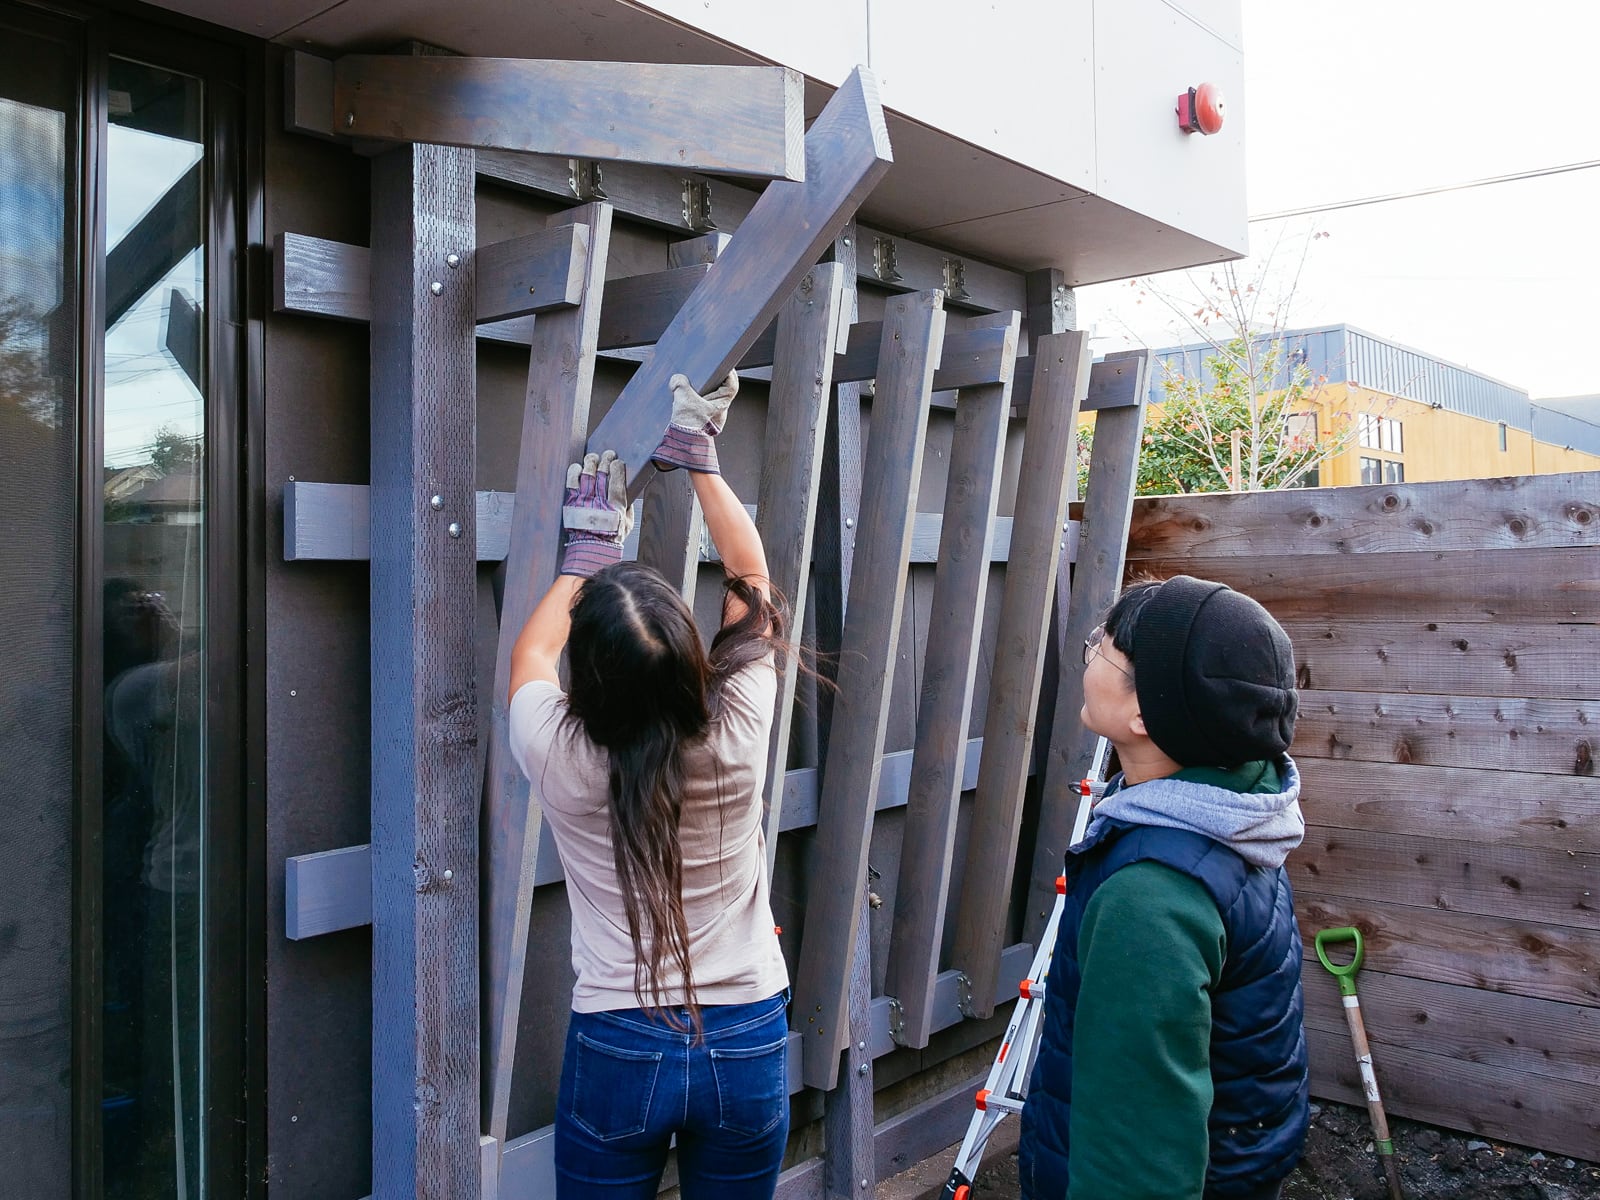
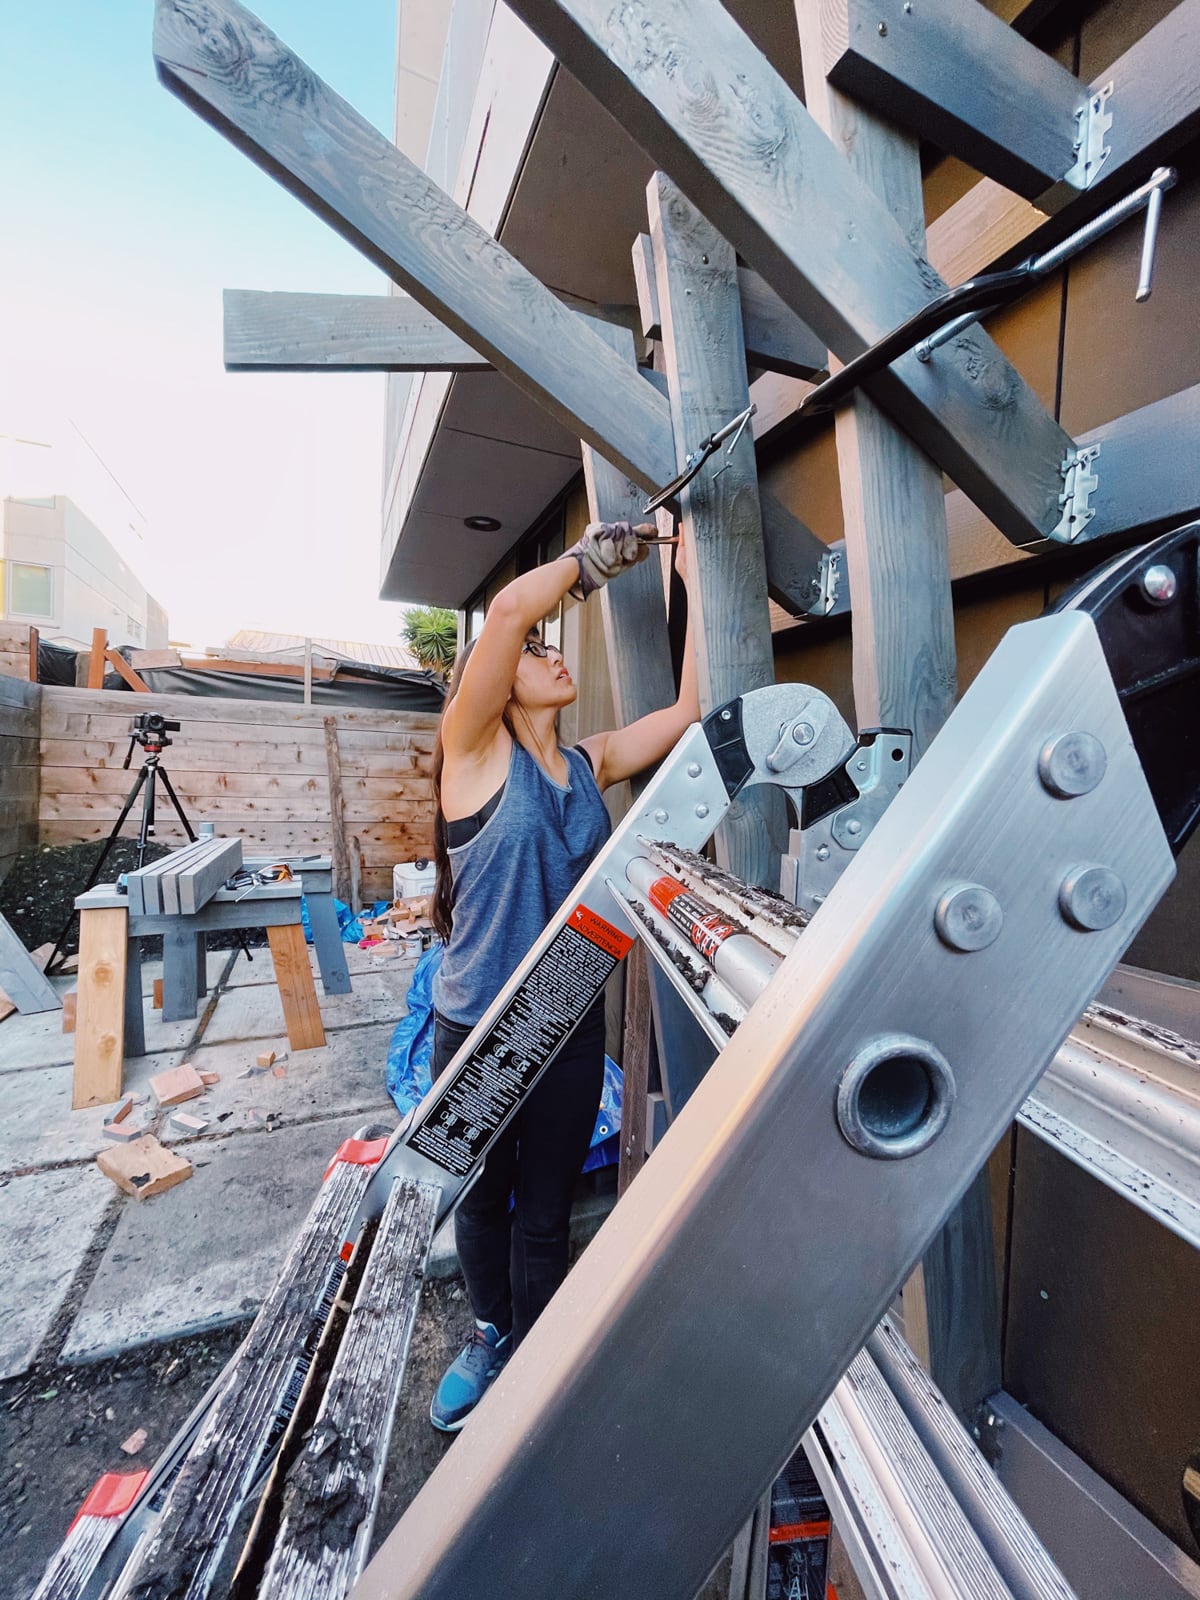
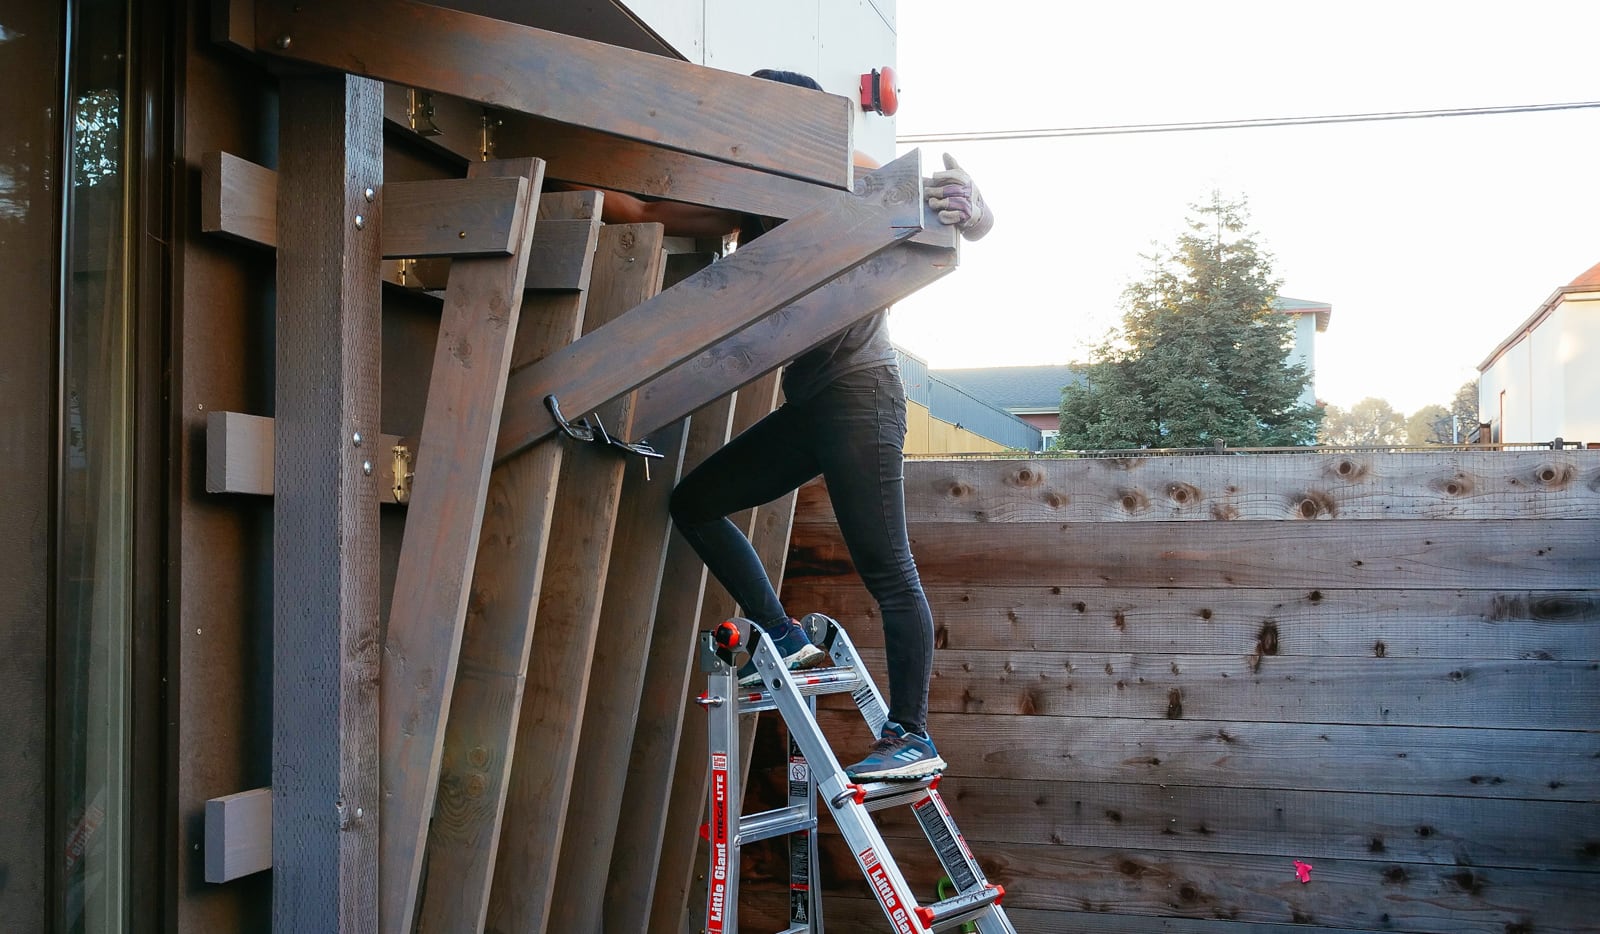
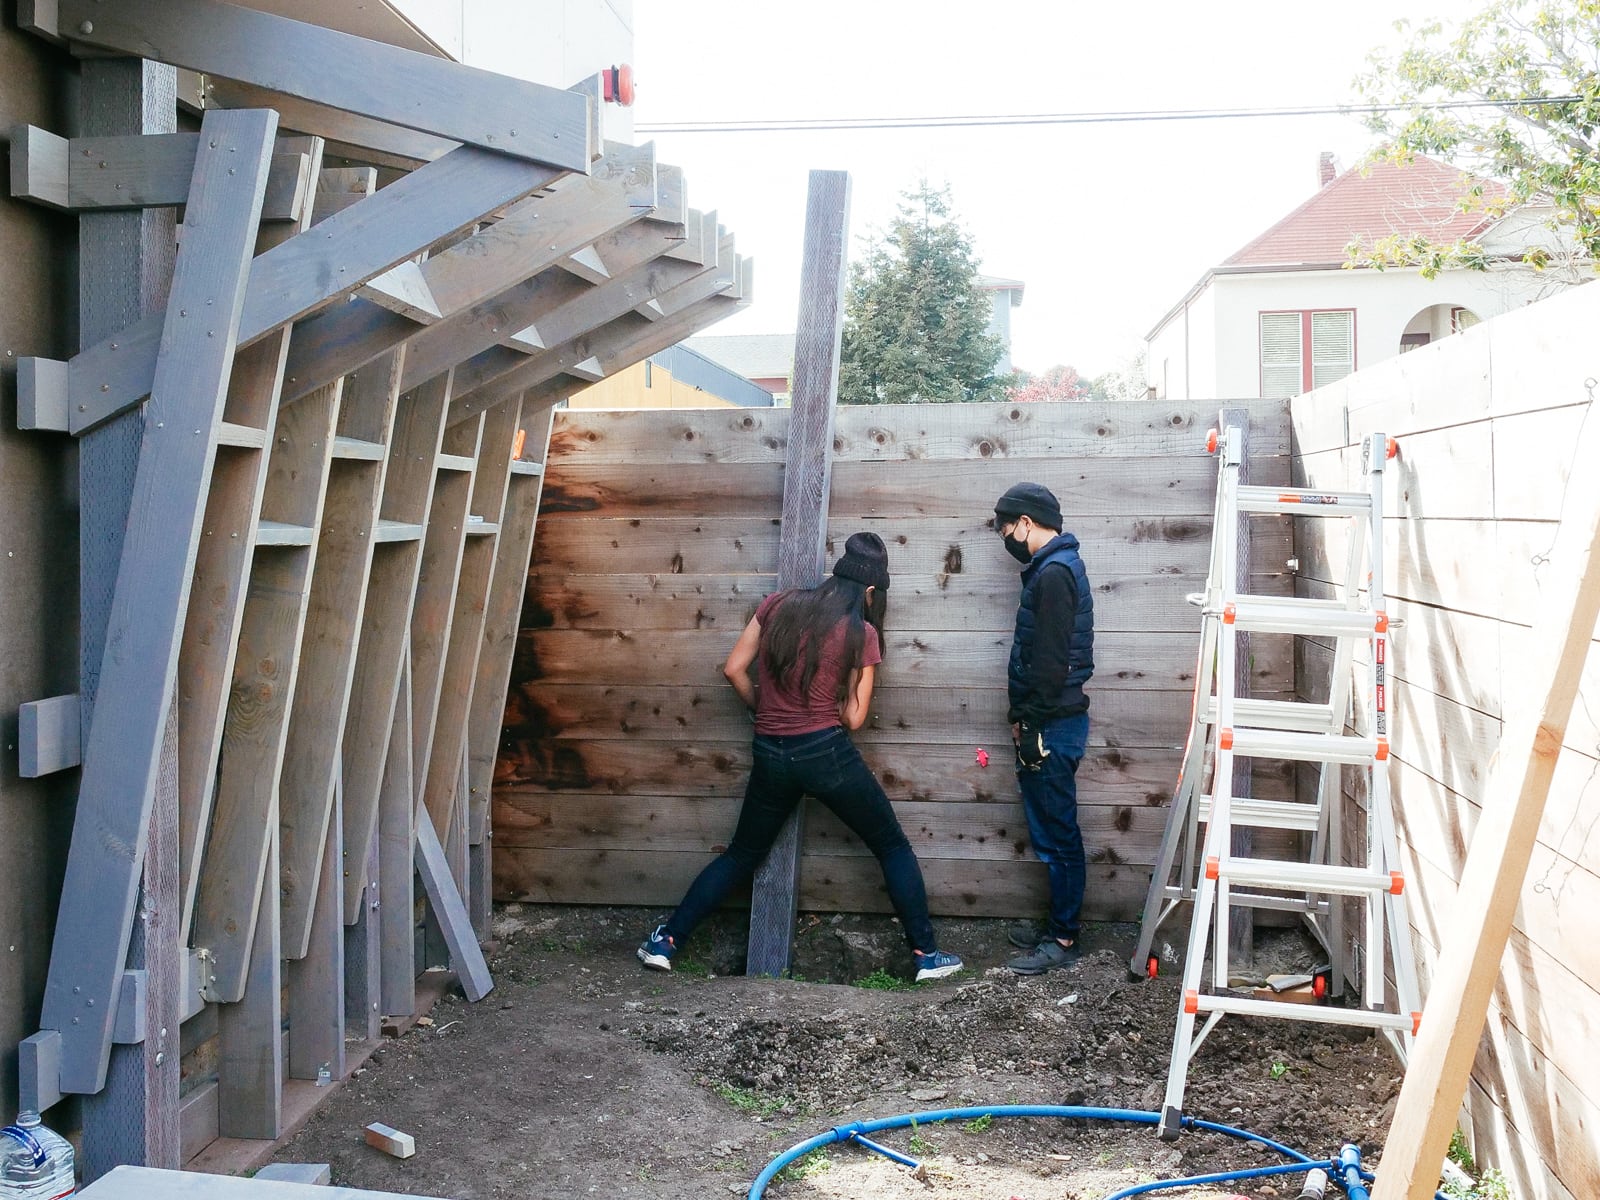
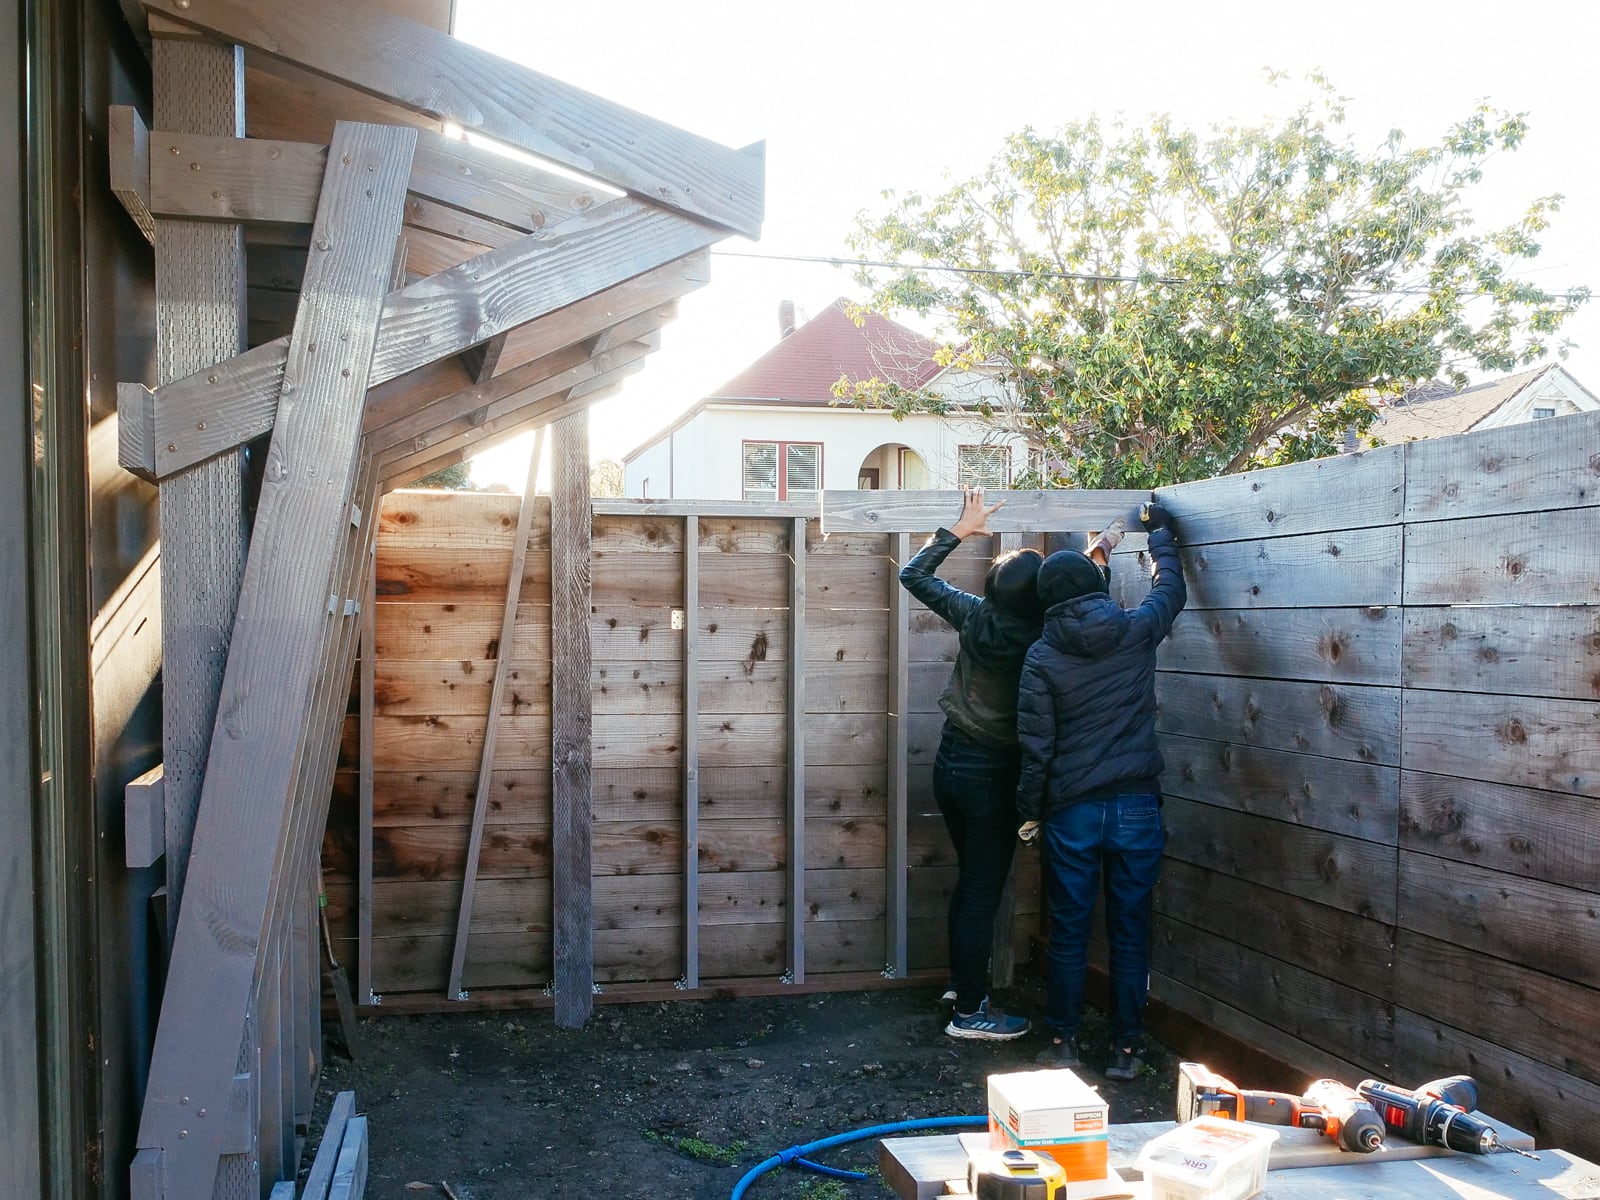
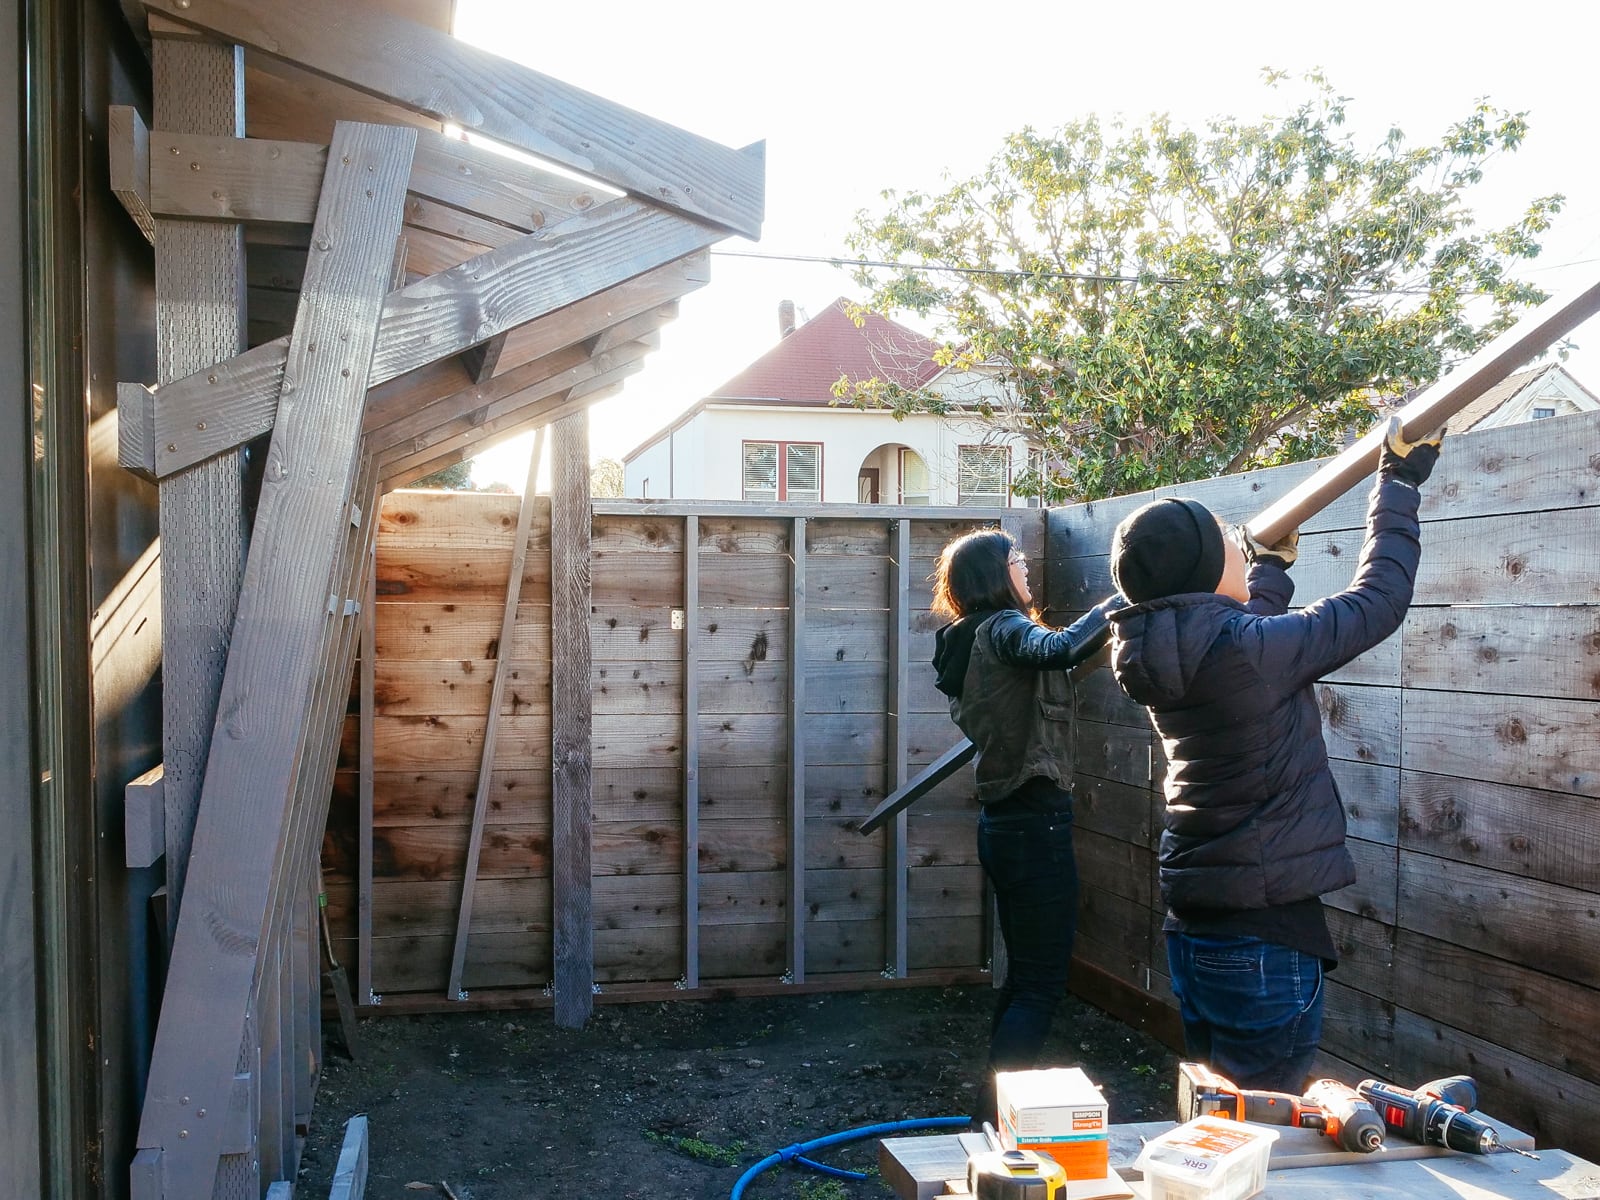
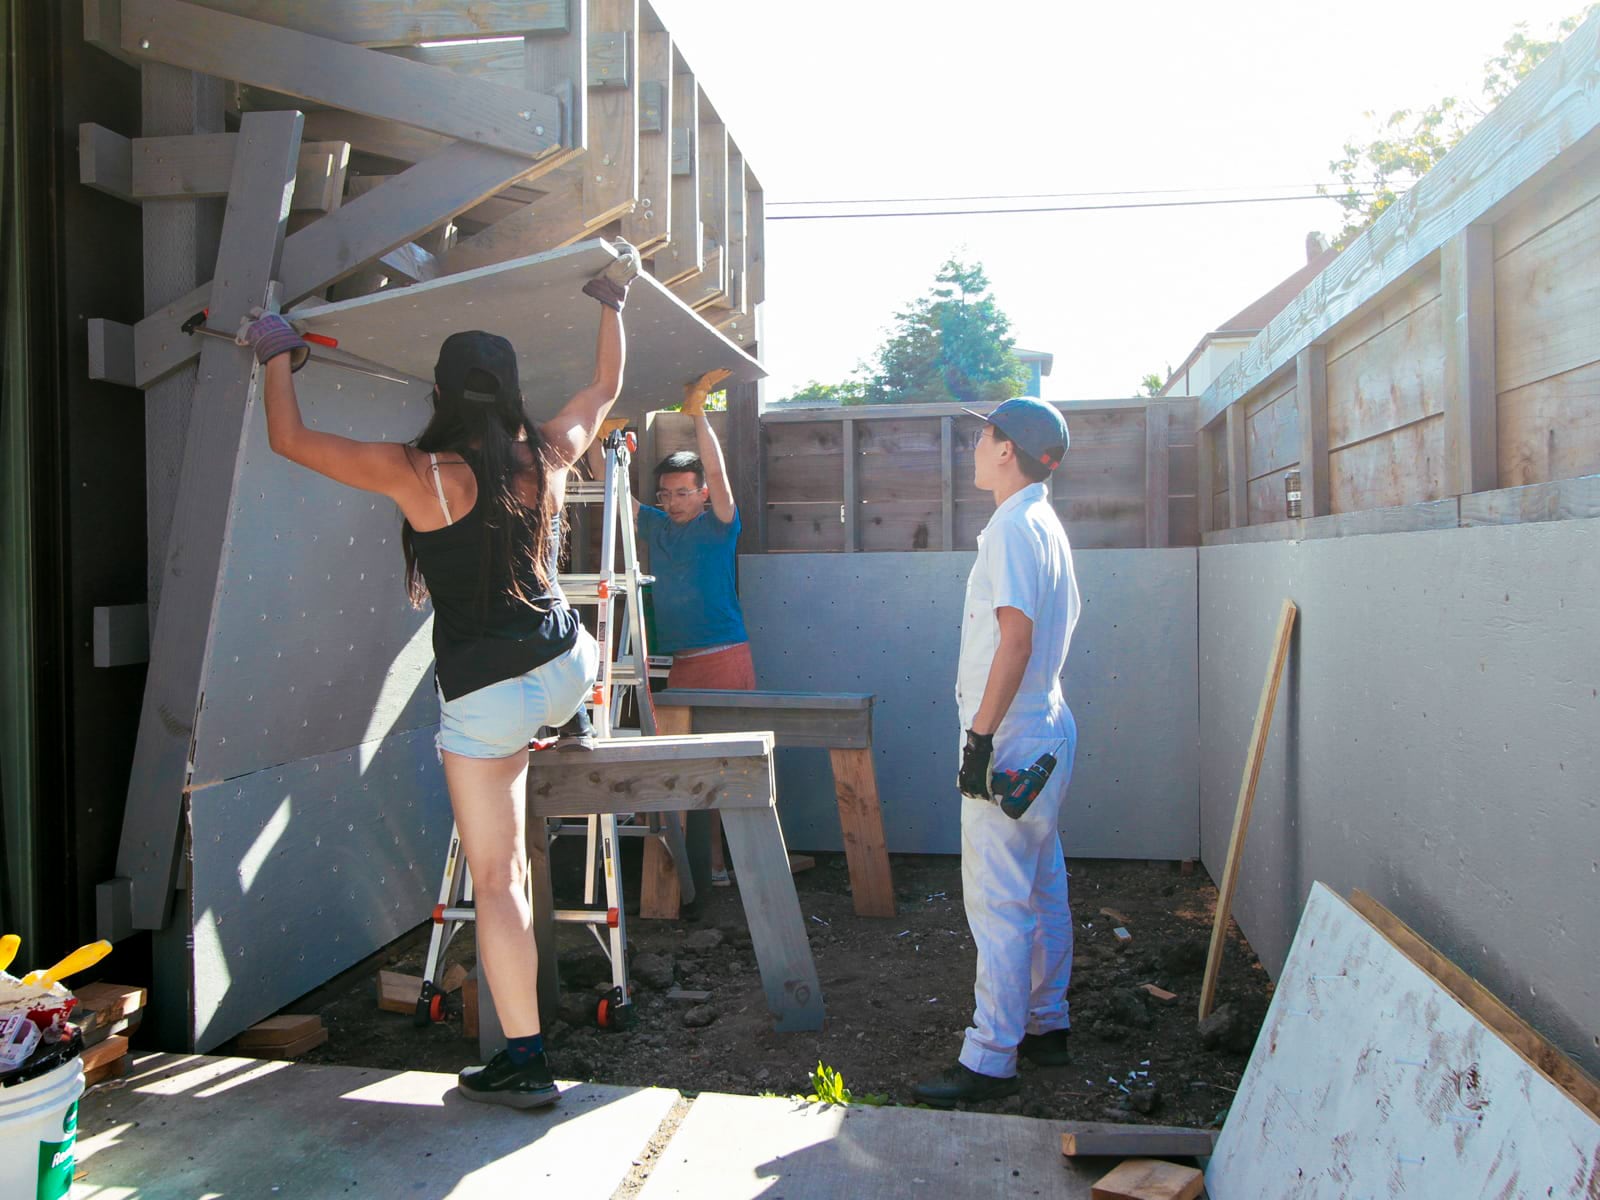
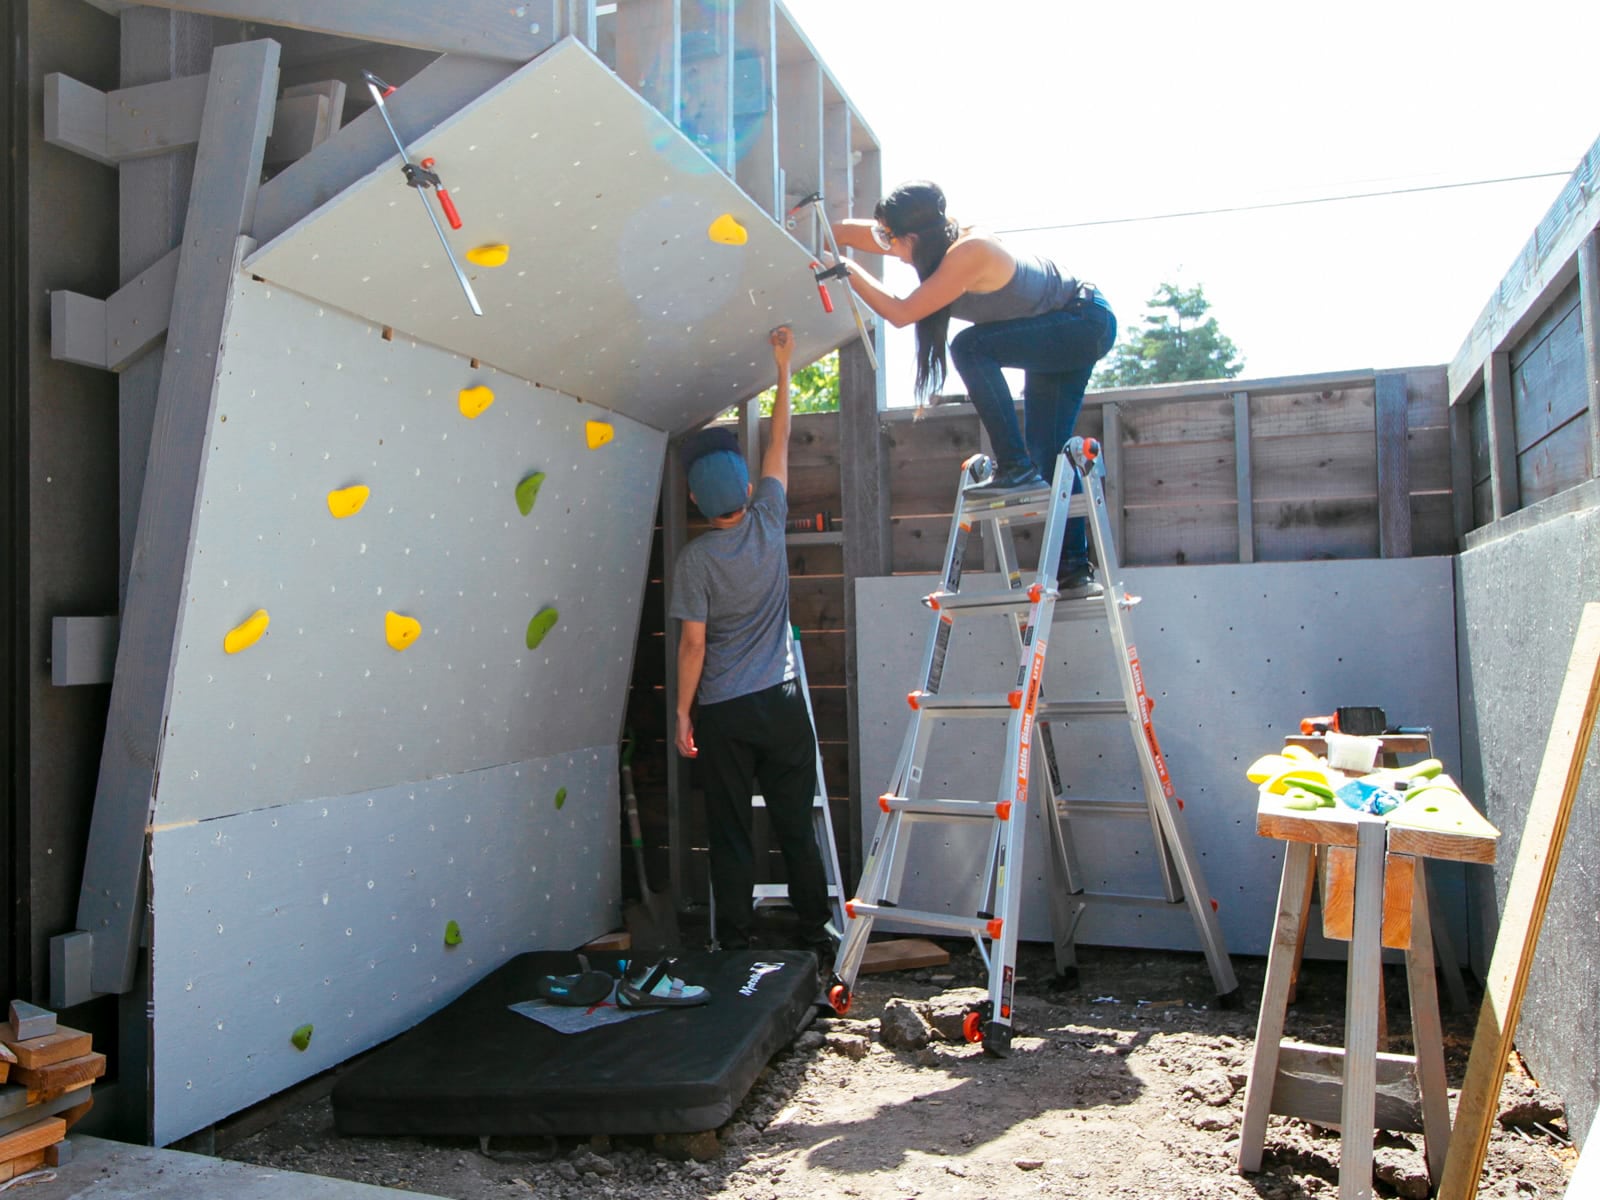
For the cave wall (WALL·E) (and the corner of wall F above), we again begged for help from our friend S, who agreed to help us make this work. This was trickier than the other walls for a few reasons:
- the sections were overhung at different angles, so we couldn’t rest them on each other while drilling, and attaching the plywood sheets while holding them in place was physically taxing;
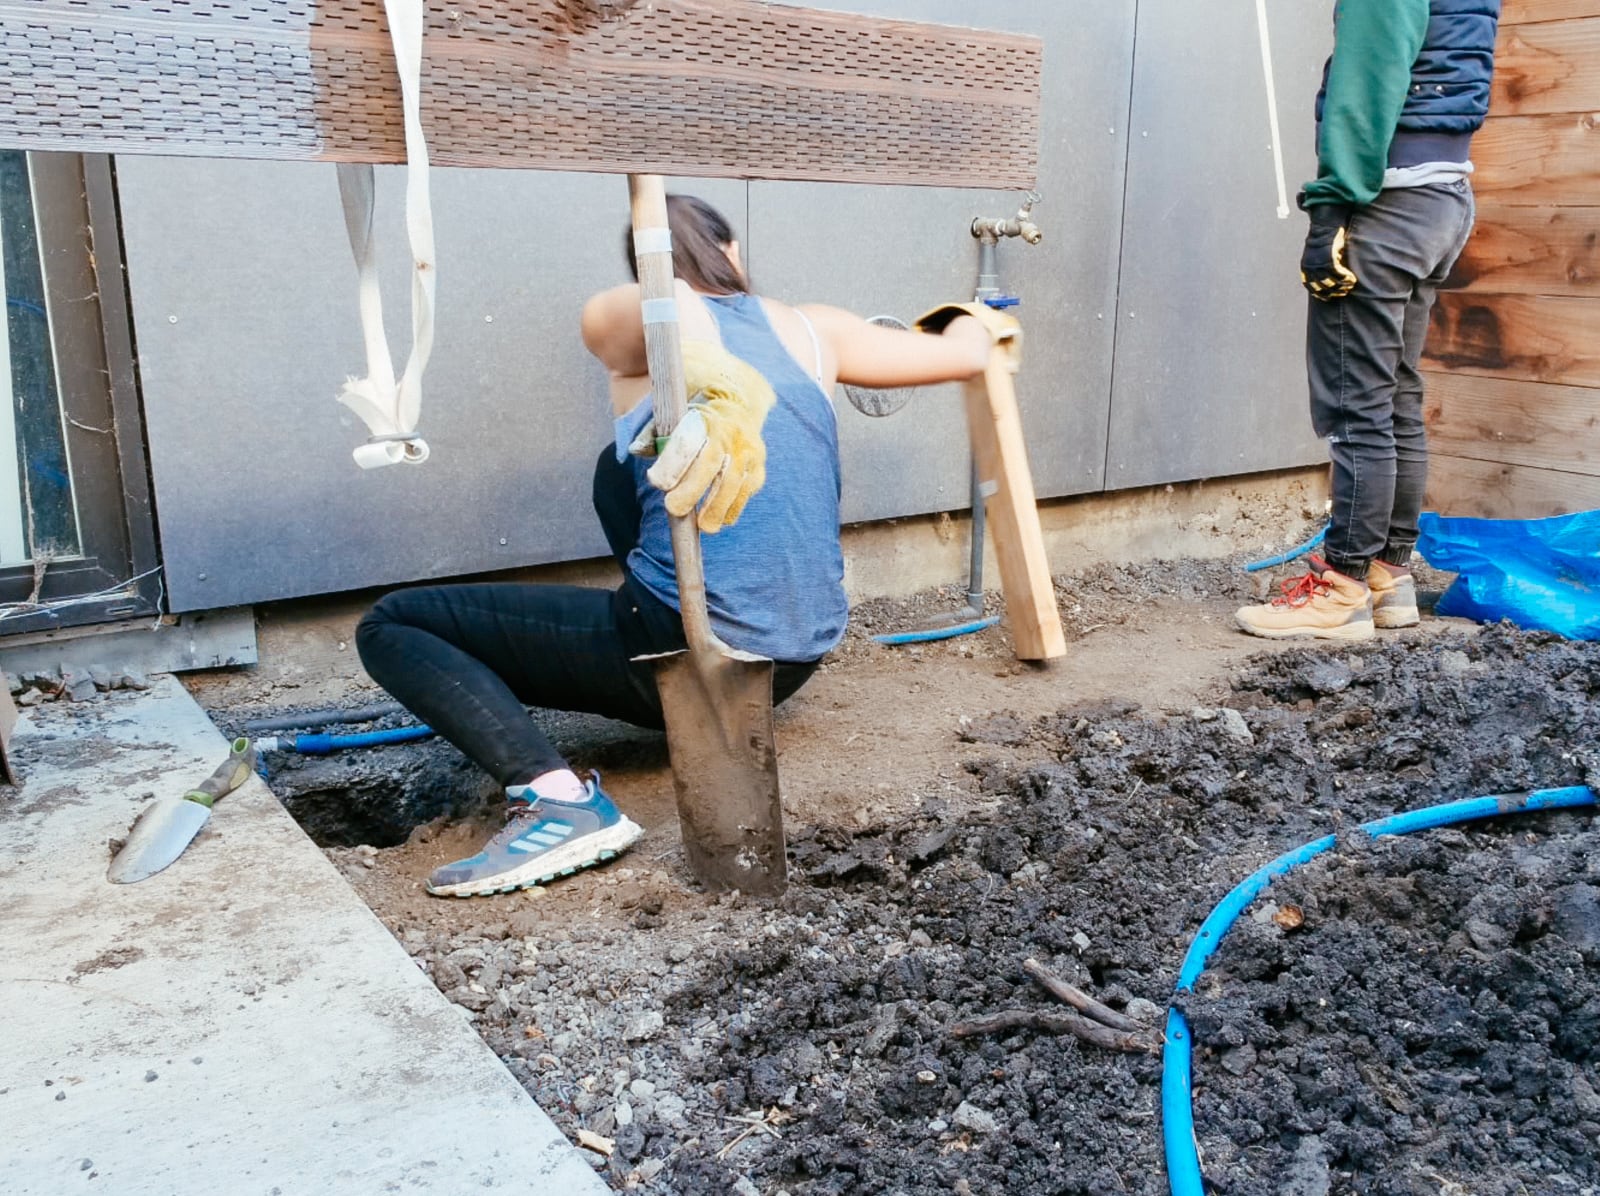
- the wall was taller, so we needed to do this work on a ladder;
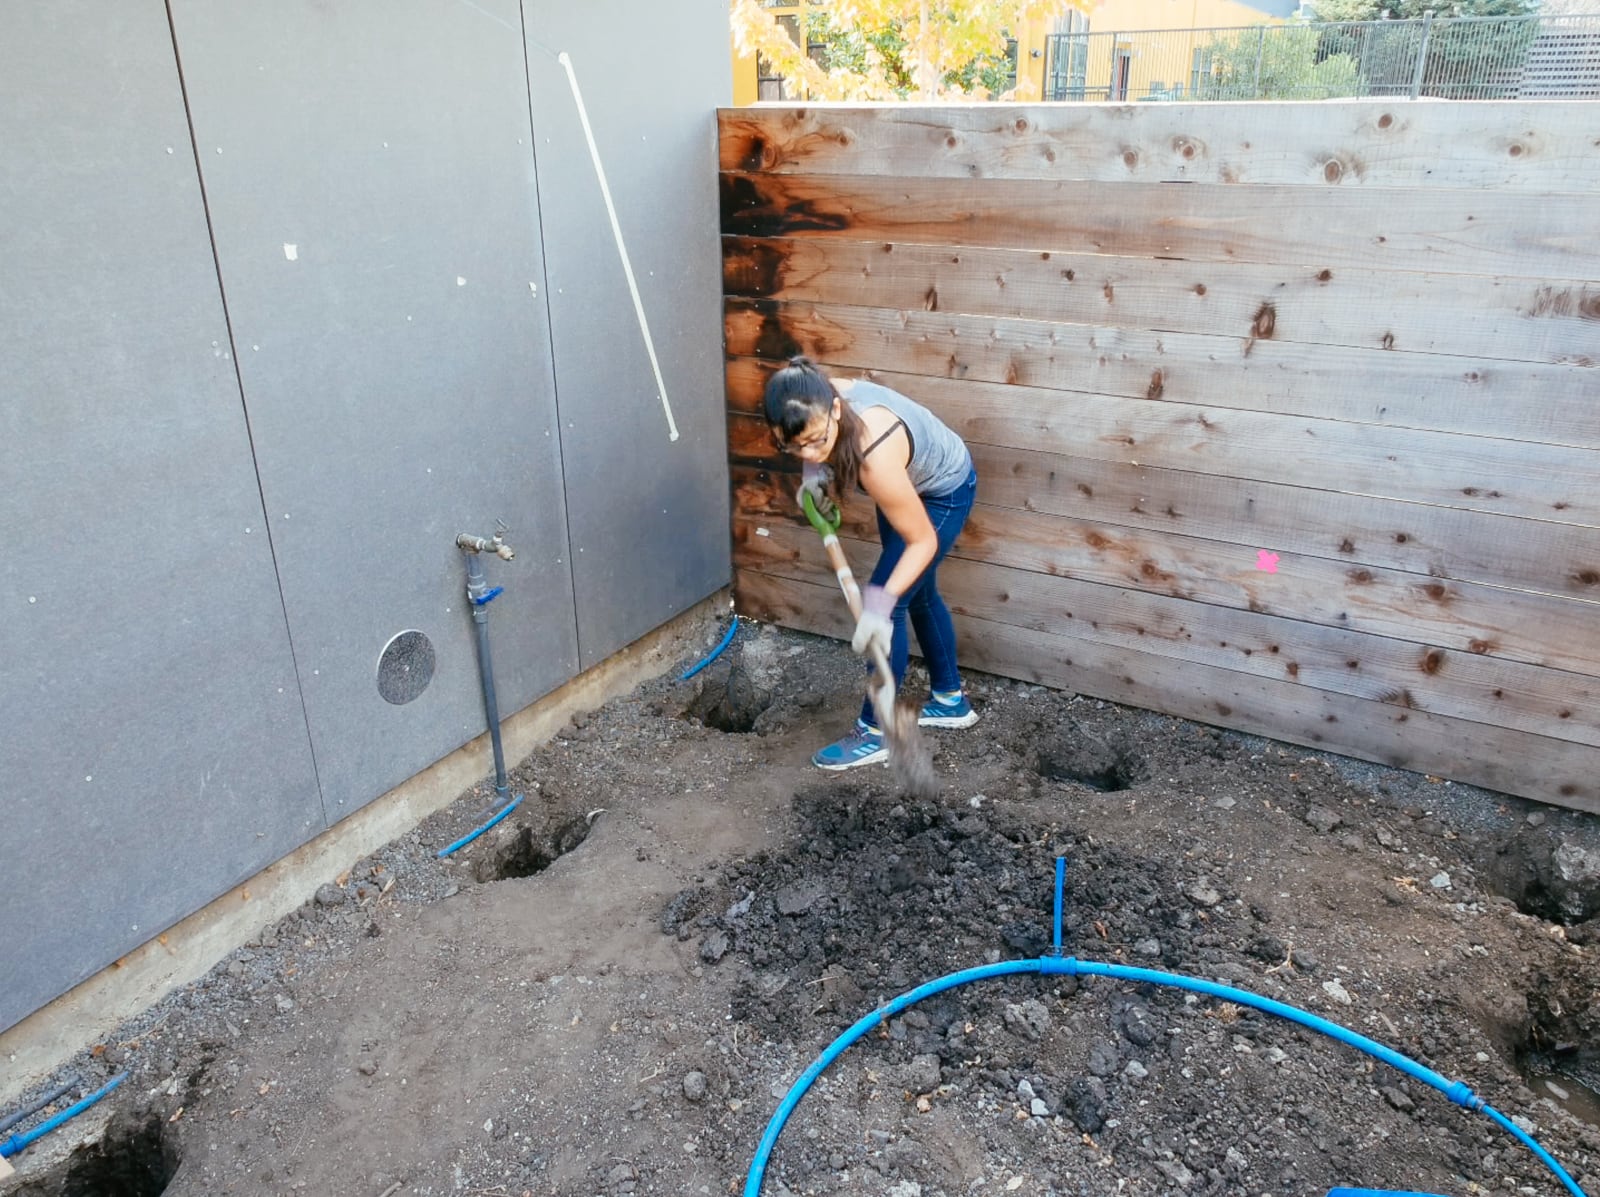
- I had dug an asymmetric and partial hole in the ground to get started on the flooring, so using the ladder was a fun and dangerous activity; and
- senioritis.
Eventually, with the help of S’s reciprocating saw, we got this up.
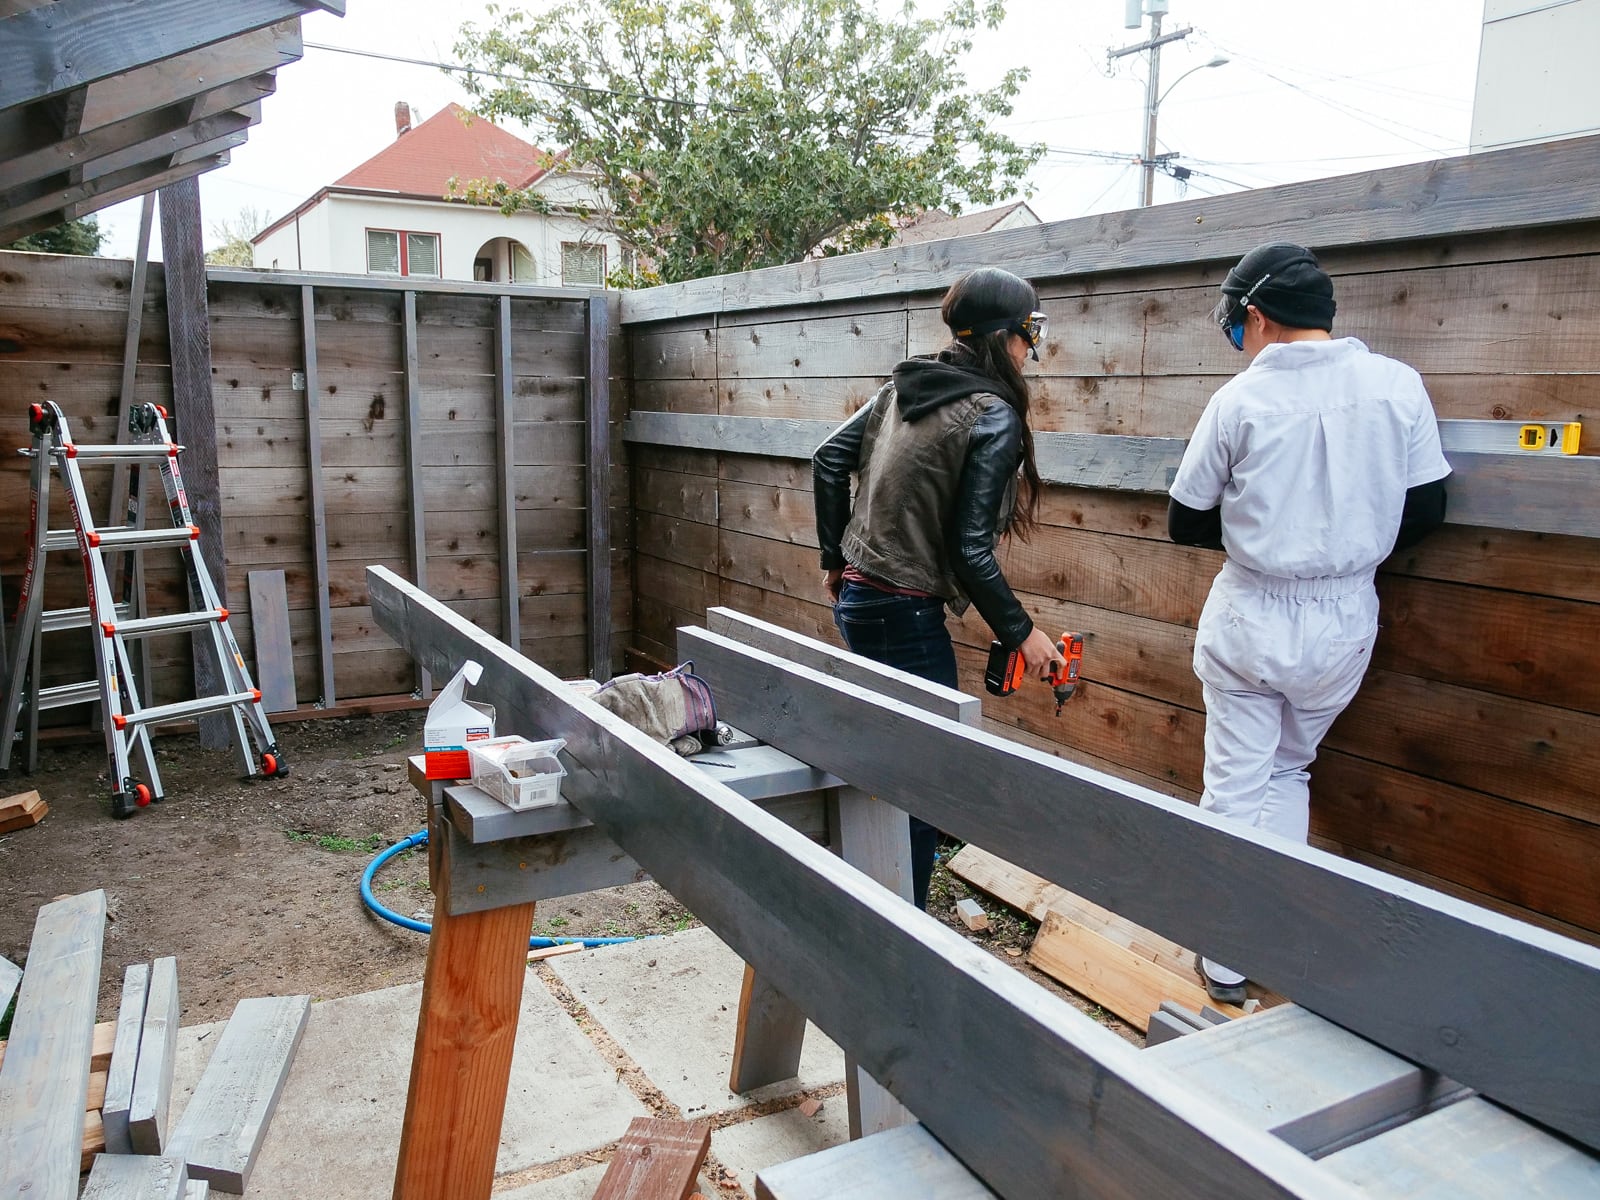
13a. Attaching the kicker board

13b. Notching and putting up the 10° section surface
13c. Putting up the 65° section surface

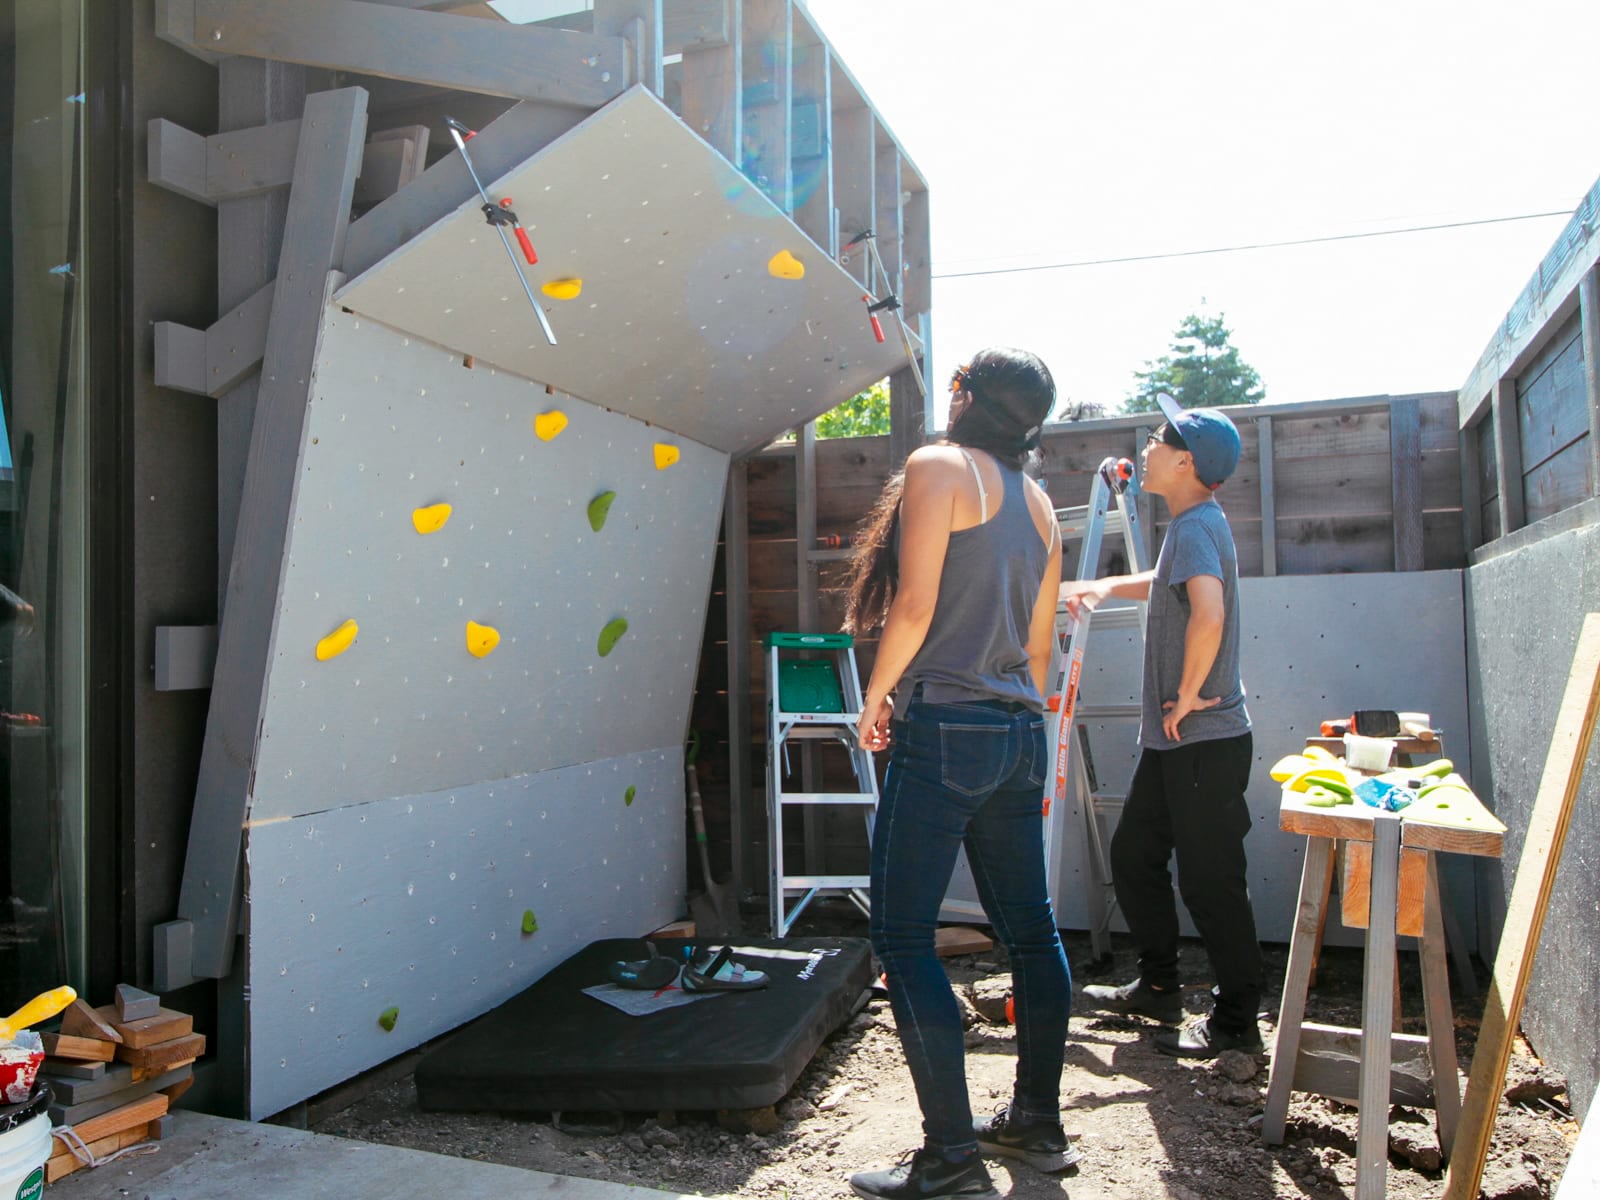
13d. Putting up the top 0° section surface
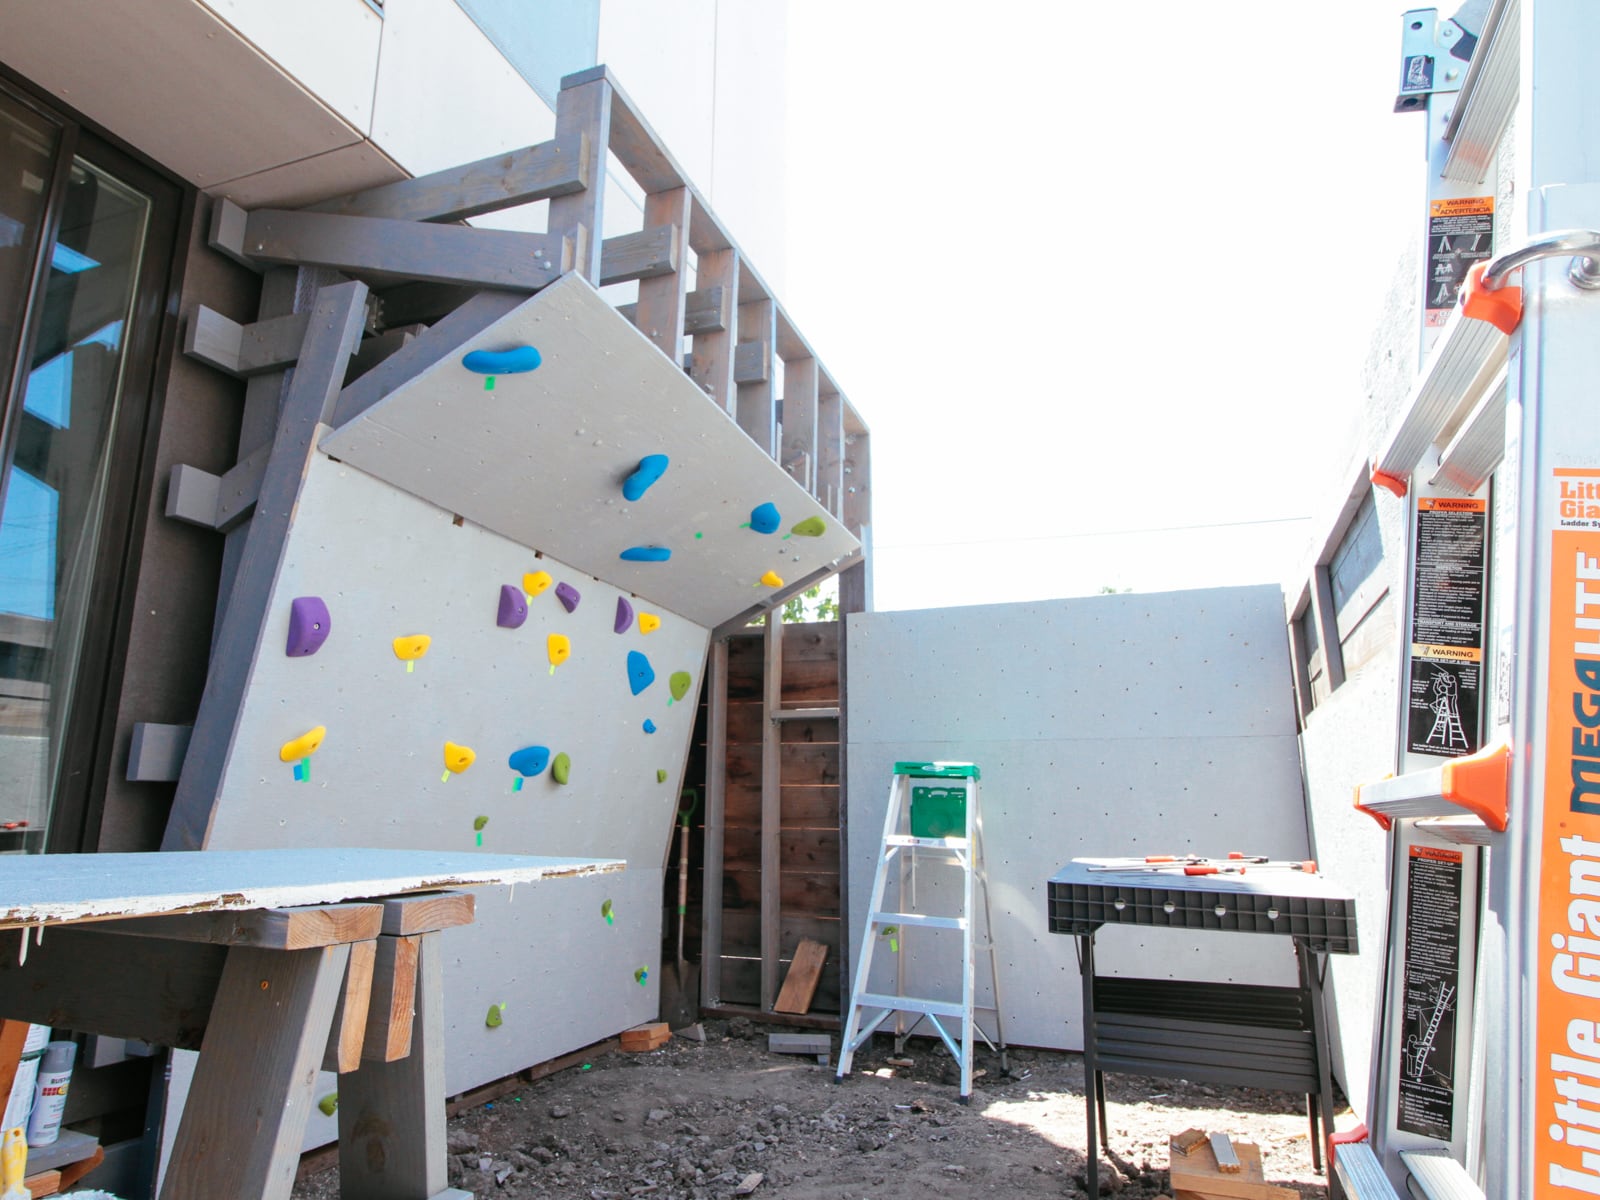
14. Finishing: covering fastener holes and filling in cracks and edges
We wanted the sheets to feel like one continuous surface (and for climbers not to be hurt by protruding edges), so we filled the holes and the sub-millimeter gaps between plywood sheets with wood putty, drywall mud, and paint.
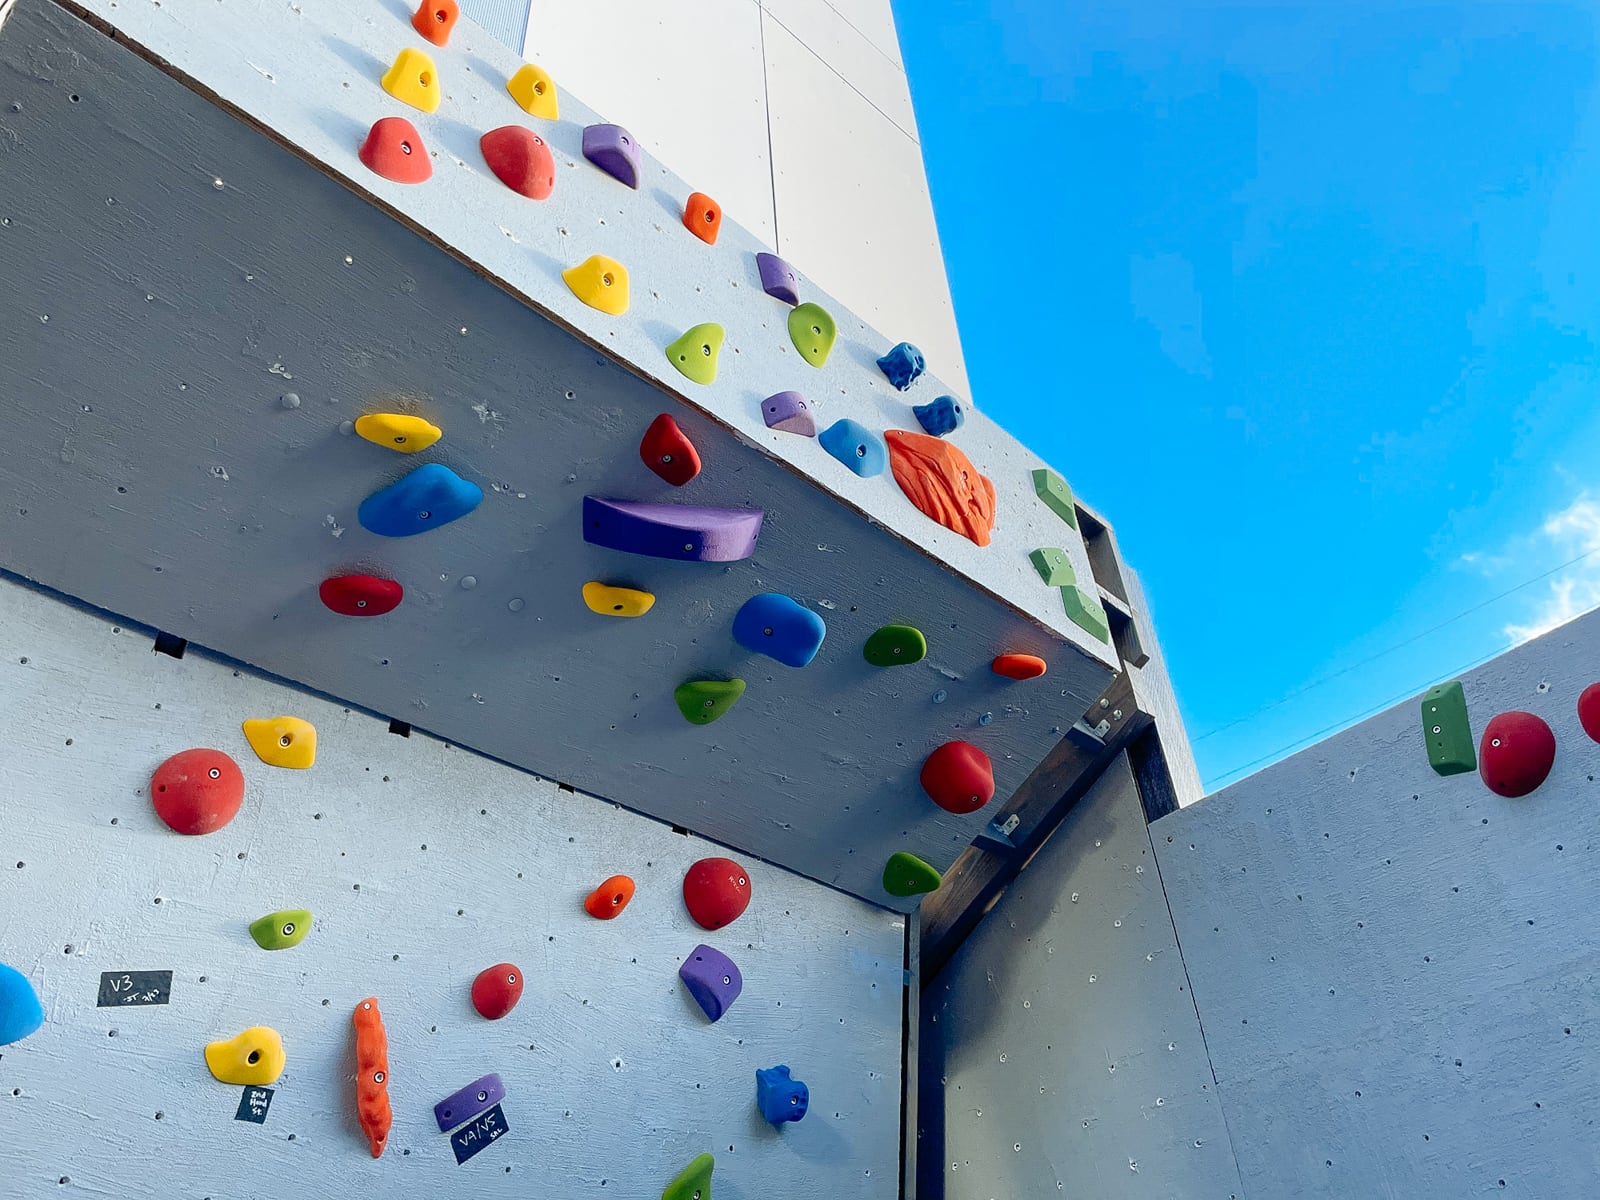
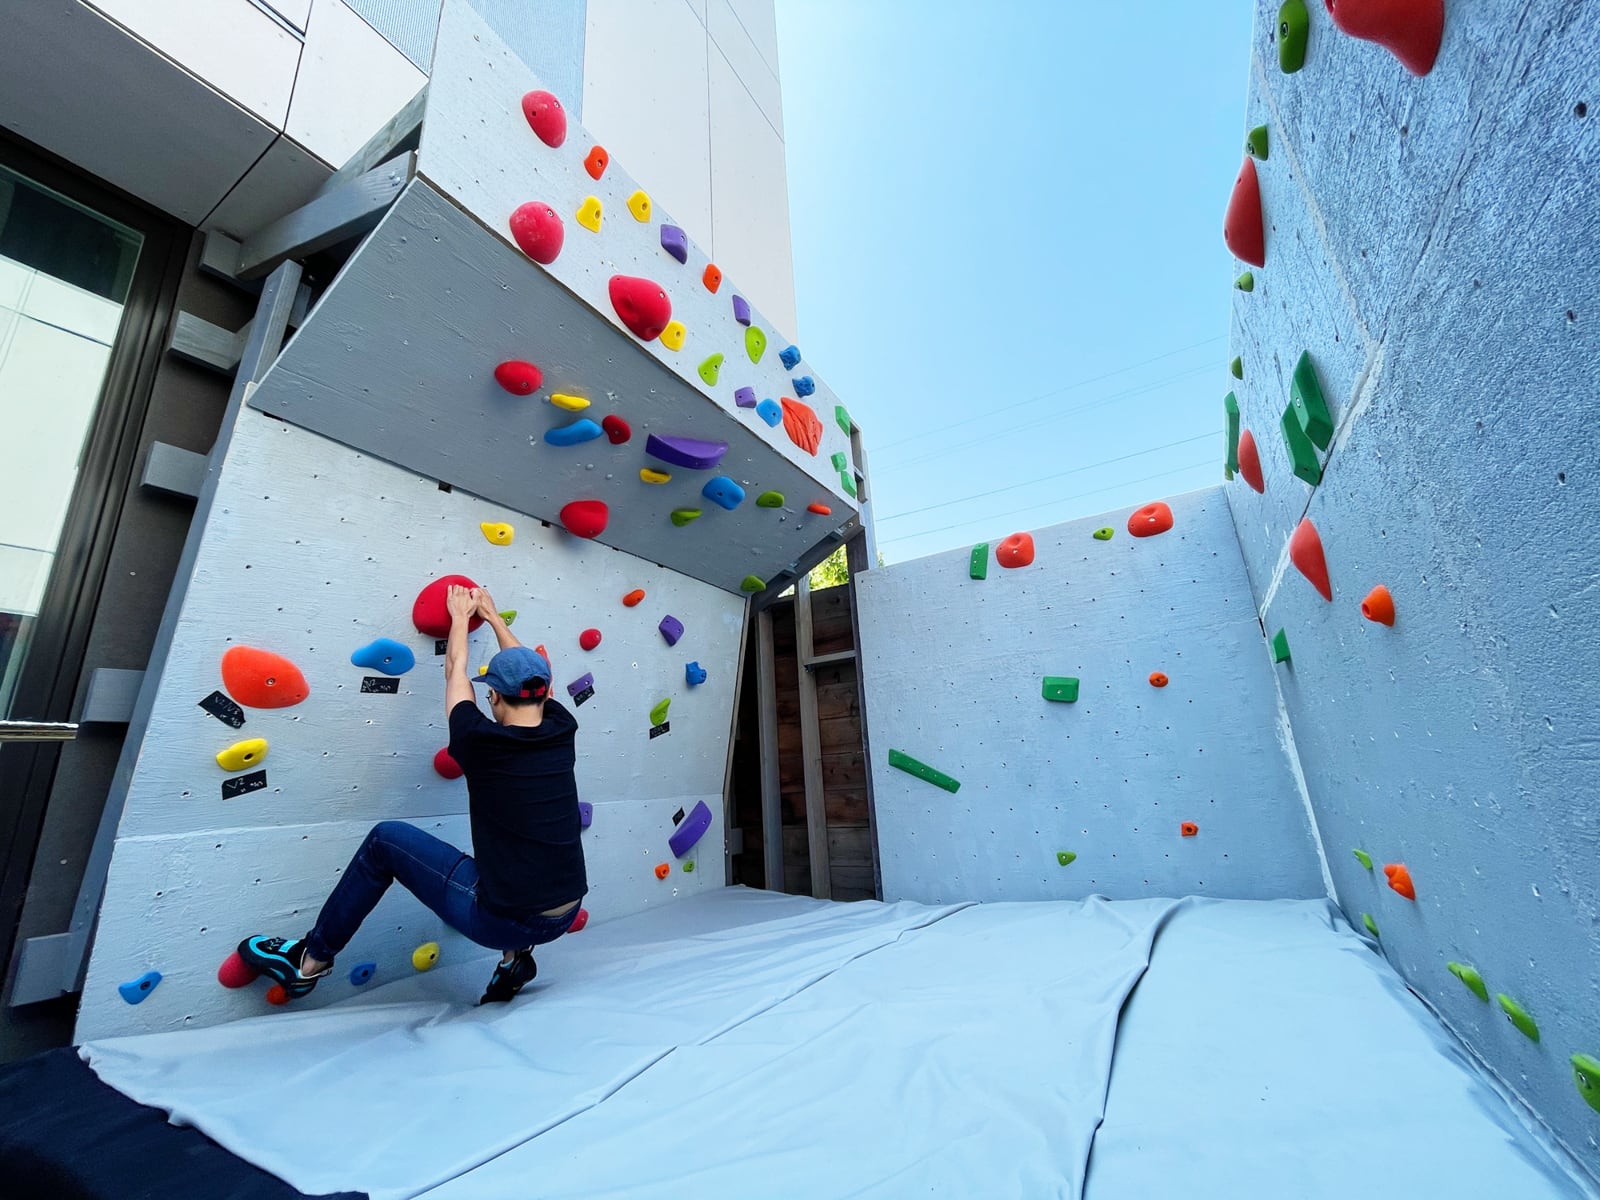
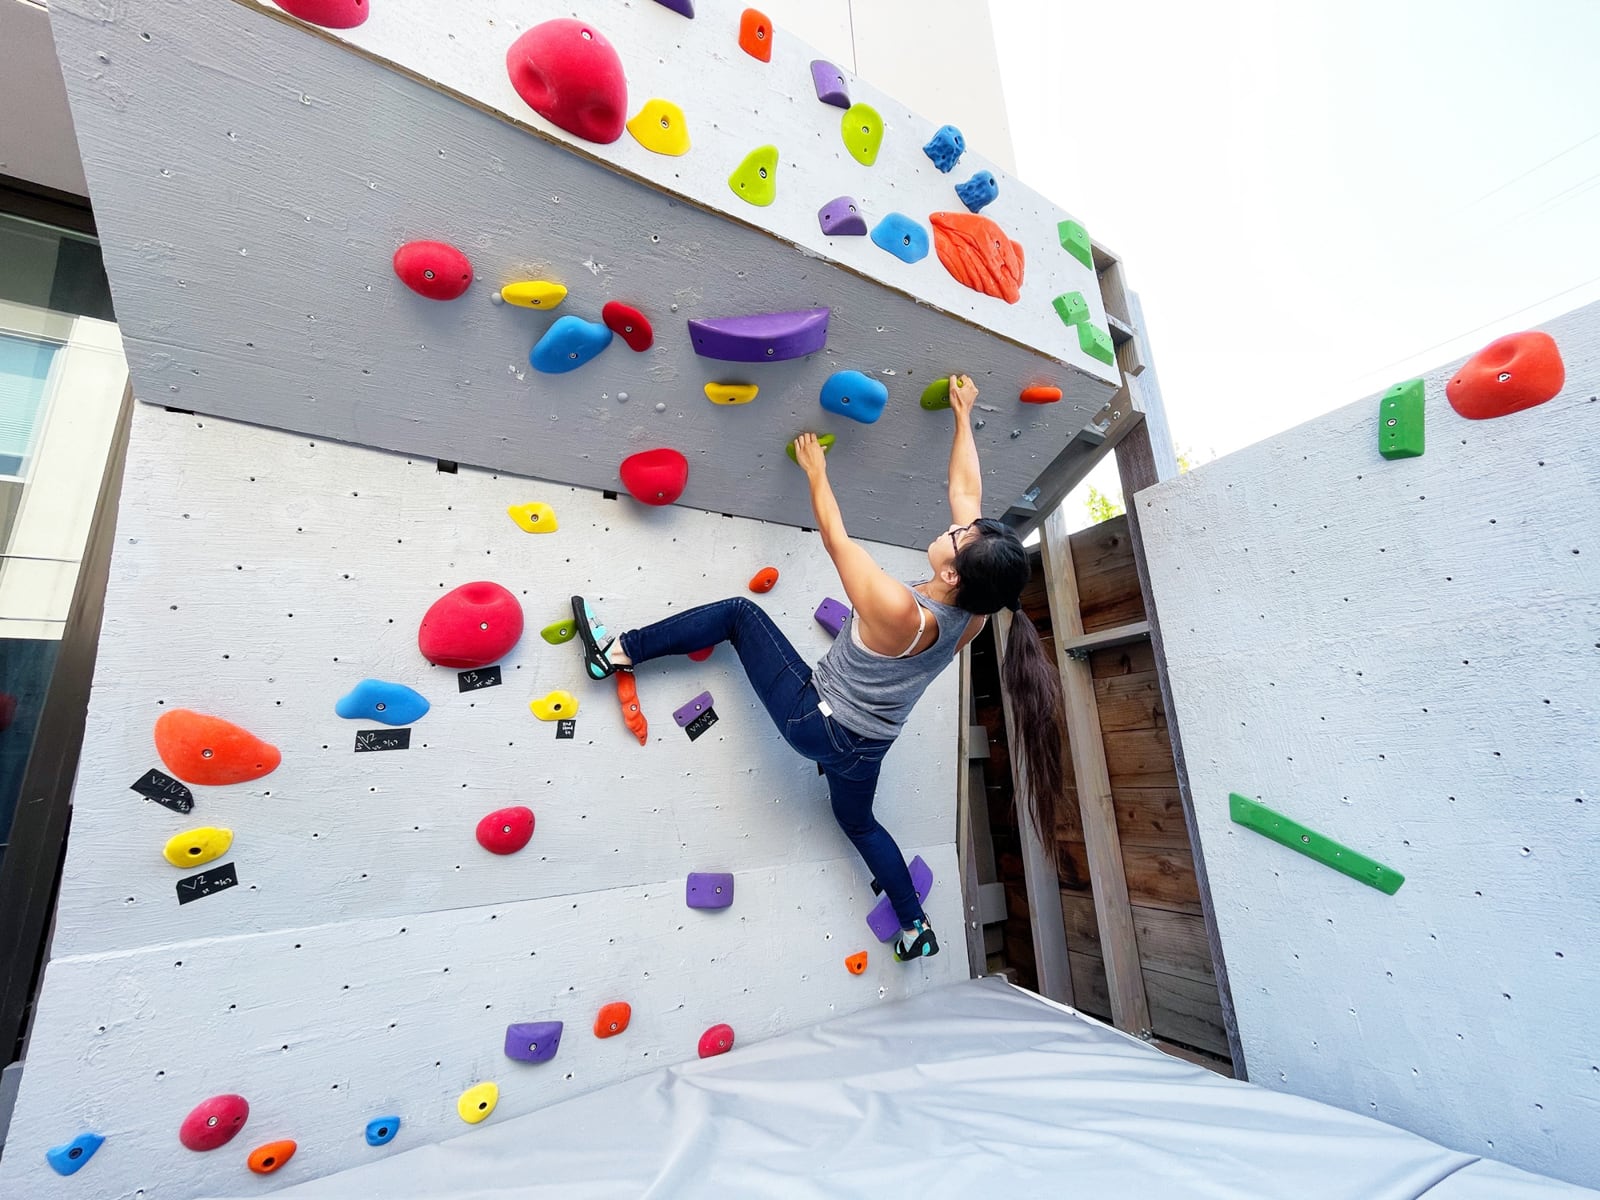
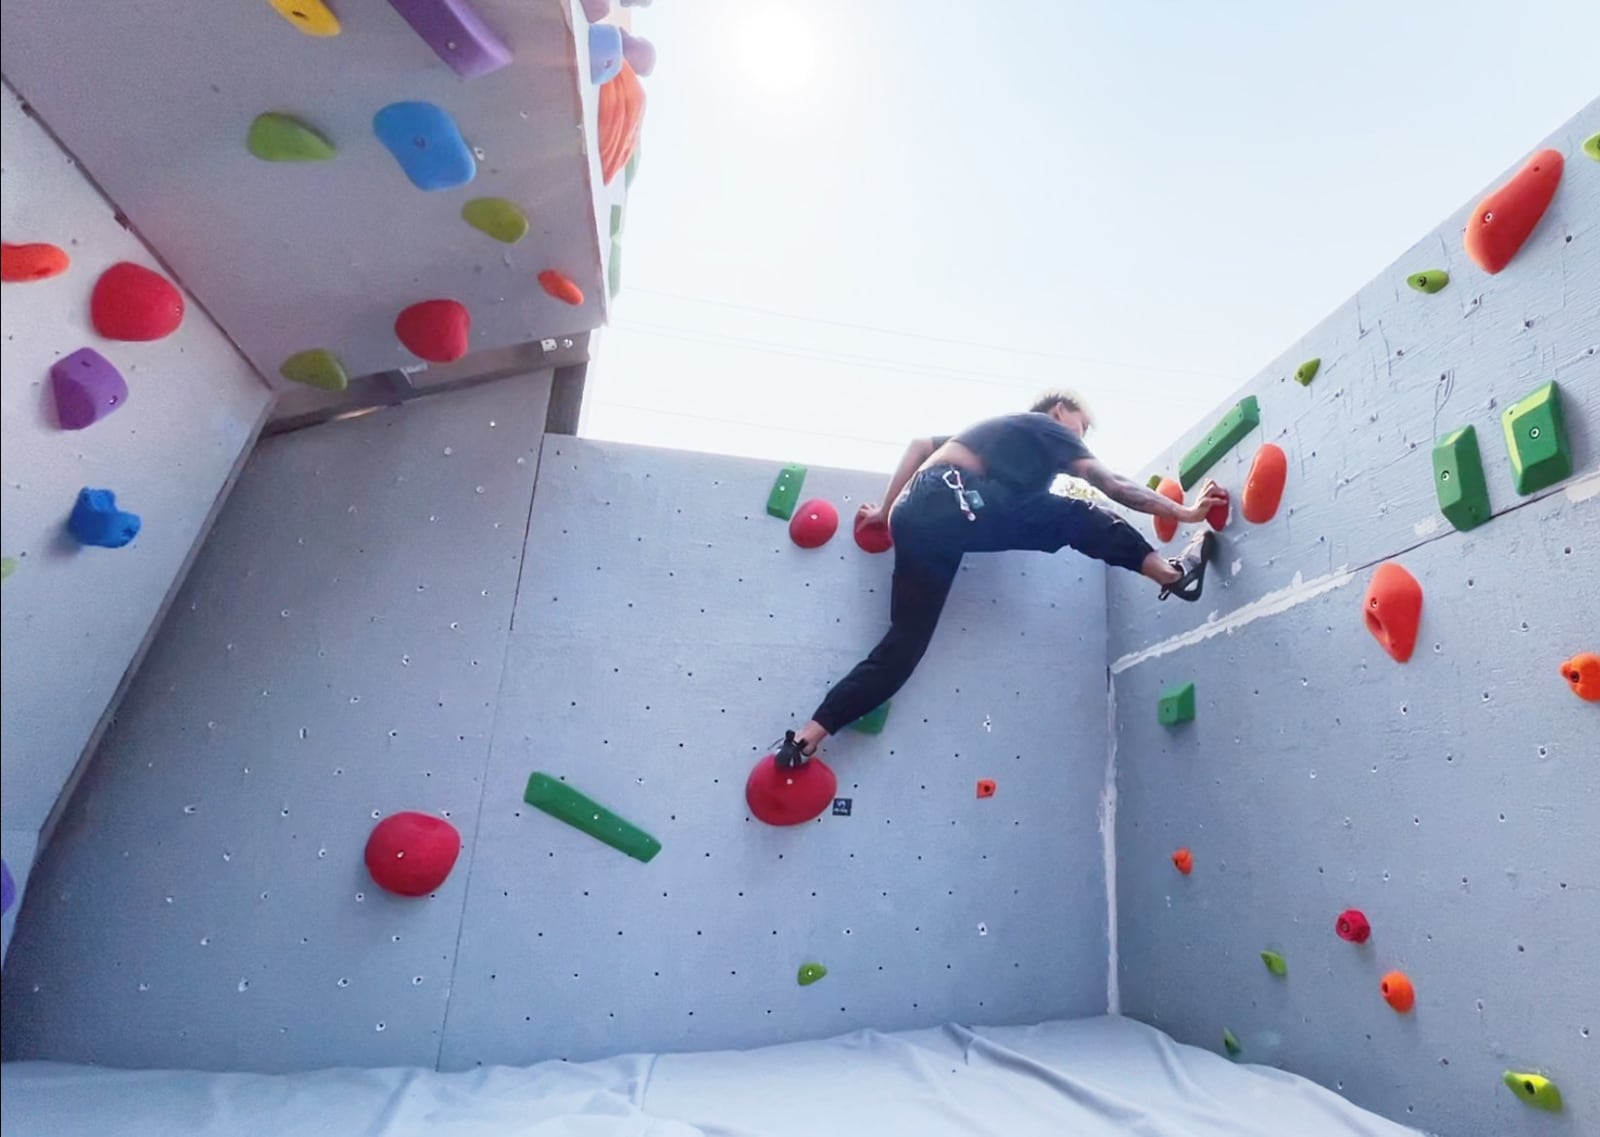
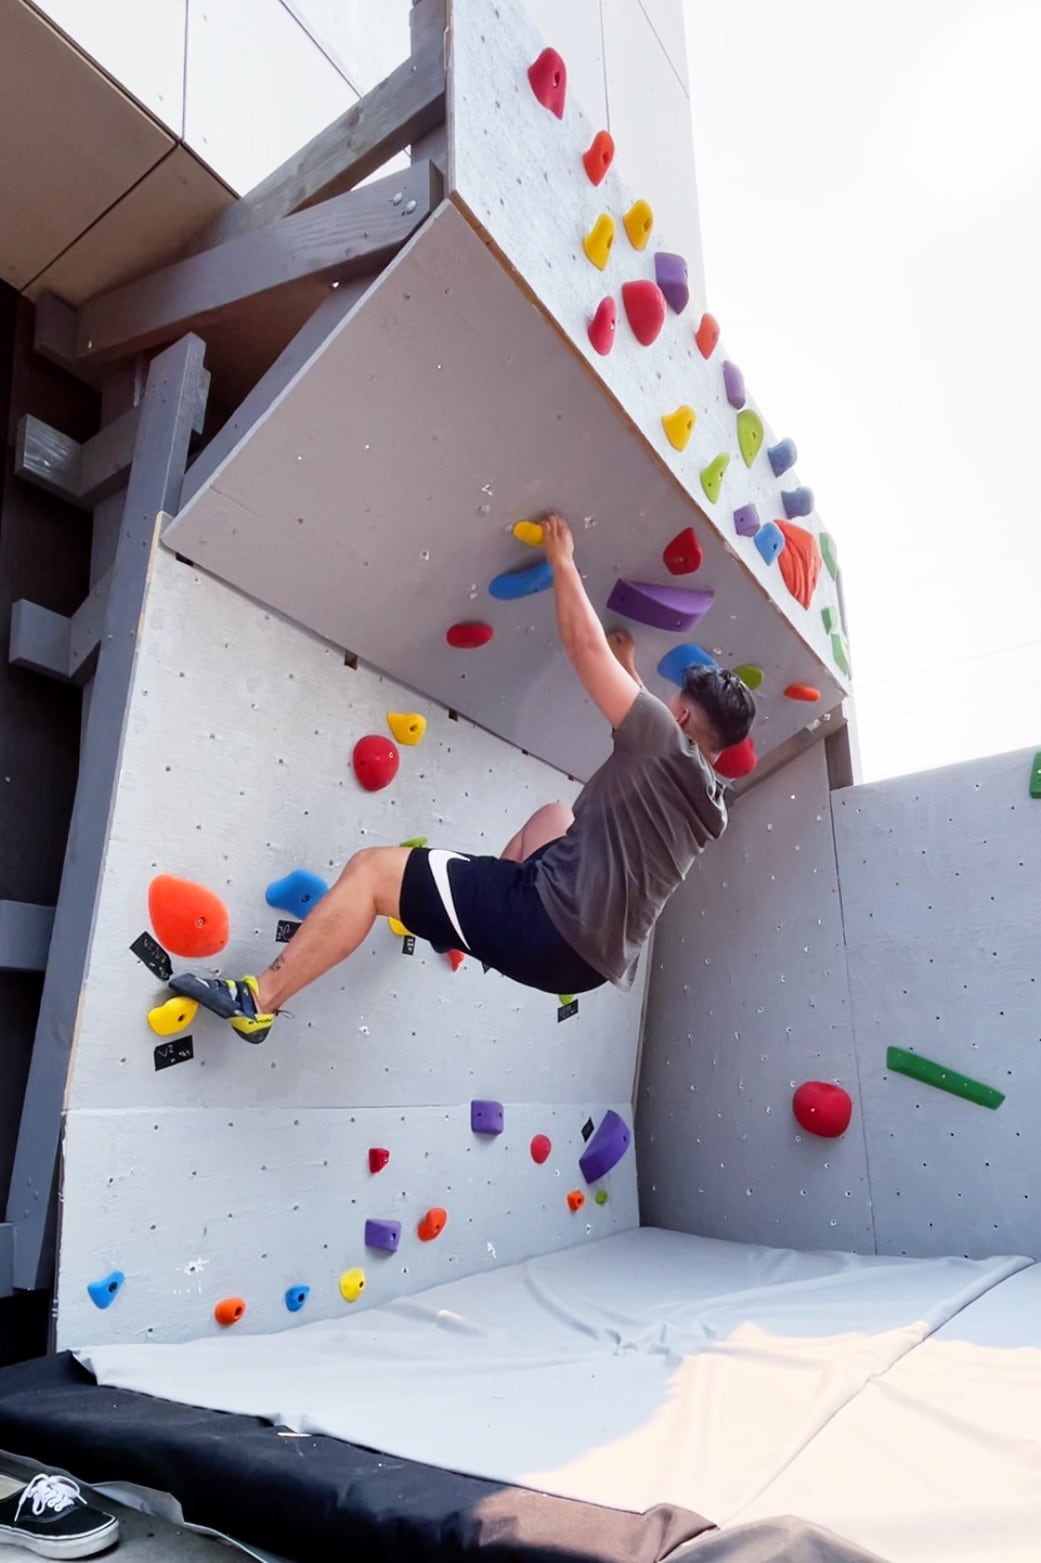
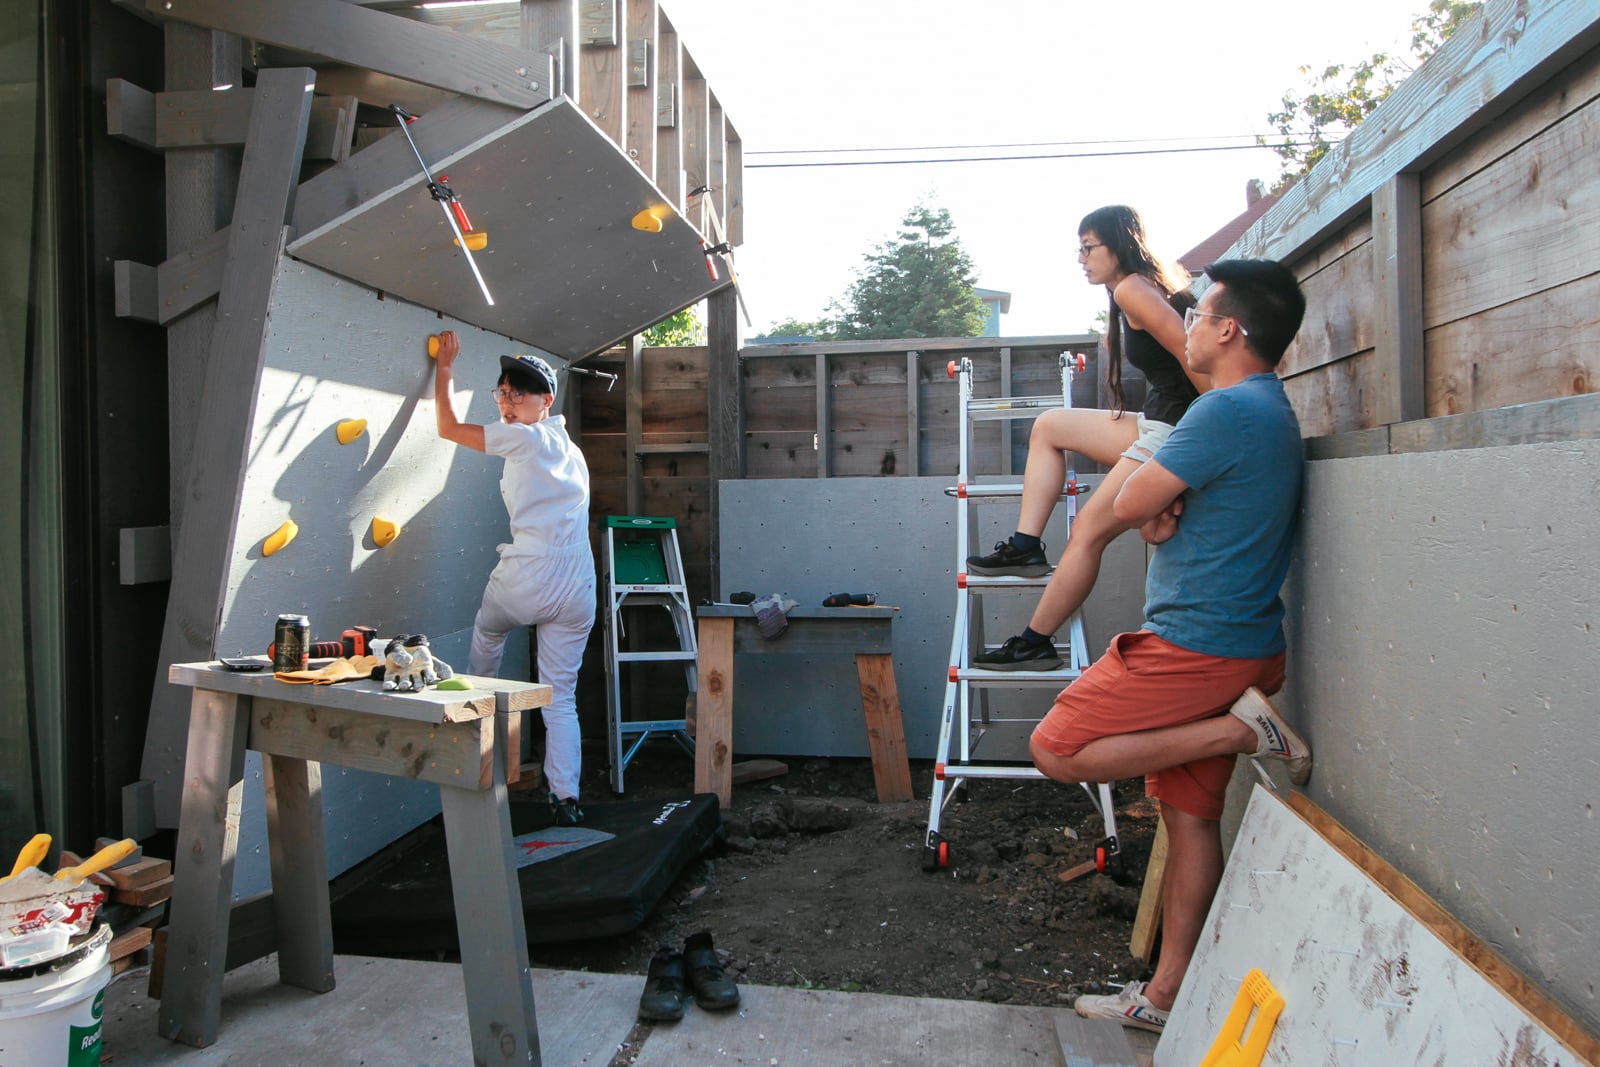
Now we have a cube! Can we resist climbing on it until we have proper safety matting in place?
P.S.: references
Thanks to the Vancouver Carpenter for being very handsome and teaching us about drywall.