Thing practiced: building the tiniest and most-exposed of houses
(This is the first part of 3 — part 2 covers how we built the climbing surface; and part 3 will cover flooring, finishing touches, and routesetting.)
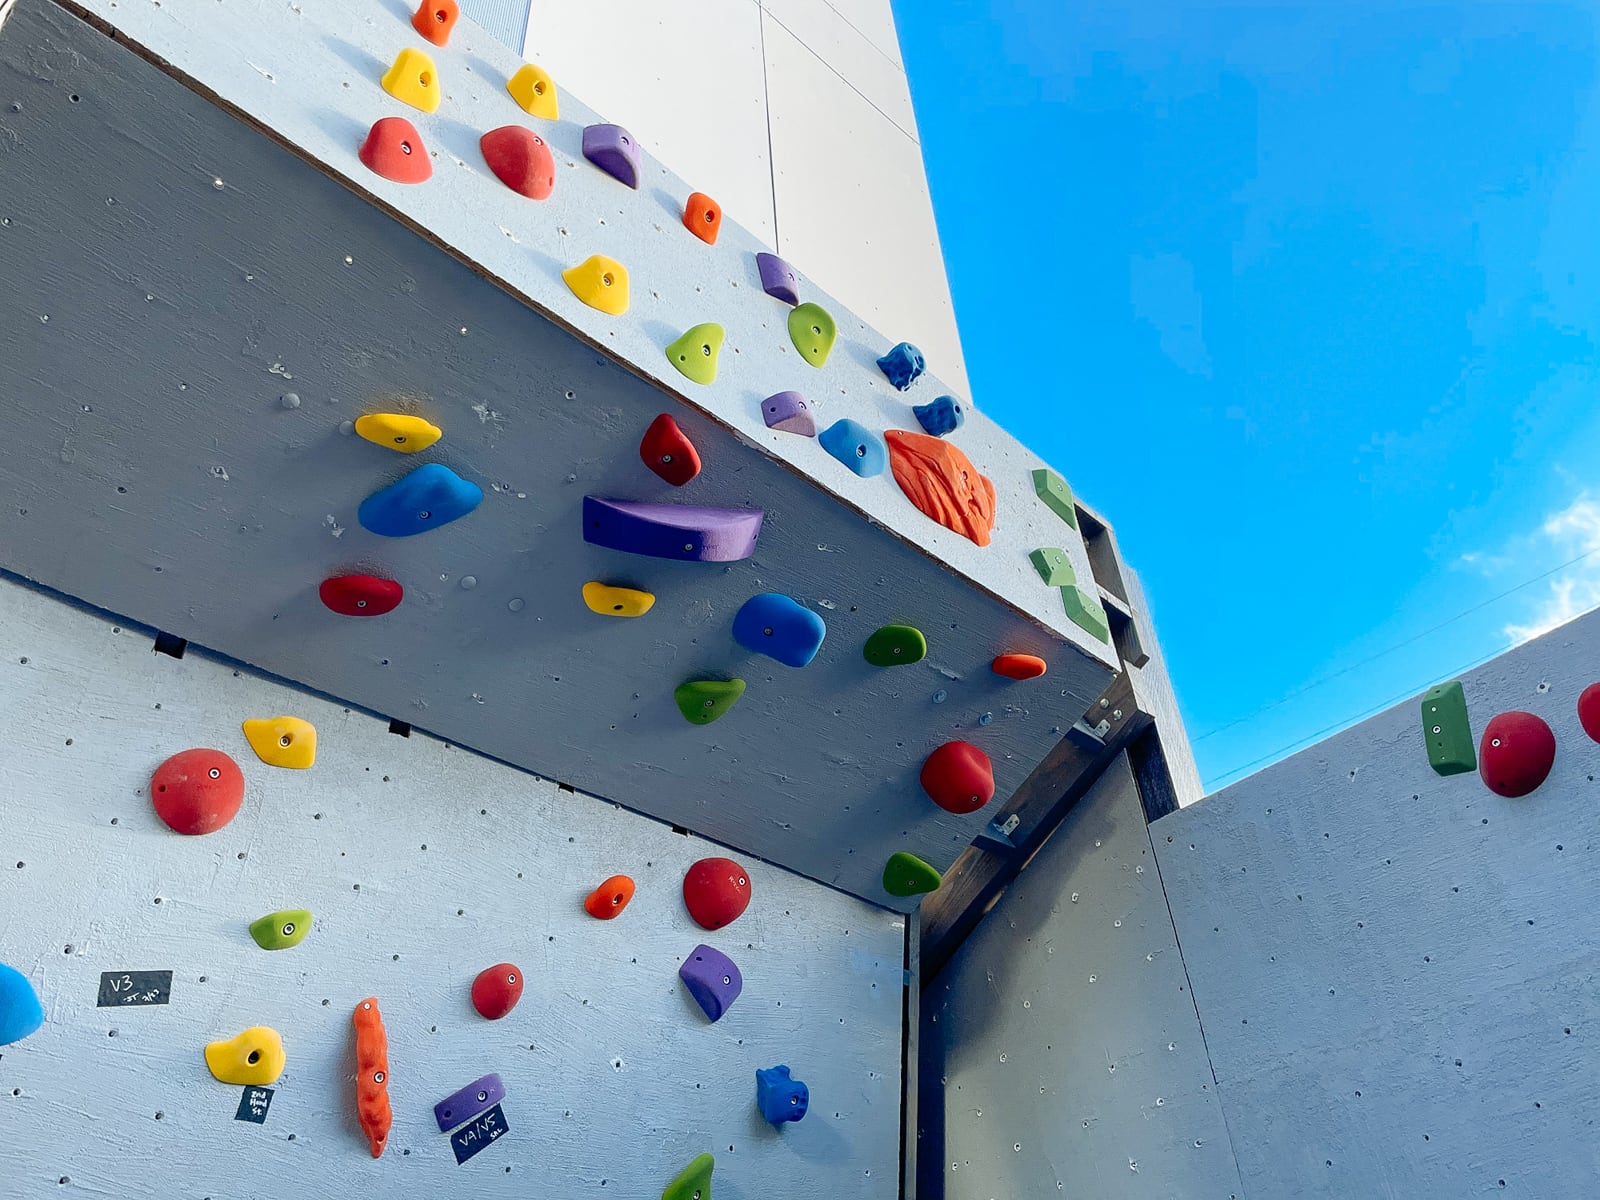
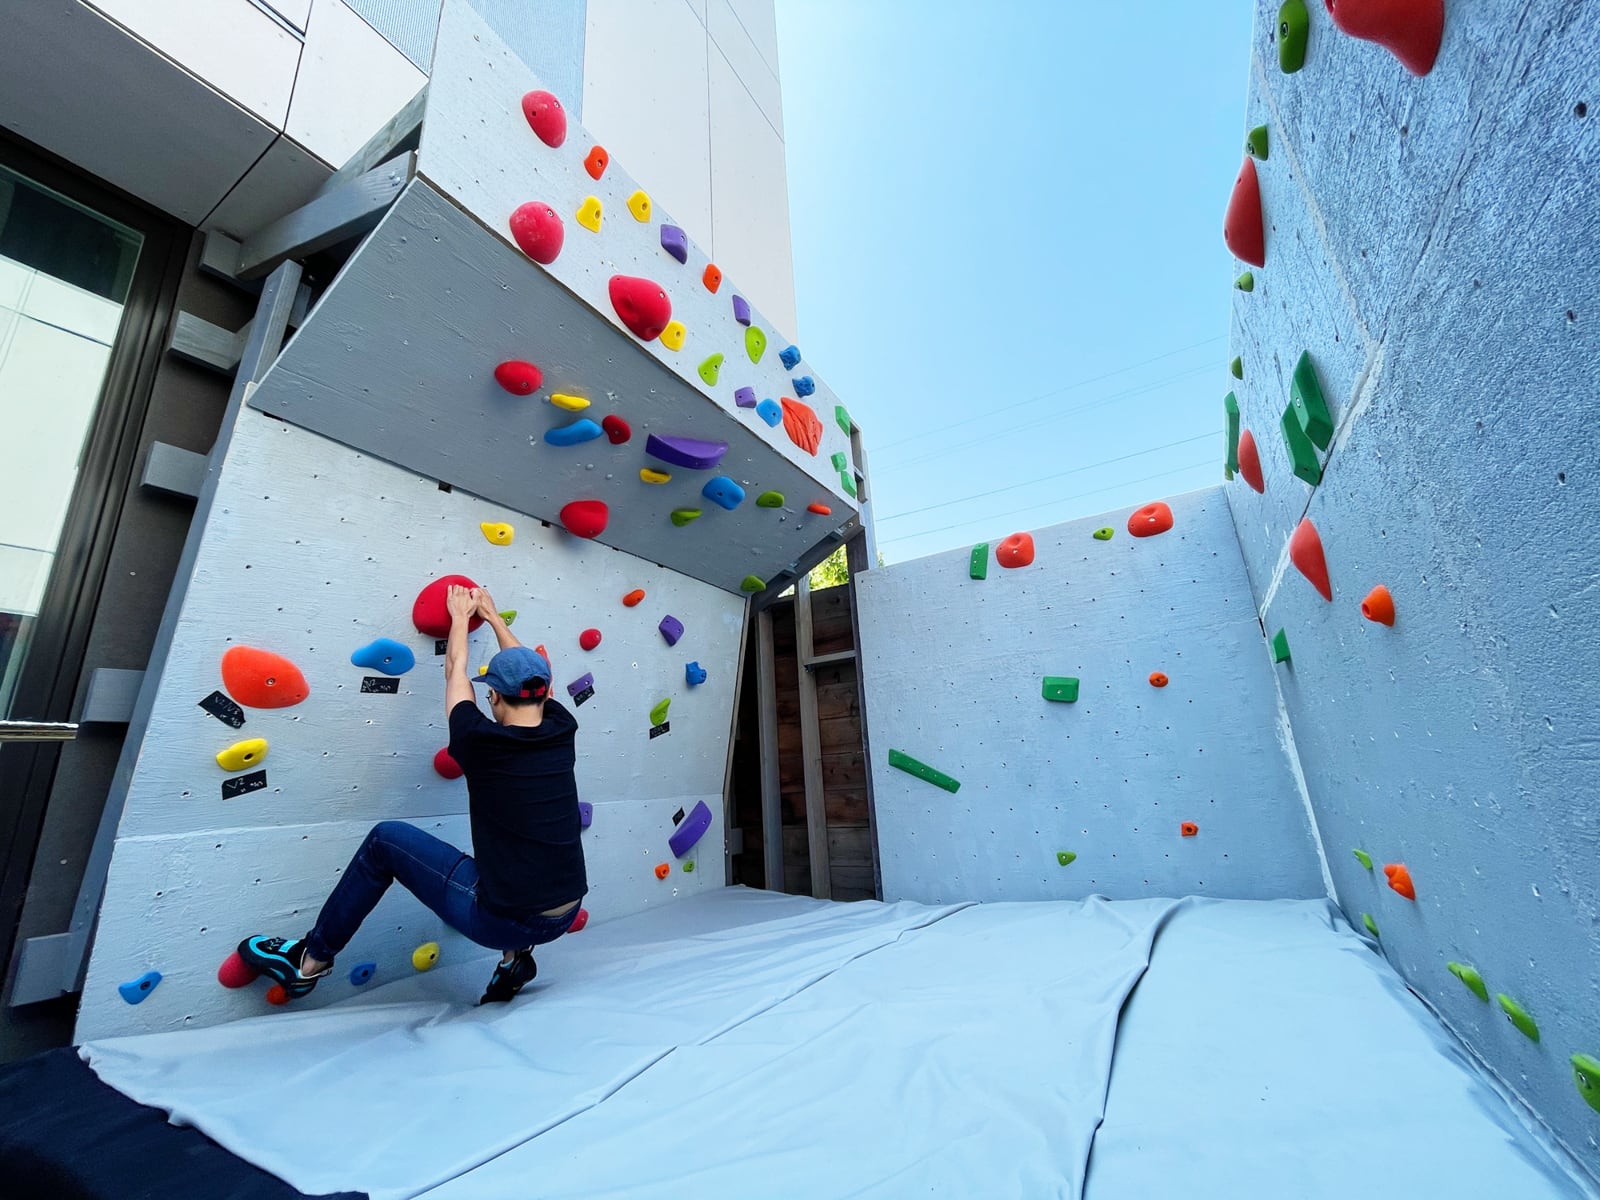
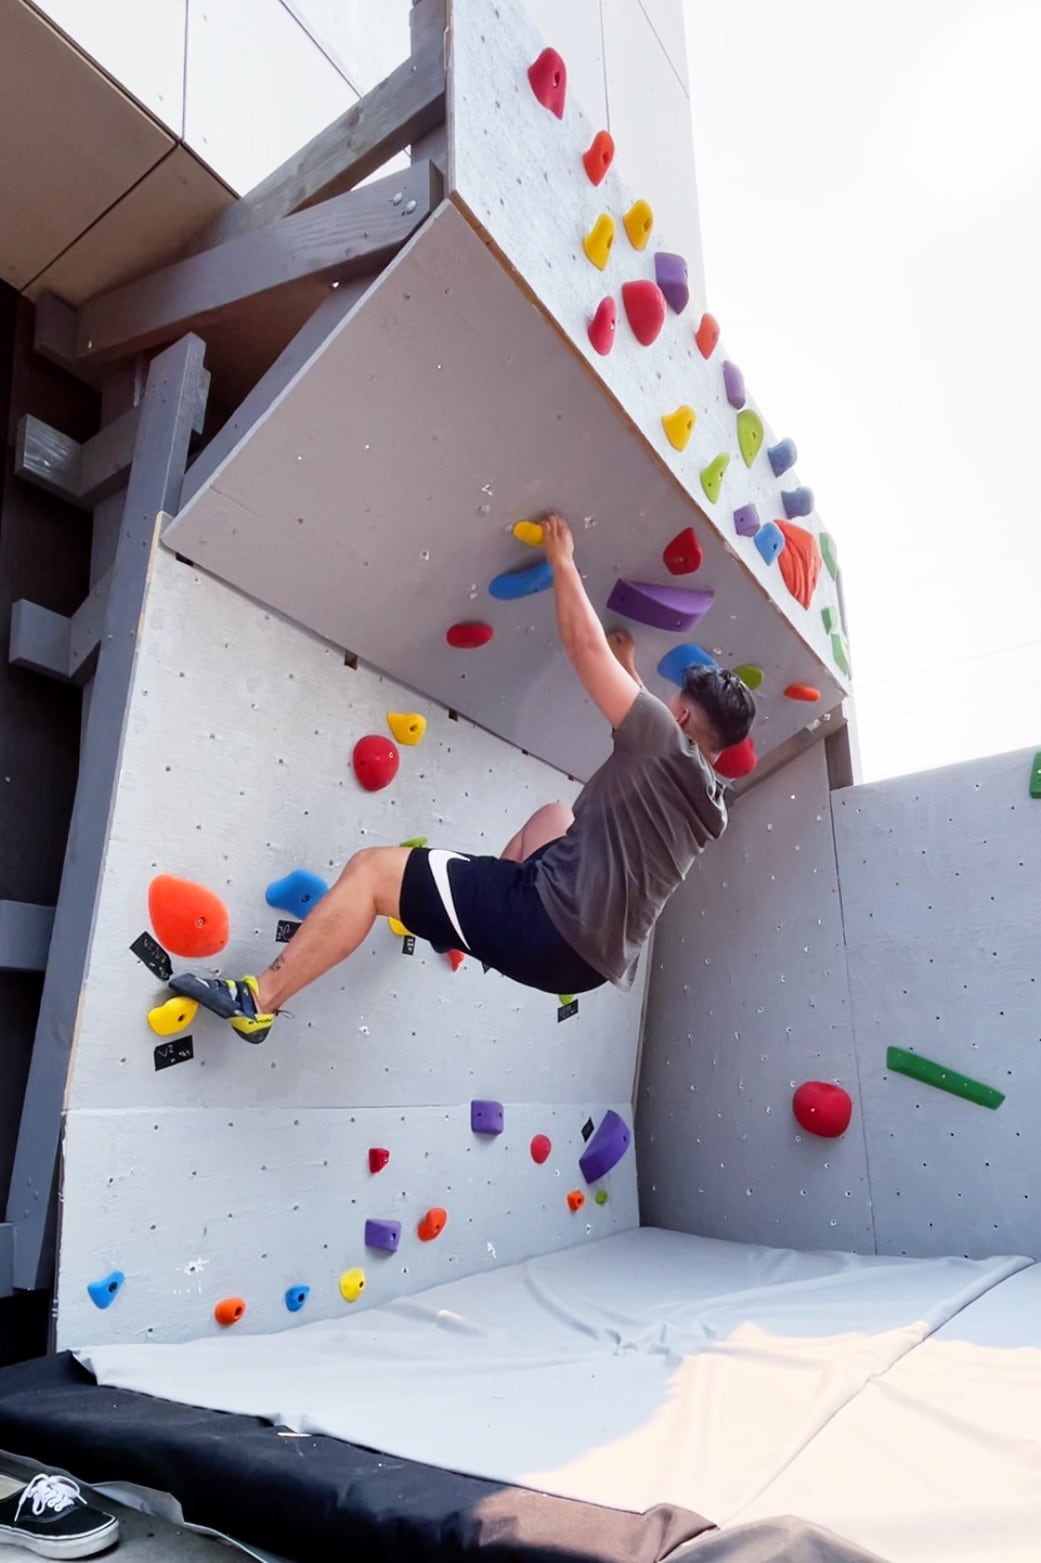
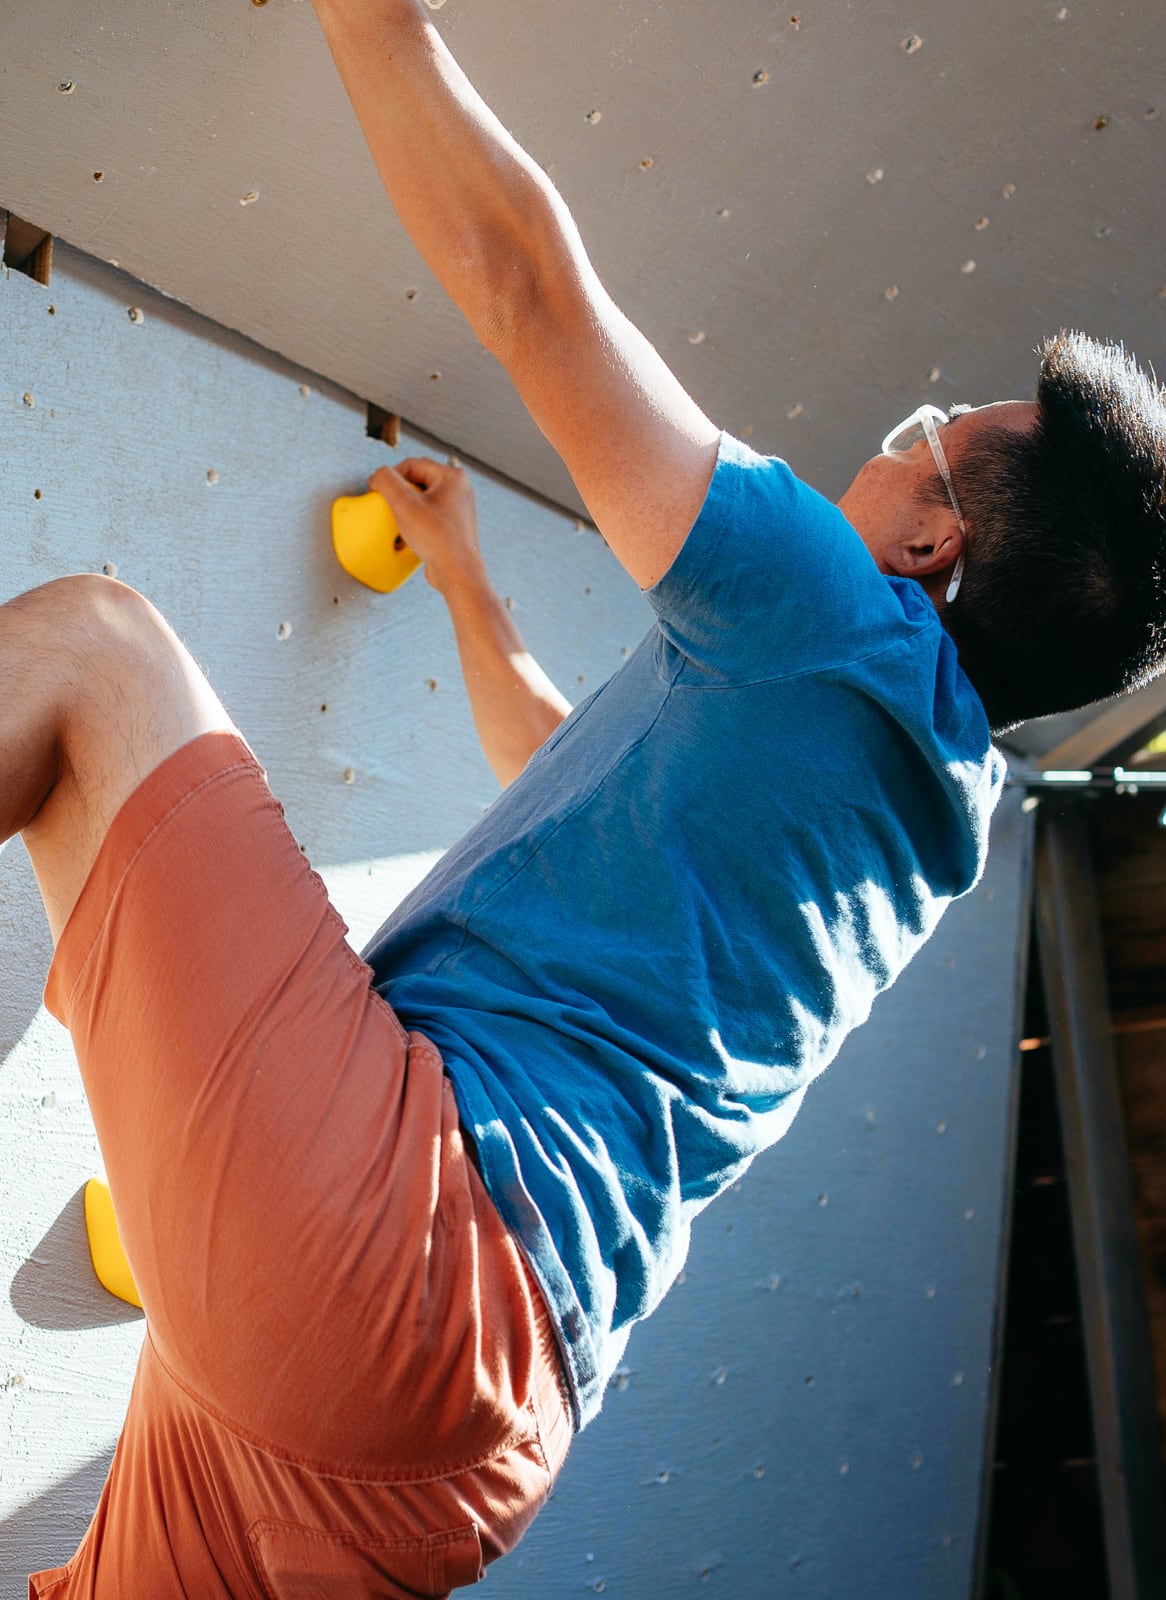
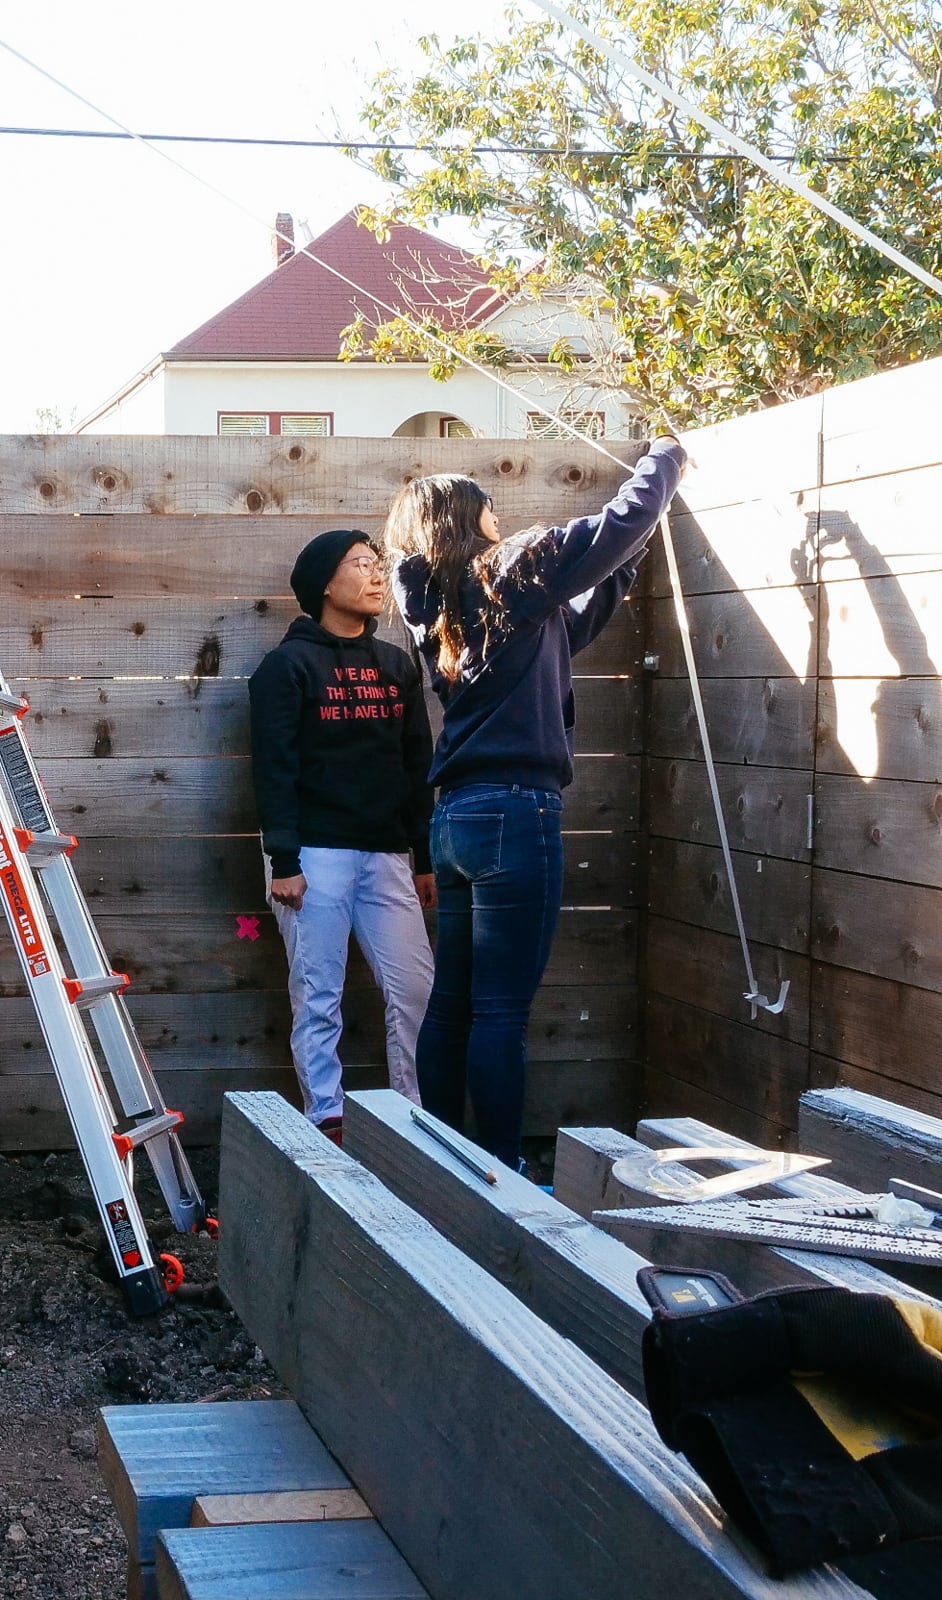
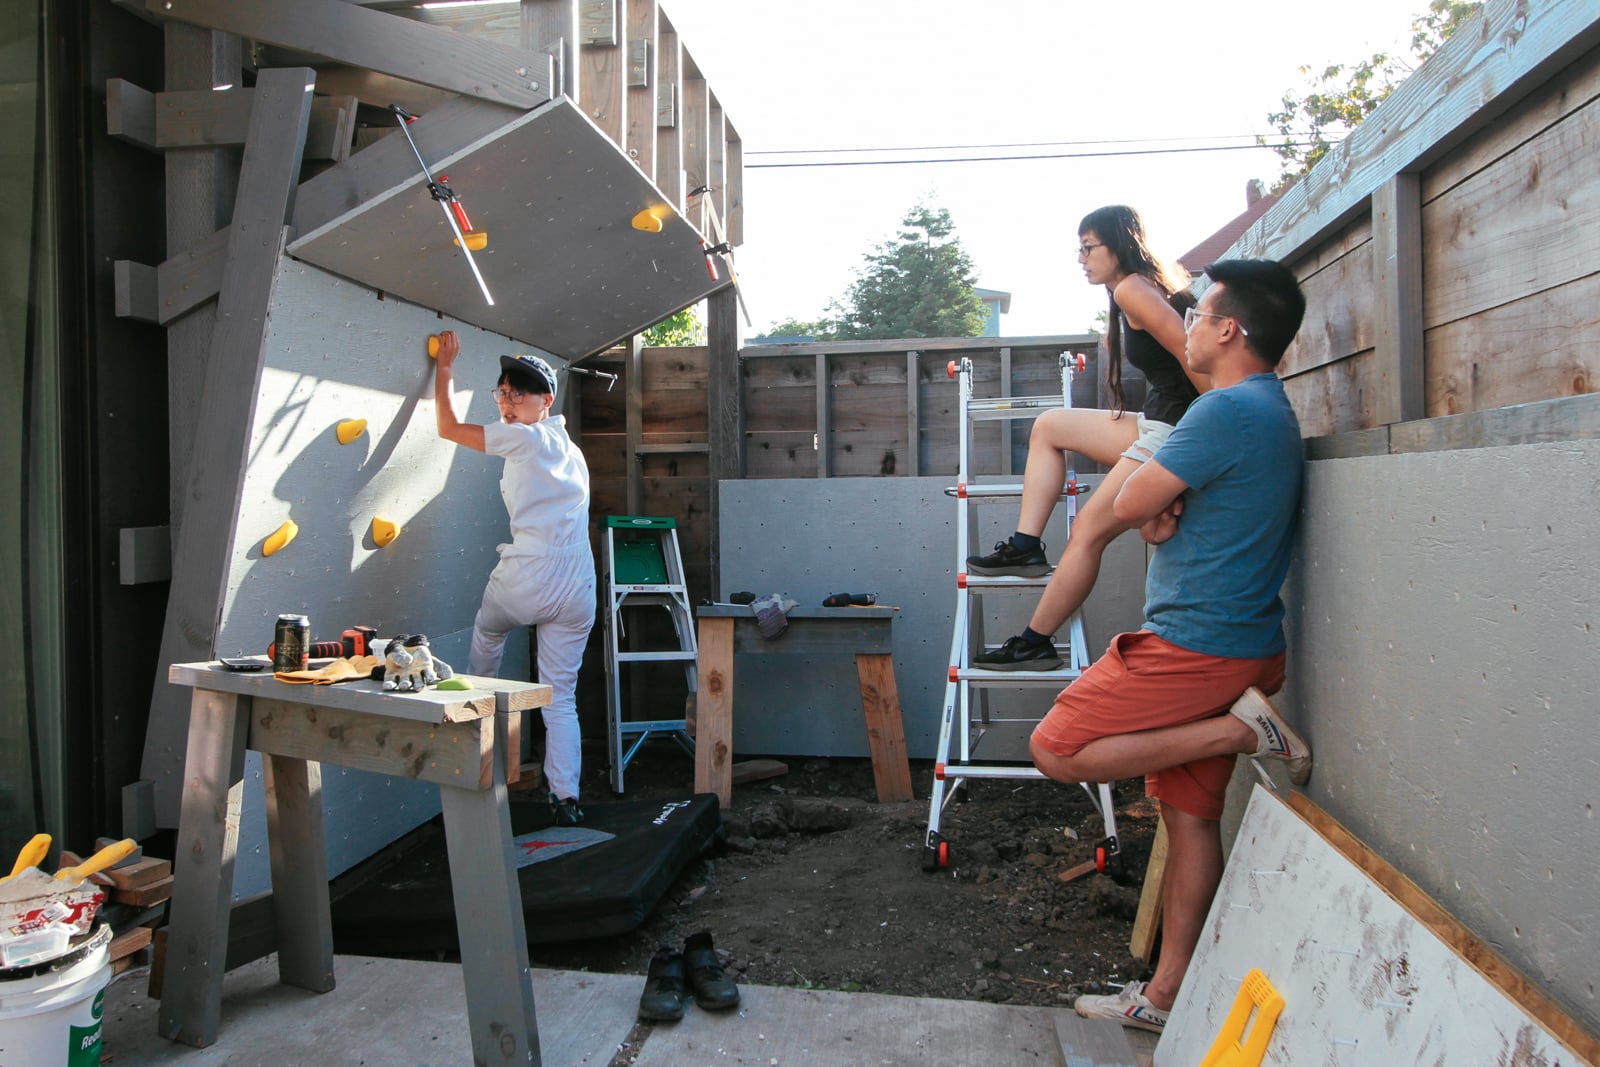
As a staying-inside project this pandemic, V, some friends, and I built this miniature climbing gym. Its name is minicube:

Tools used for foundation and framing (utility + delight rating out of 5) (the ones I loved the most have Amazon affiliate links below):
- Makita 5007F 7.25" circular saw (★★★★½)
- Rockwell RK3441K 4.5" compact circular saw (★★½)
- 2 Swanson Tool speed squares (★★★★★)
- Bosch 12V cordless drill (★★★★½)
- Black and Decker 20V impact driver (★★★★½)
- 16-inch-long 3/8" and 1/2" spade bits
- standard drill bit and impact bit set
- Stanley tape measure (★★★★½)
- 2’ level (★★★½)
- post level (★★½)
- shovel (★★★)
- ladder (★★★½)
- hammer (★★★)
- regular Sharpies (★★★½)
- metallic Sharpies (★★★★)
- no. 2 pencils (★★★)
- T-bevel (★★)
- some string (★★★½)
Information tools used:
- whiteboard (★★★★½)
- 8x11 paper (★★★★)
- 4x6 and 5x8 index cards (★★★★)
- blue painters/leftover skeleton tape (★★★★)
- Jira (★★★)
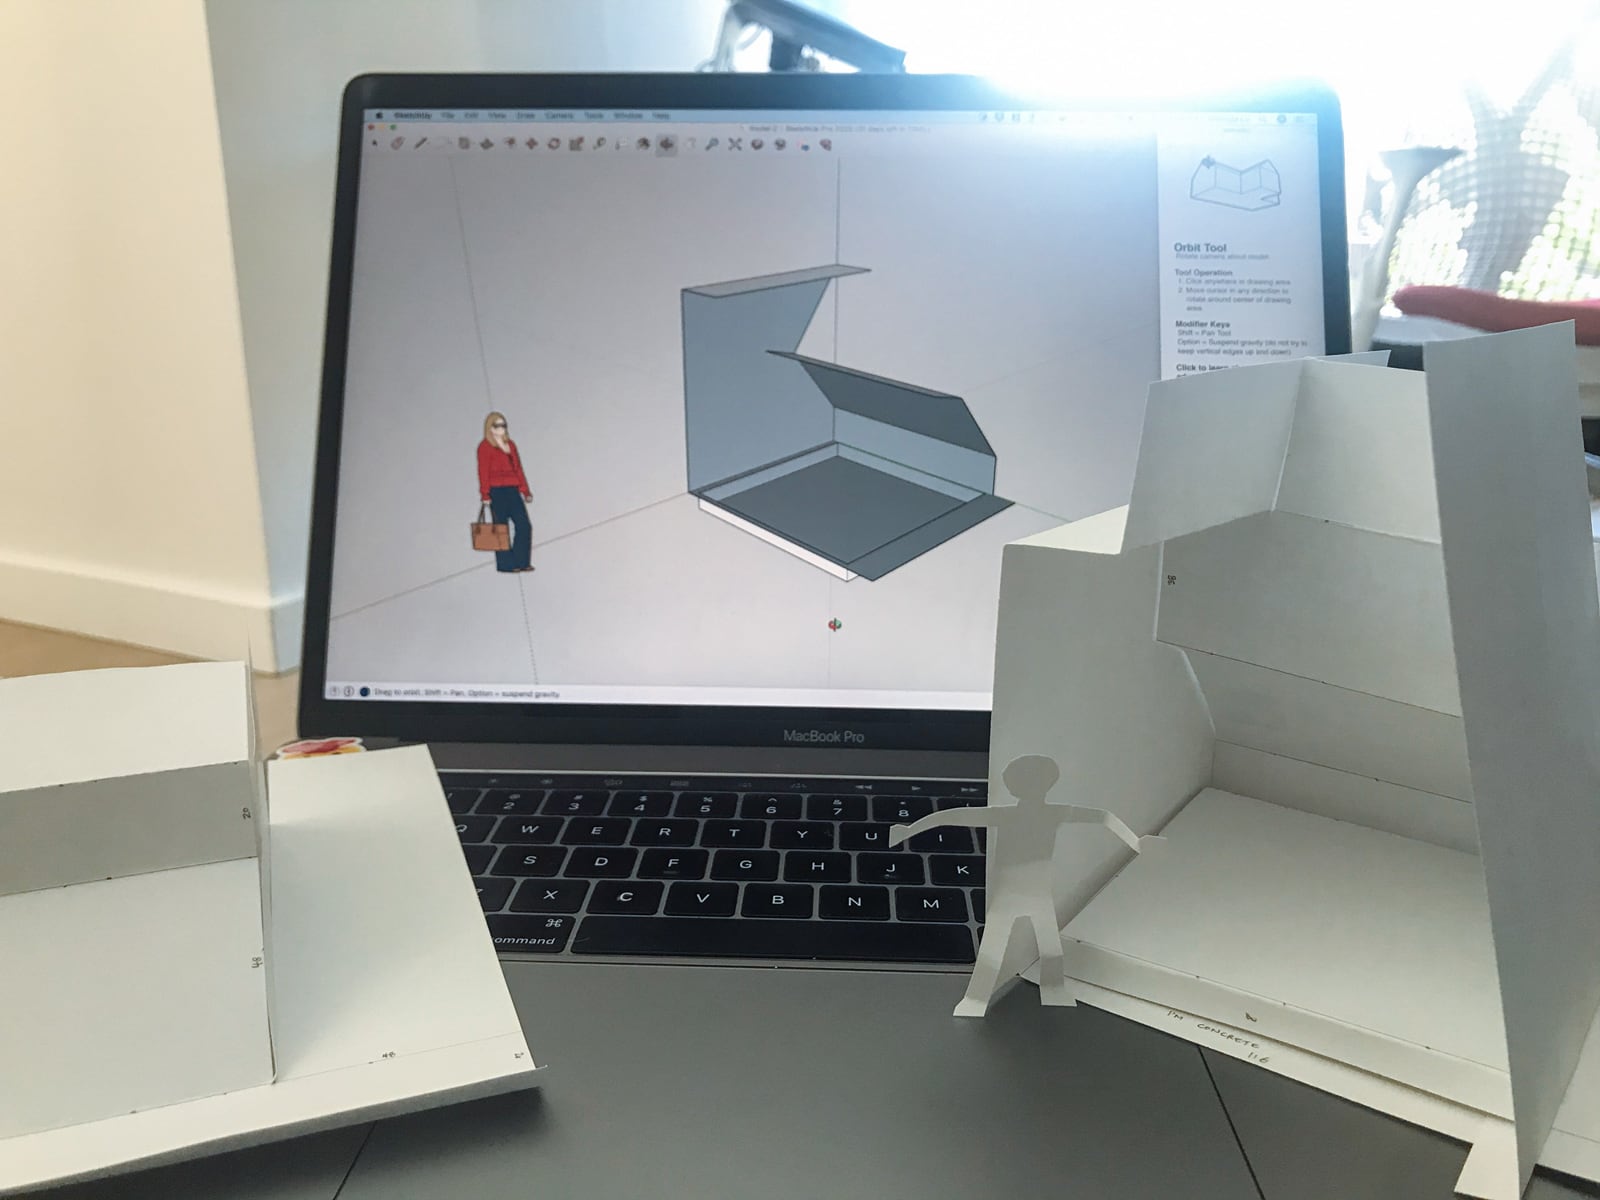
- SketchUp trial (★★★)
Other tools used:
- several cameras
- JBL Charge waterproof speaker
Parts list (foundation and framing only):
- 750 lbs Quikrete quick-setting concrete
- 2 pcs 6x6 x 16’ pressure-treated lumber for primary posts
- 2 pcs 4x4 x 12’ pressure-treated lumber for secondary posts
- 4 pcs 2x6 x 10’ pressure-treated lumber for bottom cross-bracing
- 50 pcs 2x6 x 12’ douglas fir framing lumber for the rest of the framing
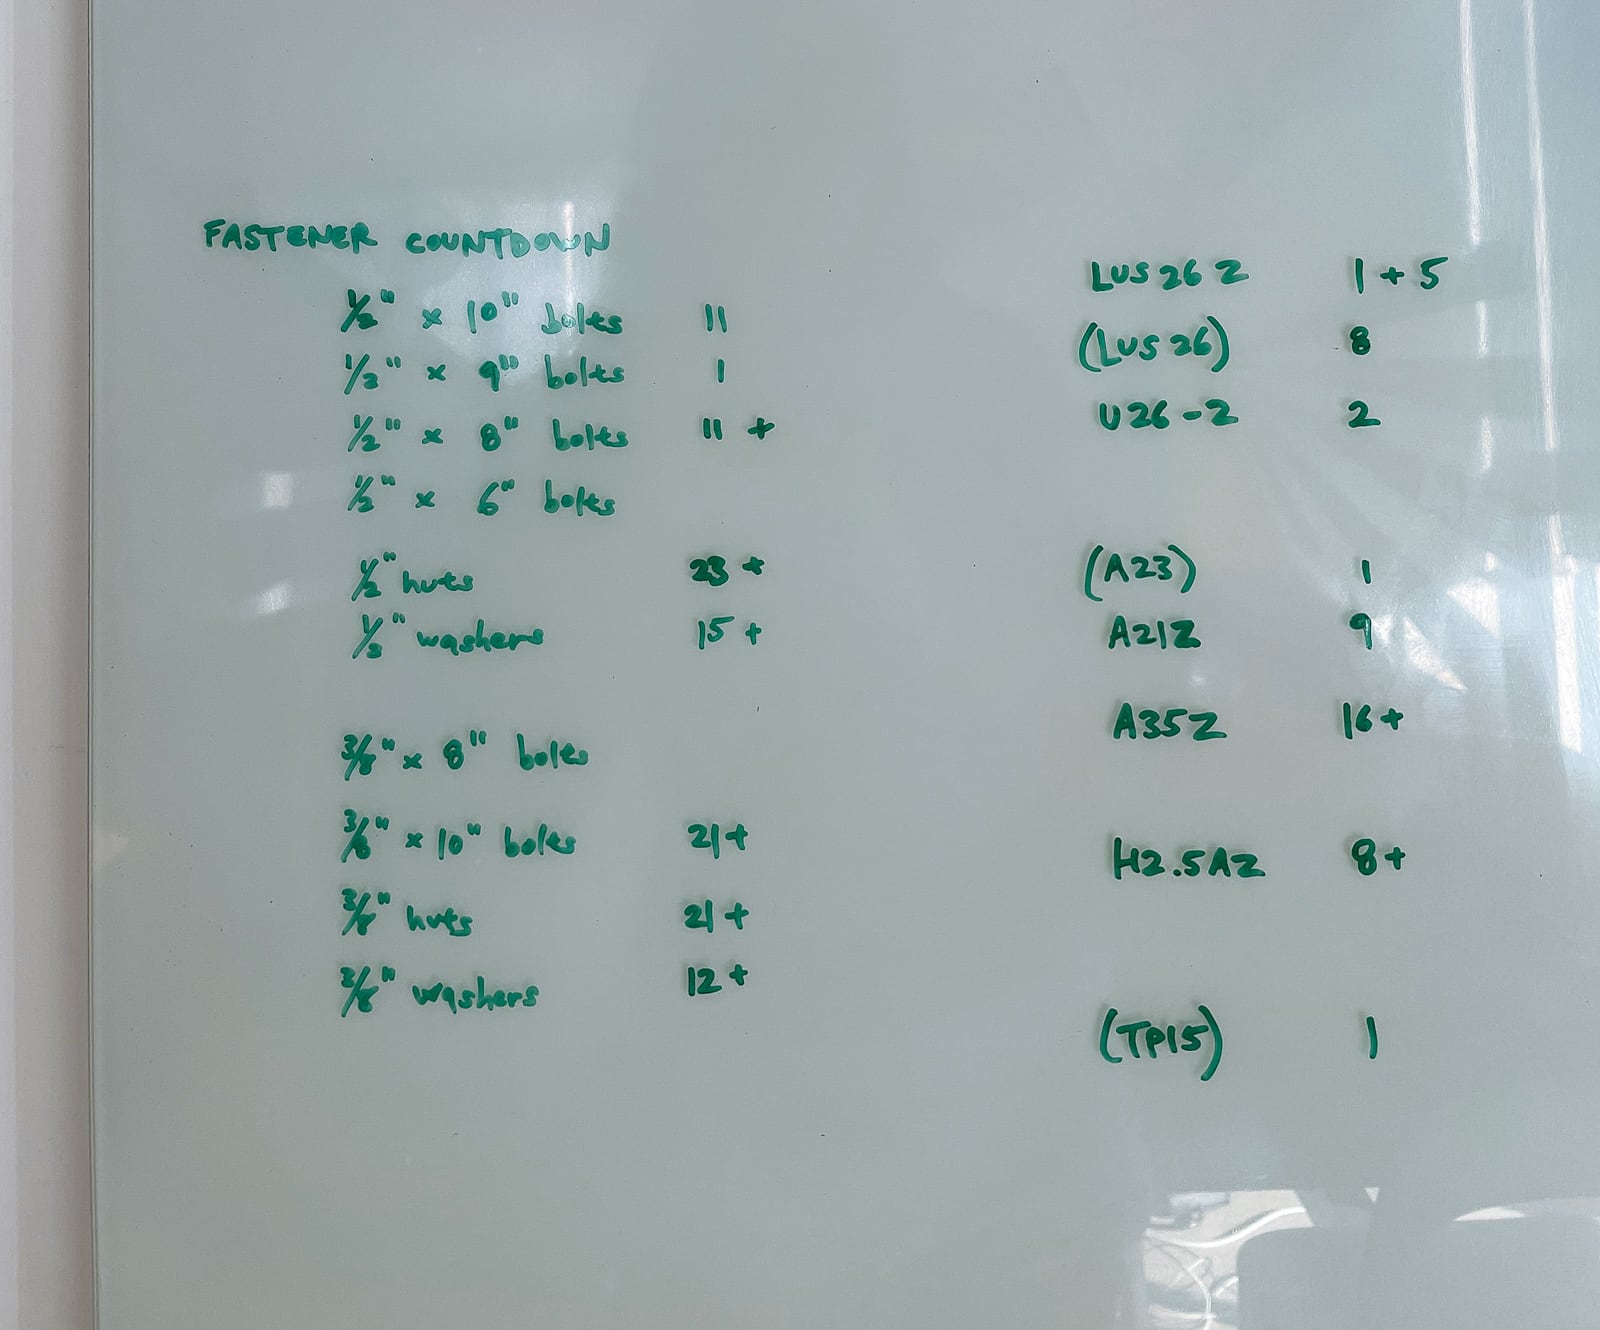
- 1/2" carriage bolts/nuts/washers
- 3/8" carriage bolts/nuts/washers
- Simpson Strong-Tie LUS25Z 2x6 face-mount joist hangers
- Simpson Strong-Tie 12 A21, 26 A23Z, 22 A34Z, 4 A35Z angles, 4 H2.5Z hurricane ties, and 1 TP15 tie plate
- 600 Simpson Strong-Tie #9 x 1.5" SD connector screws
- 300 Simpson Strong-Tie #9 x 2.5" SD connector screws
- 12 GRK 5/16" x 4" RSS structural screws
- 12 GRK 1/4" x 2.5" RSS structural screws
- 20 GRK #9 x 2.5" R4 screws
- a handful of nails
- Rustoleum gray paint
Why
We saw Stacey’s, and it created a sense of wonder in our hearts. The dream: of a place of refuge a few steps away from one’s usual cares; a place where the outlines of the self could be more distinct. A place that would let us dream in peace; to try on alternate futures and feel how they fit. Something uncomplicated and fun.
Design
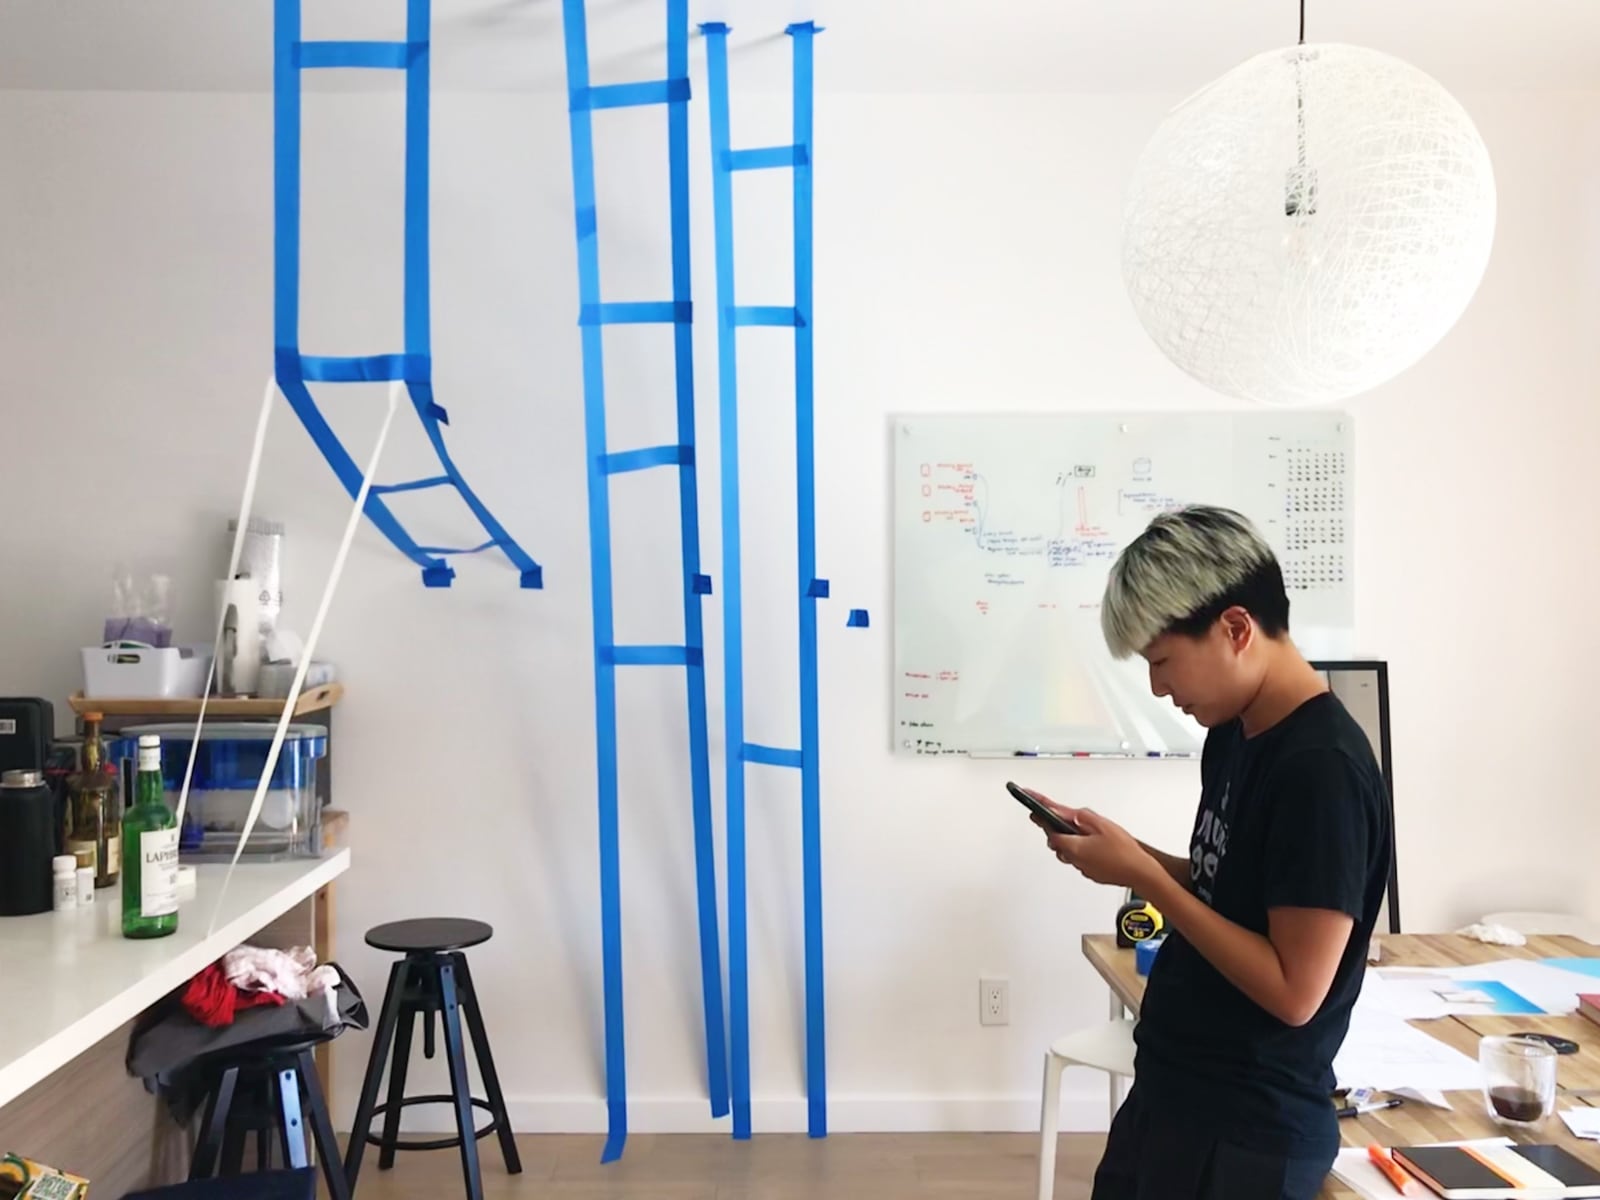
1. Exploration, goals, and constraints
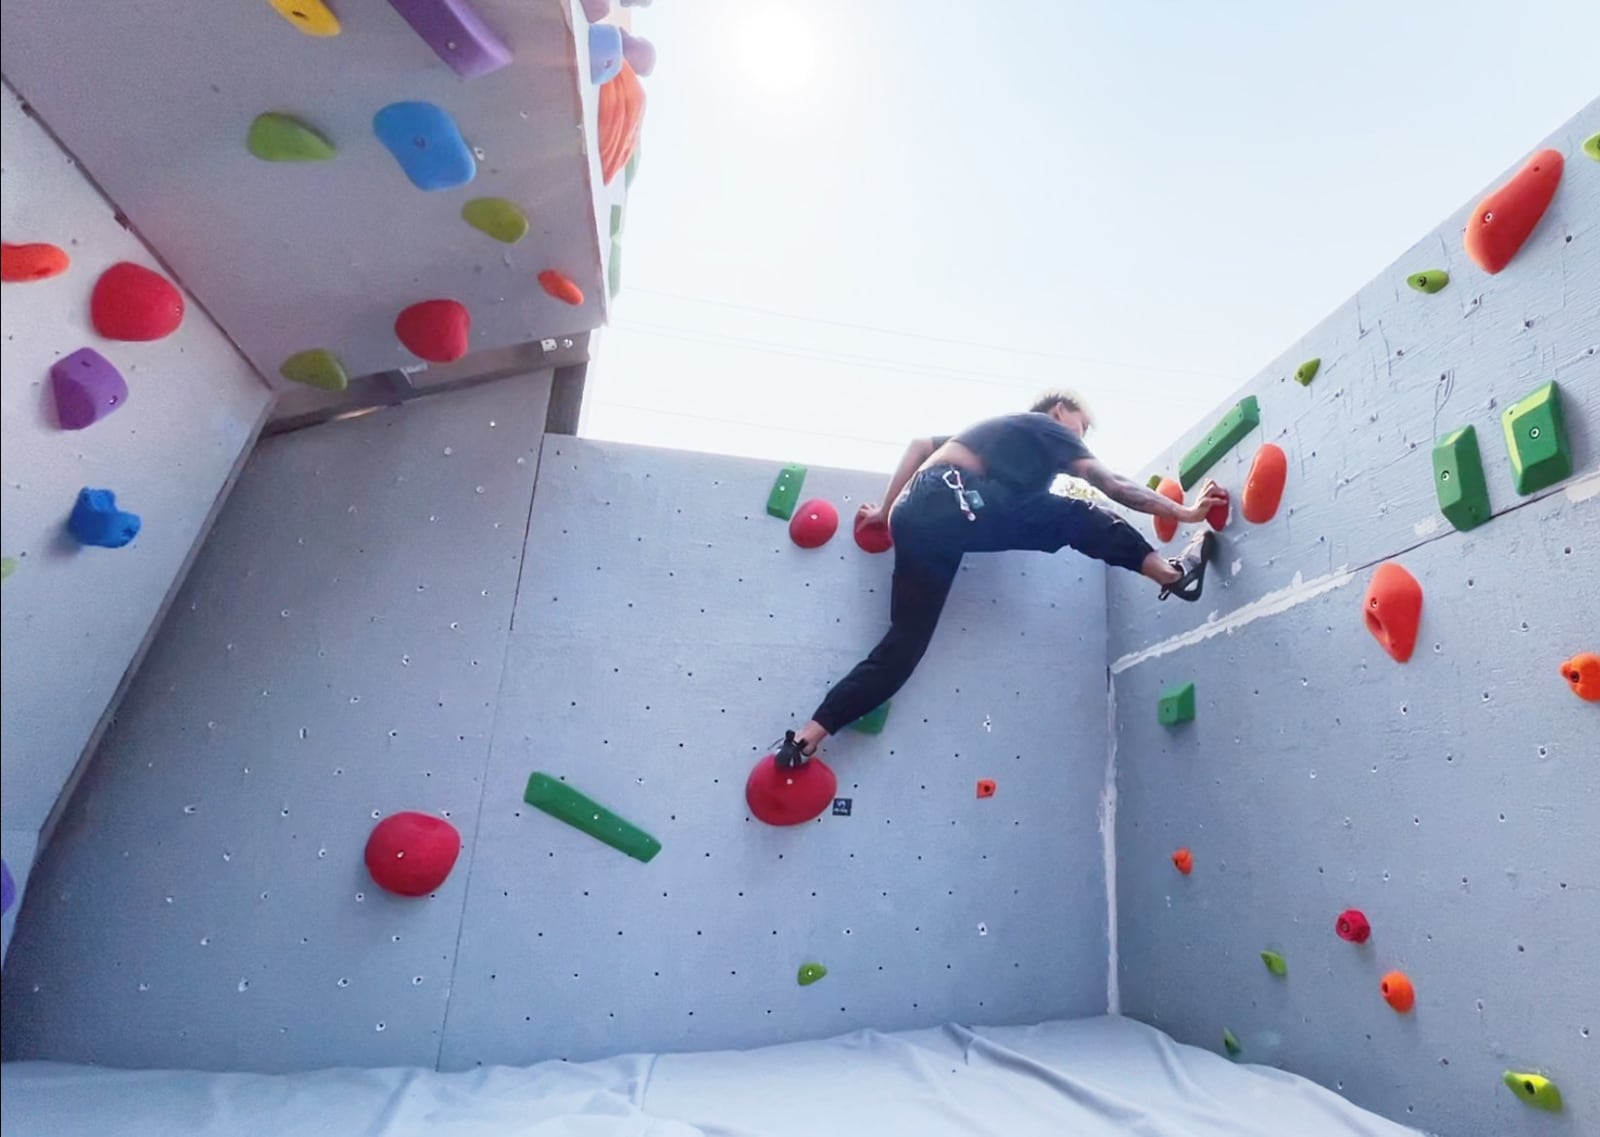
Our goals were (1) to have a climbing area where people can recreate, (2) with a cave, (3) and a few corners for stemmy climbs; (4) without being annoying to the neighbors.
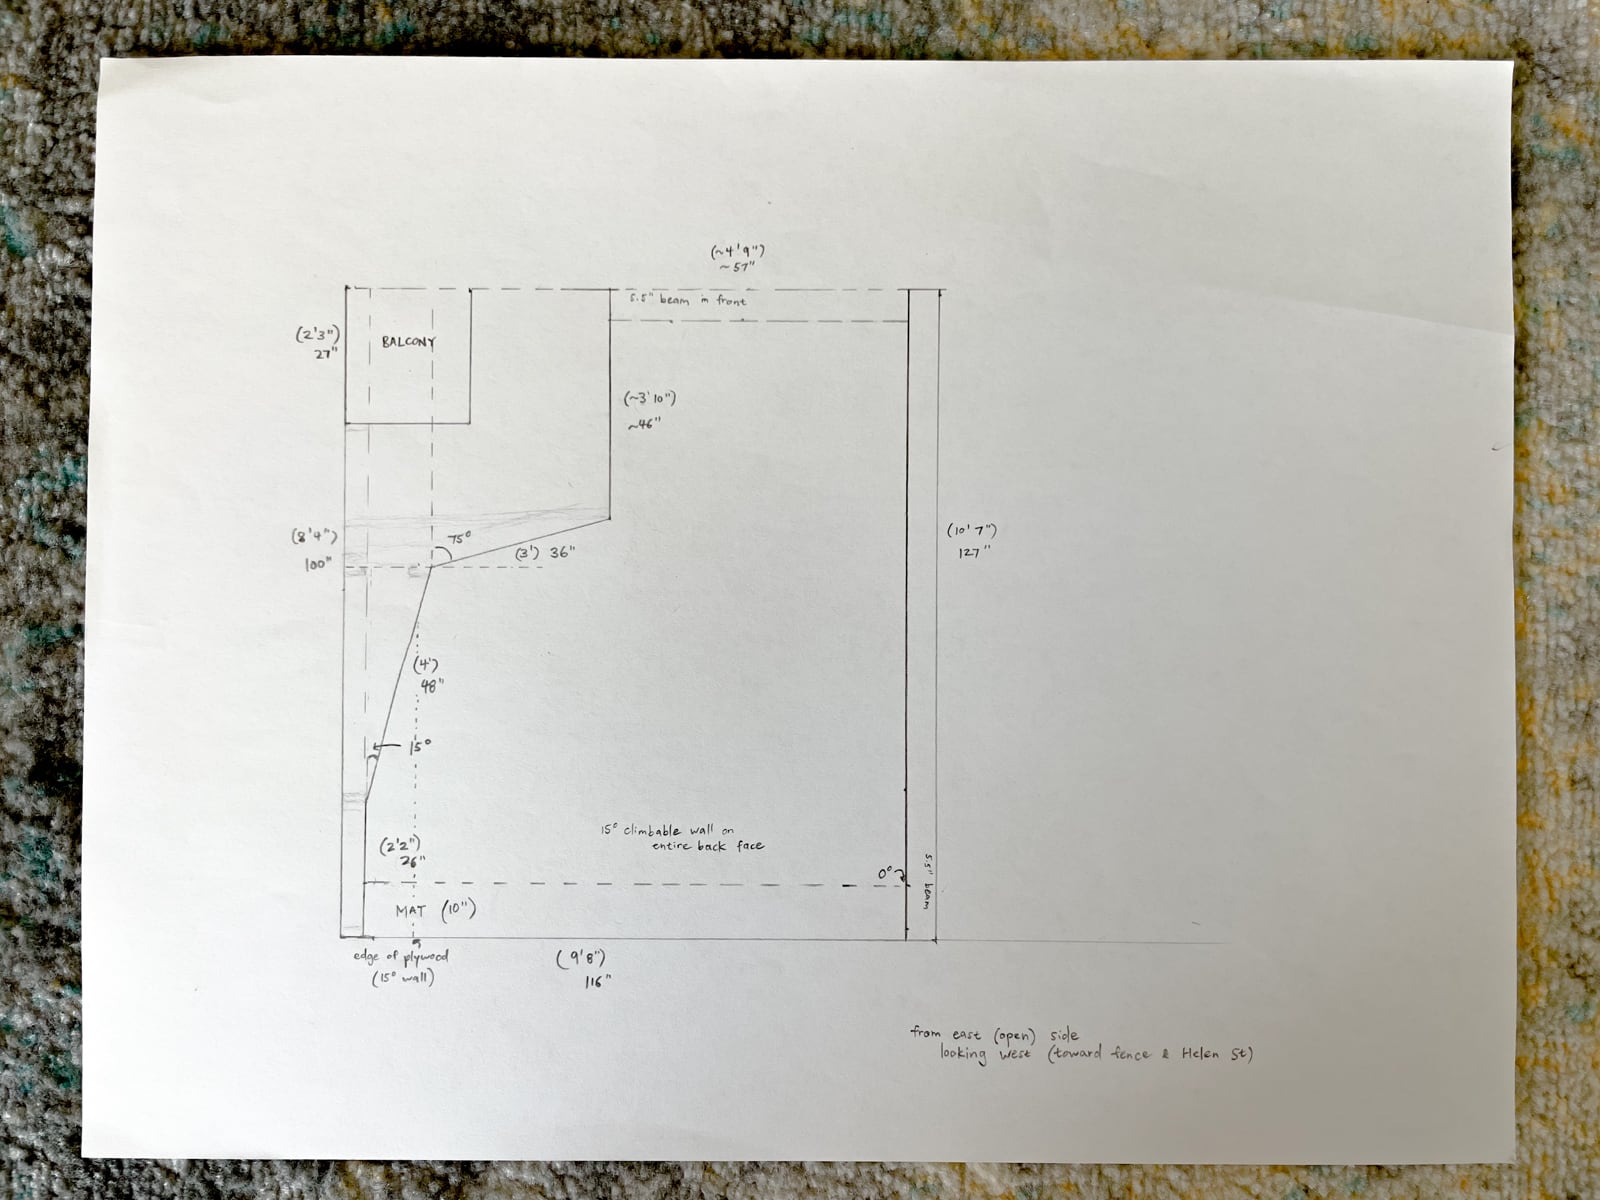
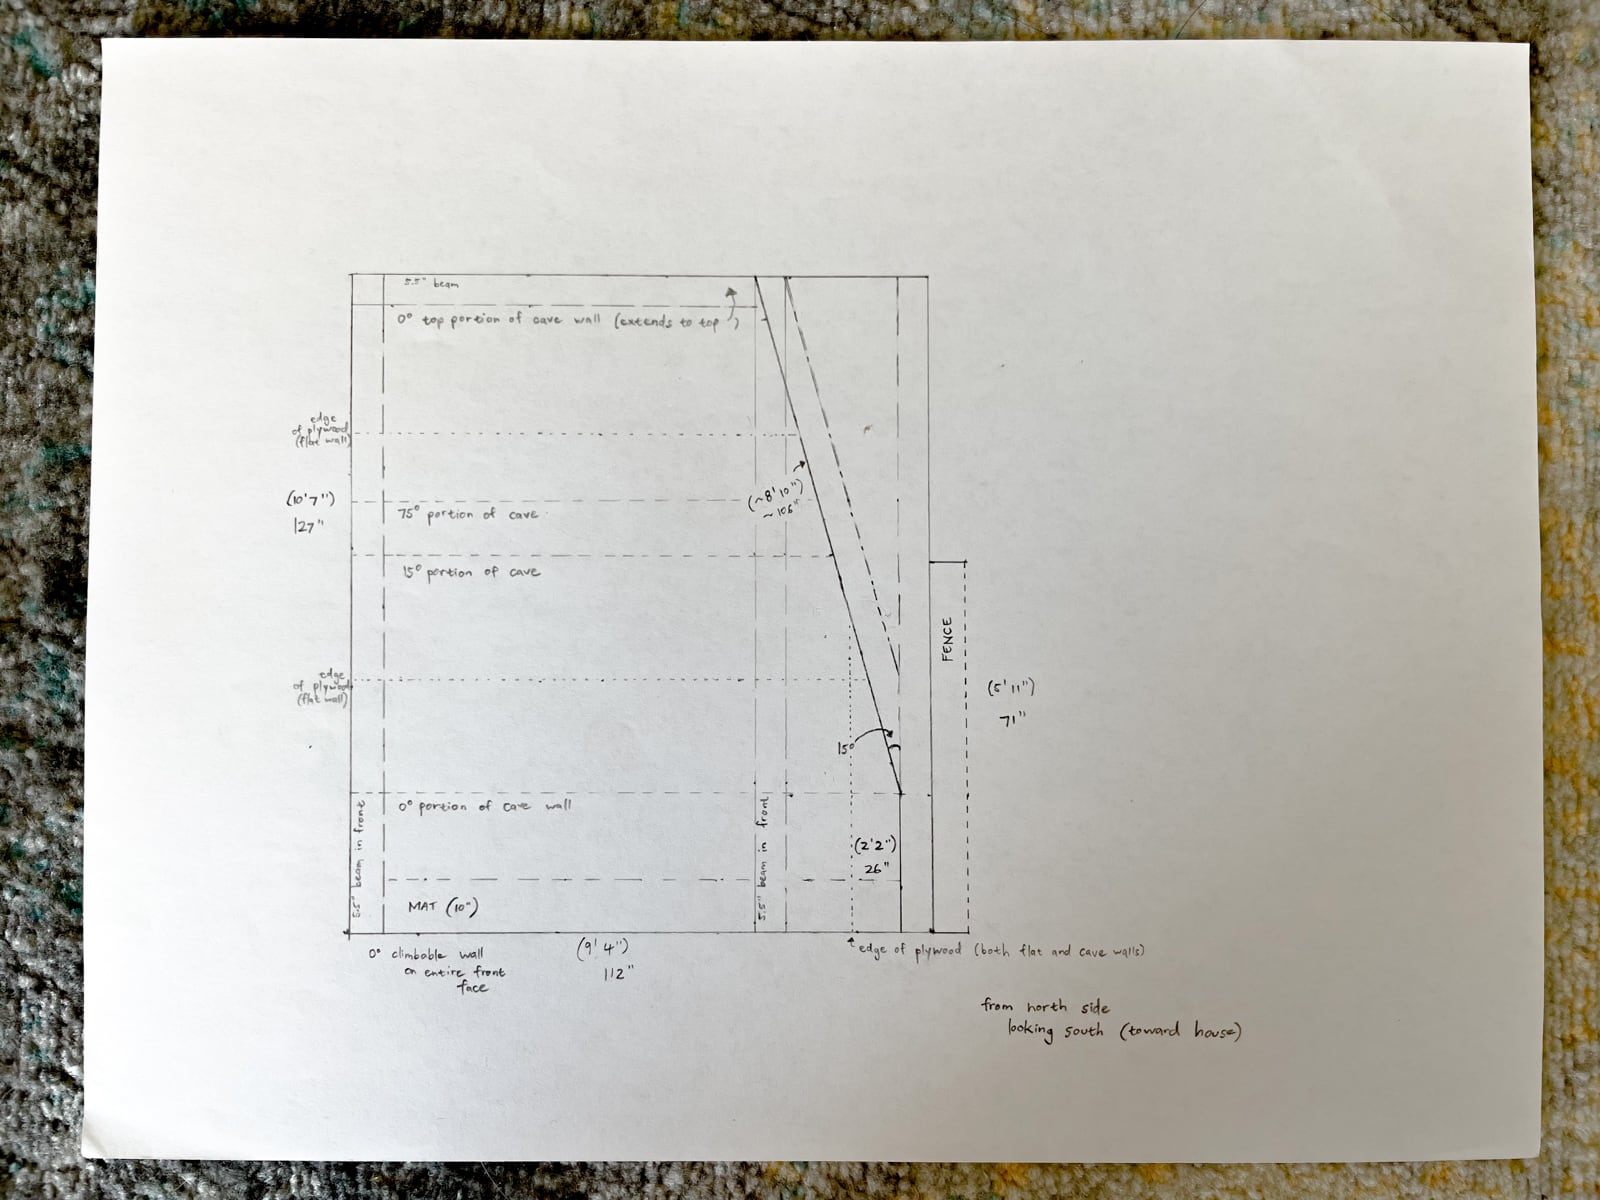
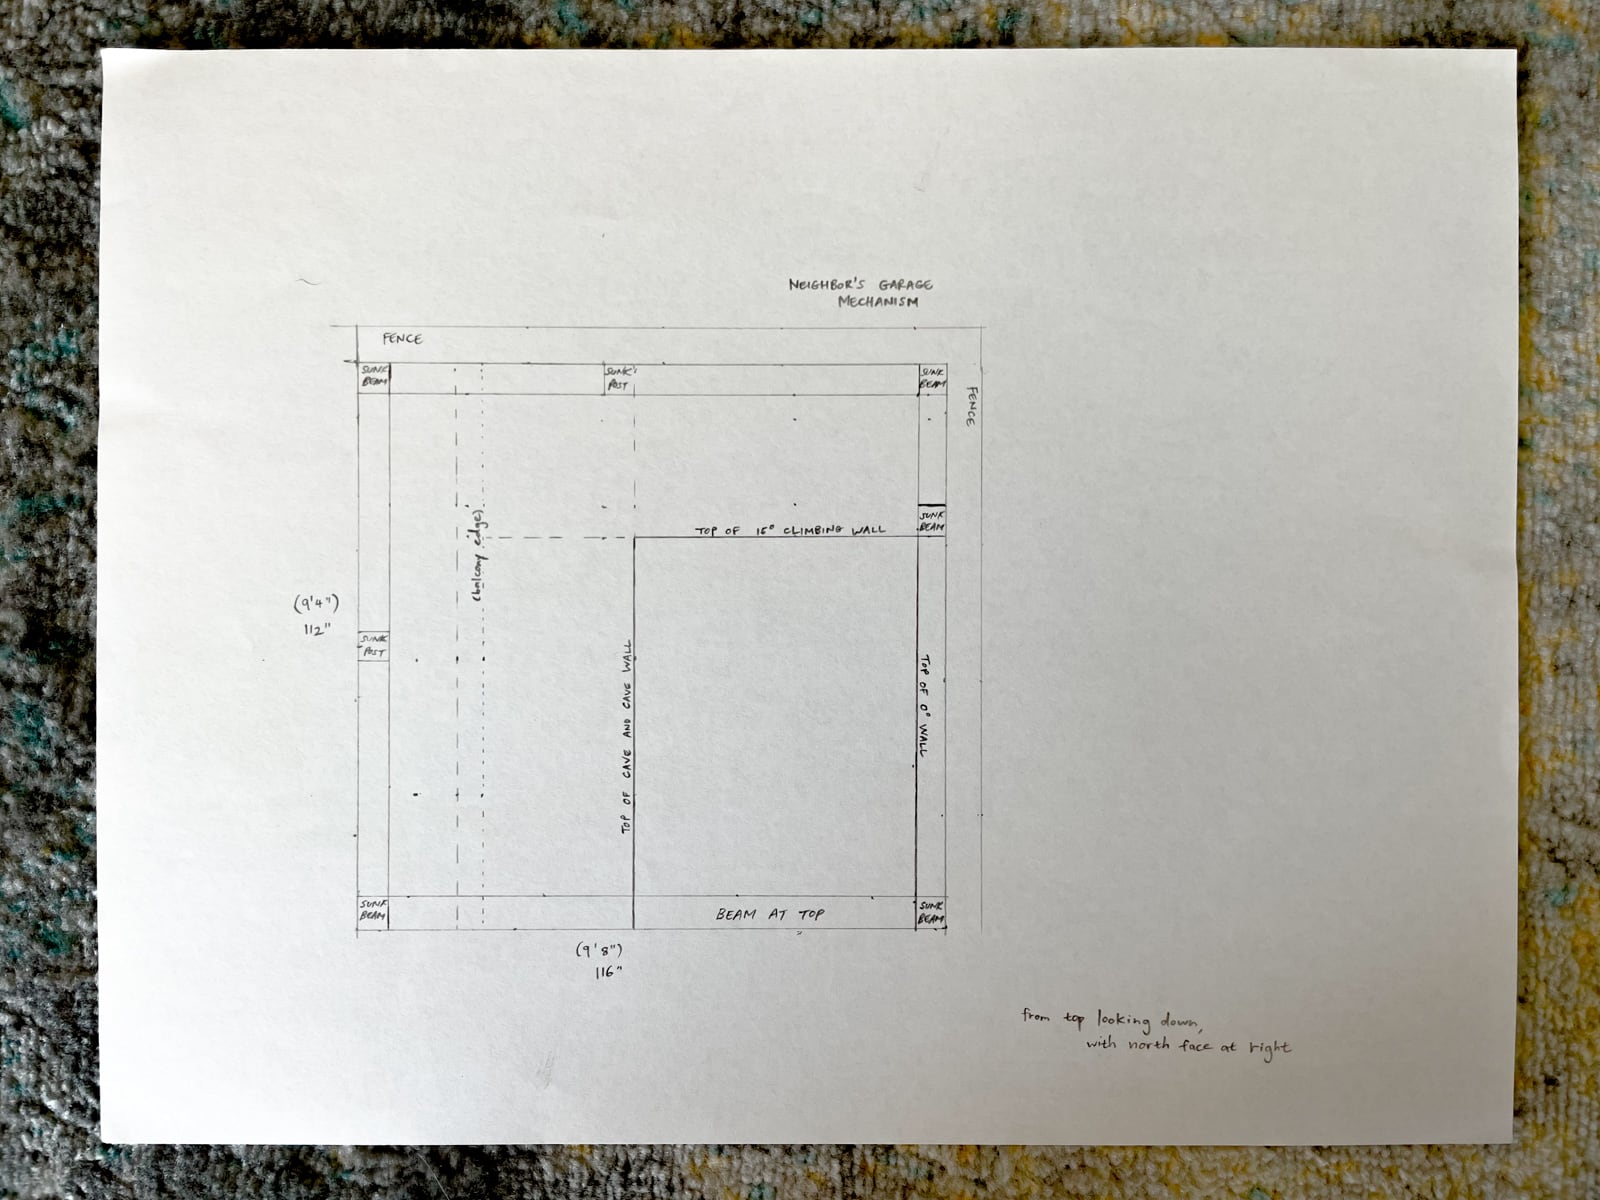
Constraints: it all had to fit in a 110" x 110" footprint, without anchoring to the existing building. Figuring out how to preserve the existing sunlight was also important — building the walls too high would block too much light, but too-short walls aren’t climbable.
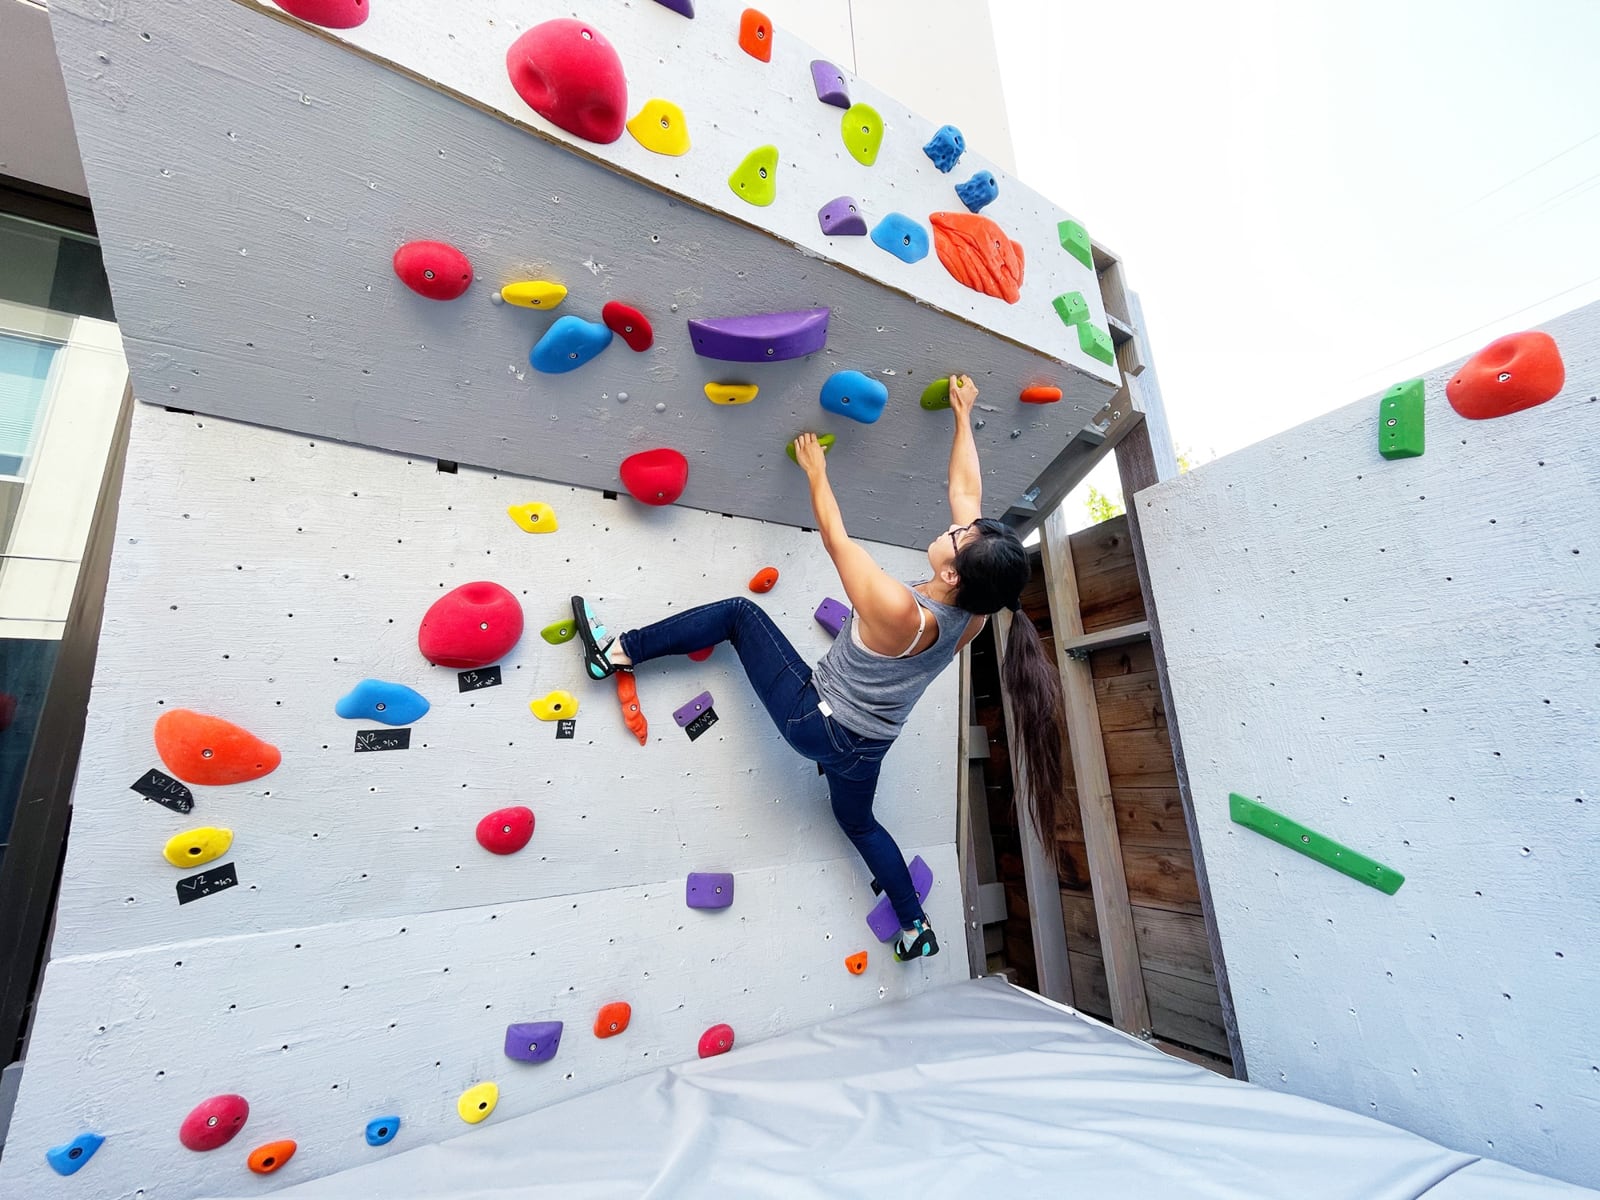
After a few experiments, we decided on a three-sided configuration with one taller (but still short) wall with 10° and 65° overhangs, close to the existing building (marked as WALL·E), and two shorter vertical walls on the other two sides (walls F and G). WALL·E would be about 10’ high, while walls F and G would be about 6’ high.
Design
2. Engineering design
After we had a rough idea of what we wanted to build, it was time to engineer it. This was fun: I got to revisit beam theory, read about/measure West Oakland soil densities, read and reread the Oakland building code; and a bunch of other desk work.
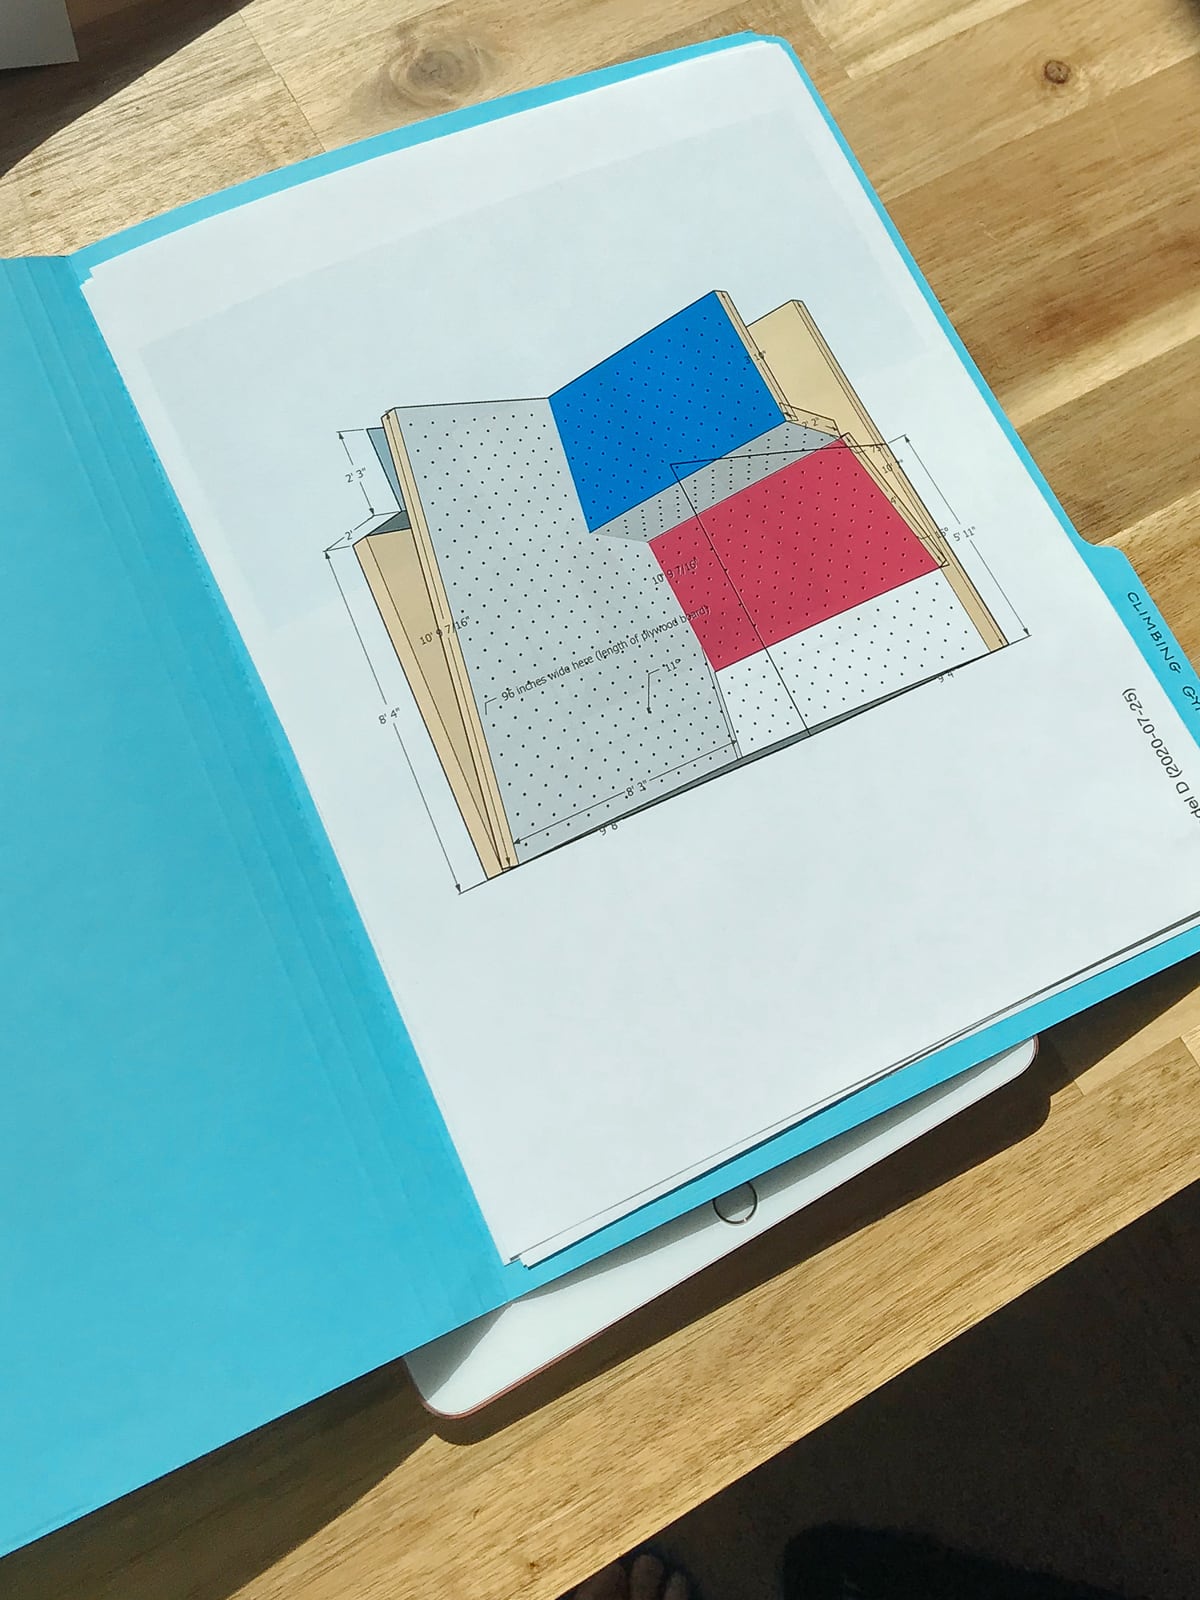
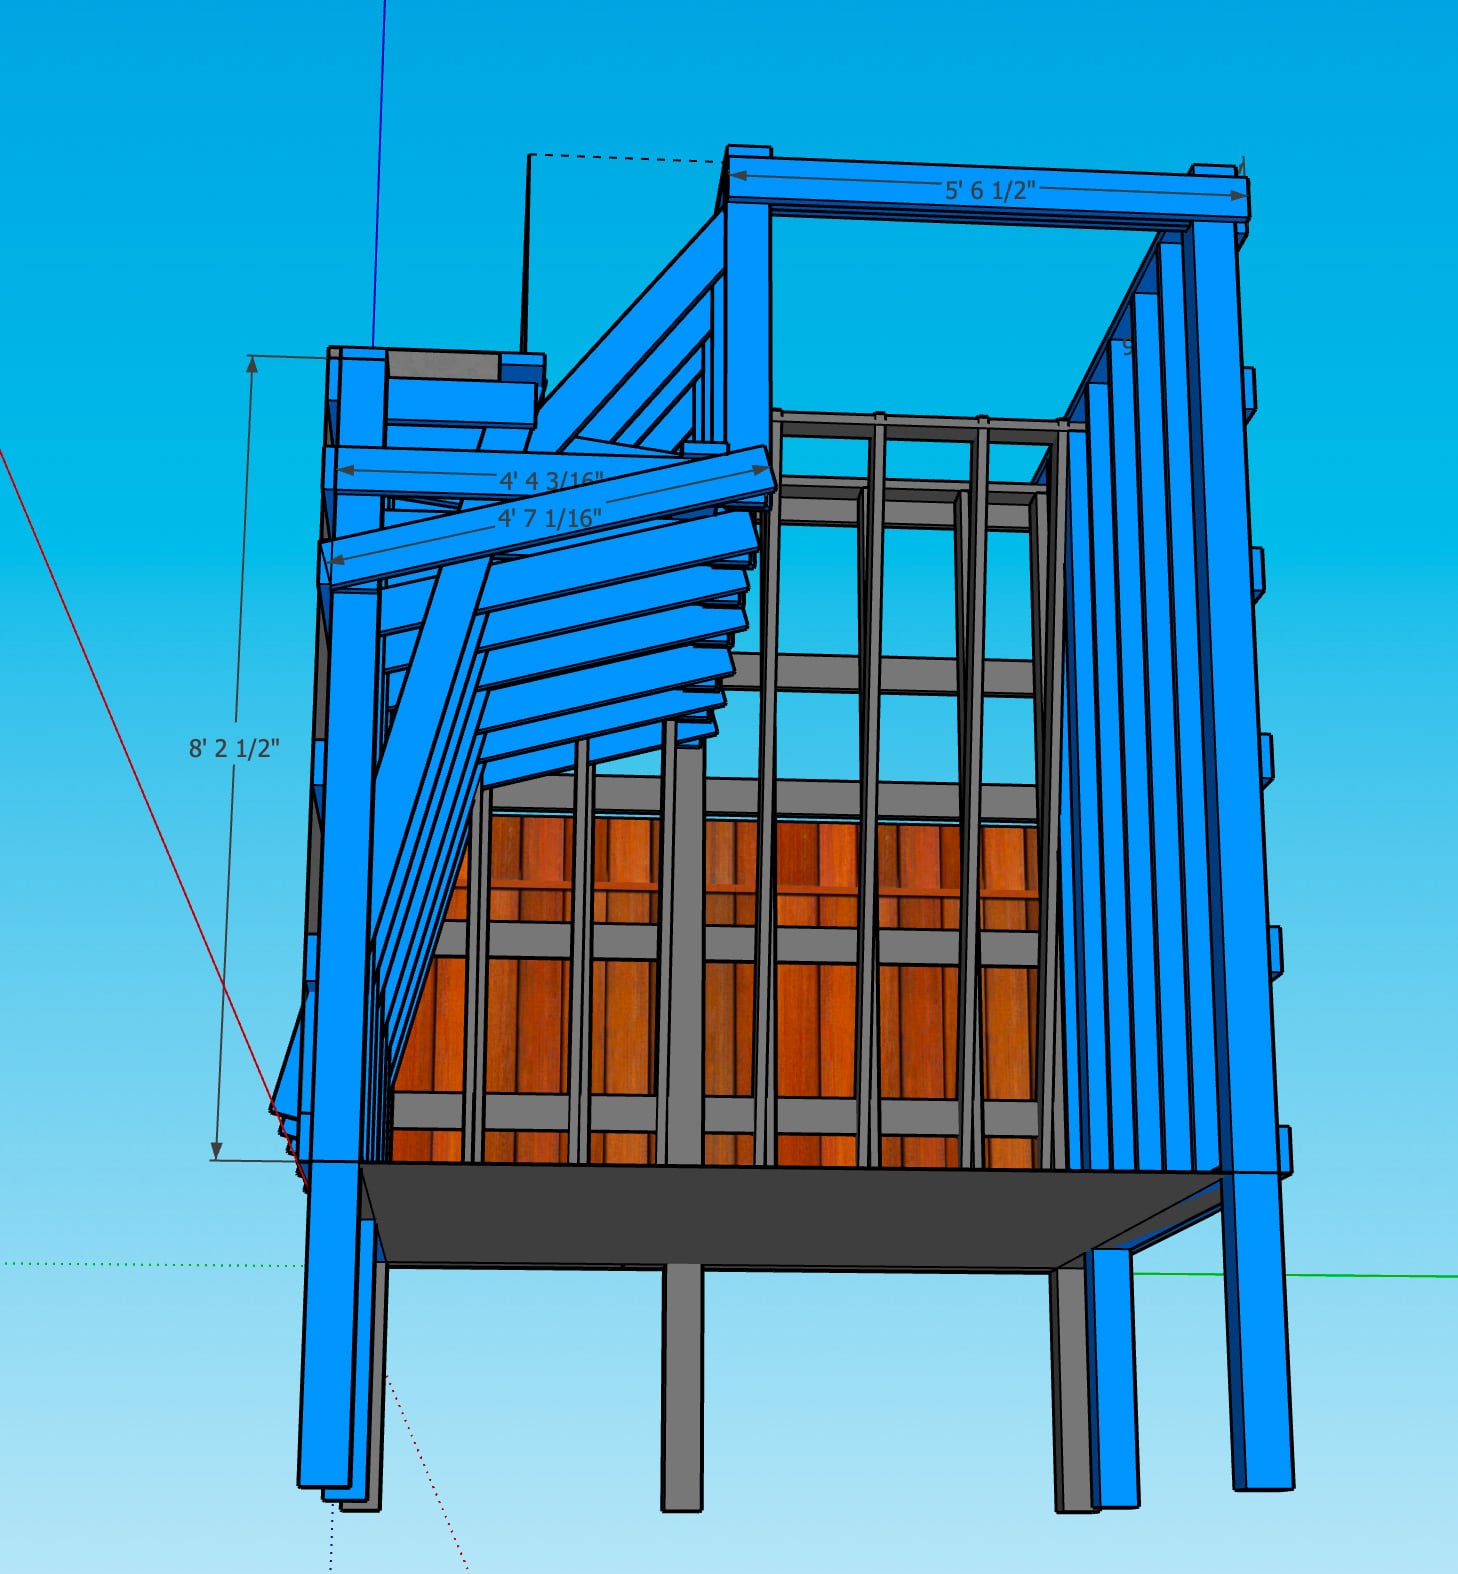
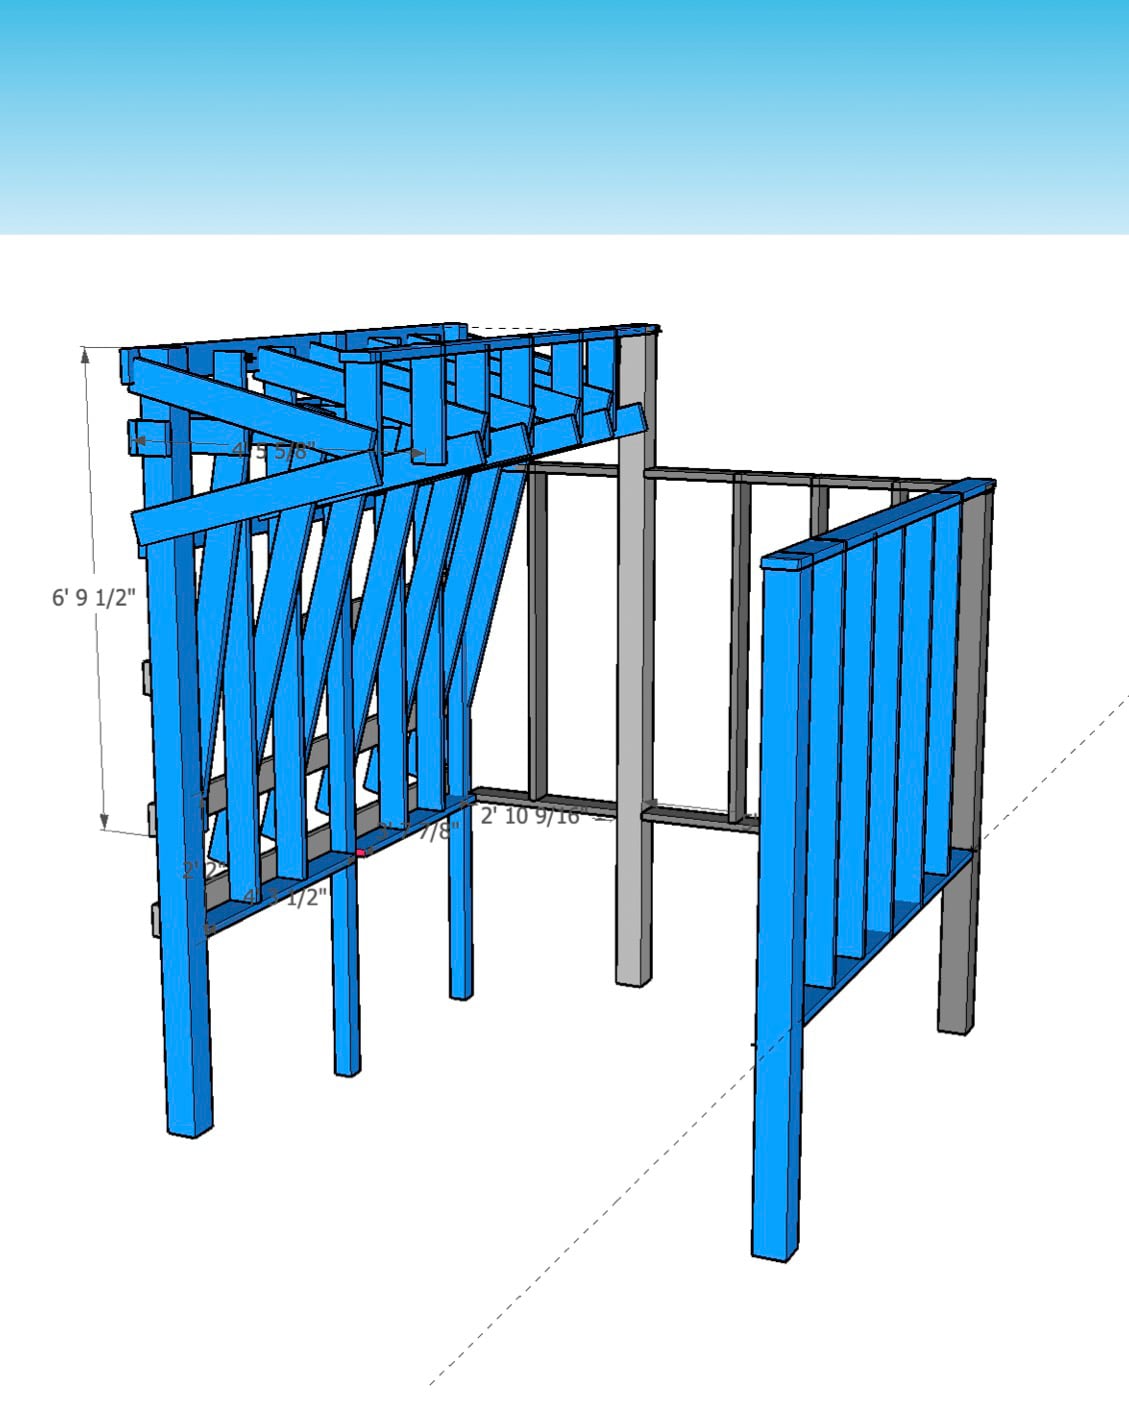
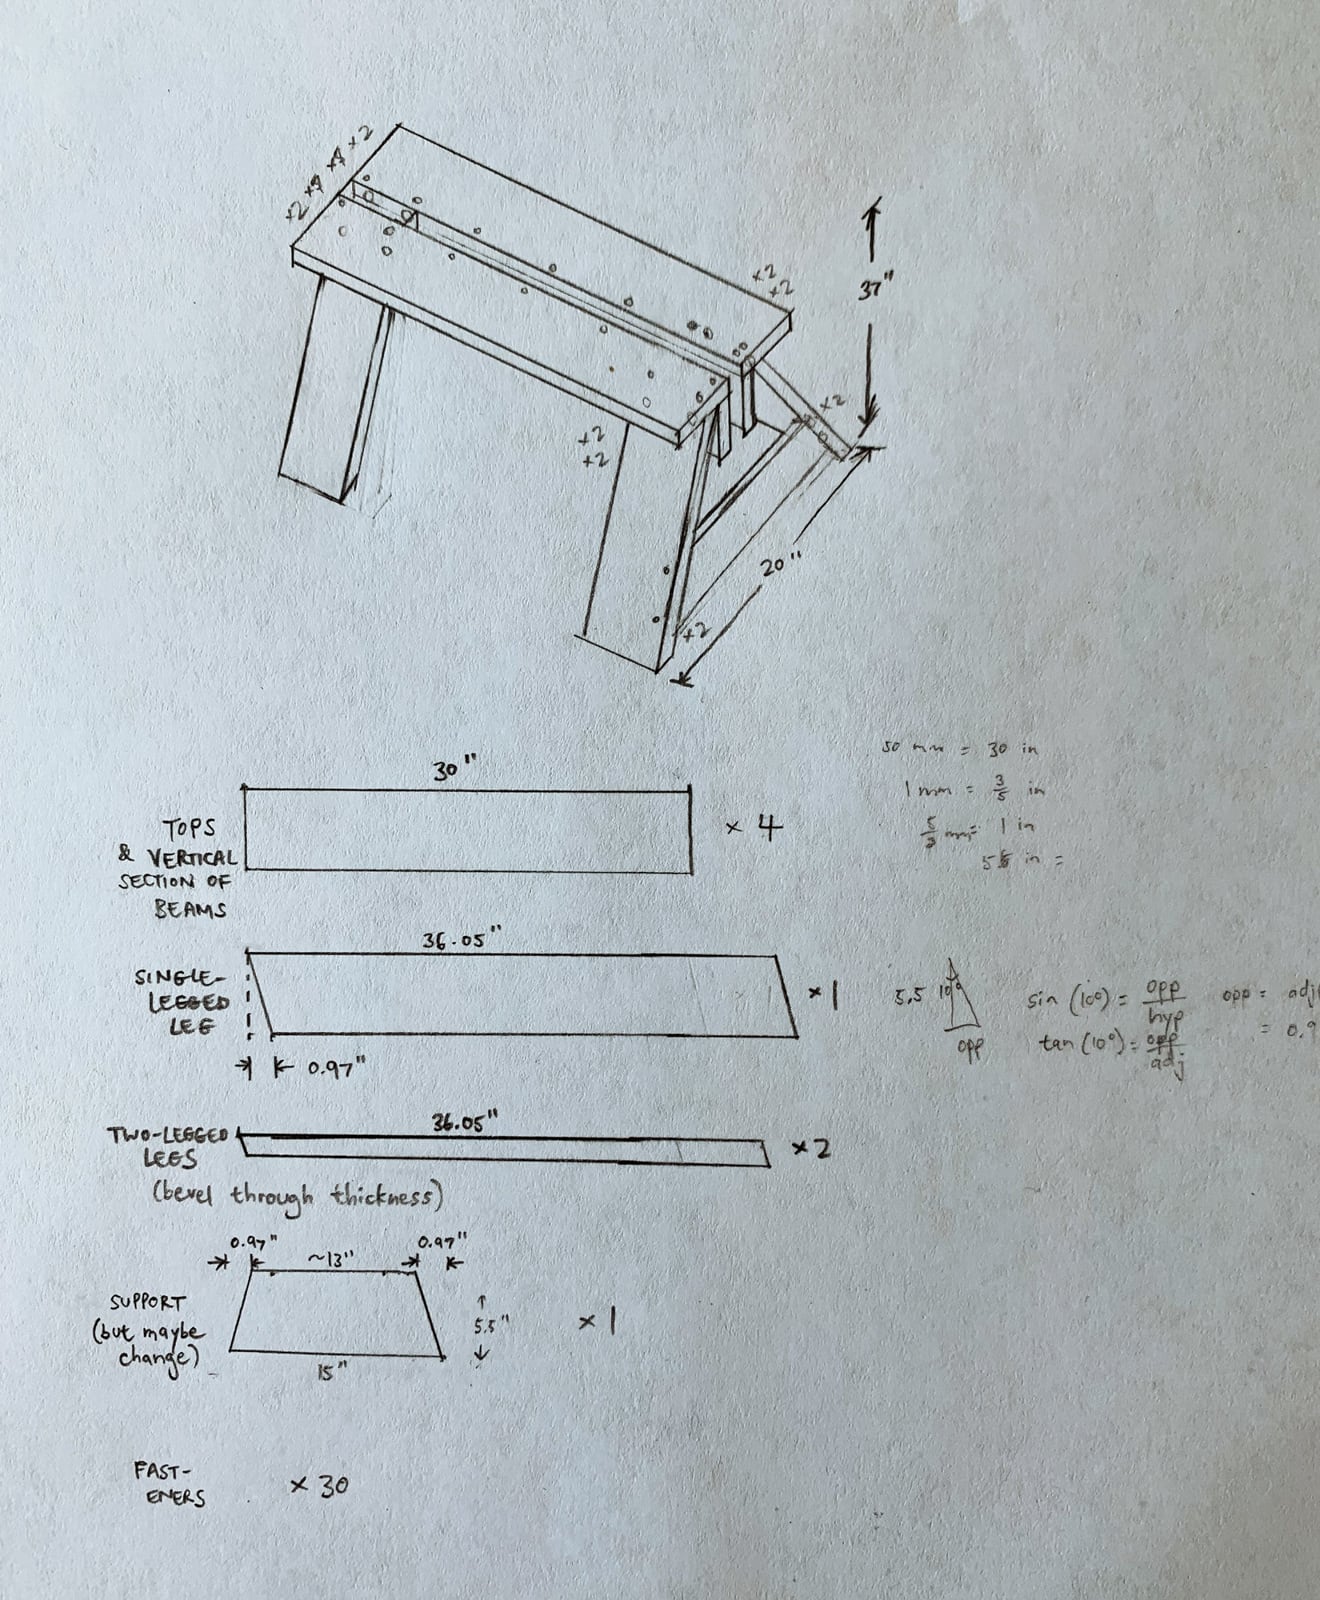
After we finished all the load calculations (love a cantilever), we chose our materials and drew it up in SketchUp:
Design
3. Getting ready for fabrication
Fabrication seemed straightforward: we just needed to sink the footings, build the structure, then clad it with a climbing surface.
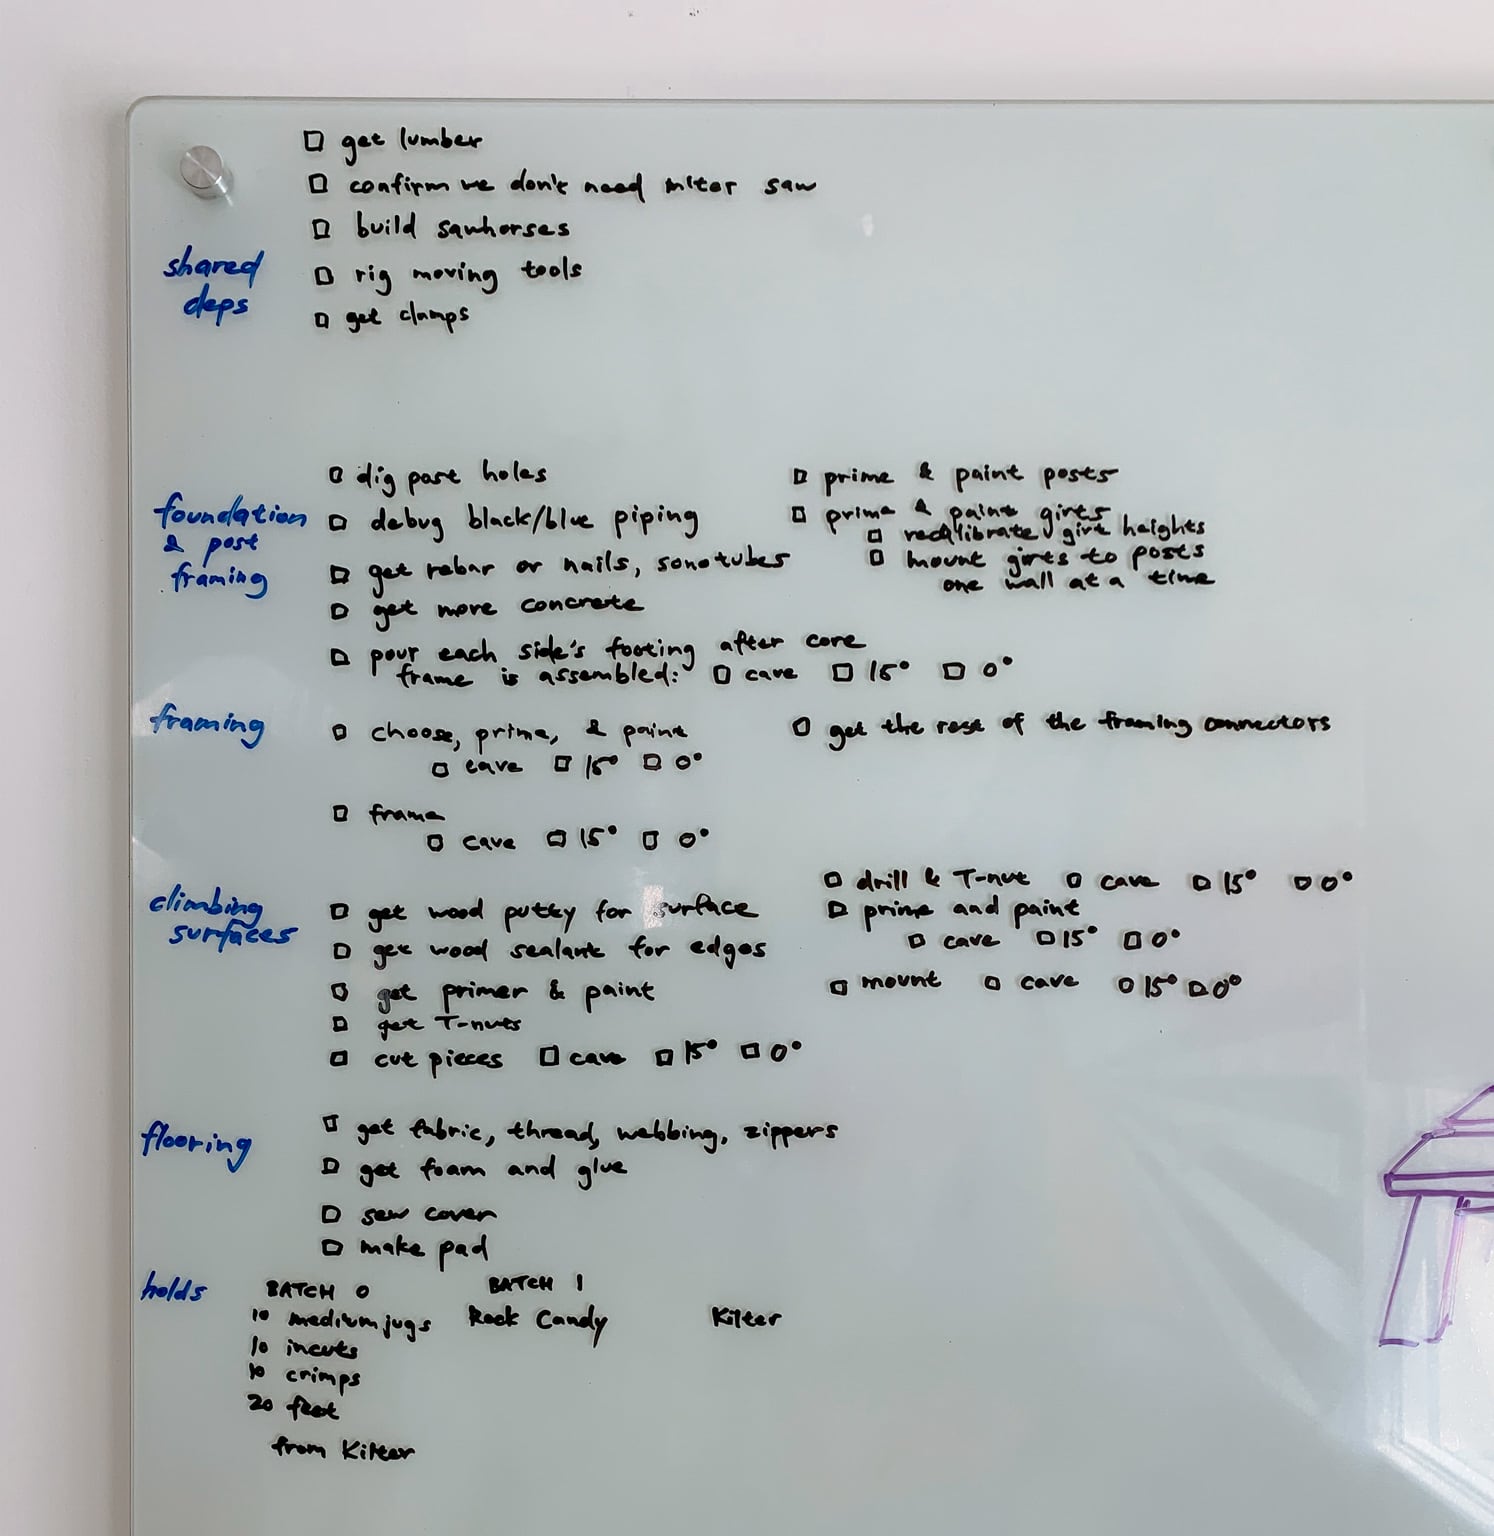
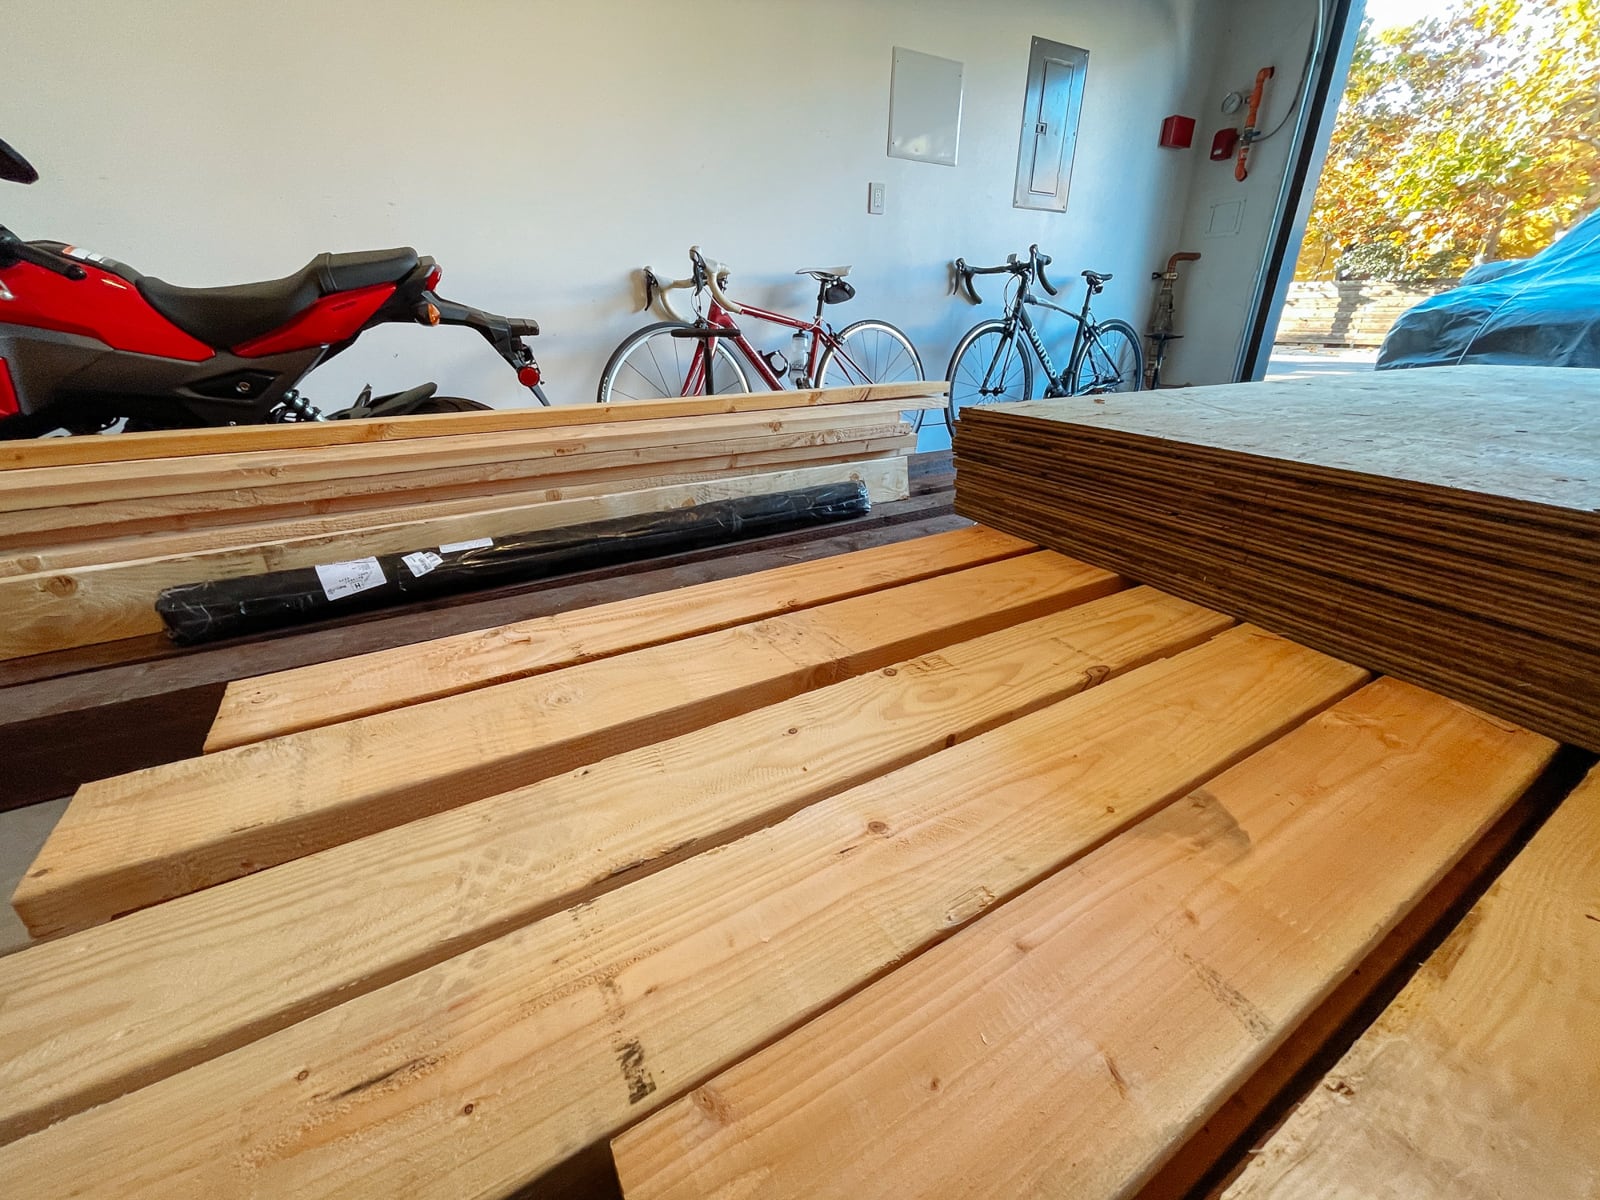
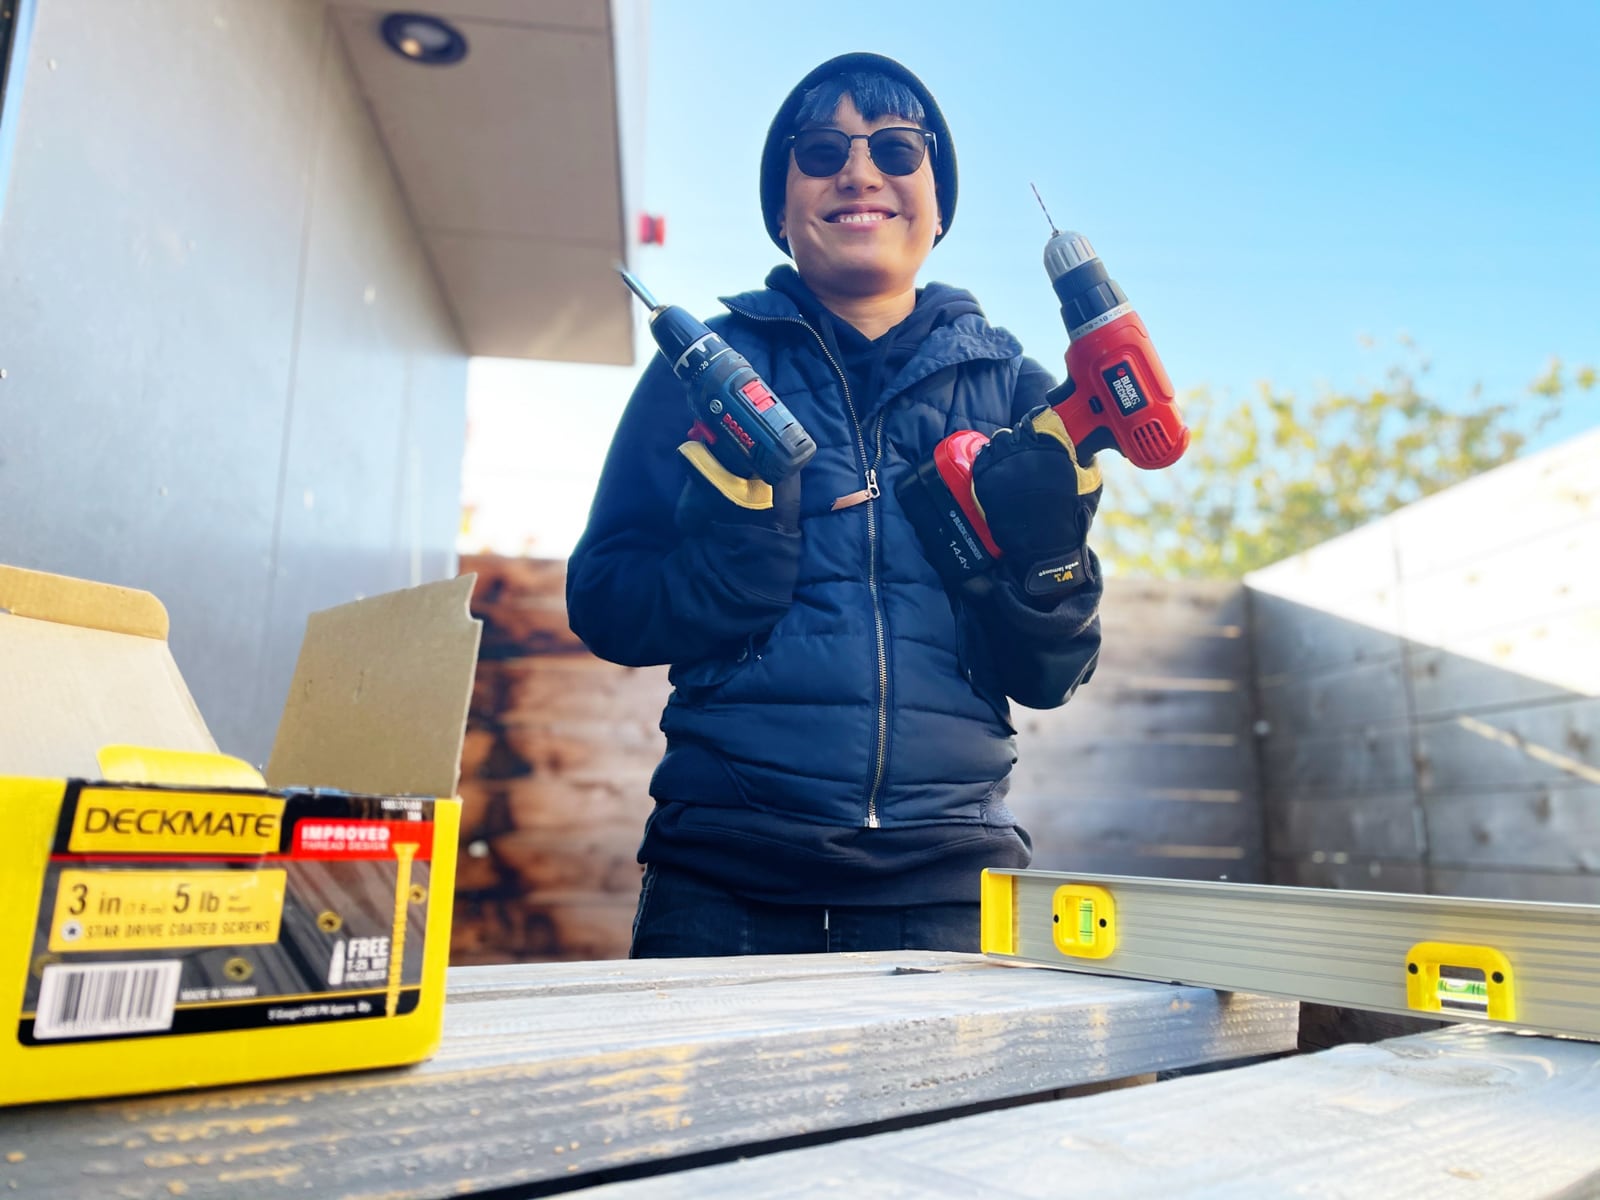
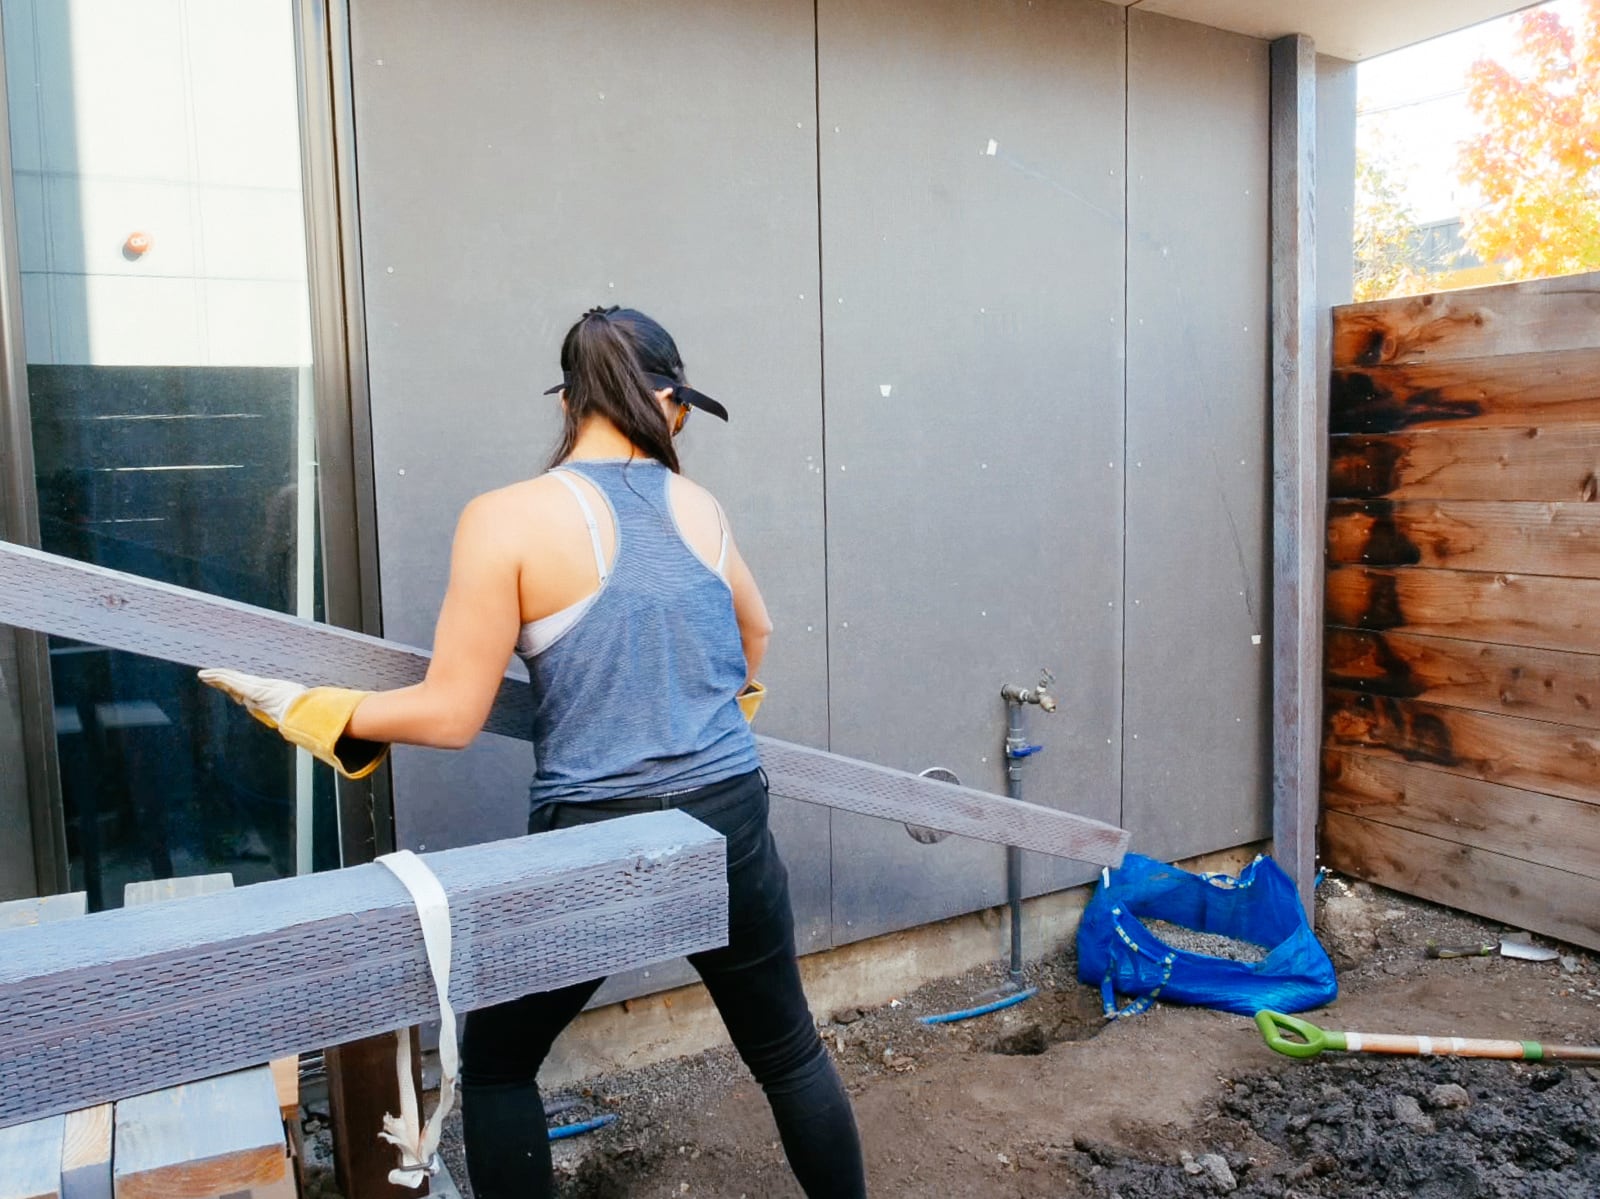
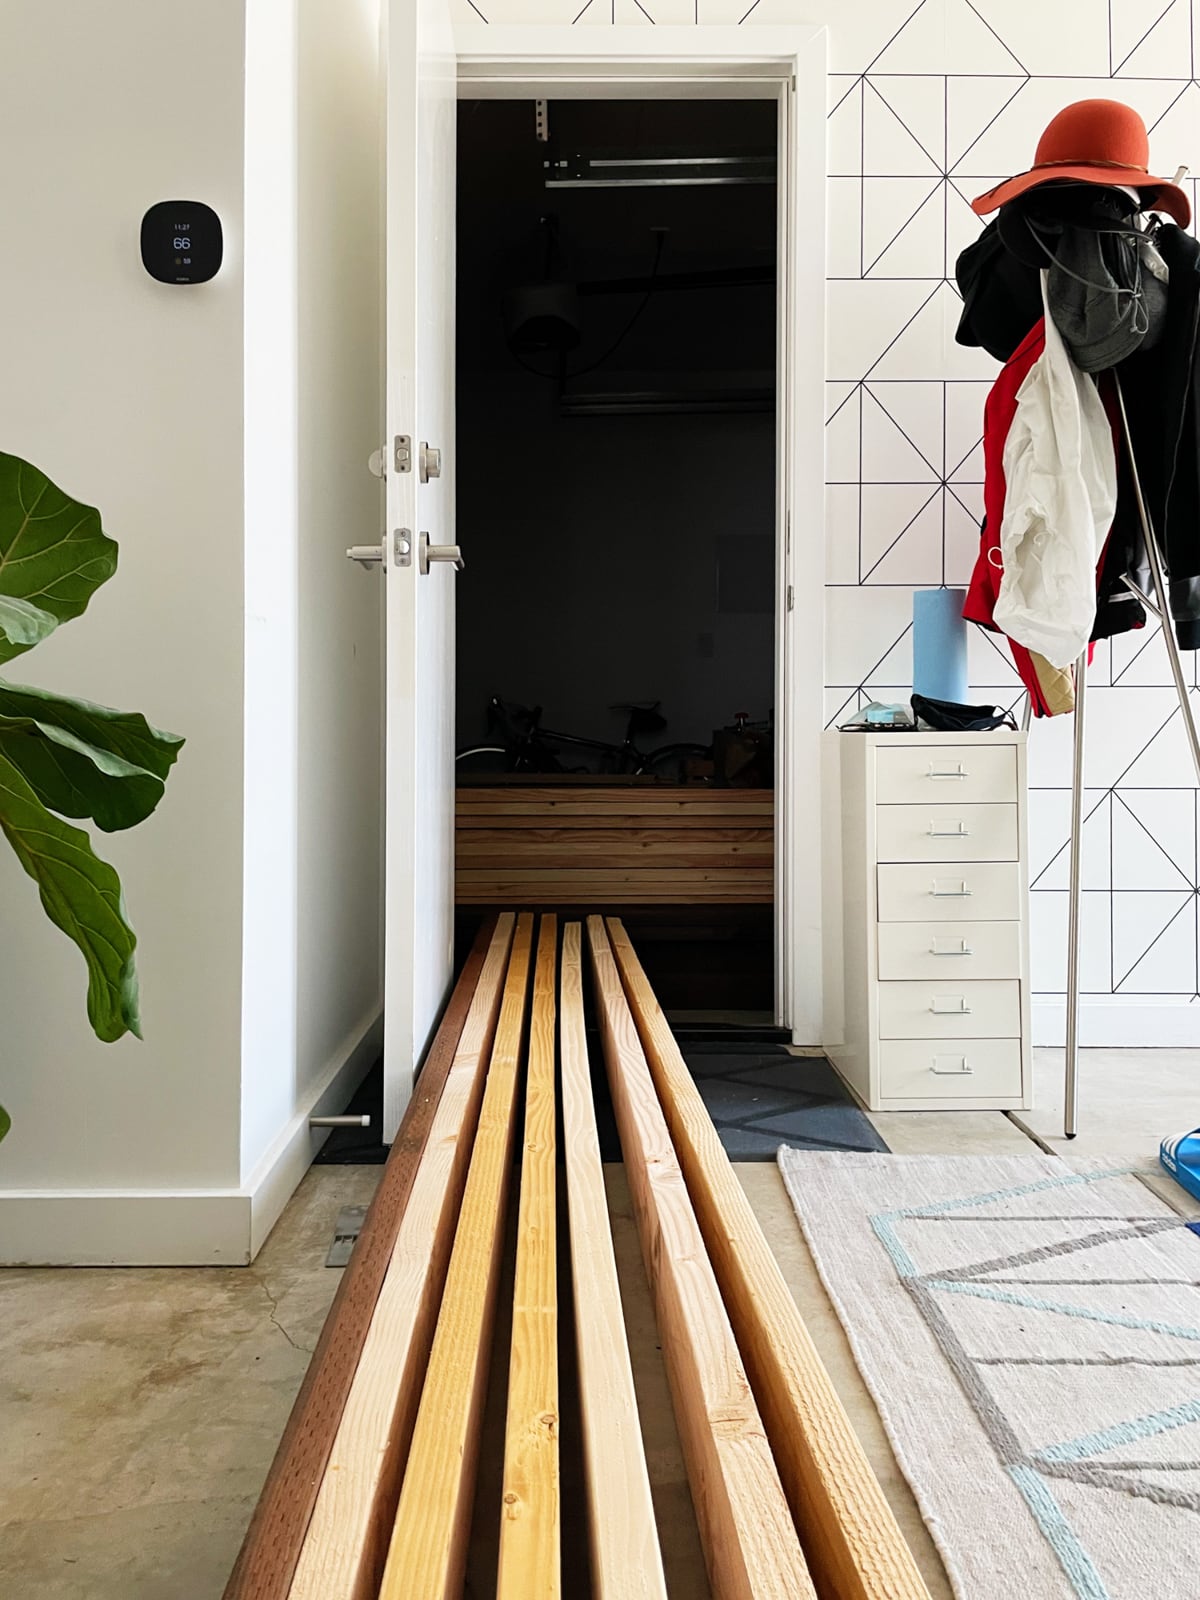
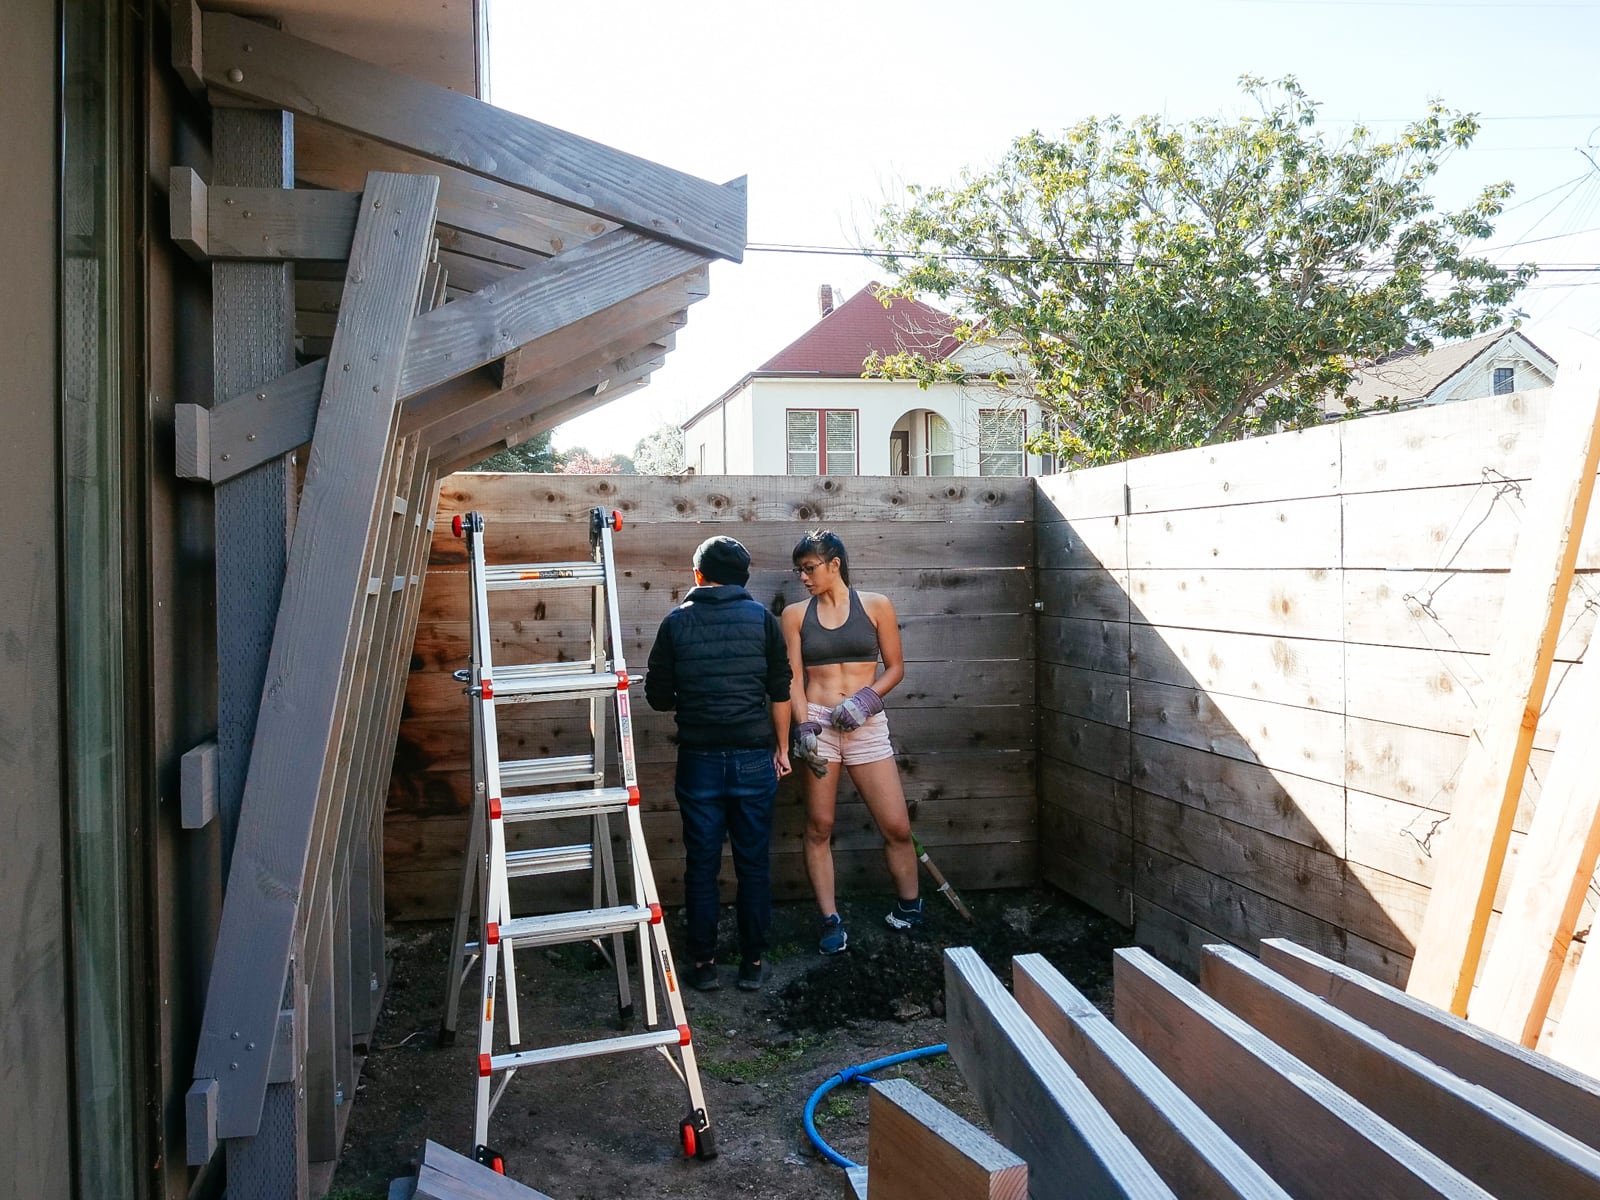
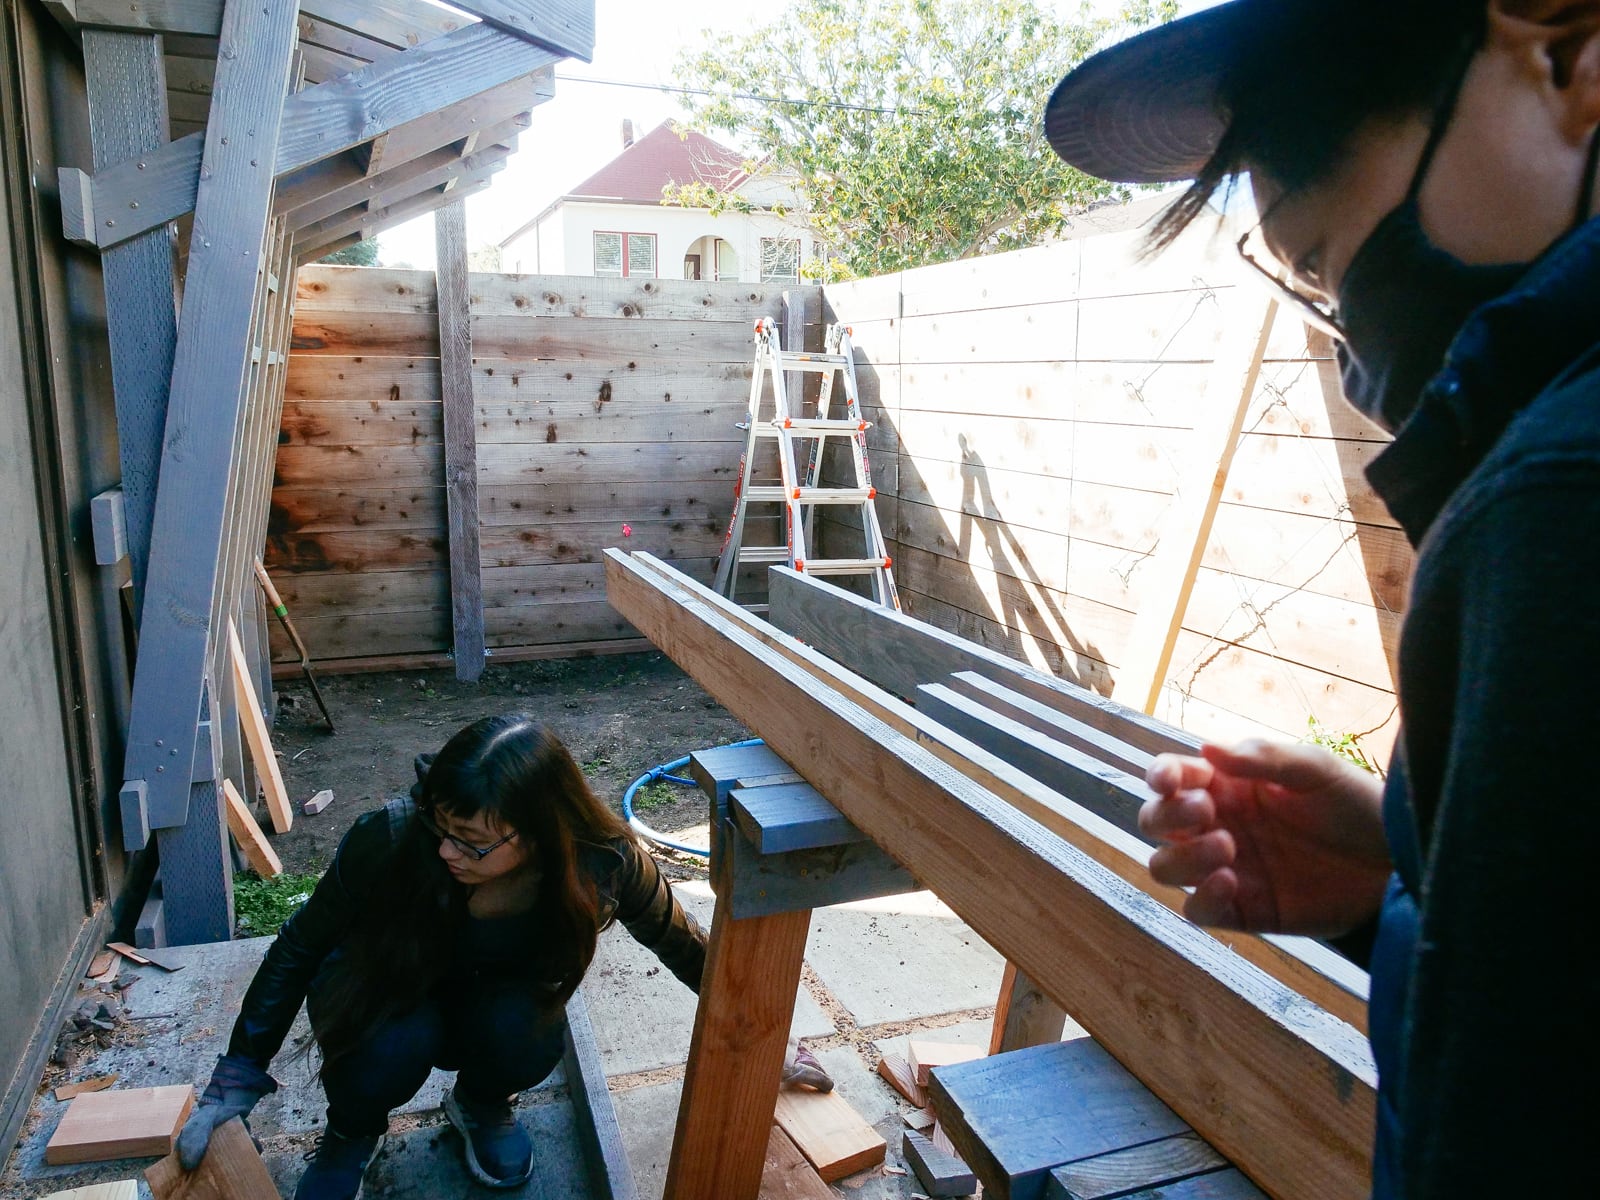
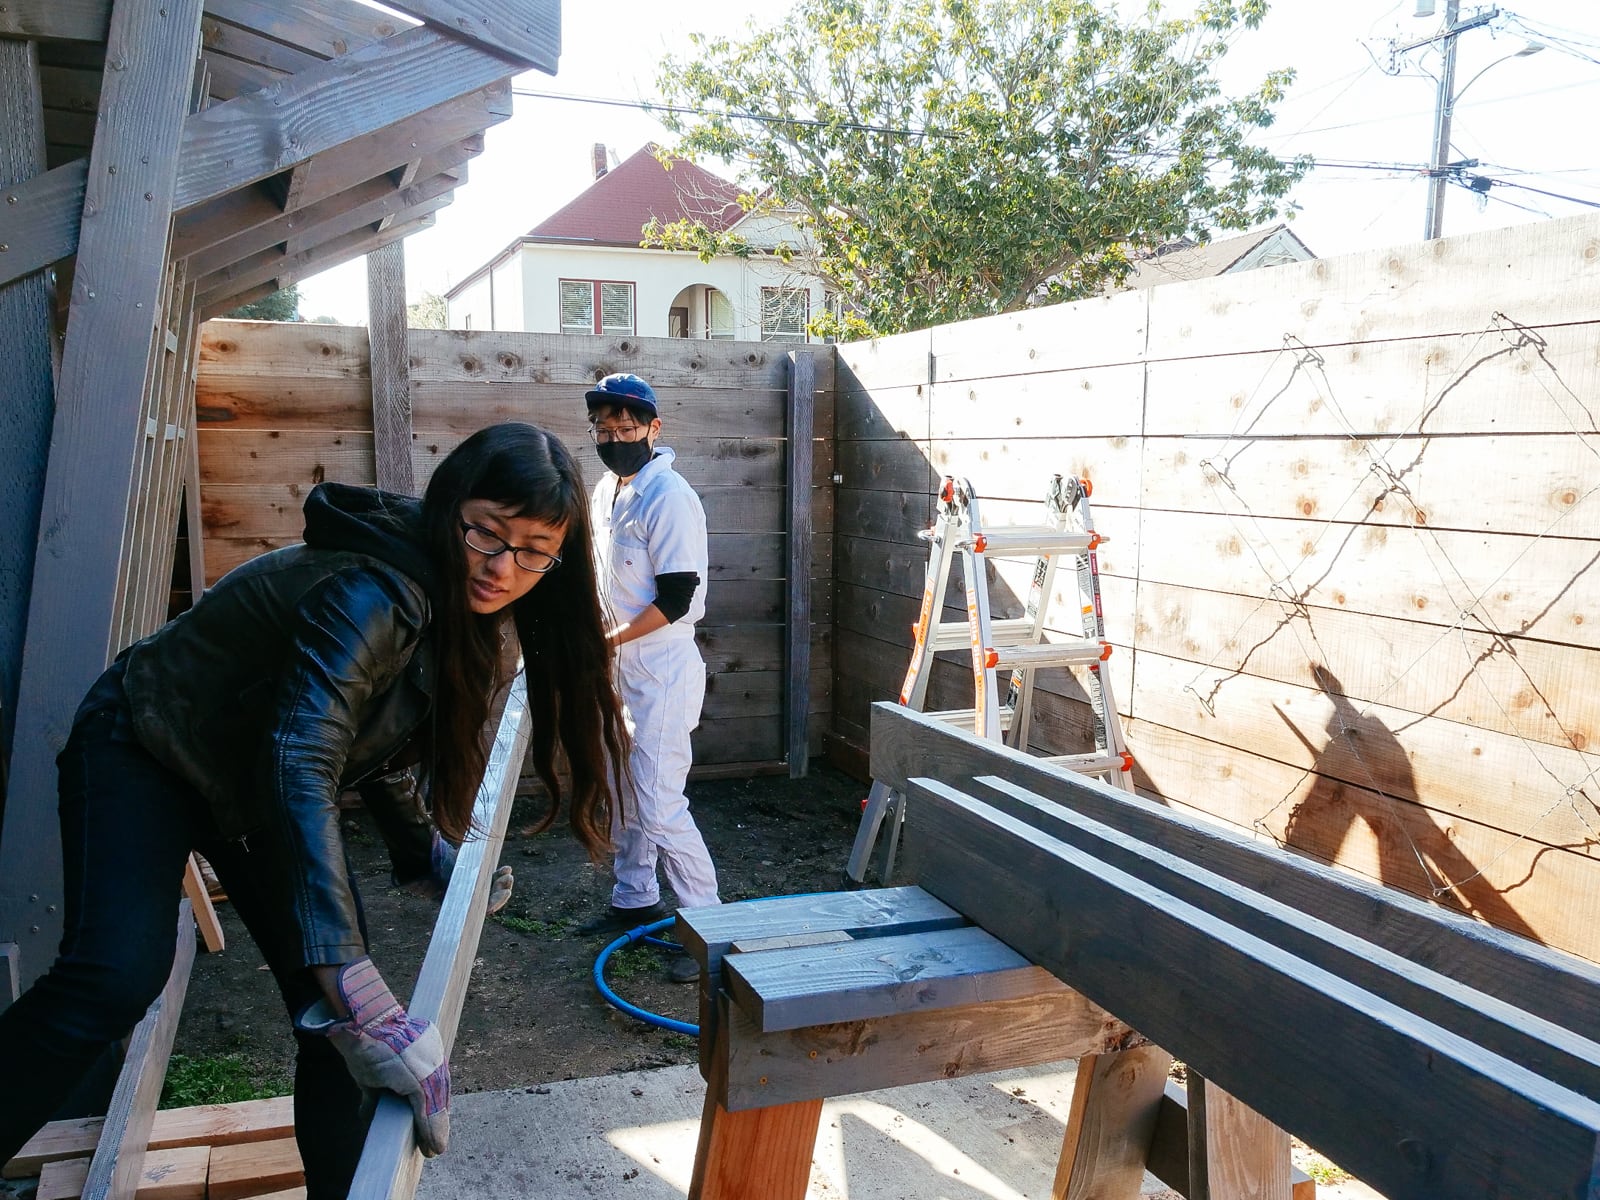
We assembled the materials:
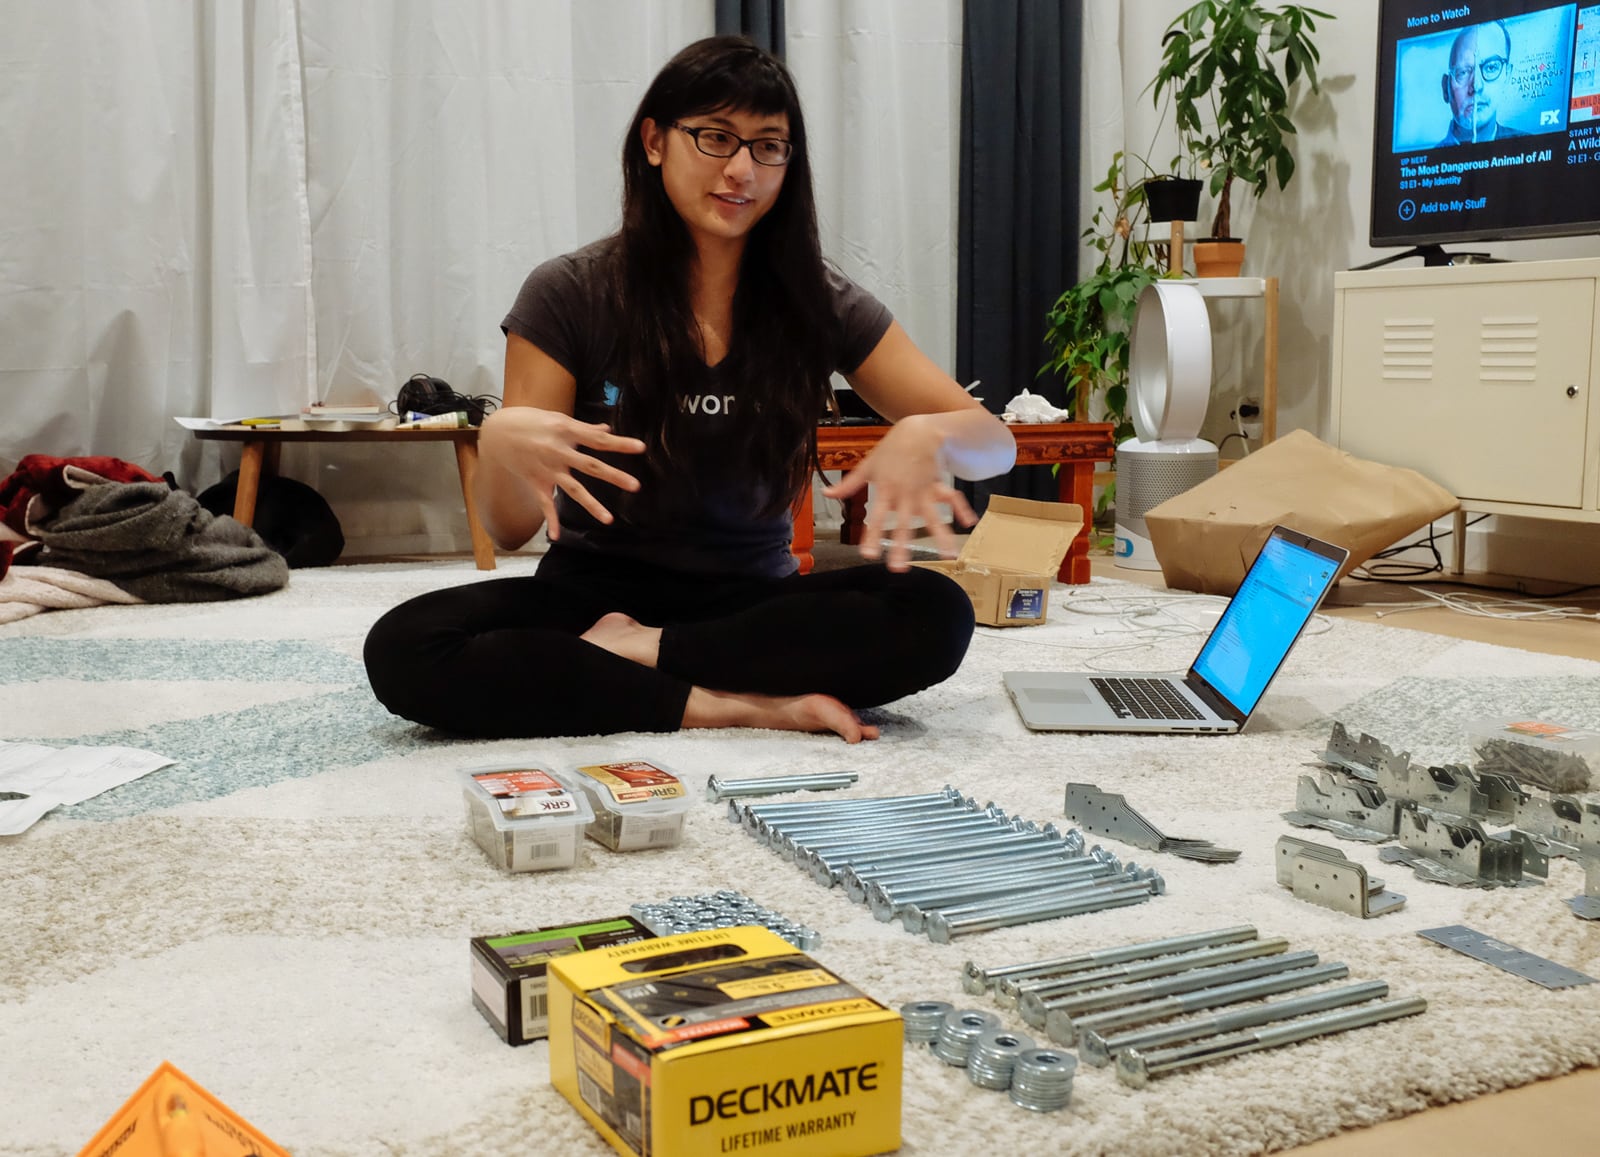
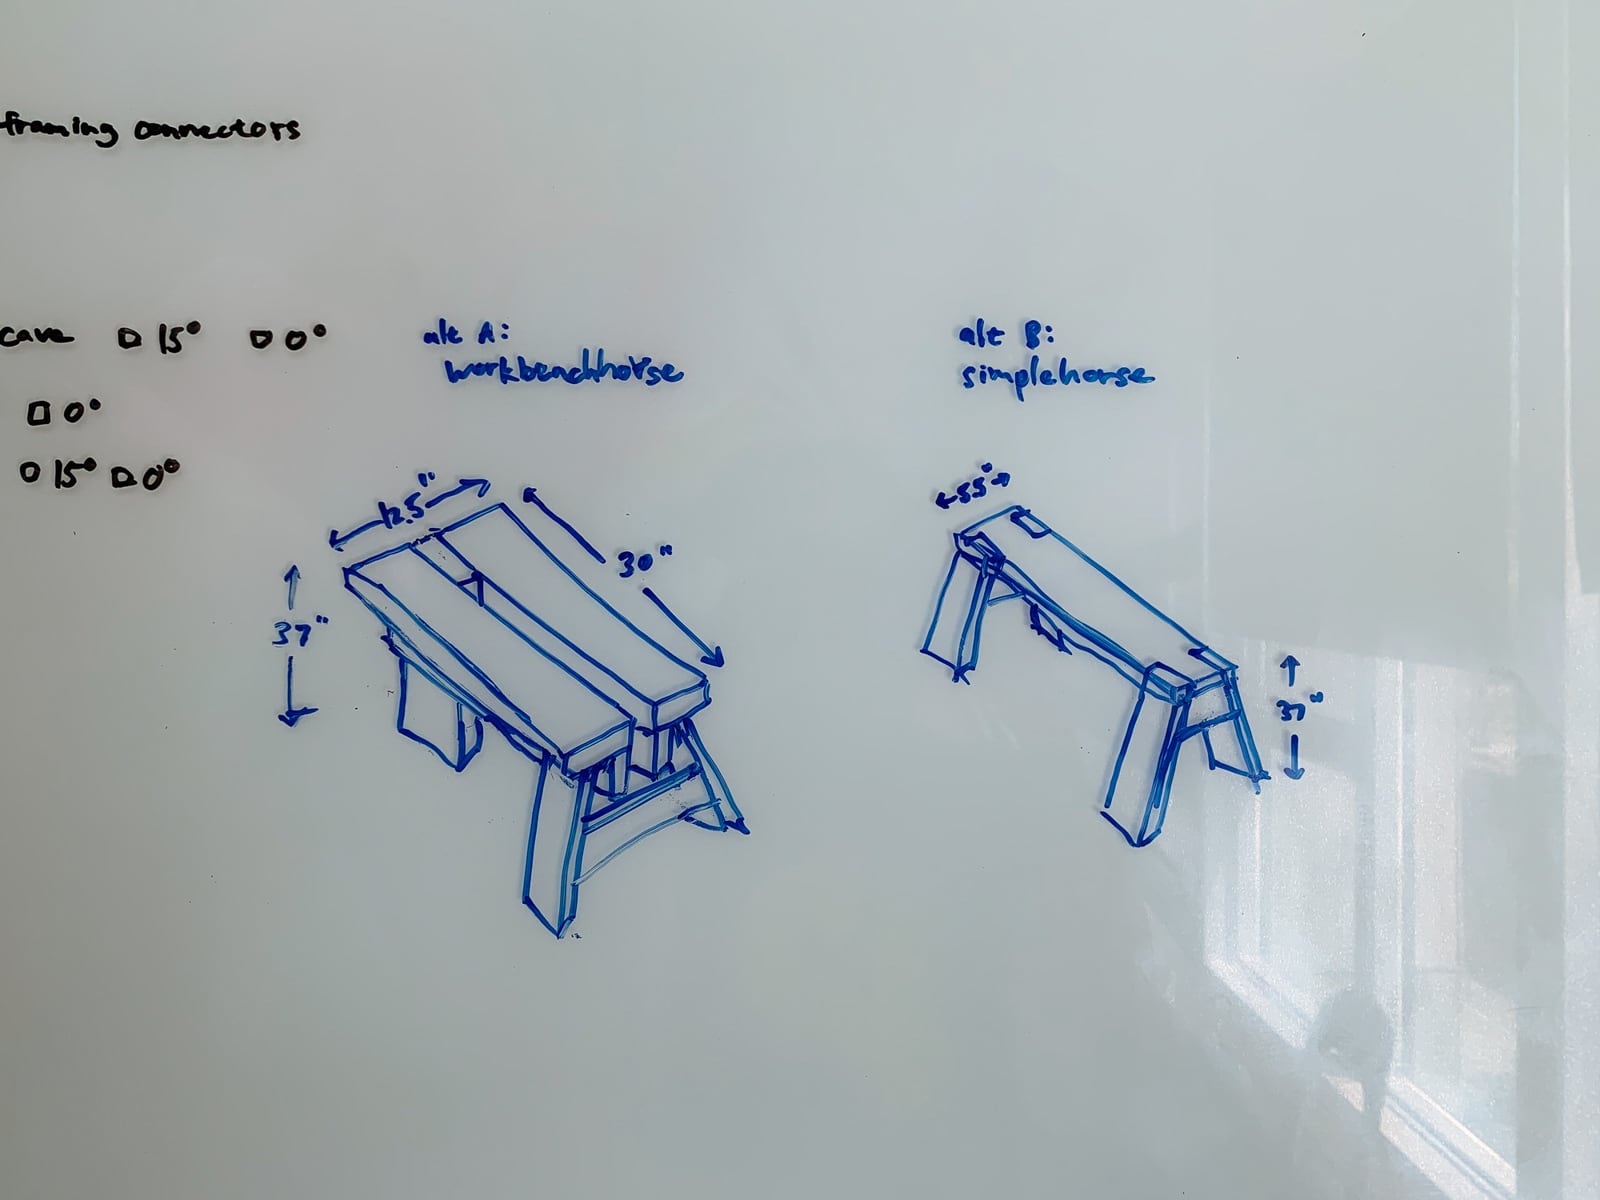
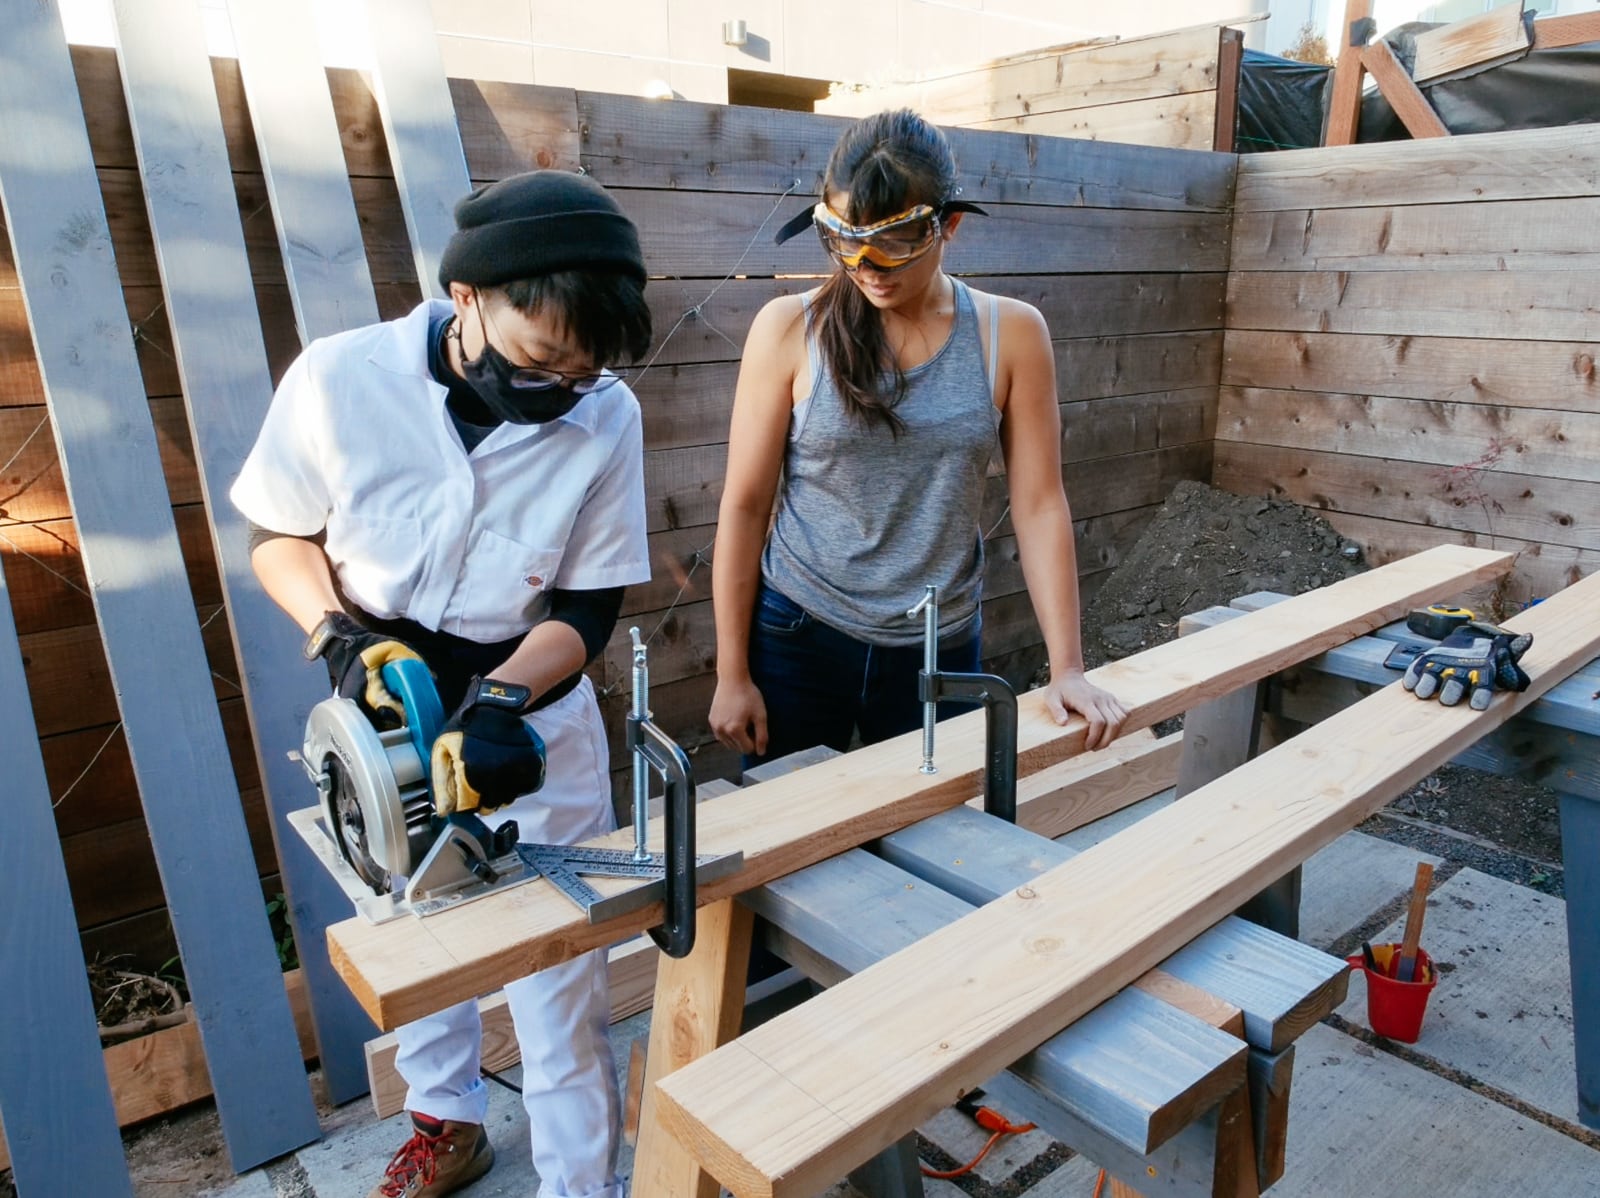
Then warmed up and tested our tools by building some watching V build some sawhorses.

Foundation
4. Digging
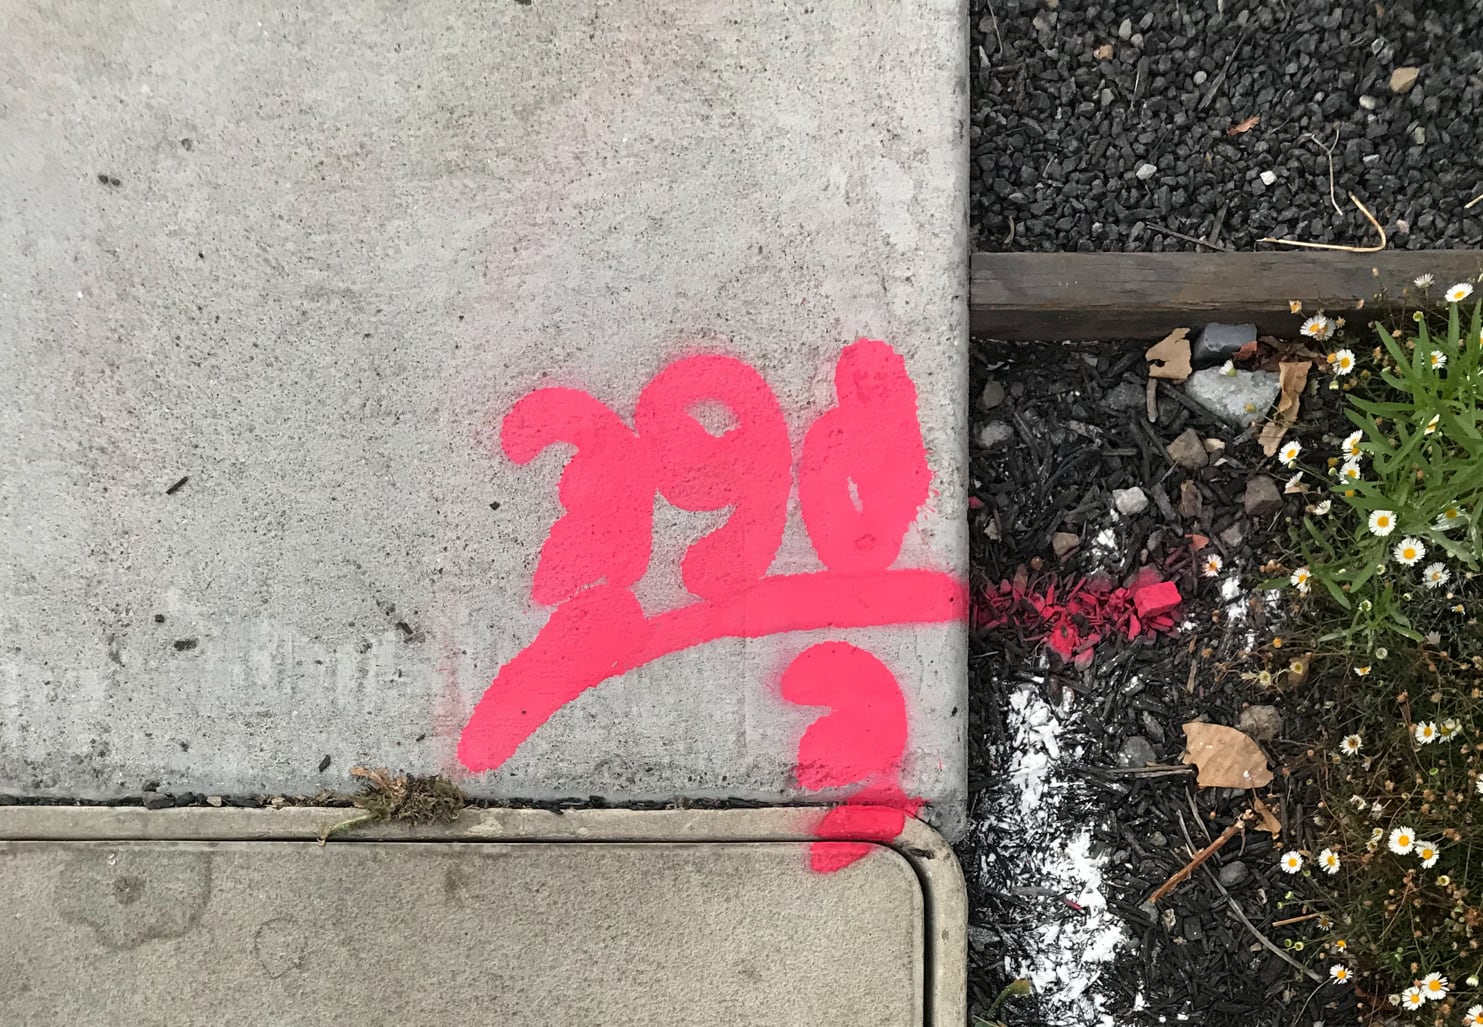
First, we called before we dug.
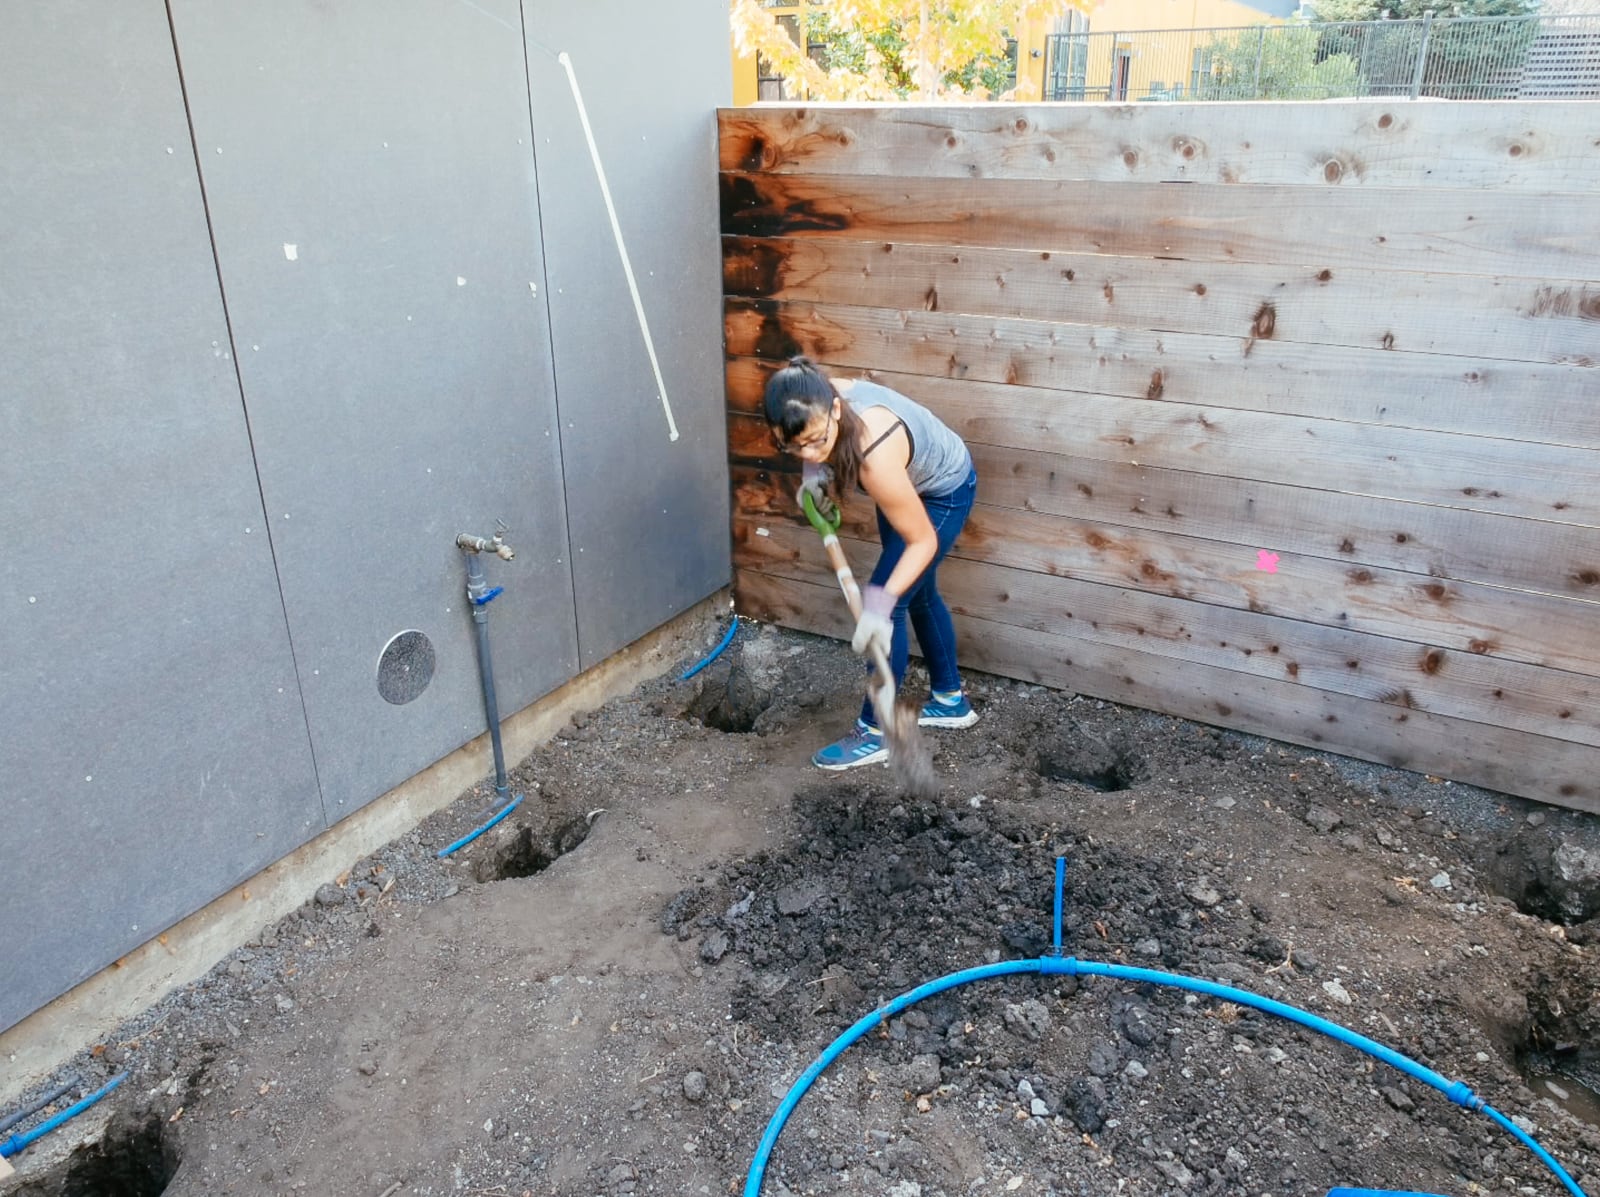
Next we had to kill all the plants that were previously growing in that space (RIP wisteria), and take a few inches of surface soil off to maximize available height.
Then, in an excruciatingly tedious process, we dug our post holes 42" deep (note to diggers: please don’t be stubborn, just borrow/rent/buy a post hole digger).
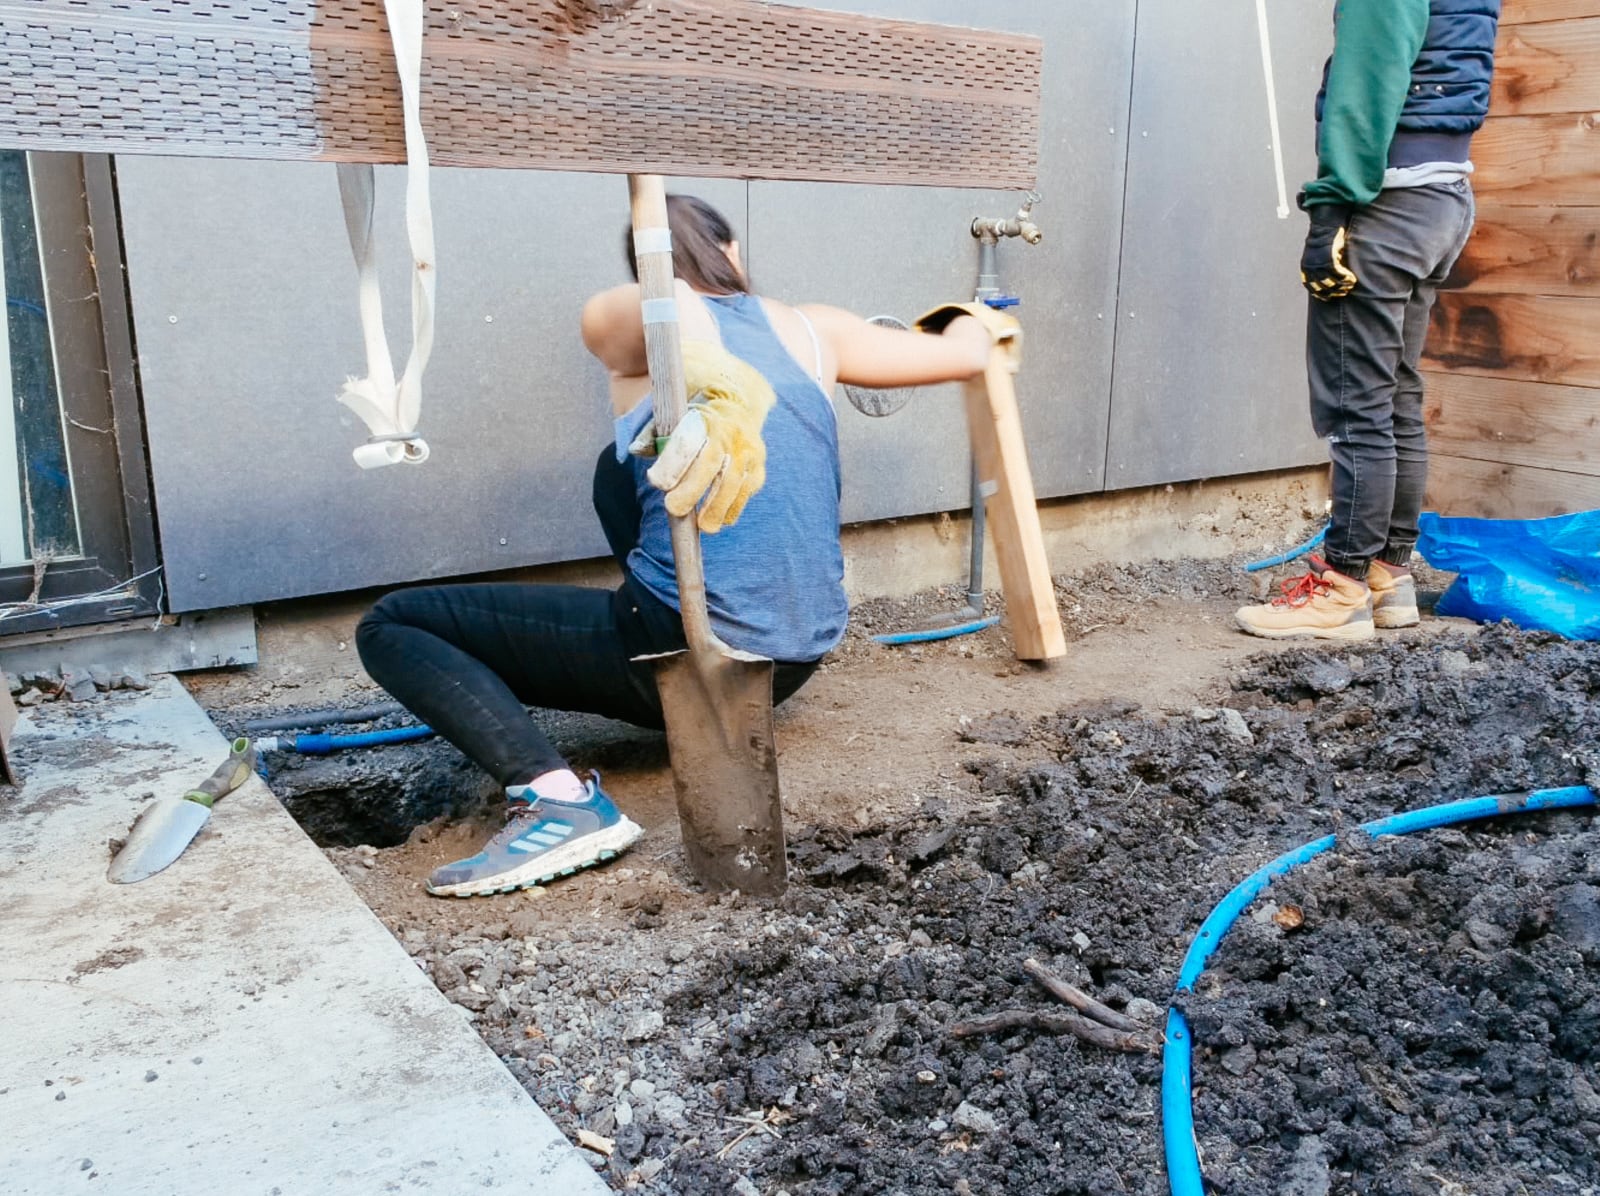
Foundation
5. Setting posts for WALL·E
We used pressure-treated lumber from Economy Lumber Oakland for our posts. For WALL·E proper, we used one 6x6 for the leftmost post, and two 4x4s for the center and right posts.
Because the posts would be holding up about 1,500 lbs of dead weight and potentially several times that in (dynamic) live loads, we needed to make sure the foundation was sound.
To set each one, we filled the bottom 4" of each post hole with gravel, put a few nails in the post to get extra grip for the concrete, poured concrete for the remaining 3+’ to ground level, then smoothed the top of the concrete away from the post to try to direct any rainwater runoff away from the post.


Framing
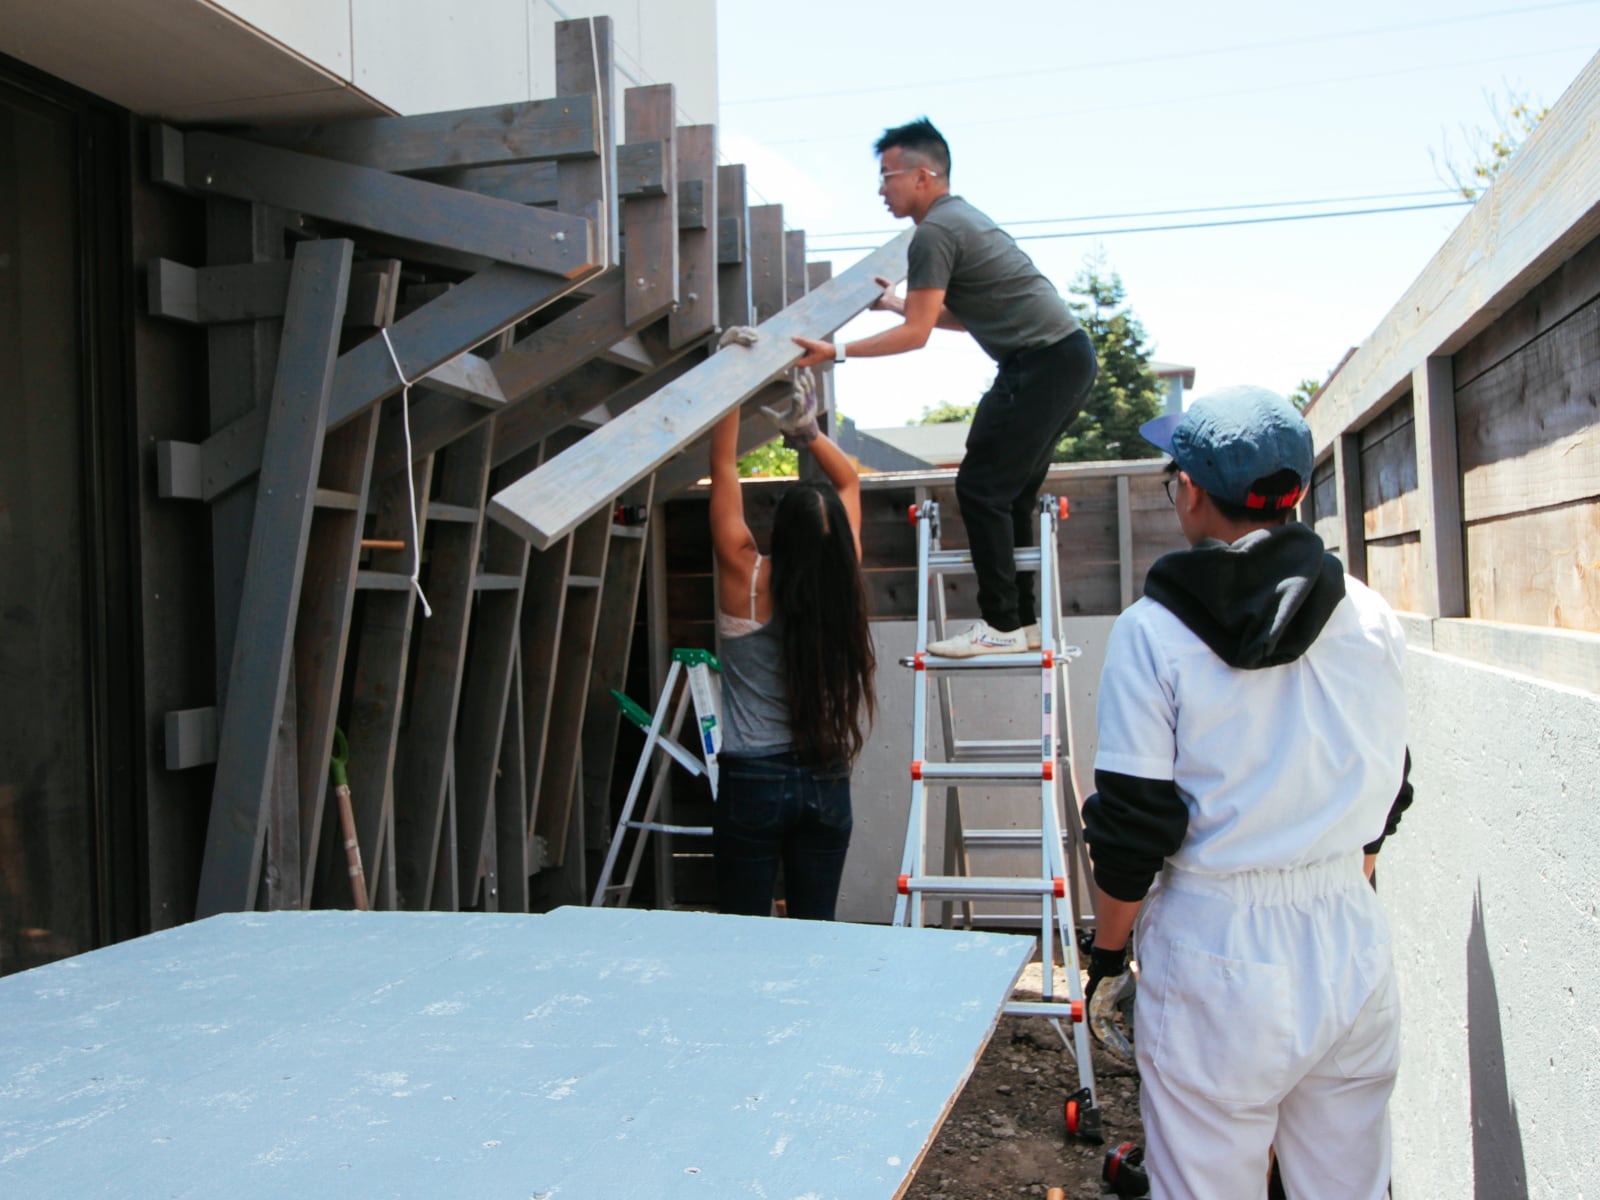
6. Doing the rest of the framing for WALL·E
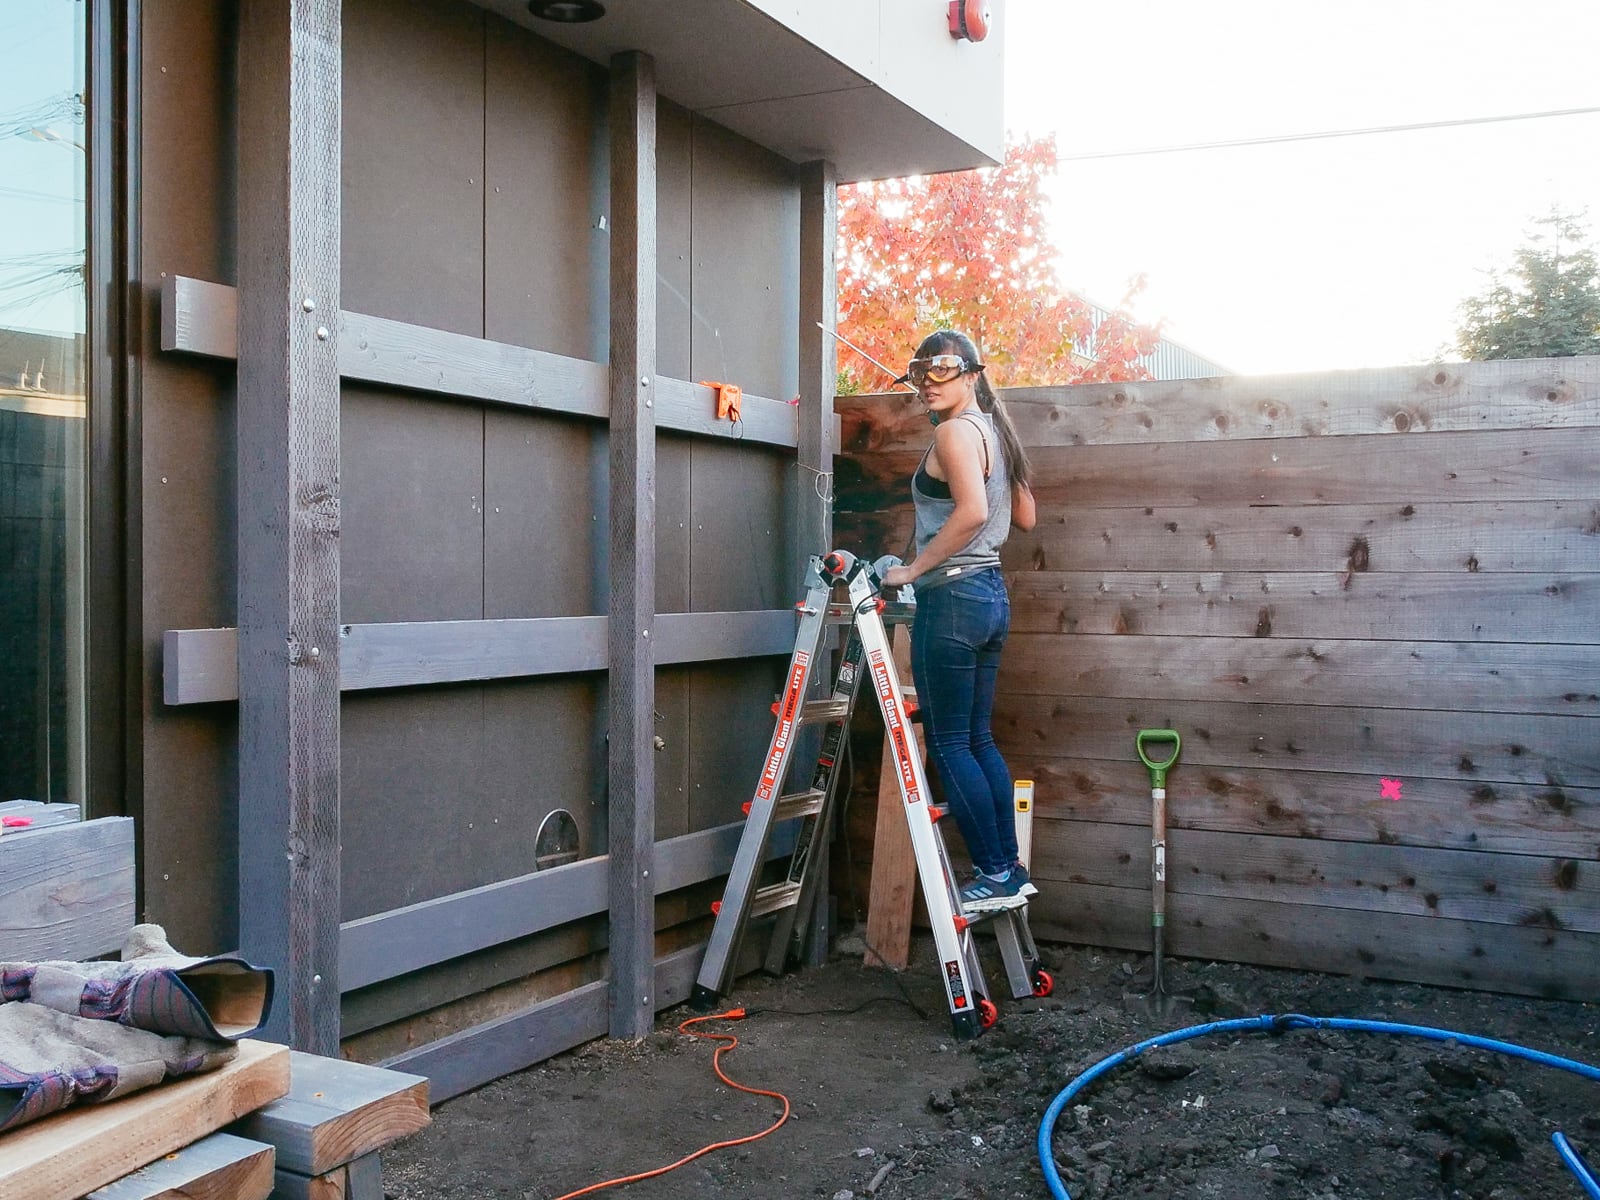
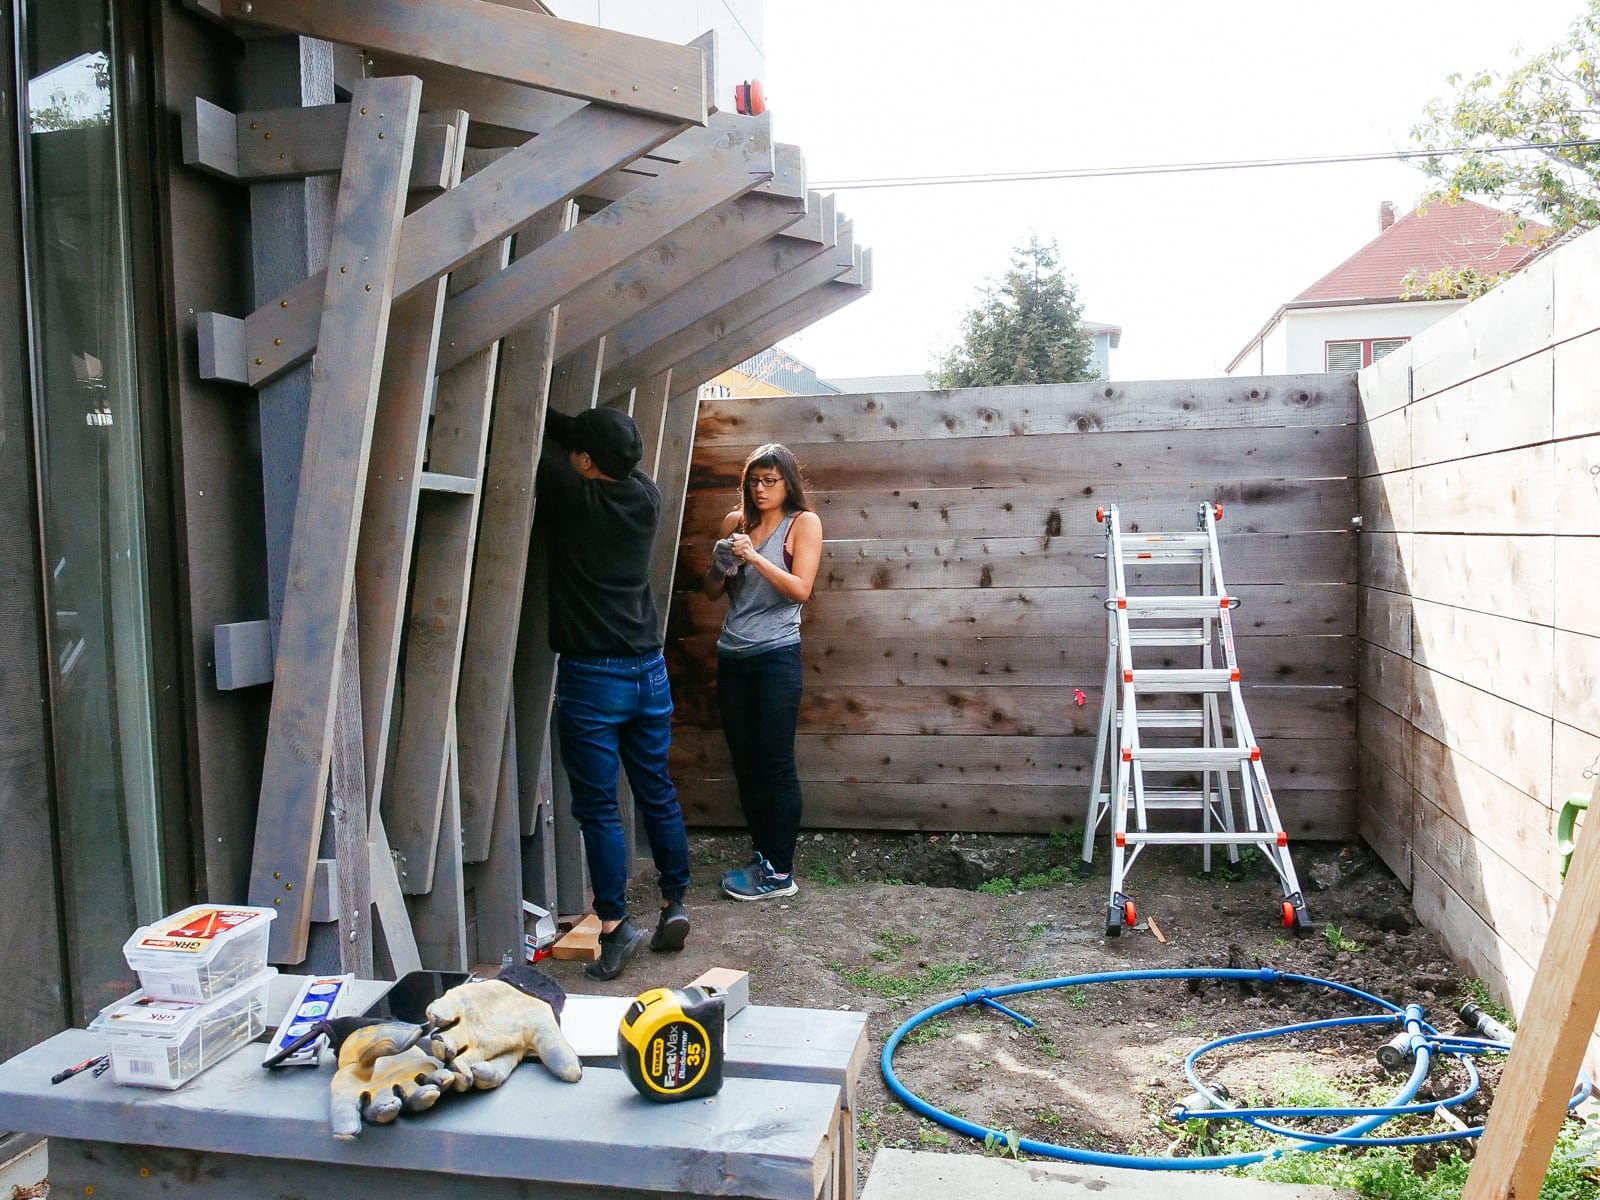
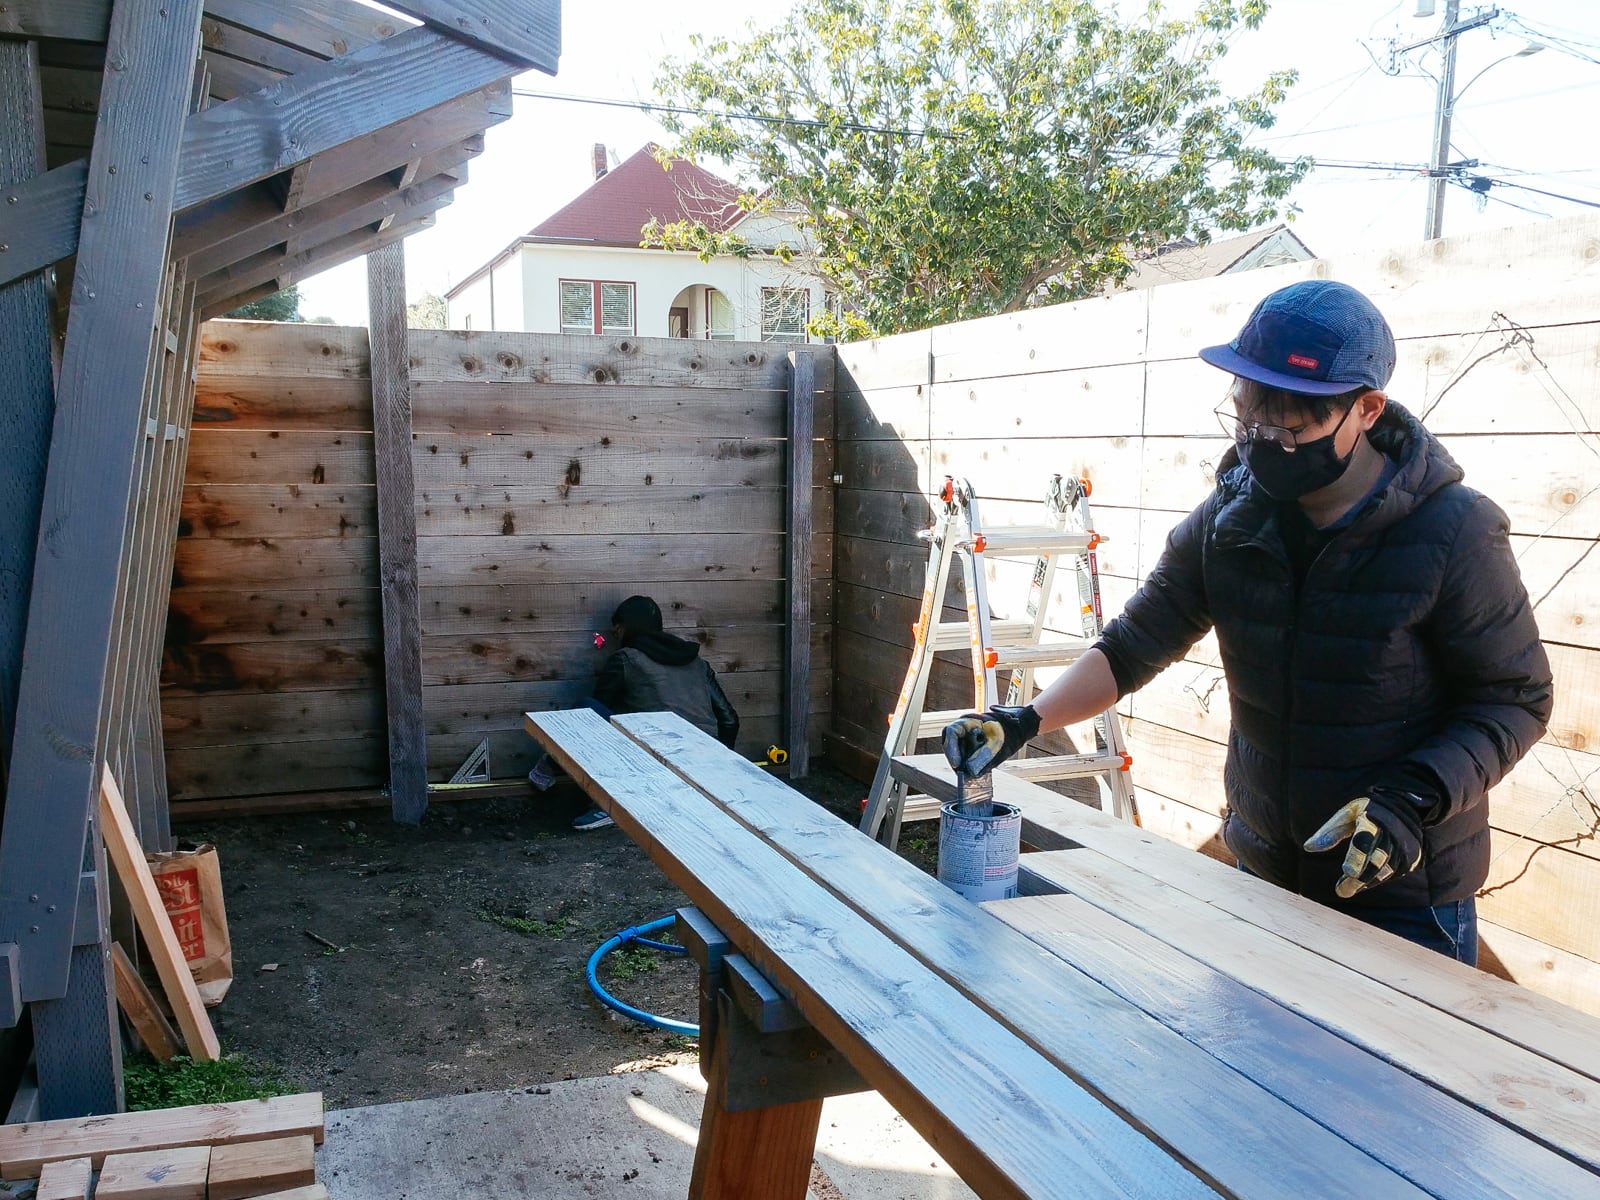
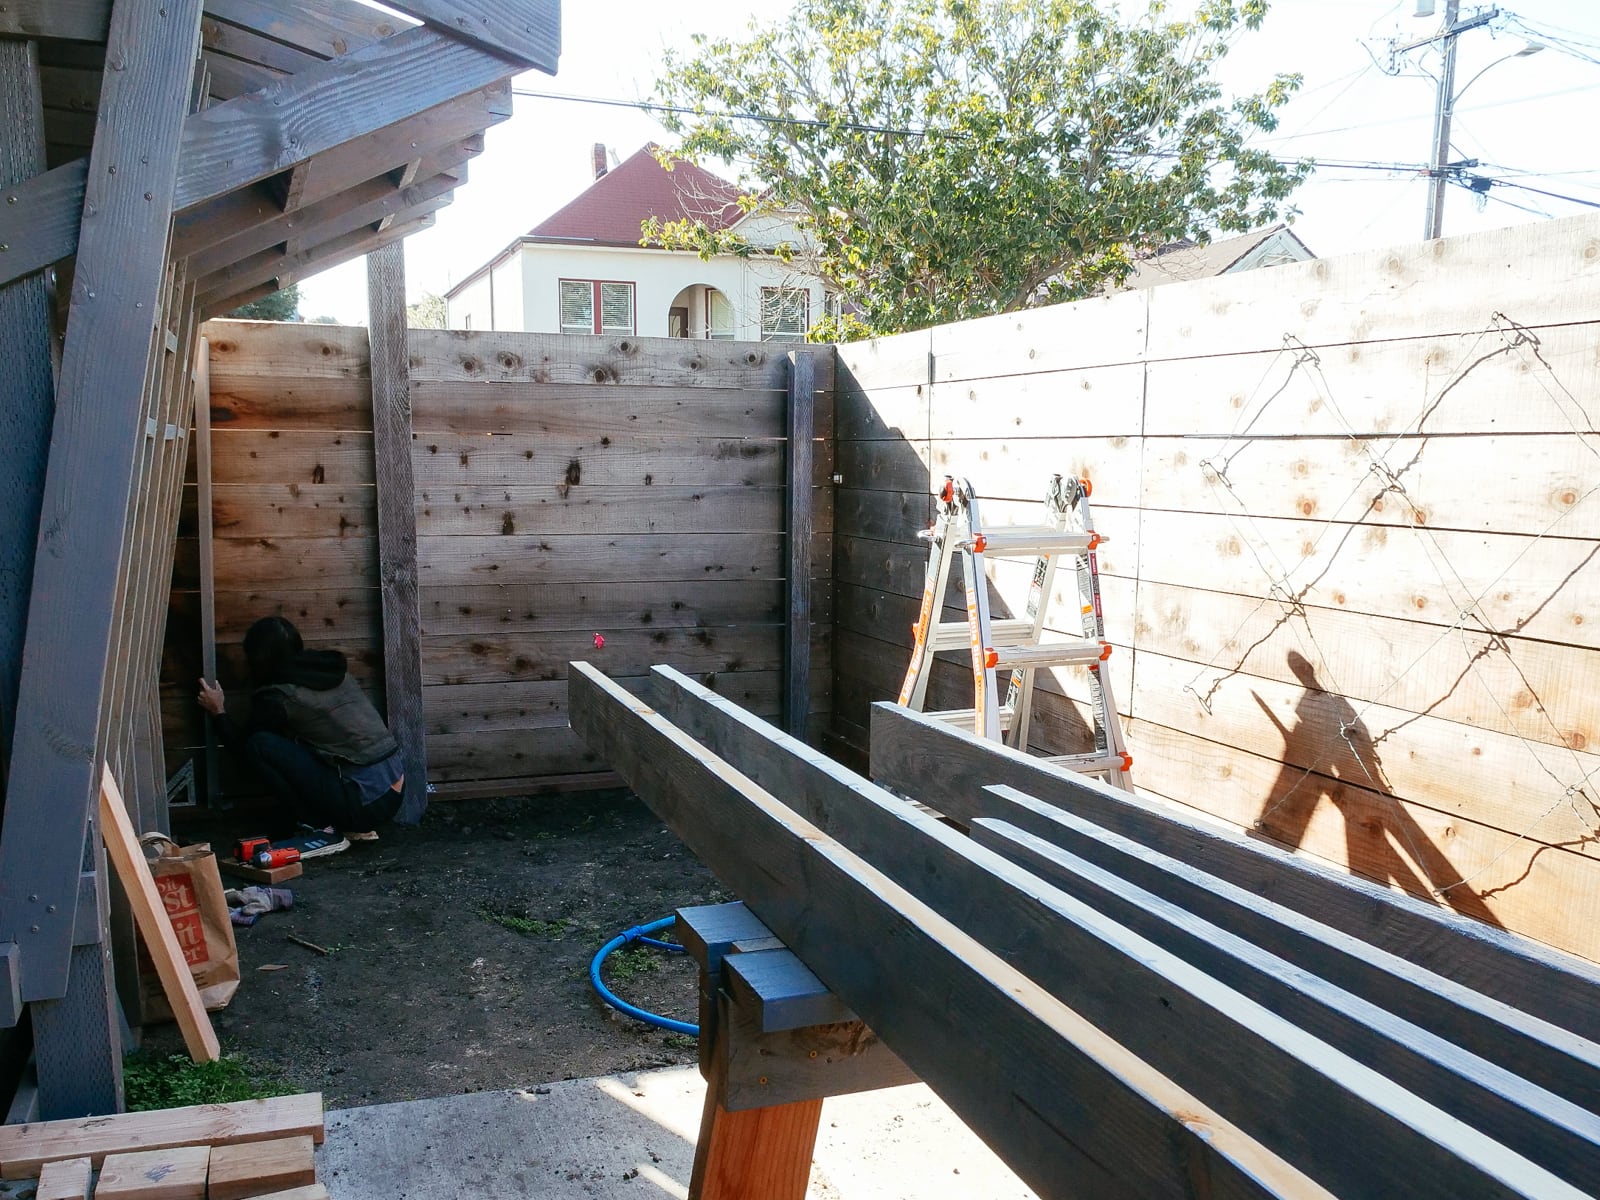
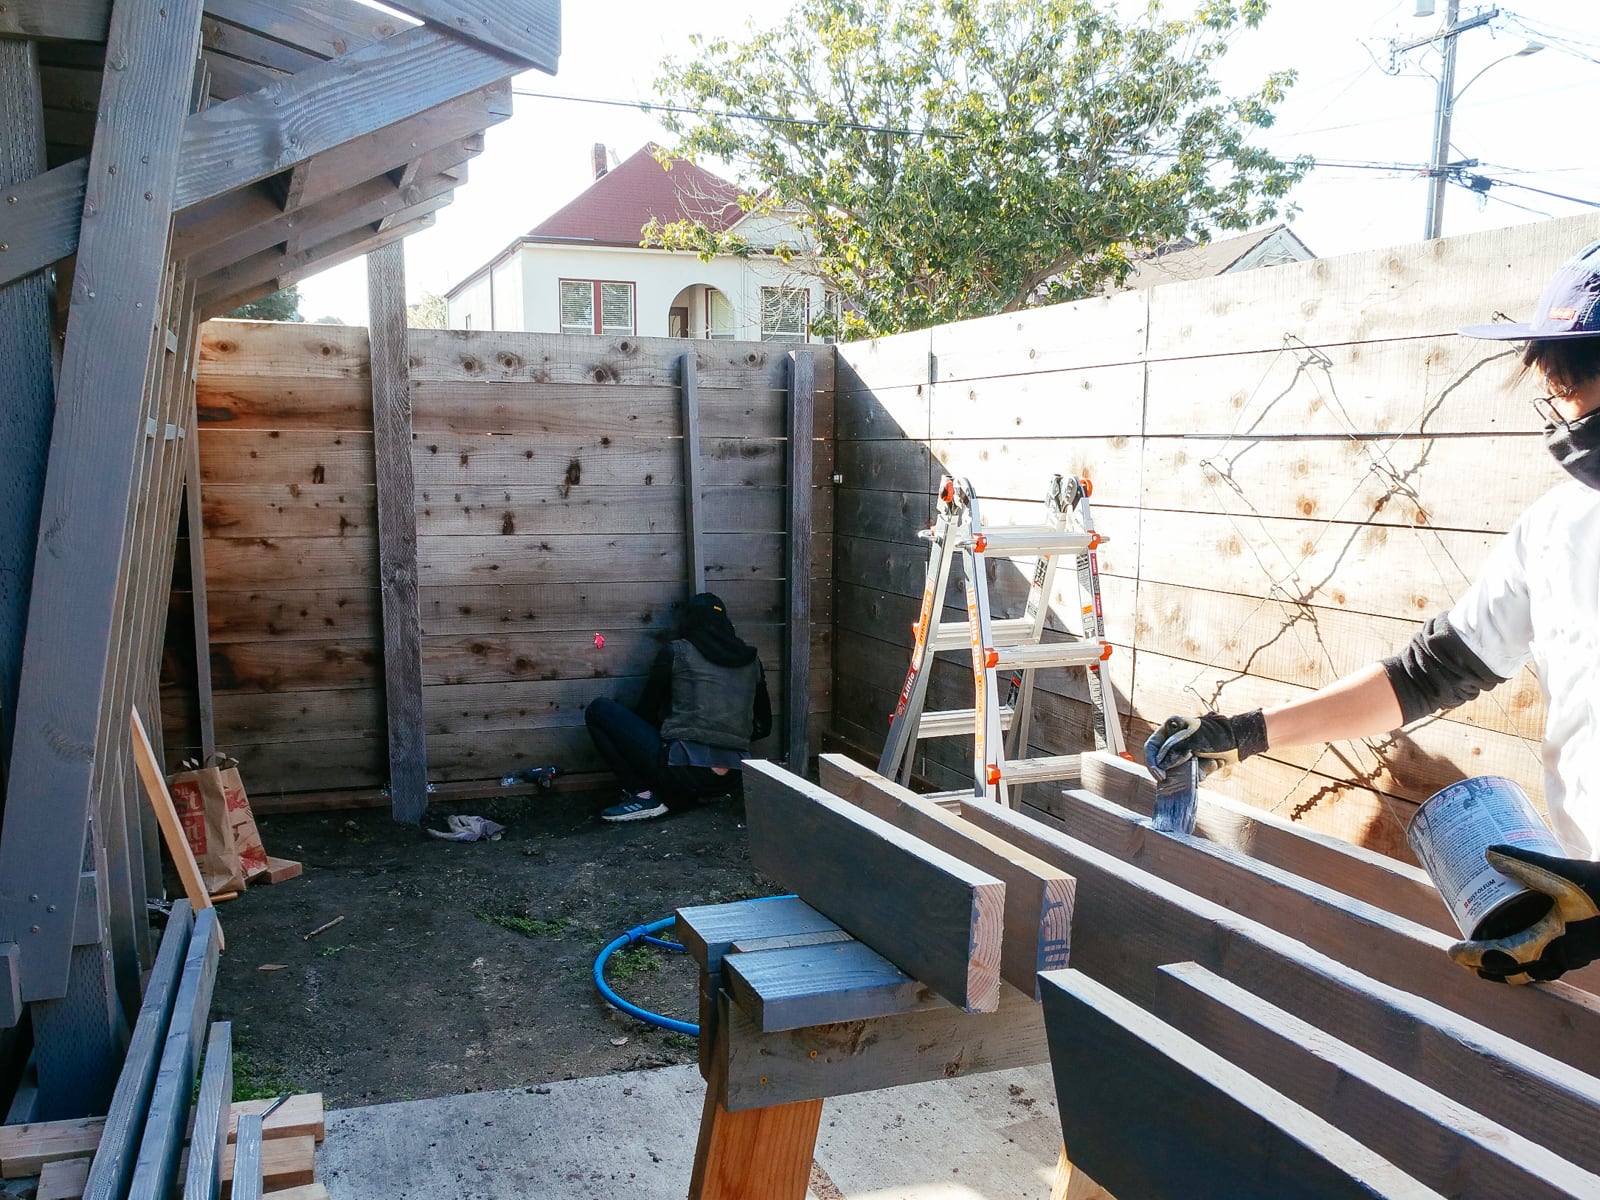
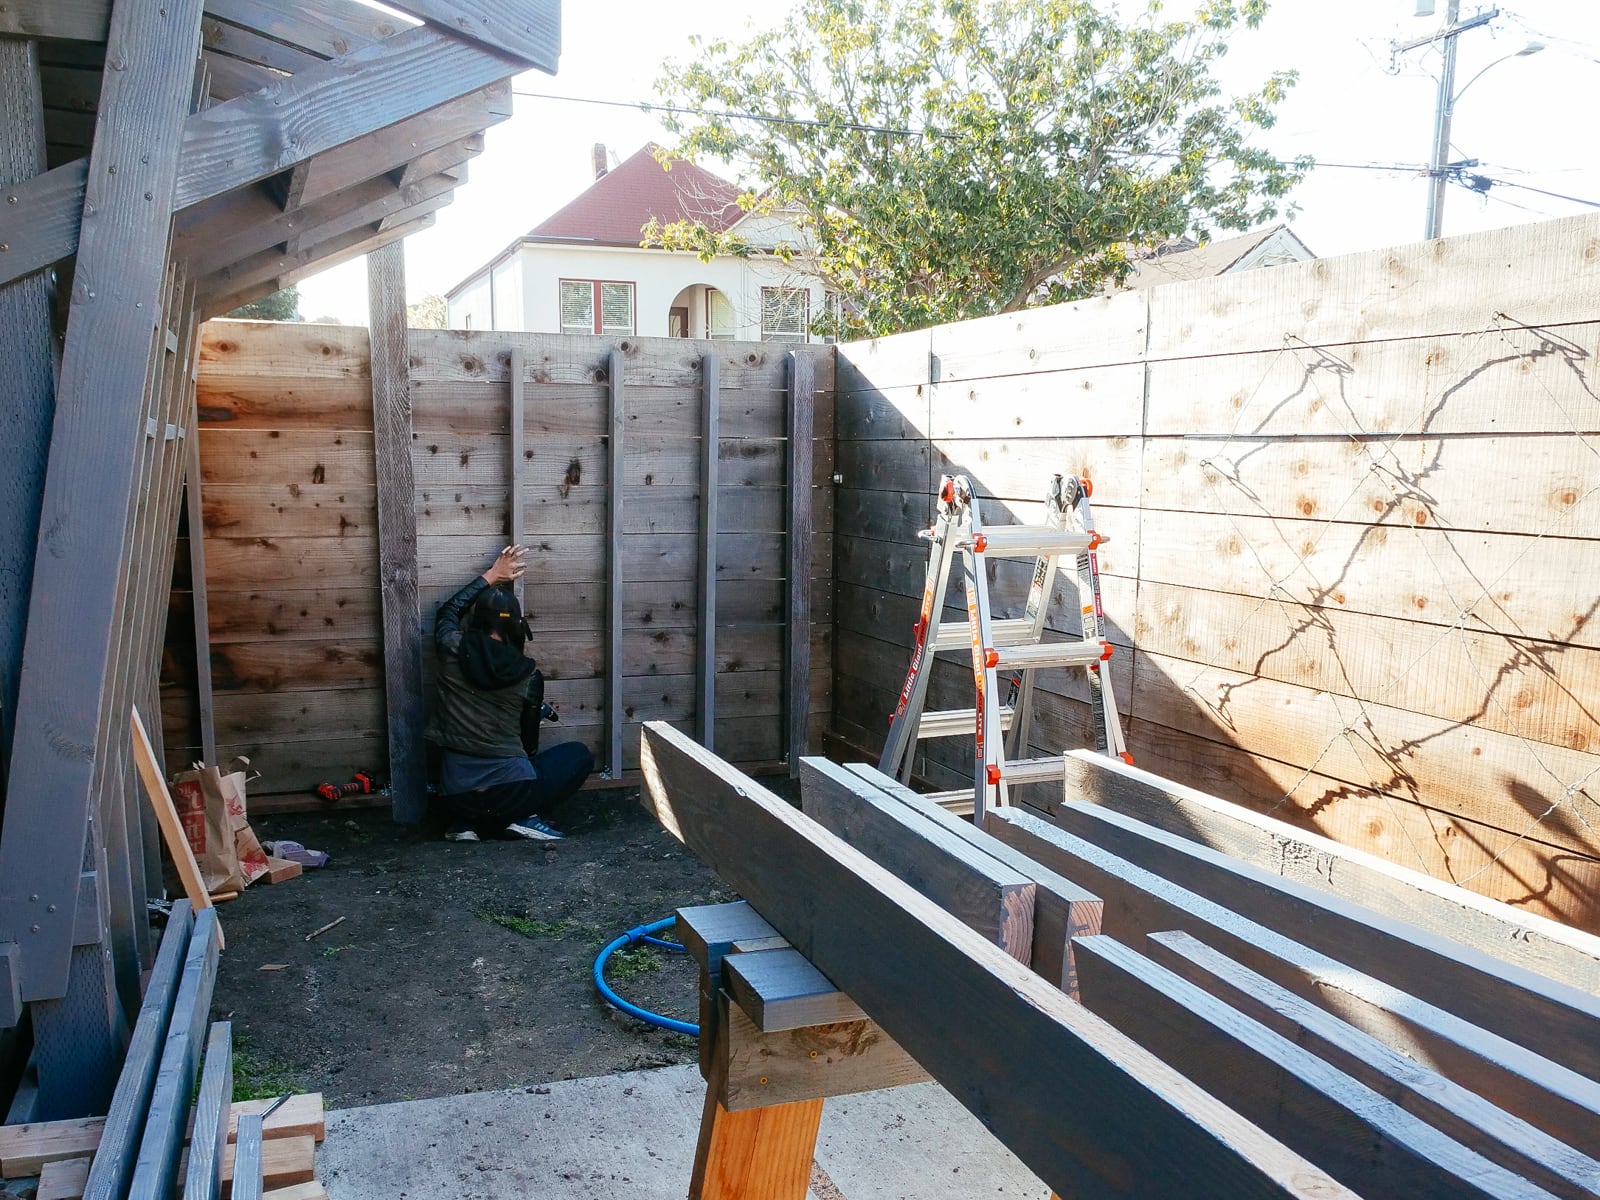
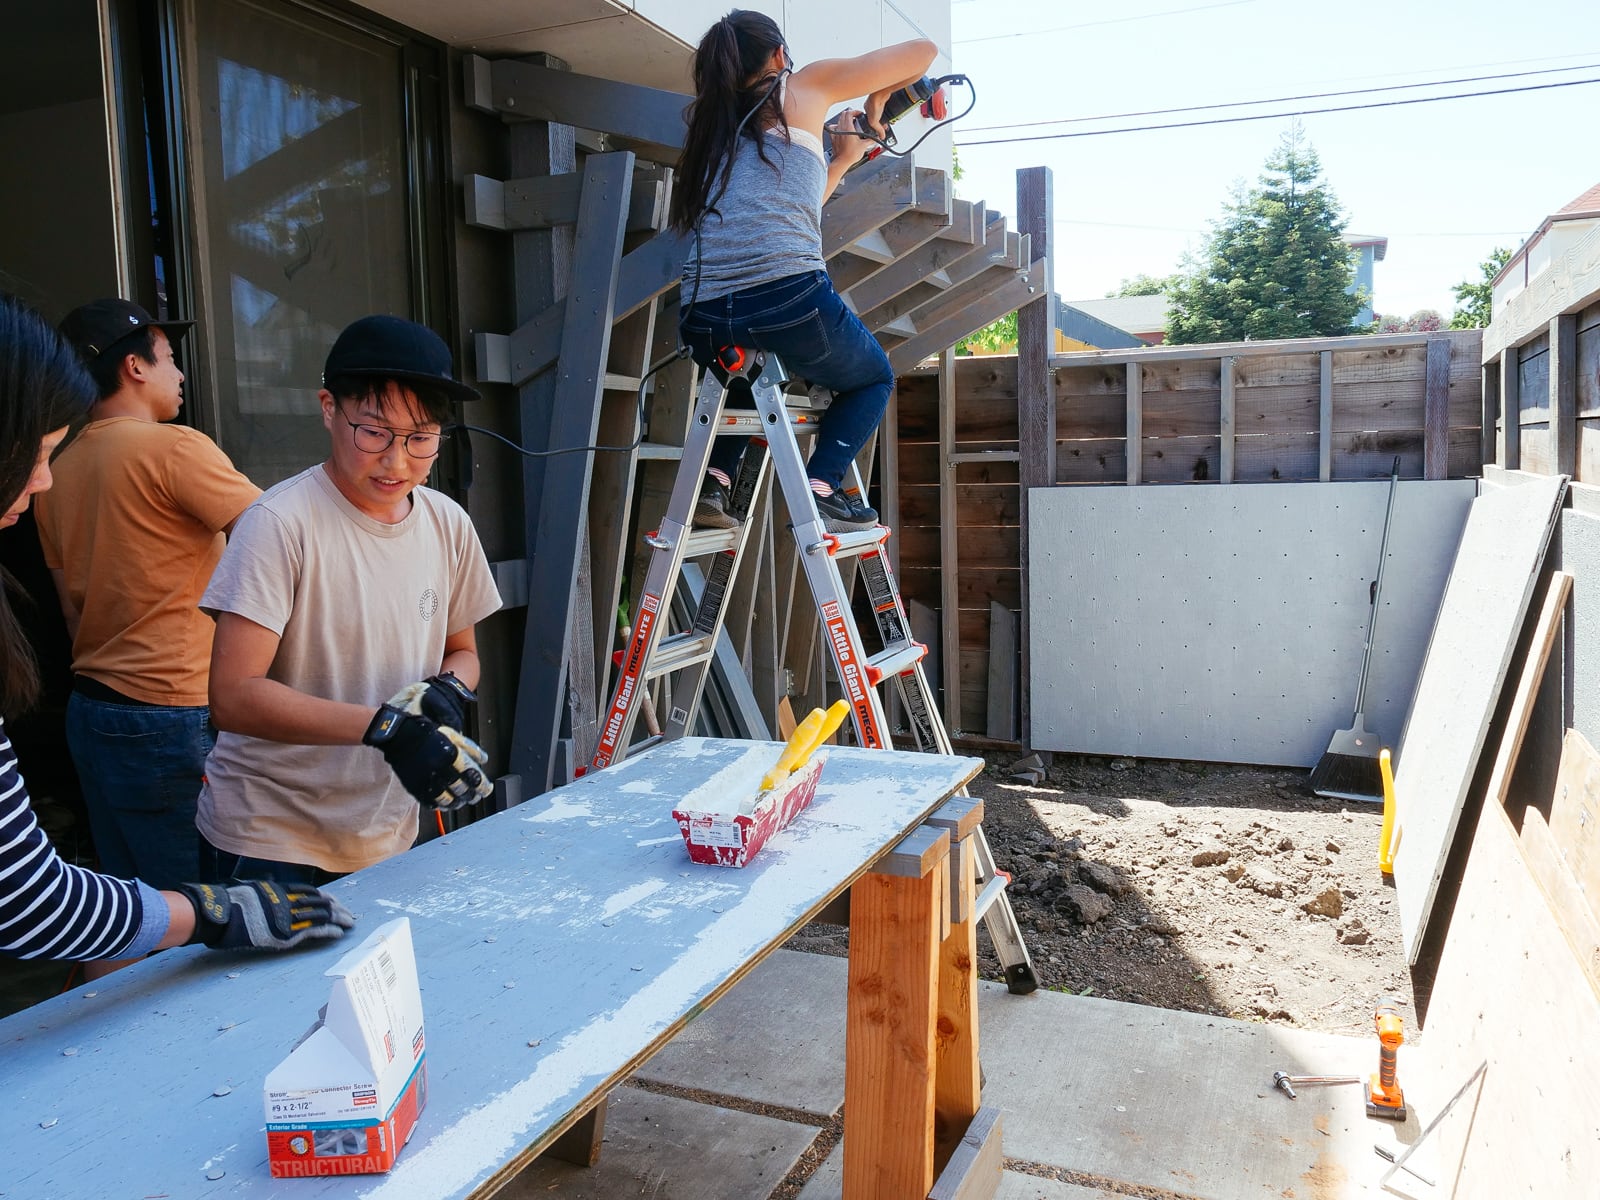
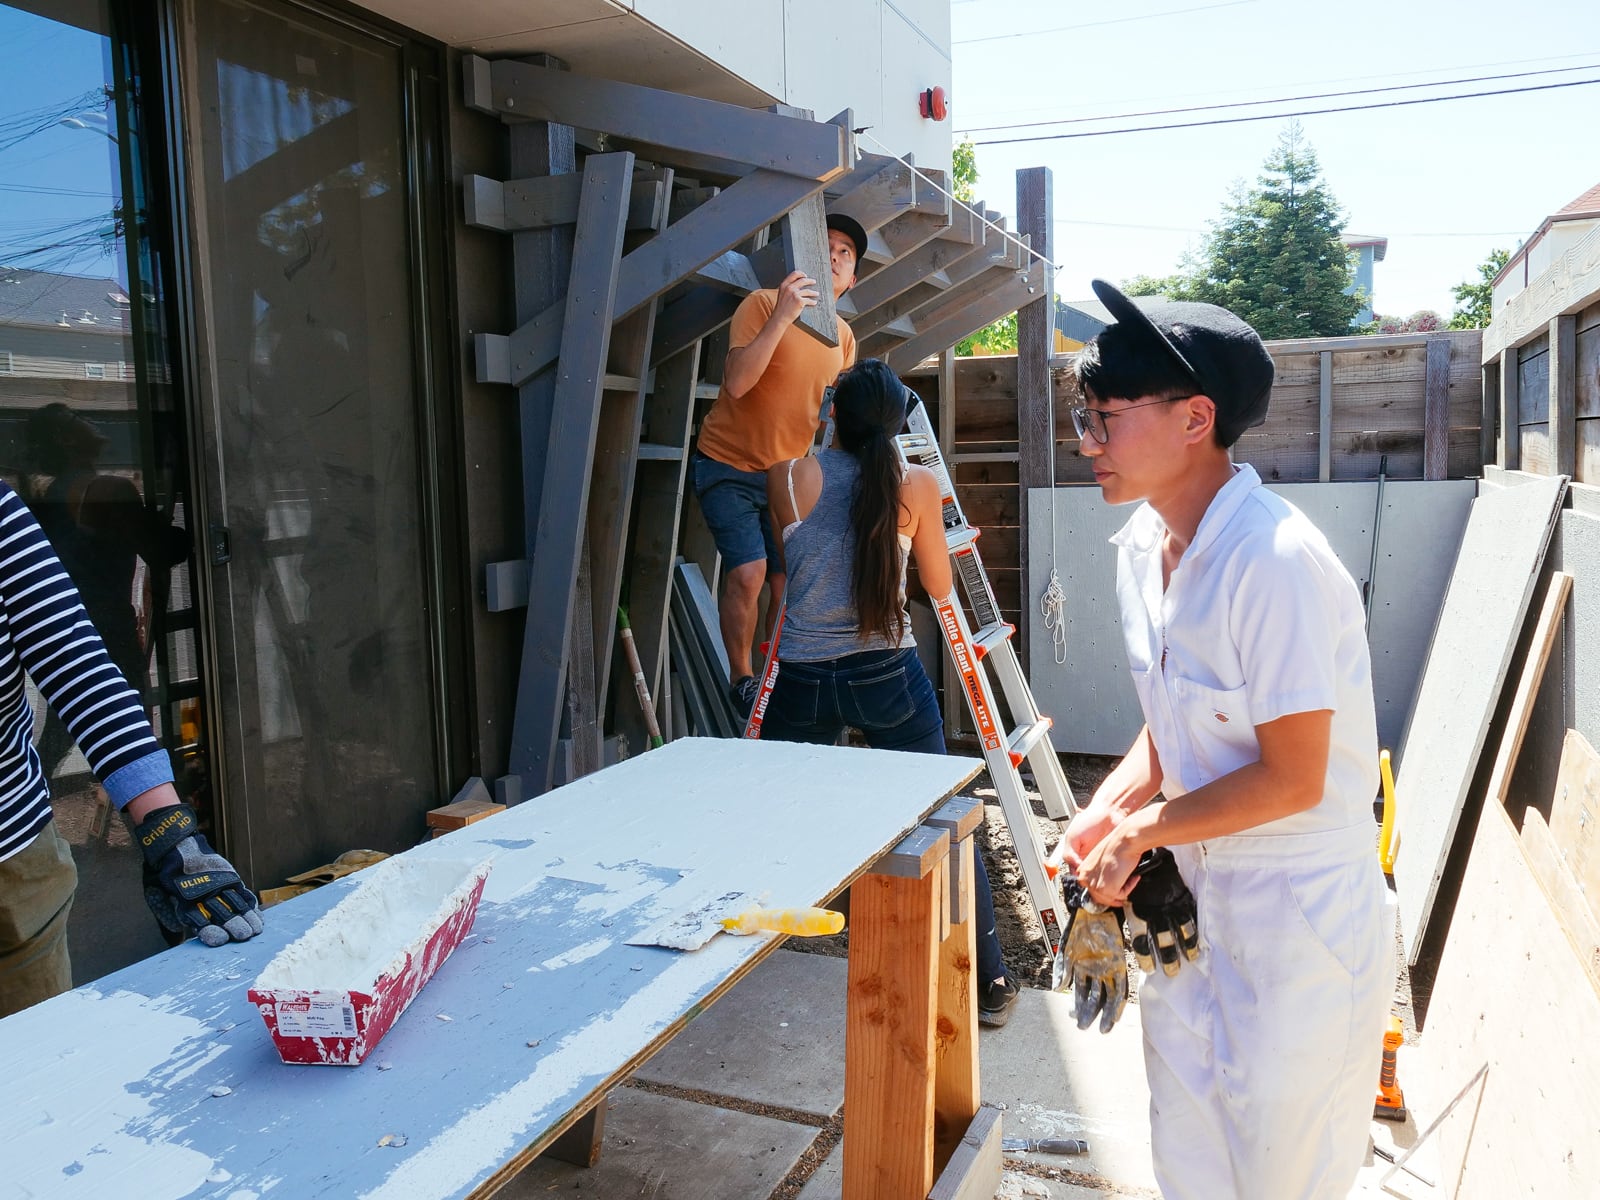
There were two parts to our framing: horizontal girts to tie the posts together and serve as the main load-bearing structure, and a standard-ish balloon frame to carry load from the climbing surfaces back to the posts. We used pressure-treated 2x6s for the parts of the frame that would touch the ground, and standard 2x6 douglas fir, painted with RUST-OLEUM silver gray, for the rest.
We framed everything using 2x6s at about 16" on-center, with slight deviances depending on hole placement for the climbing-hold holes (more on that in the next post).
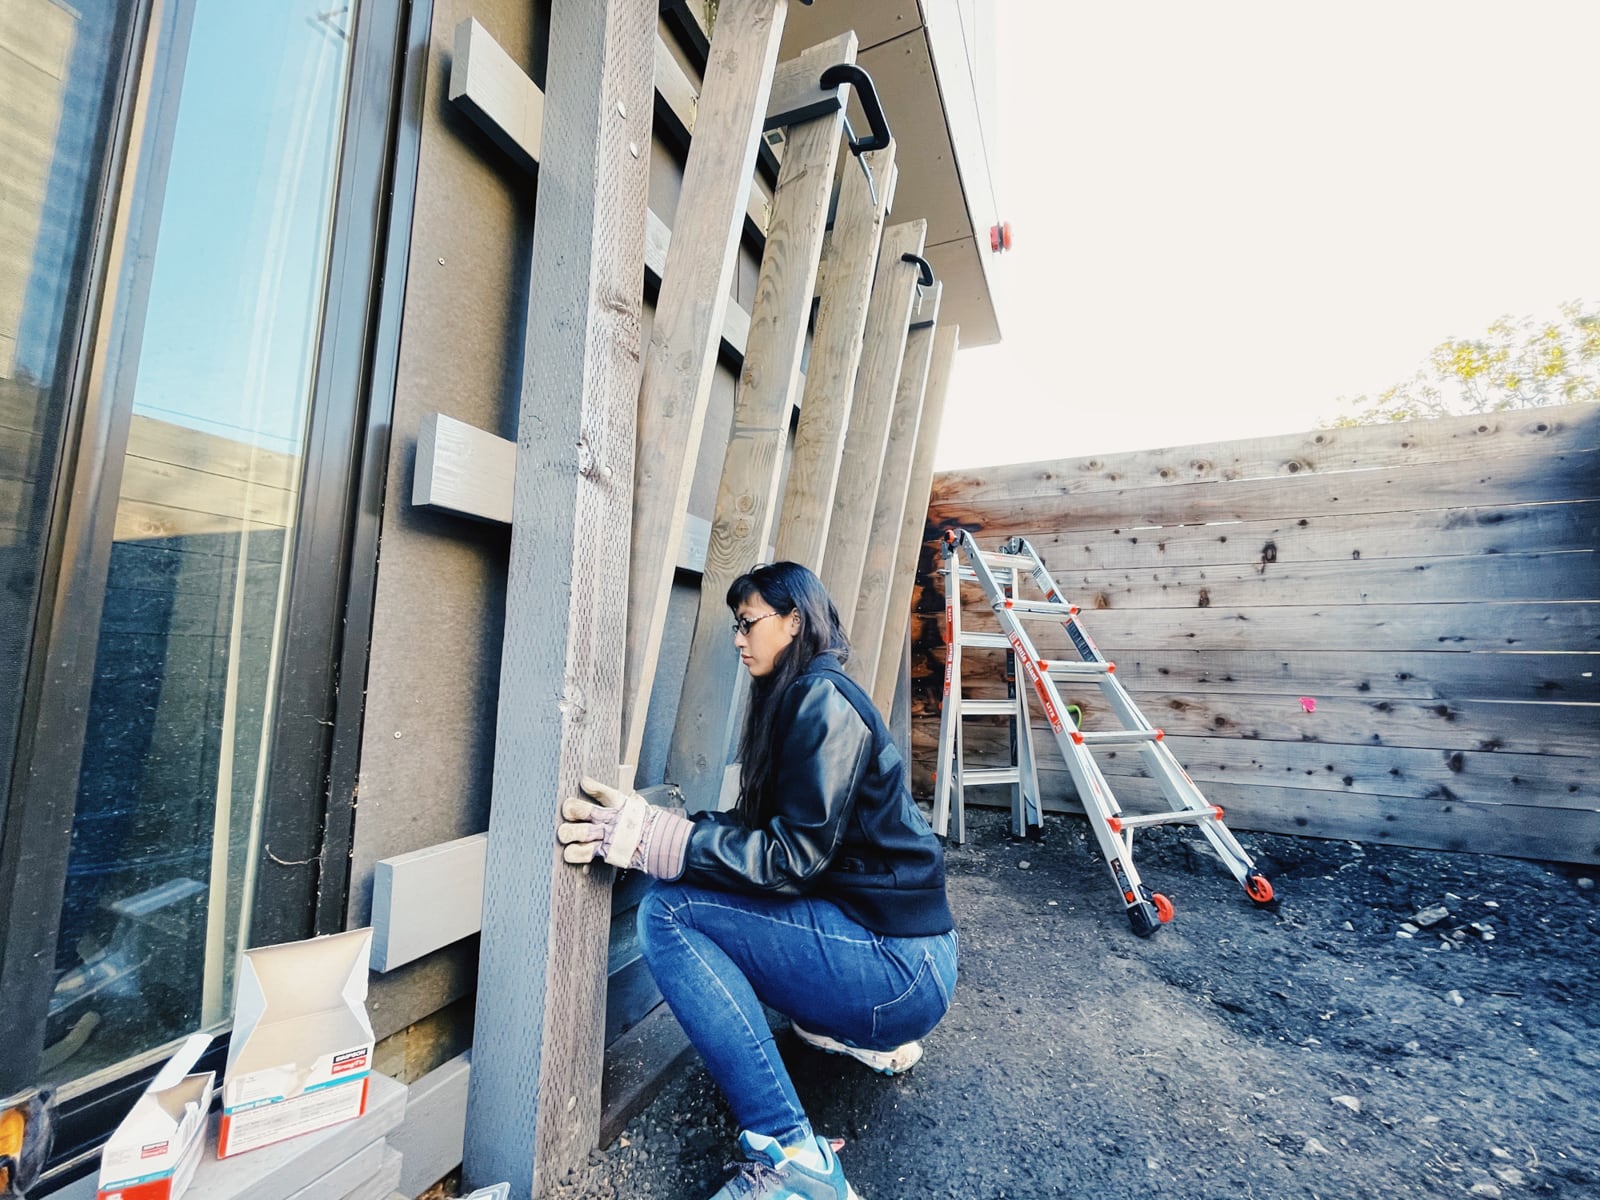
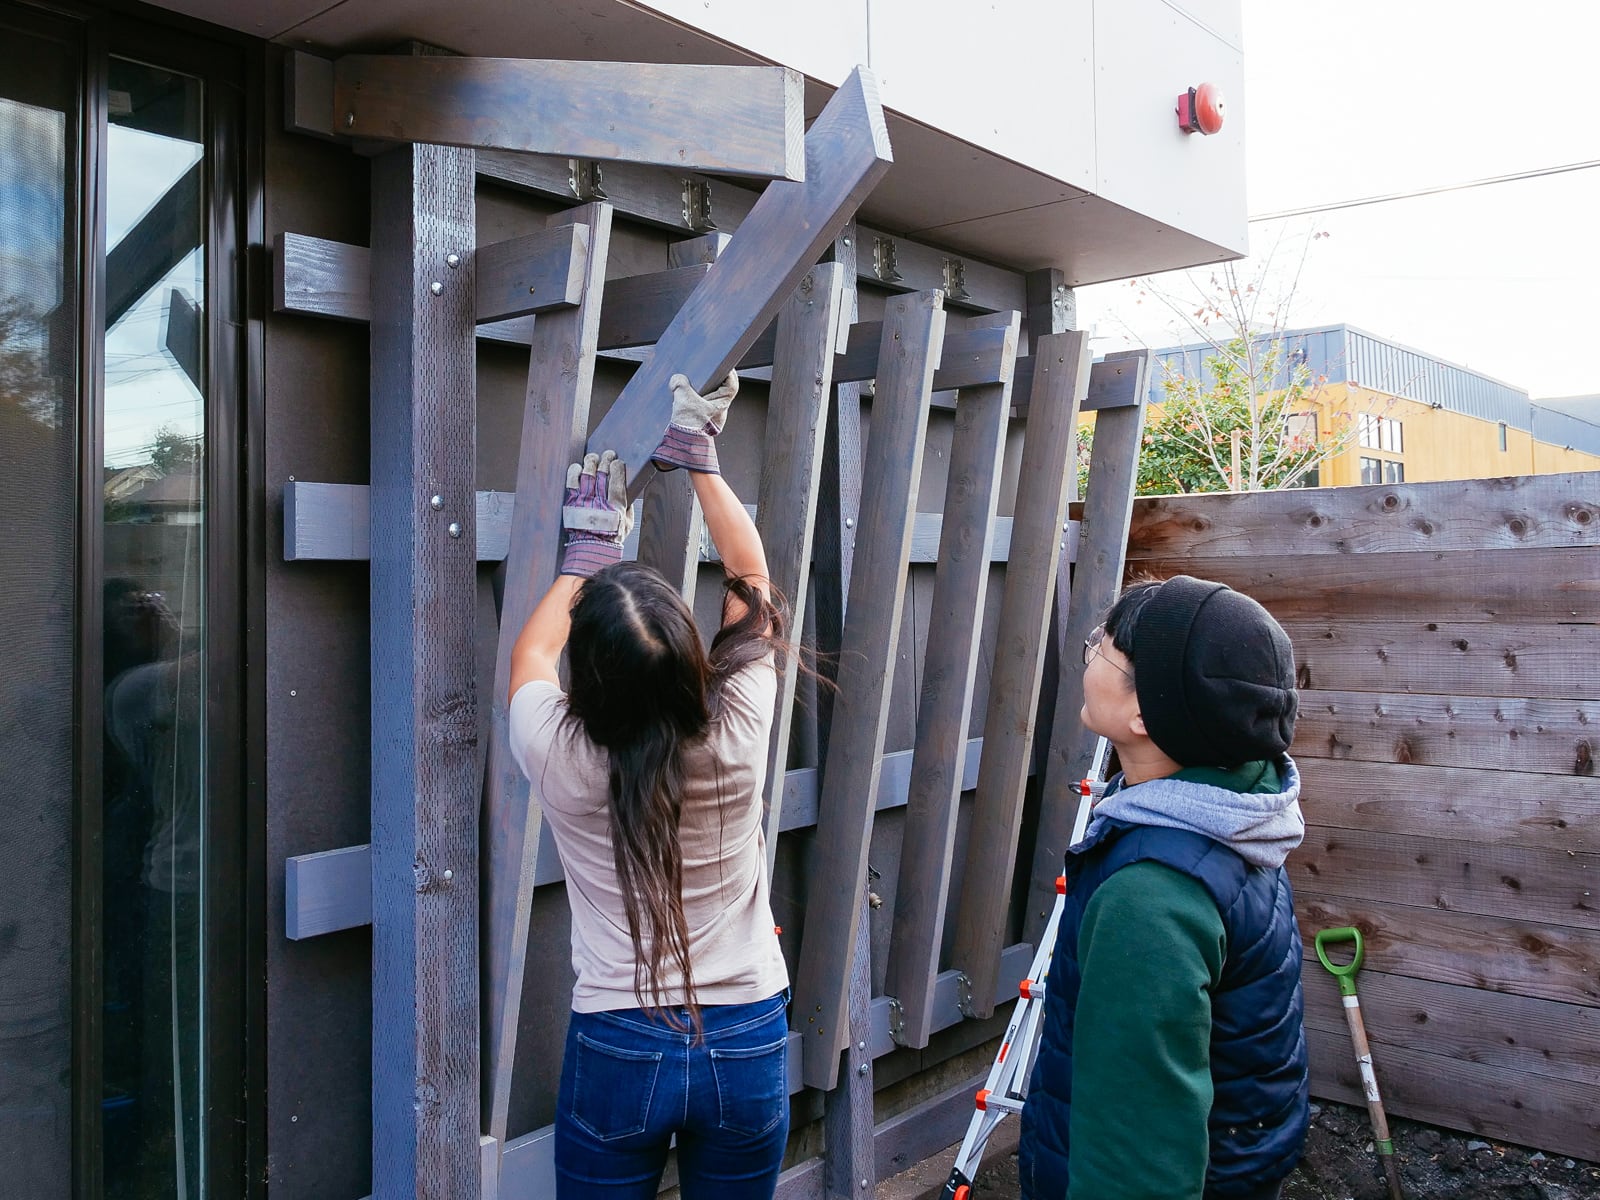
First, we put up WALL·E’s horizontal girts. We attached these to the posts with 1/2" and 3/8" carriage bolts because the girts would be part of the critical load path from our climbers to the ground, and these would be critical joints. (This meant that we got to use these absurdly-long drill bits.)

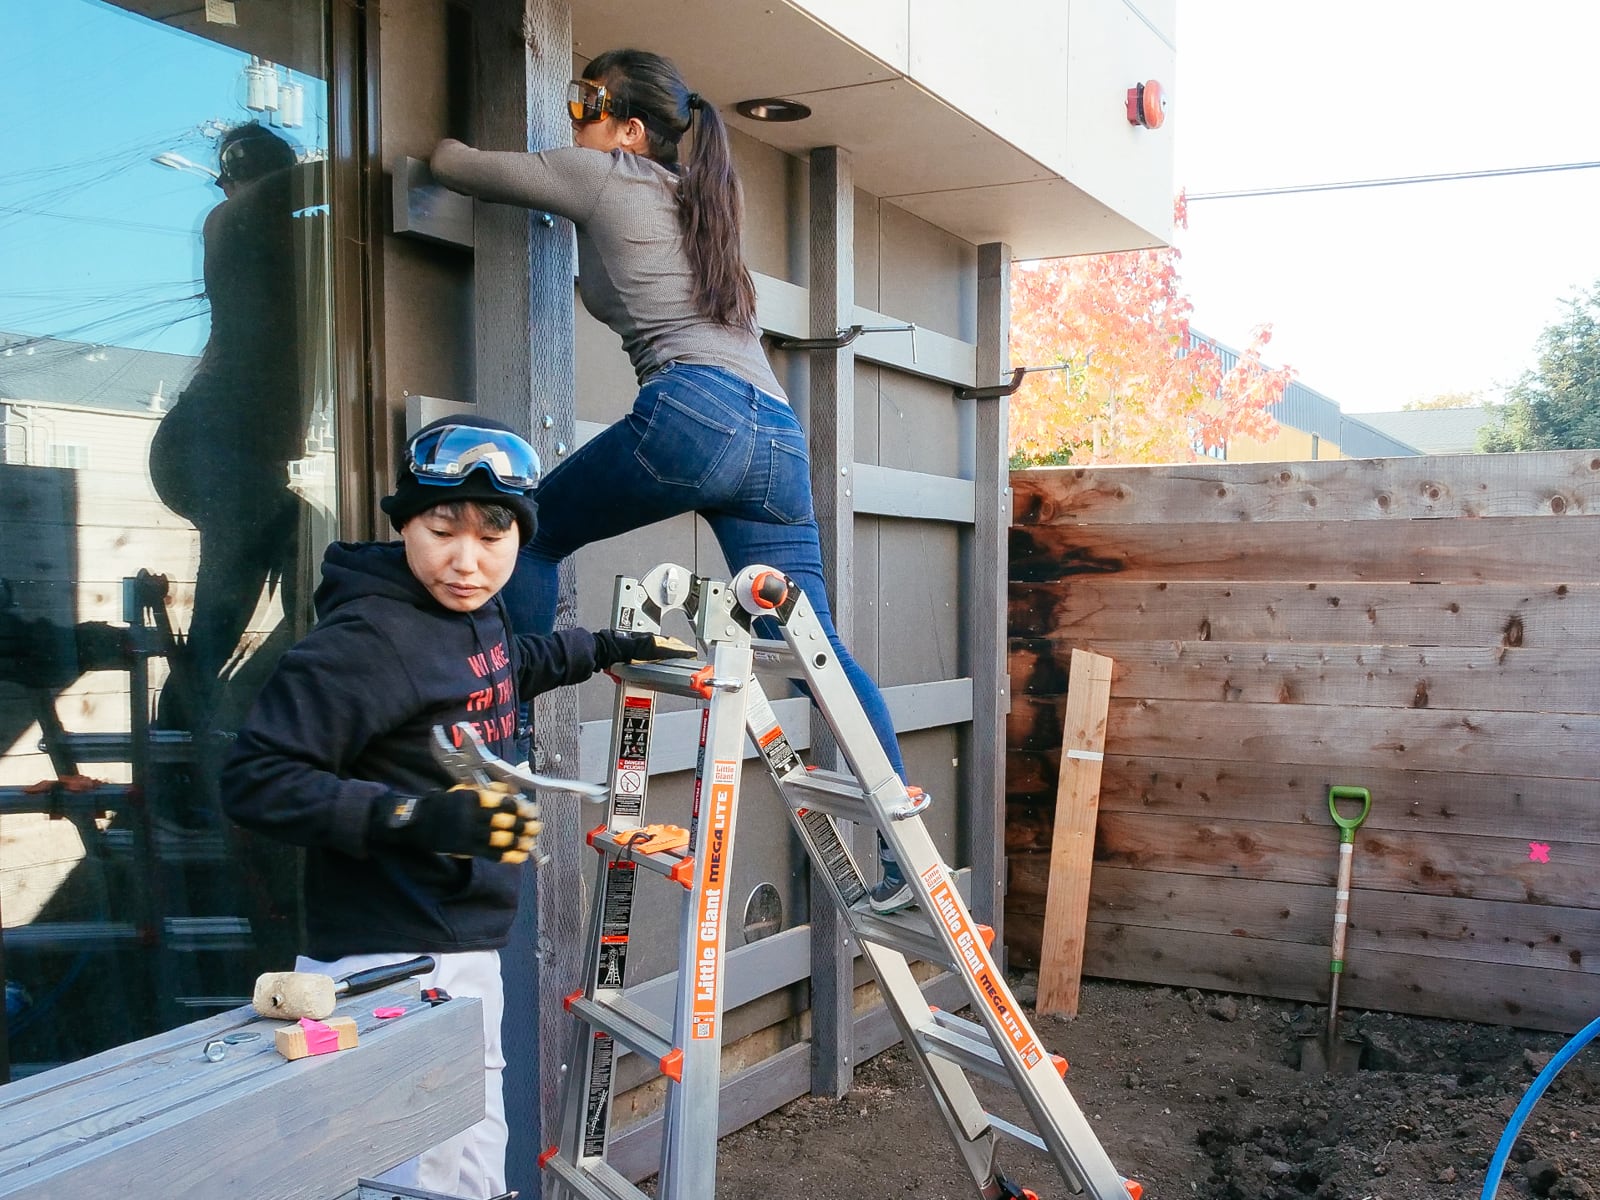

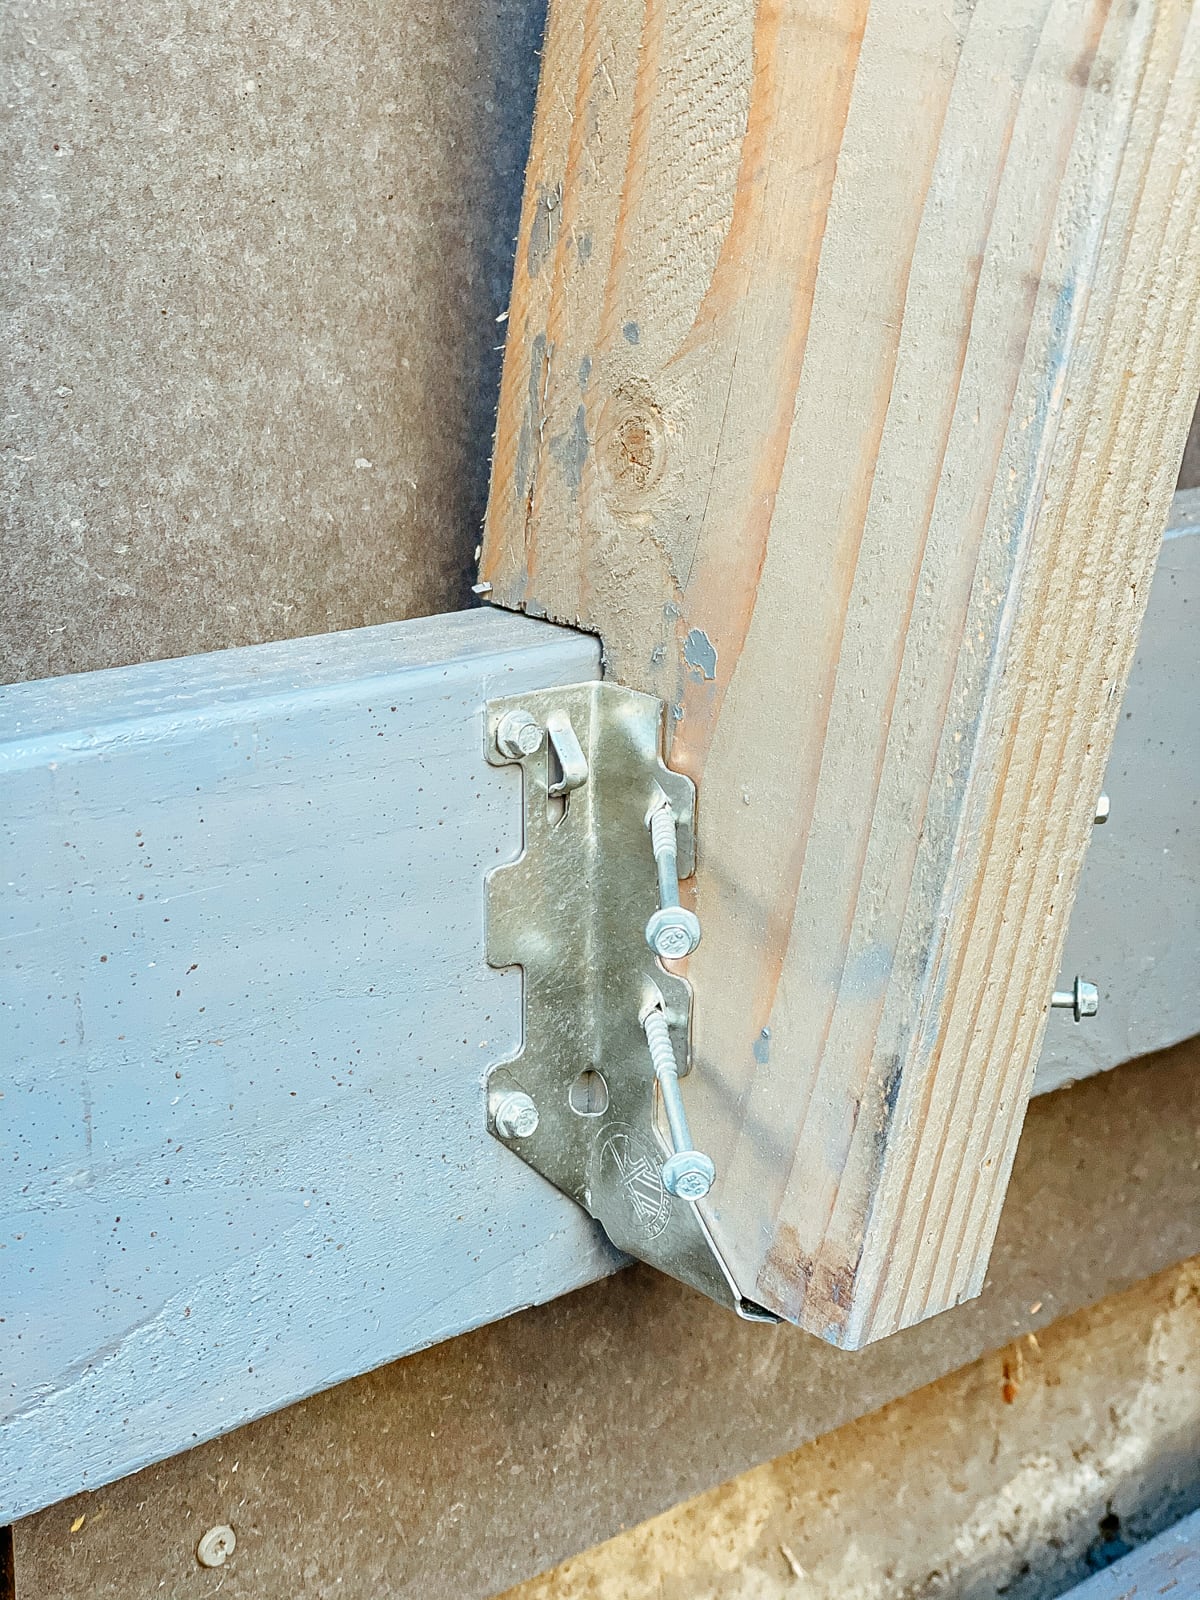
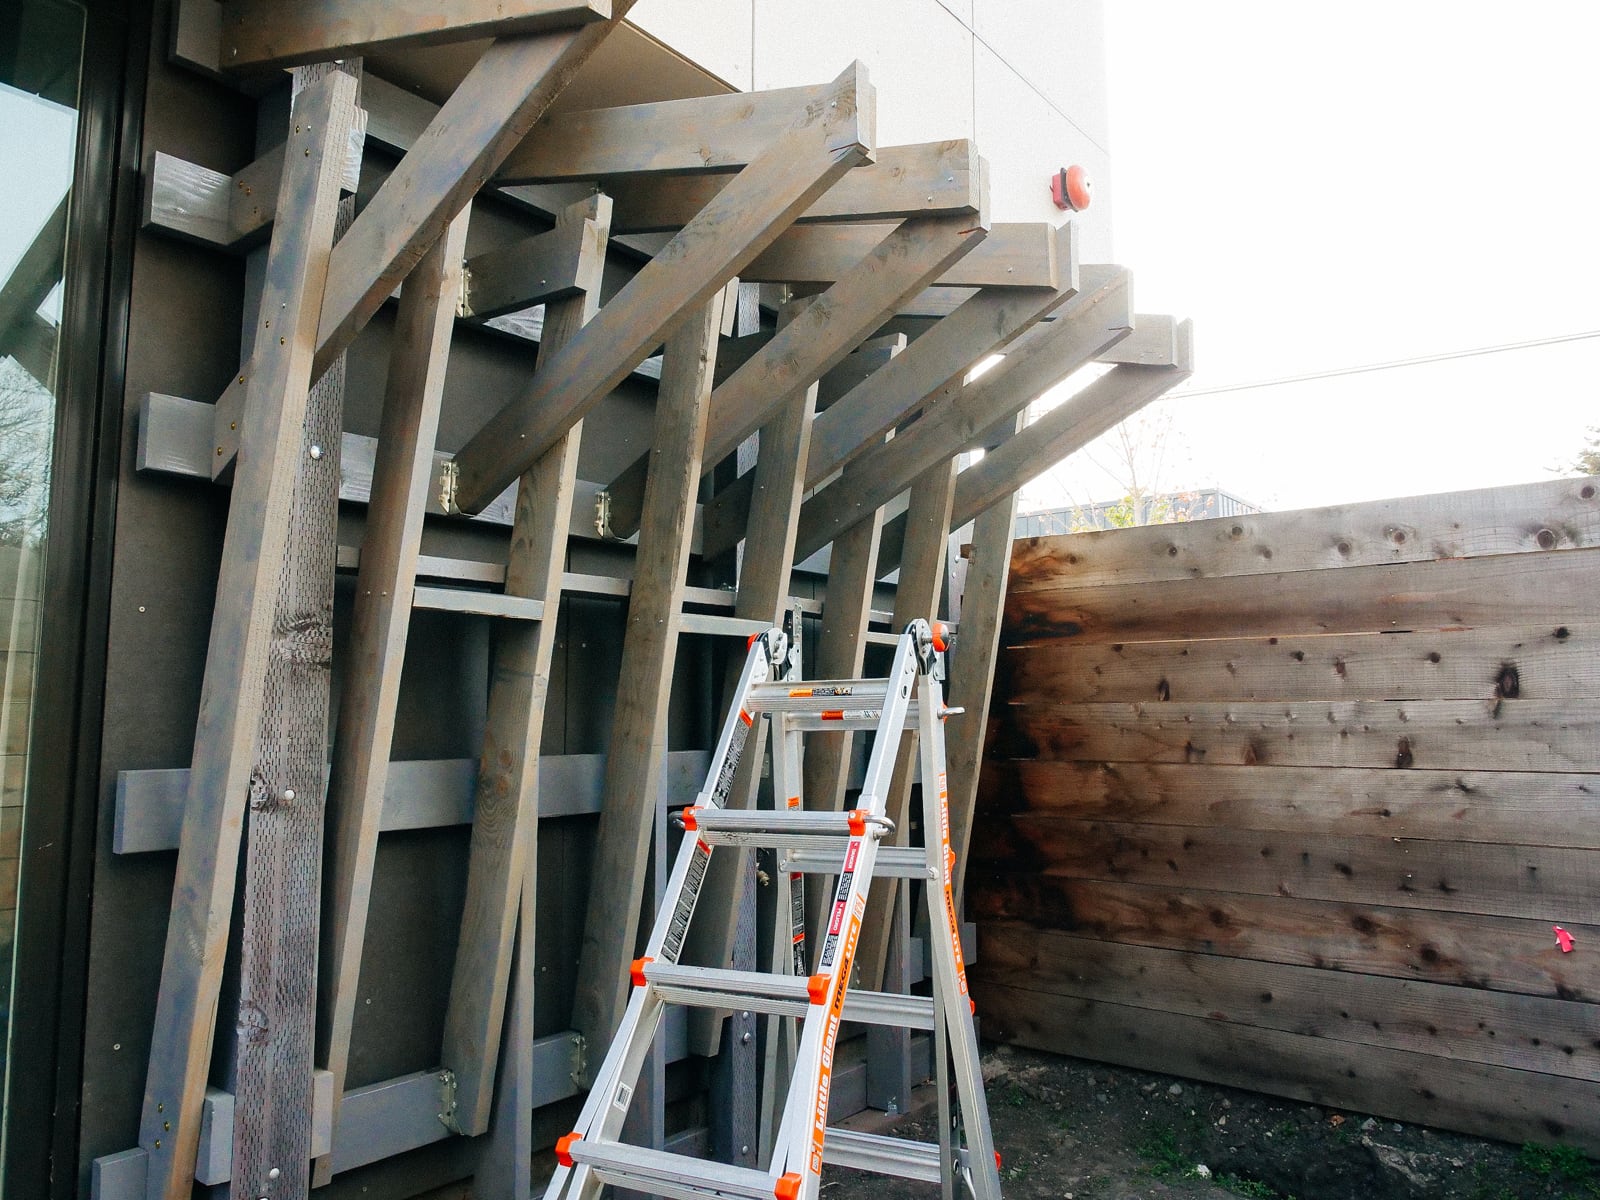
For the 10° and 65° overhanging walls, we used joist hangers to carry load from the framing members to the post/girt structure. Joist hangers are the fasteners used to attach floor/ceiling boards to the vertical frames in a standard wood-framed house. In our climbing cube, the overhanging walls carry load more like a ceiling/floor than like a vertical wall in a house.

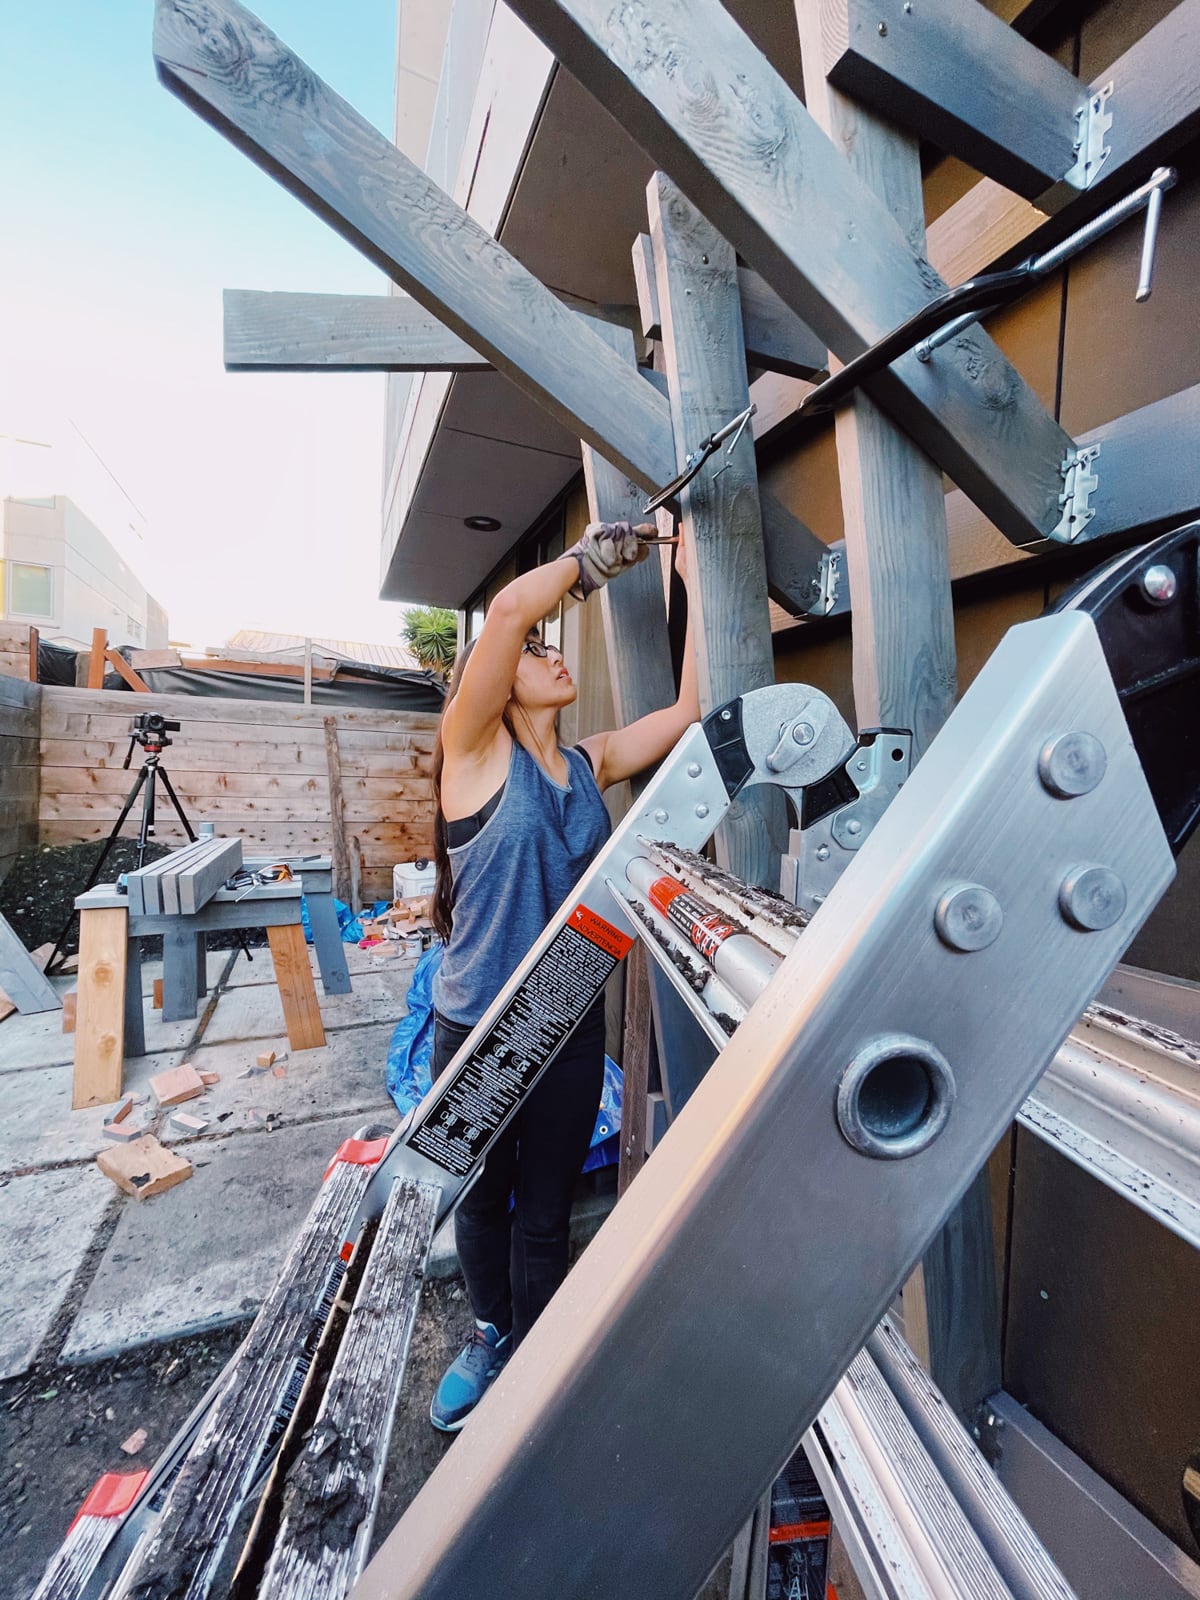
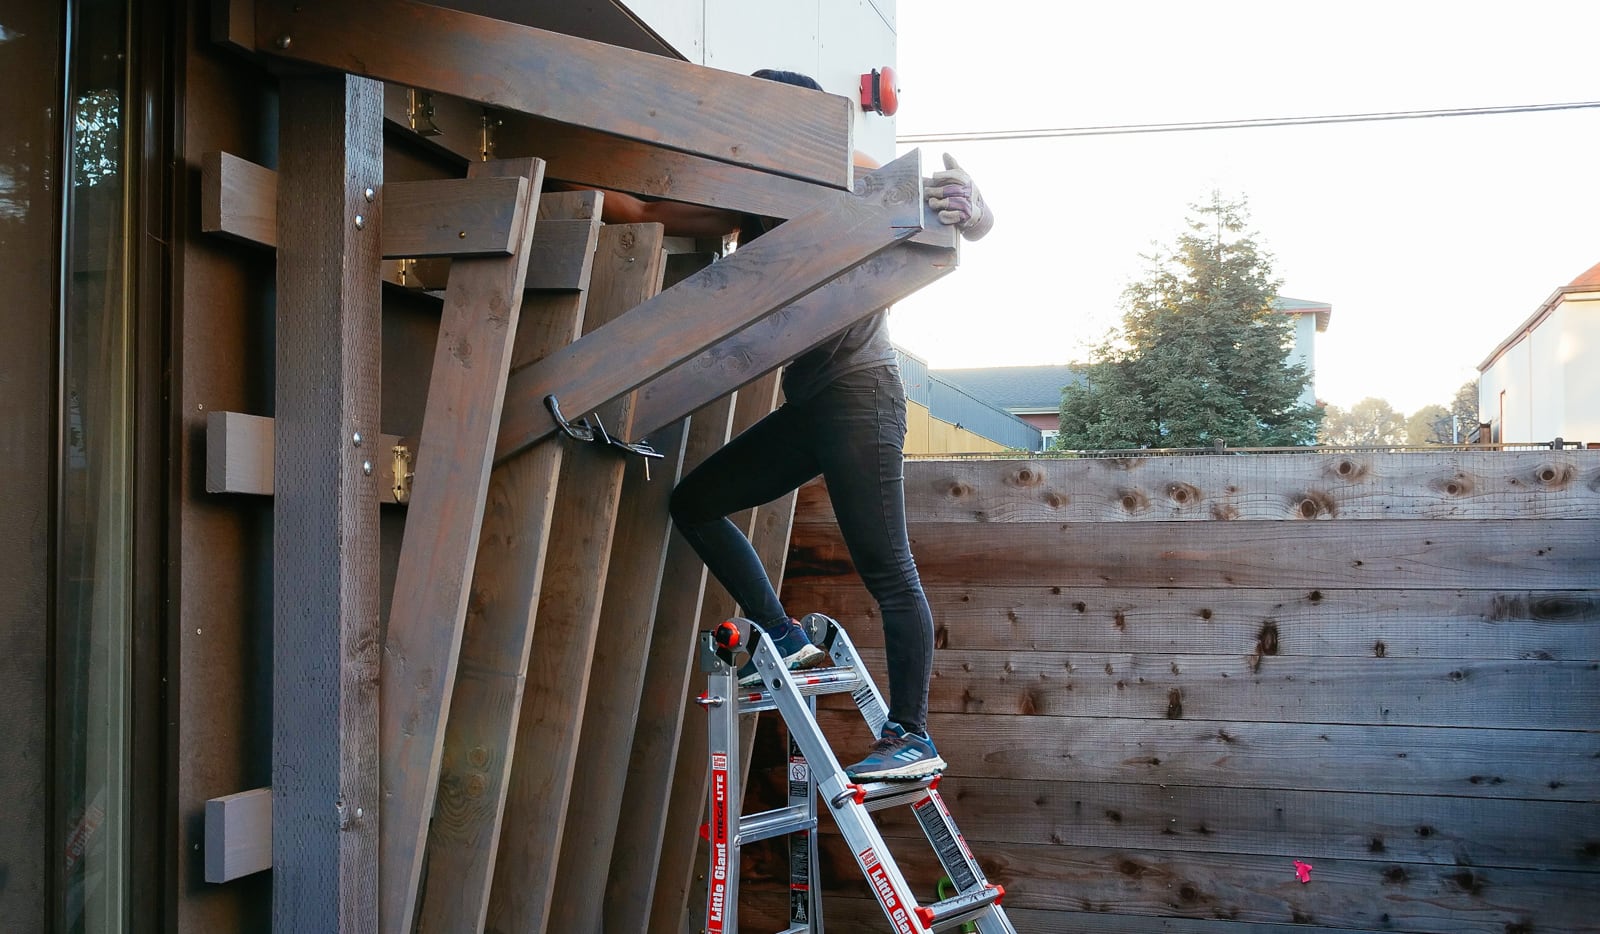
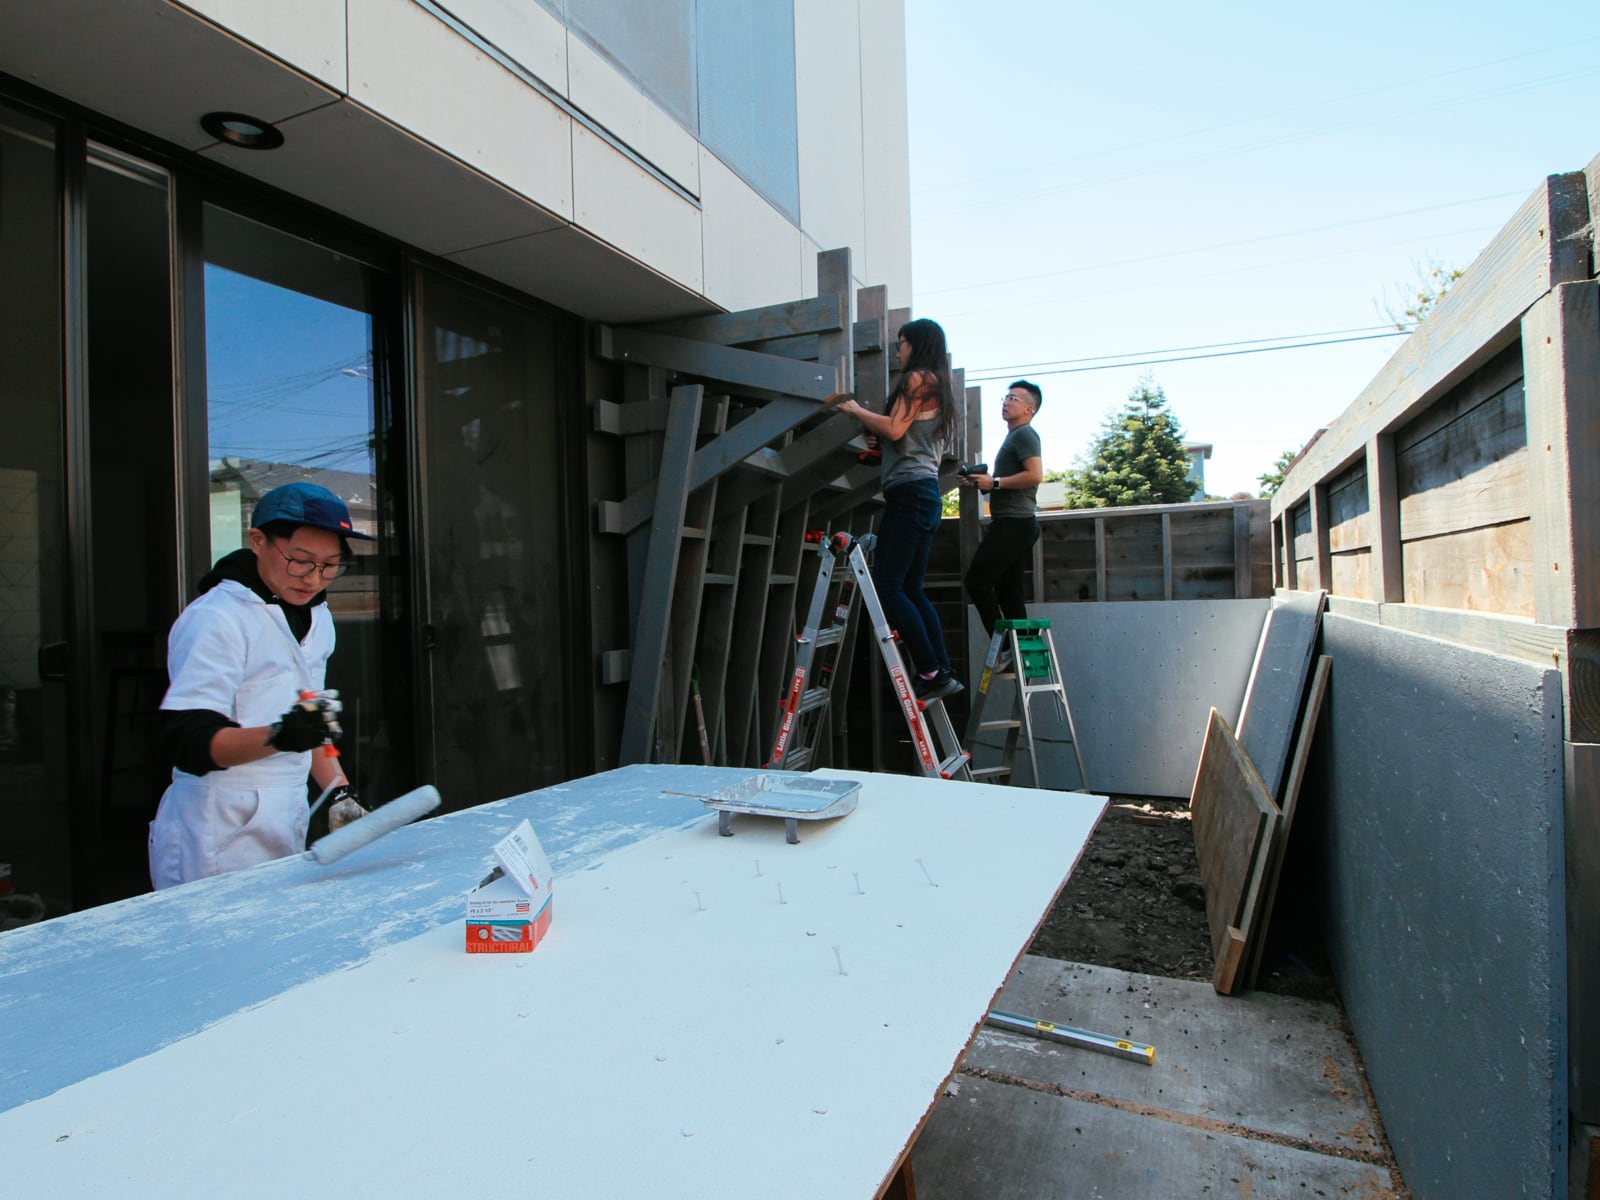
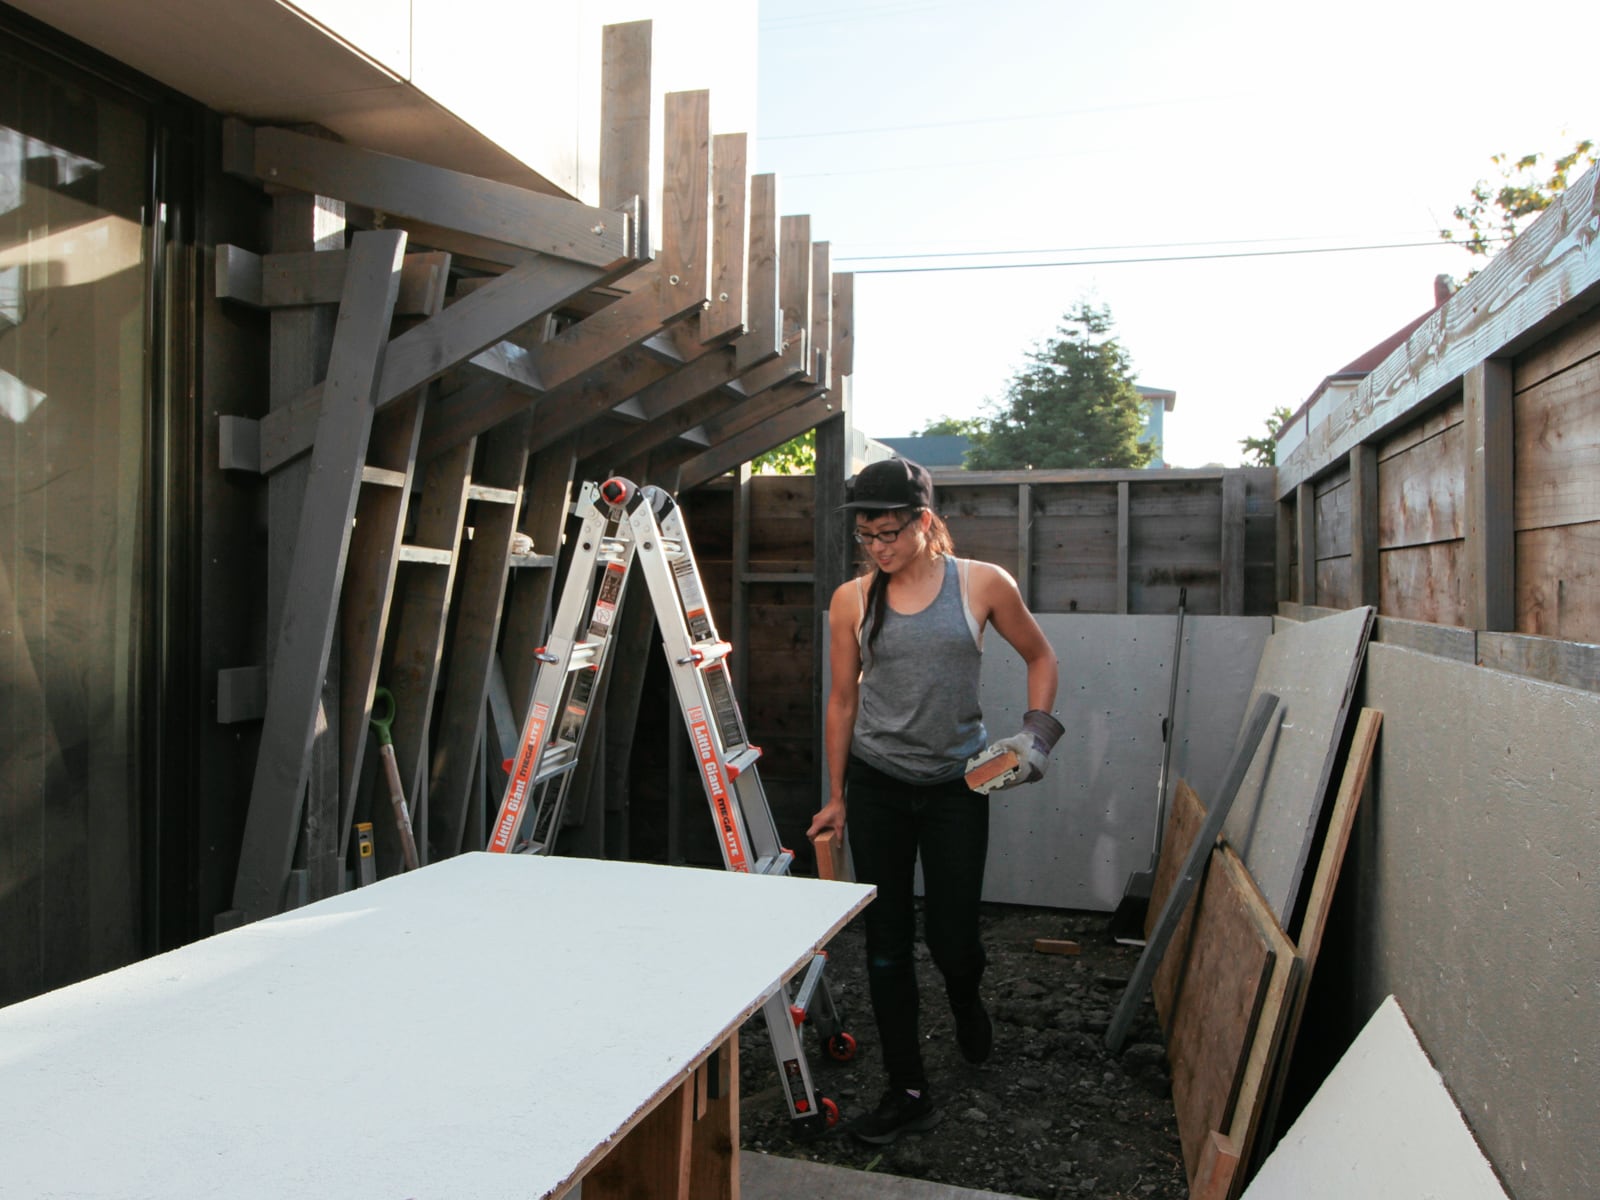
The first section of wall framing we put up was the 10° section. We cut, painted, and beveled the wood stringers, then attached them to the girts, posts, and themselves with joist hangers, 1/2" bolts, various other Simpson Strong-Ties, and structural and wood screws:


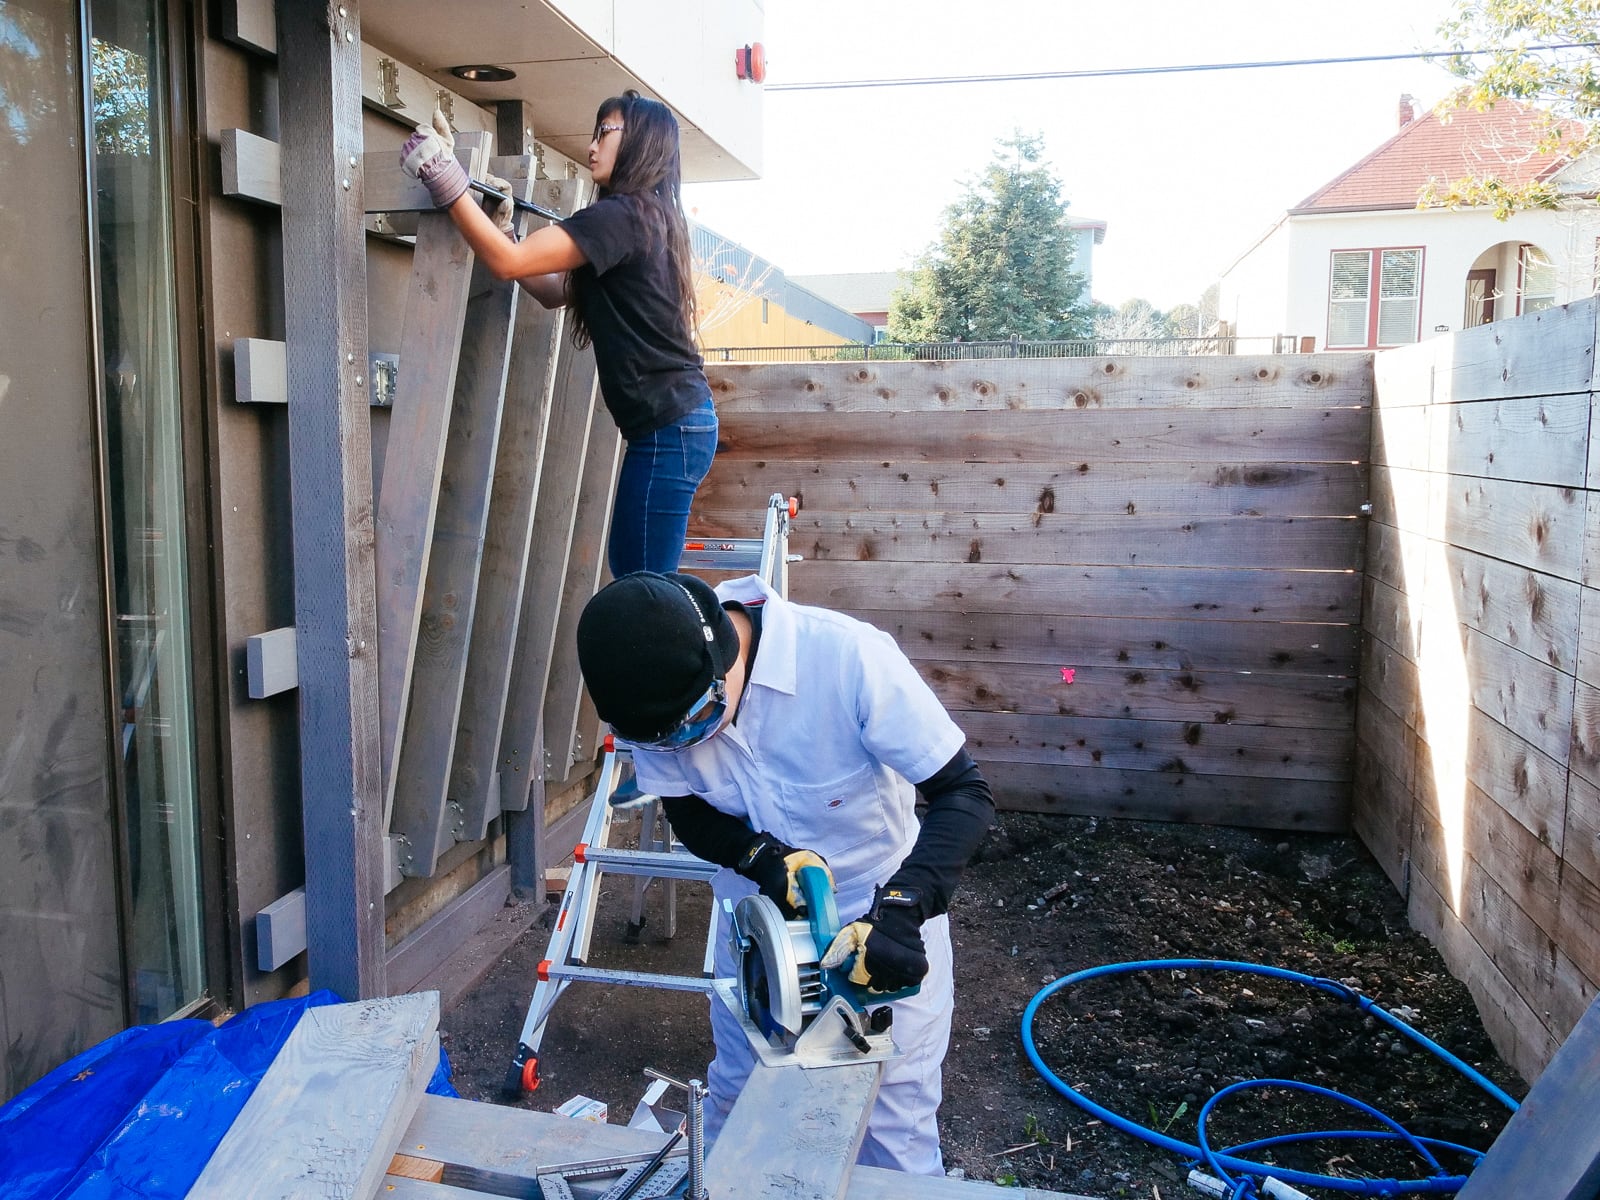
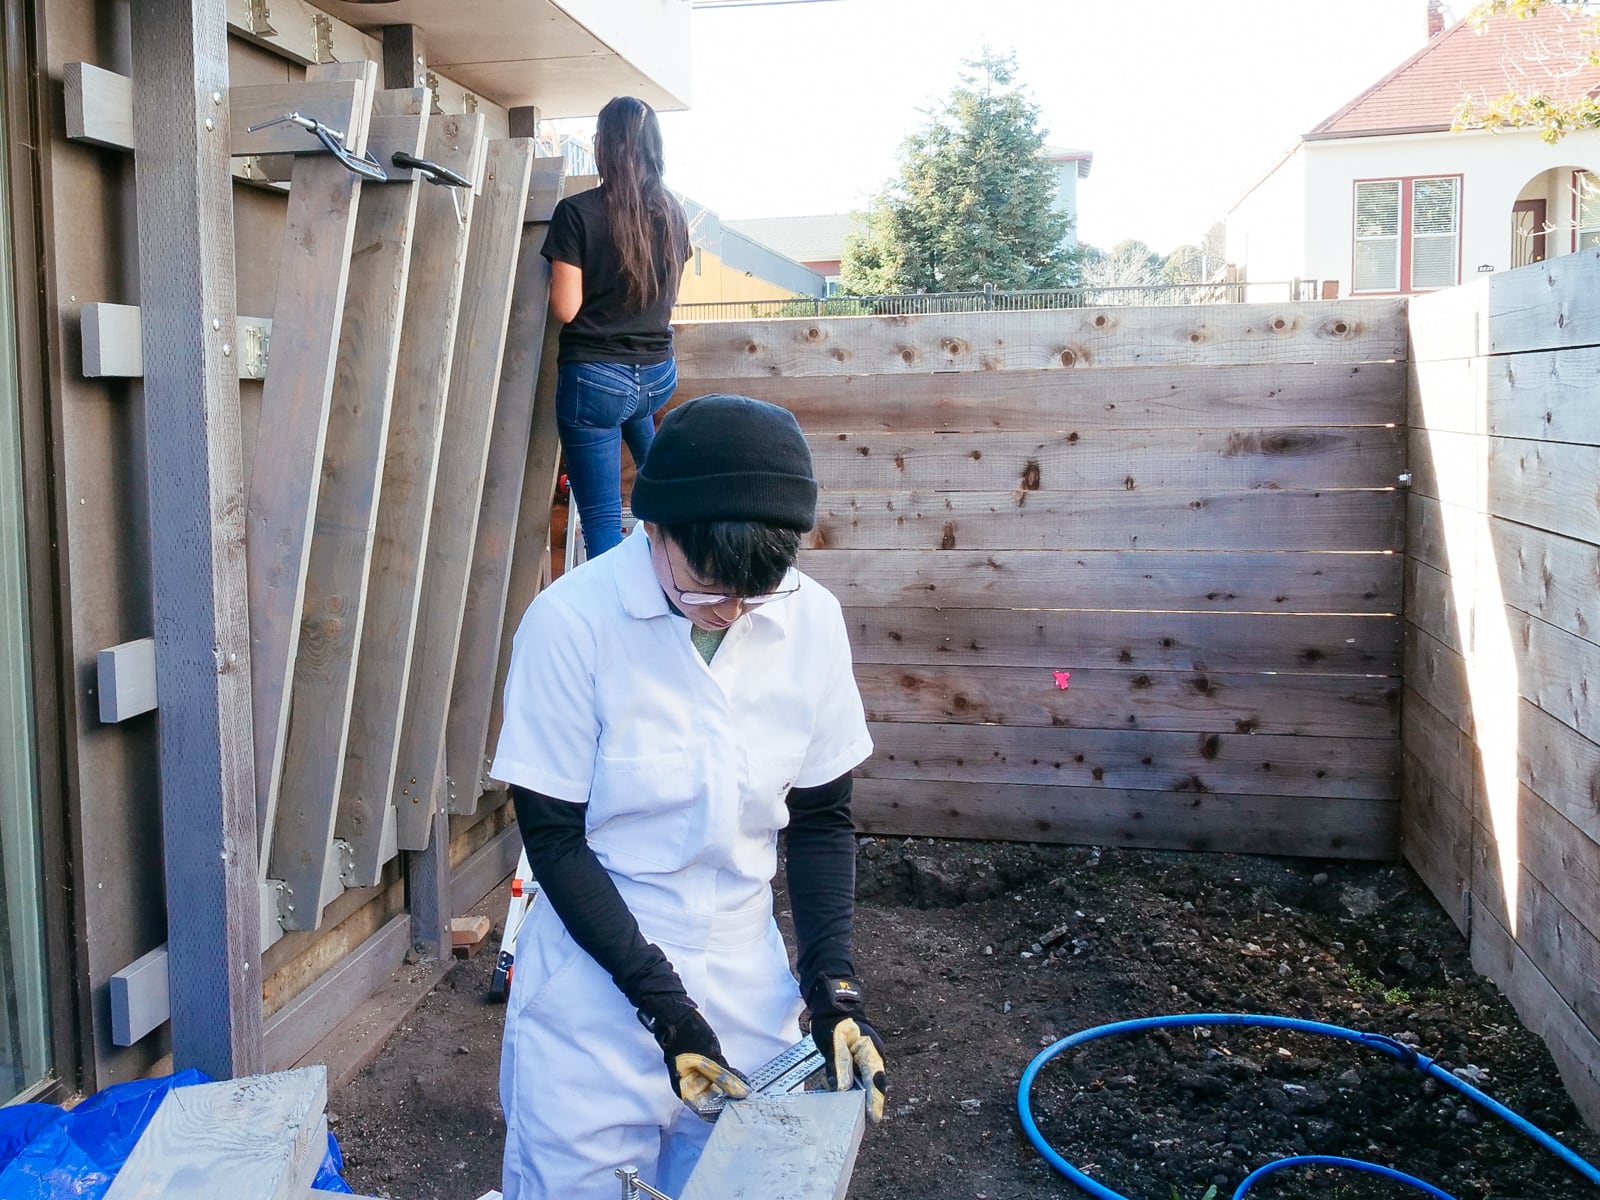
After that, we put up the framing for the 65° section. This was basically the same as for the 10° section, except that the forces here would be larger, so we sized up the structural elements and fasteners commensurately:
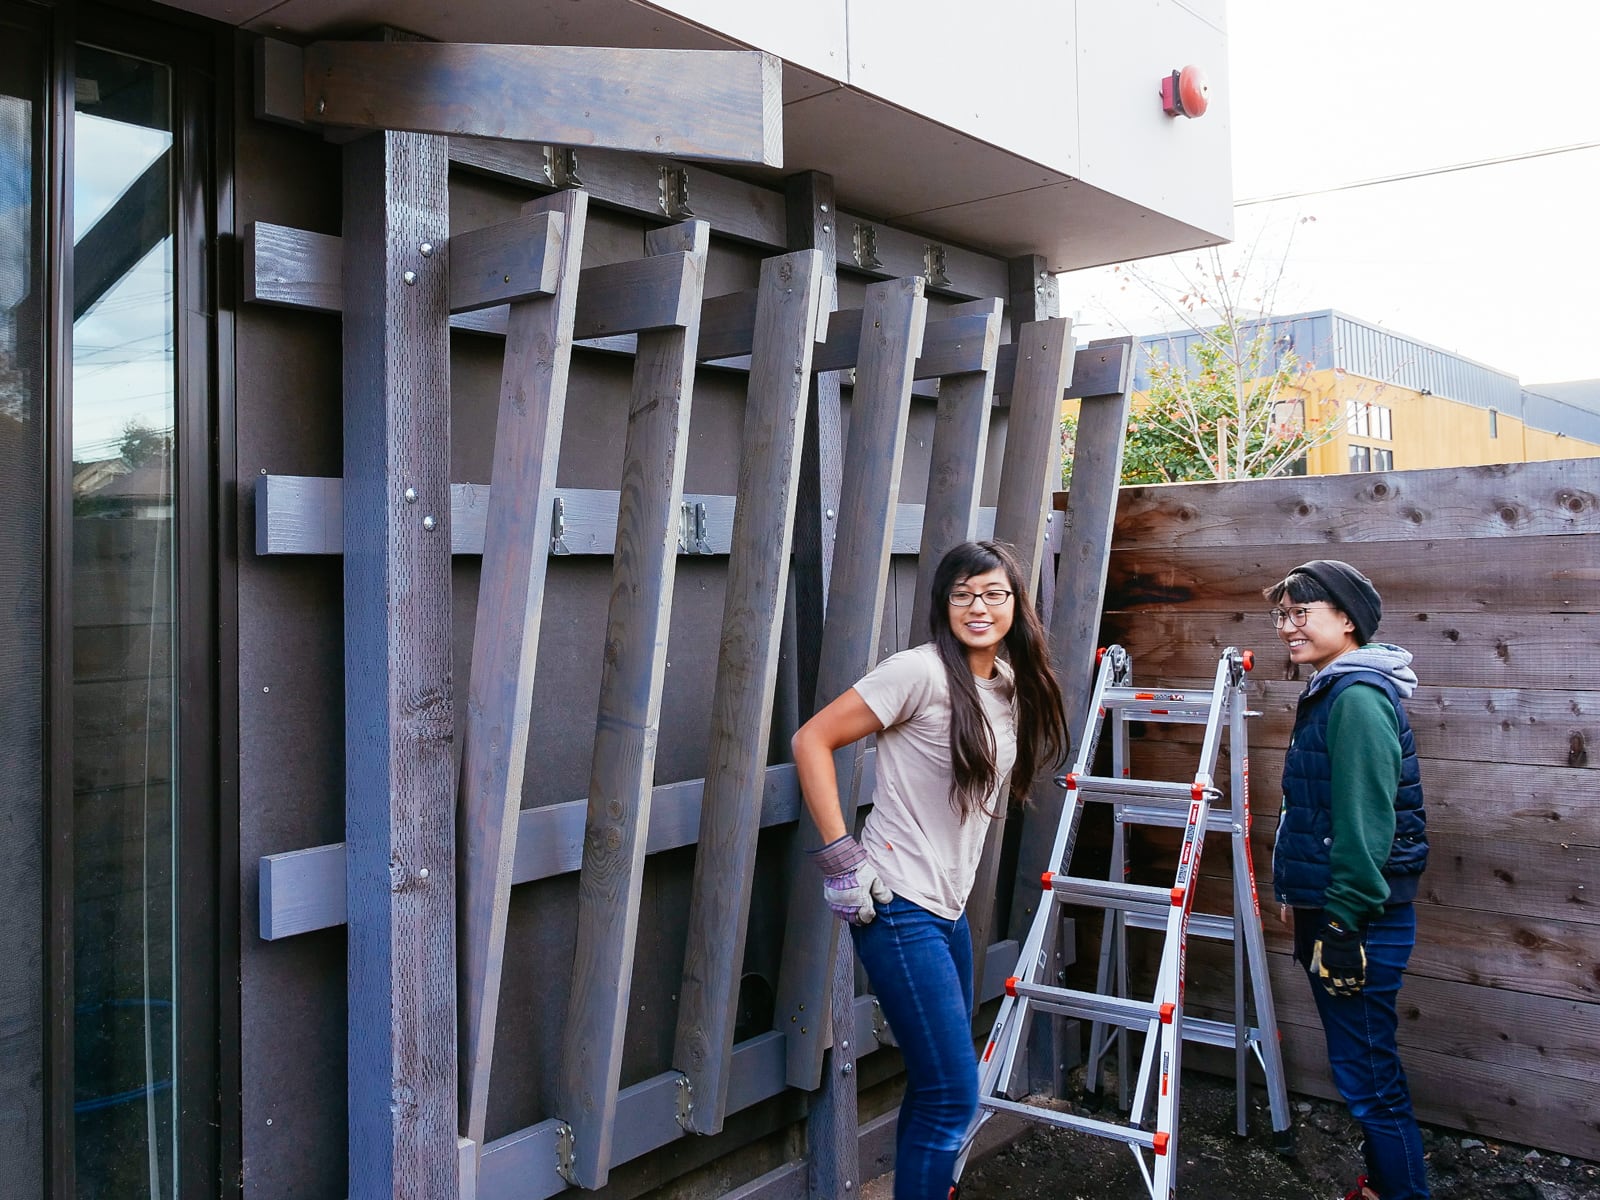


We put up a minimal vertical frame at the bottom of WALL·E for mounting the kicker board:

That was as far as we wanted to get with framing before putting in our last two support posts.
Foundation
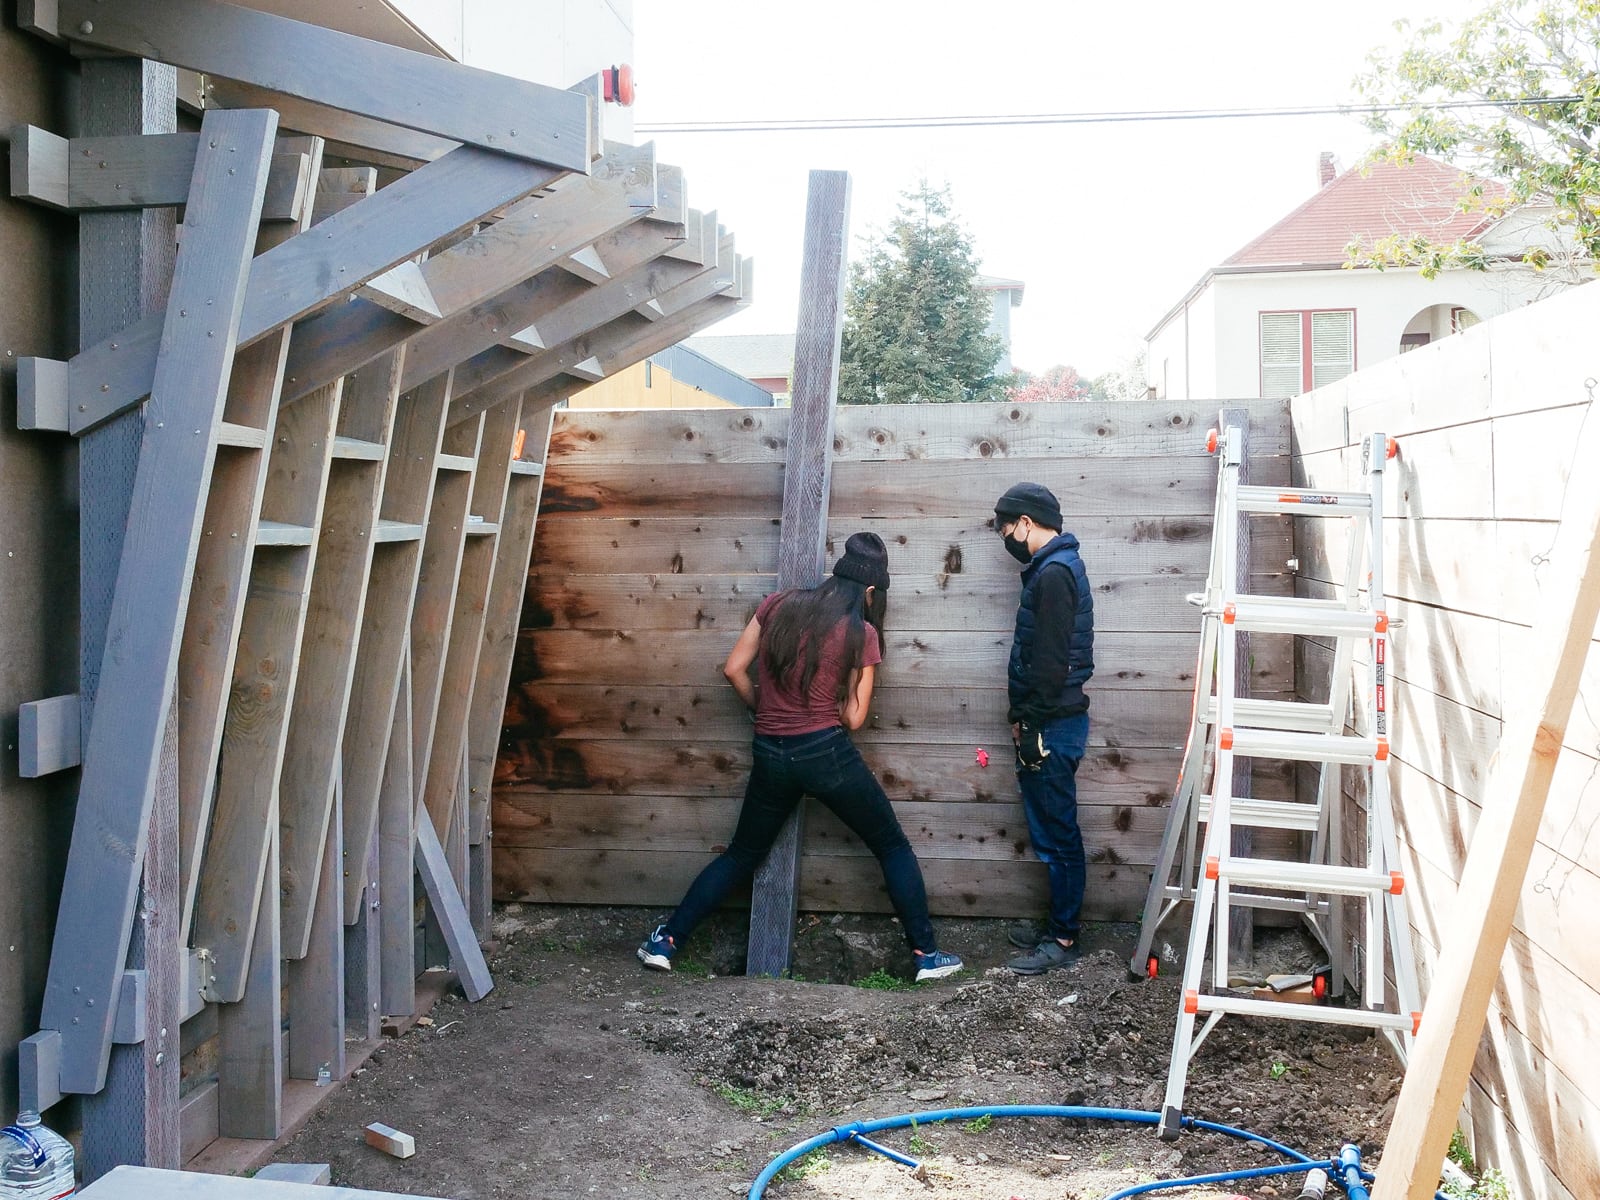
7. Setting the last two posts (in wall F)
The last two posts were one pressure-treated 6x6 (our longest post: 112" above ground, 42" below ground) to support WALL·E from the top and wall F, and one pressure-treated 4x4 for the right side of wall F. We used the same process as for the earlier three posts, but this time with some video:
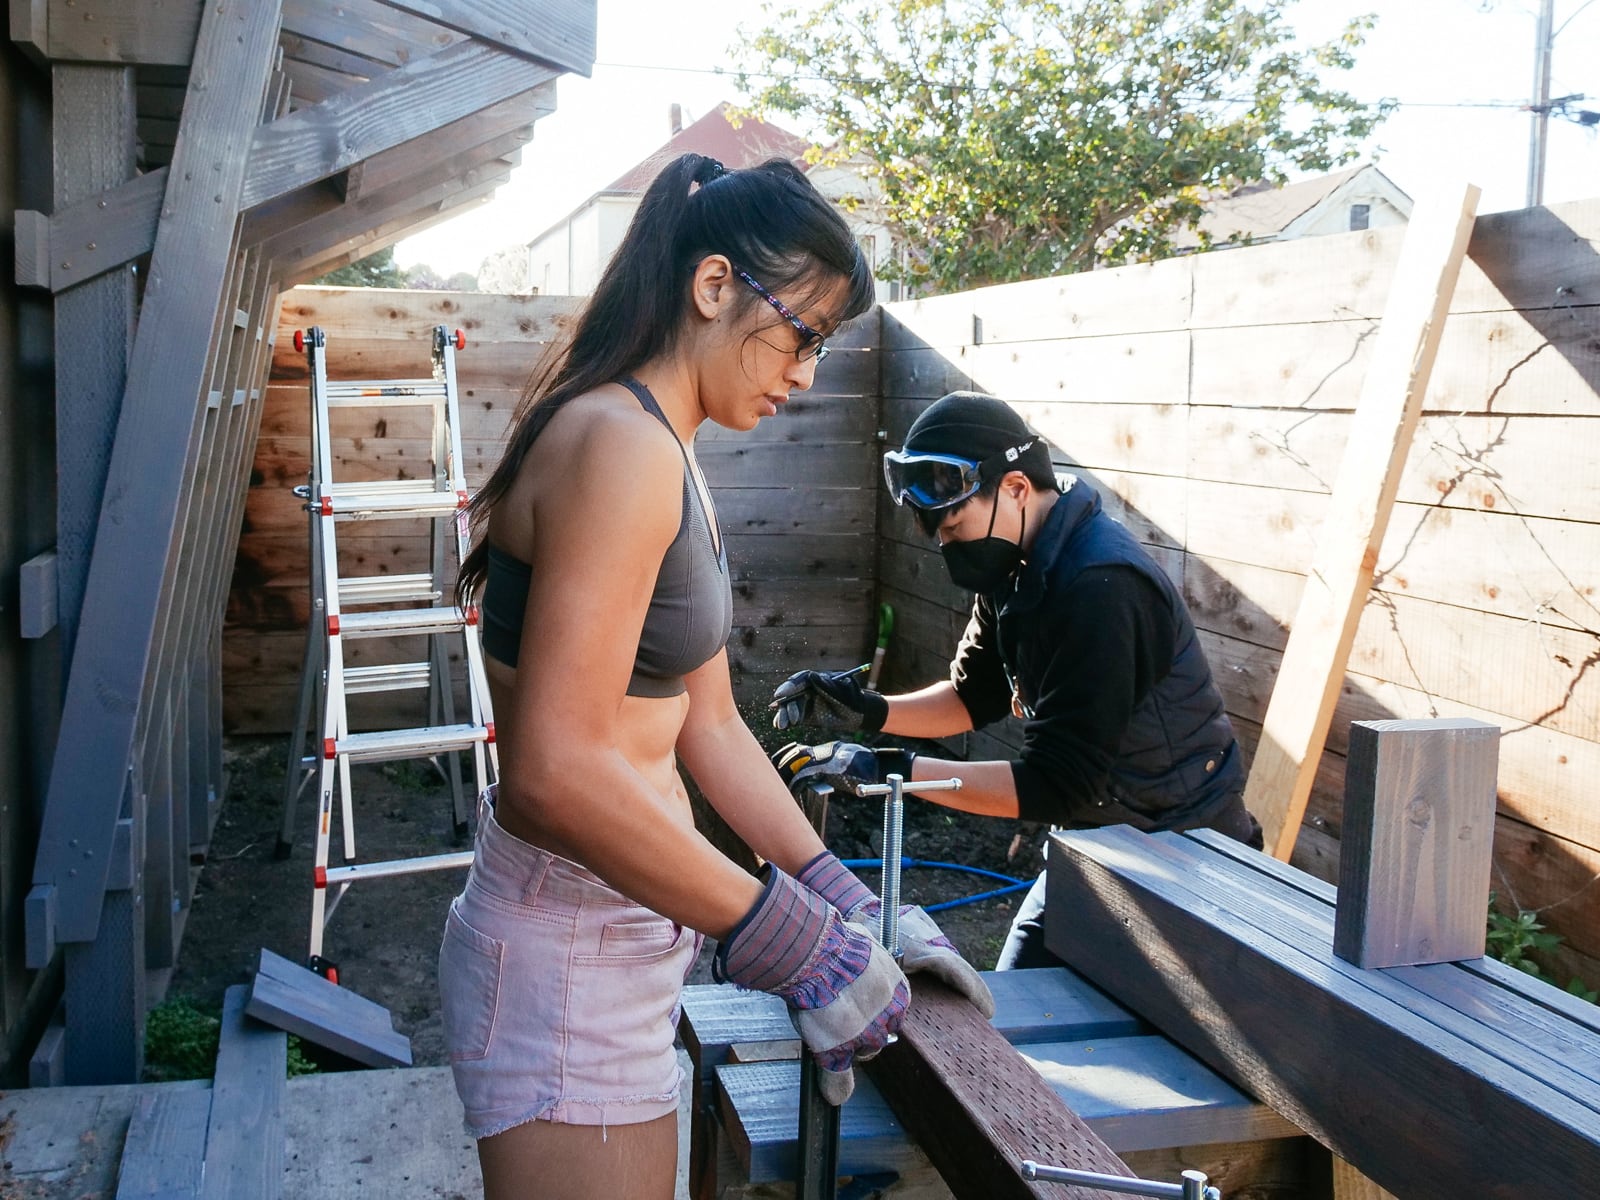
Framing
8. Doing the framing for walls F and G
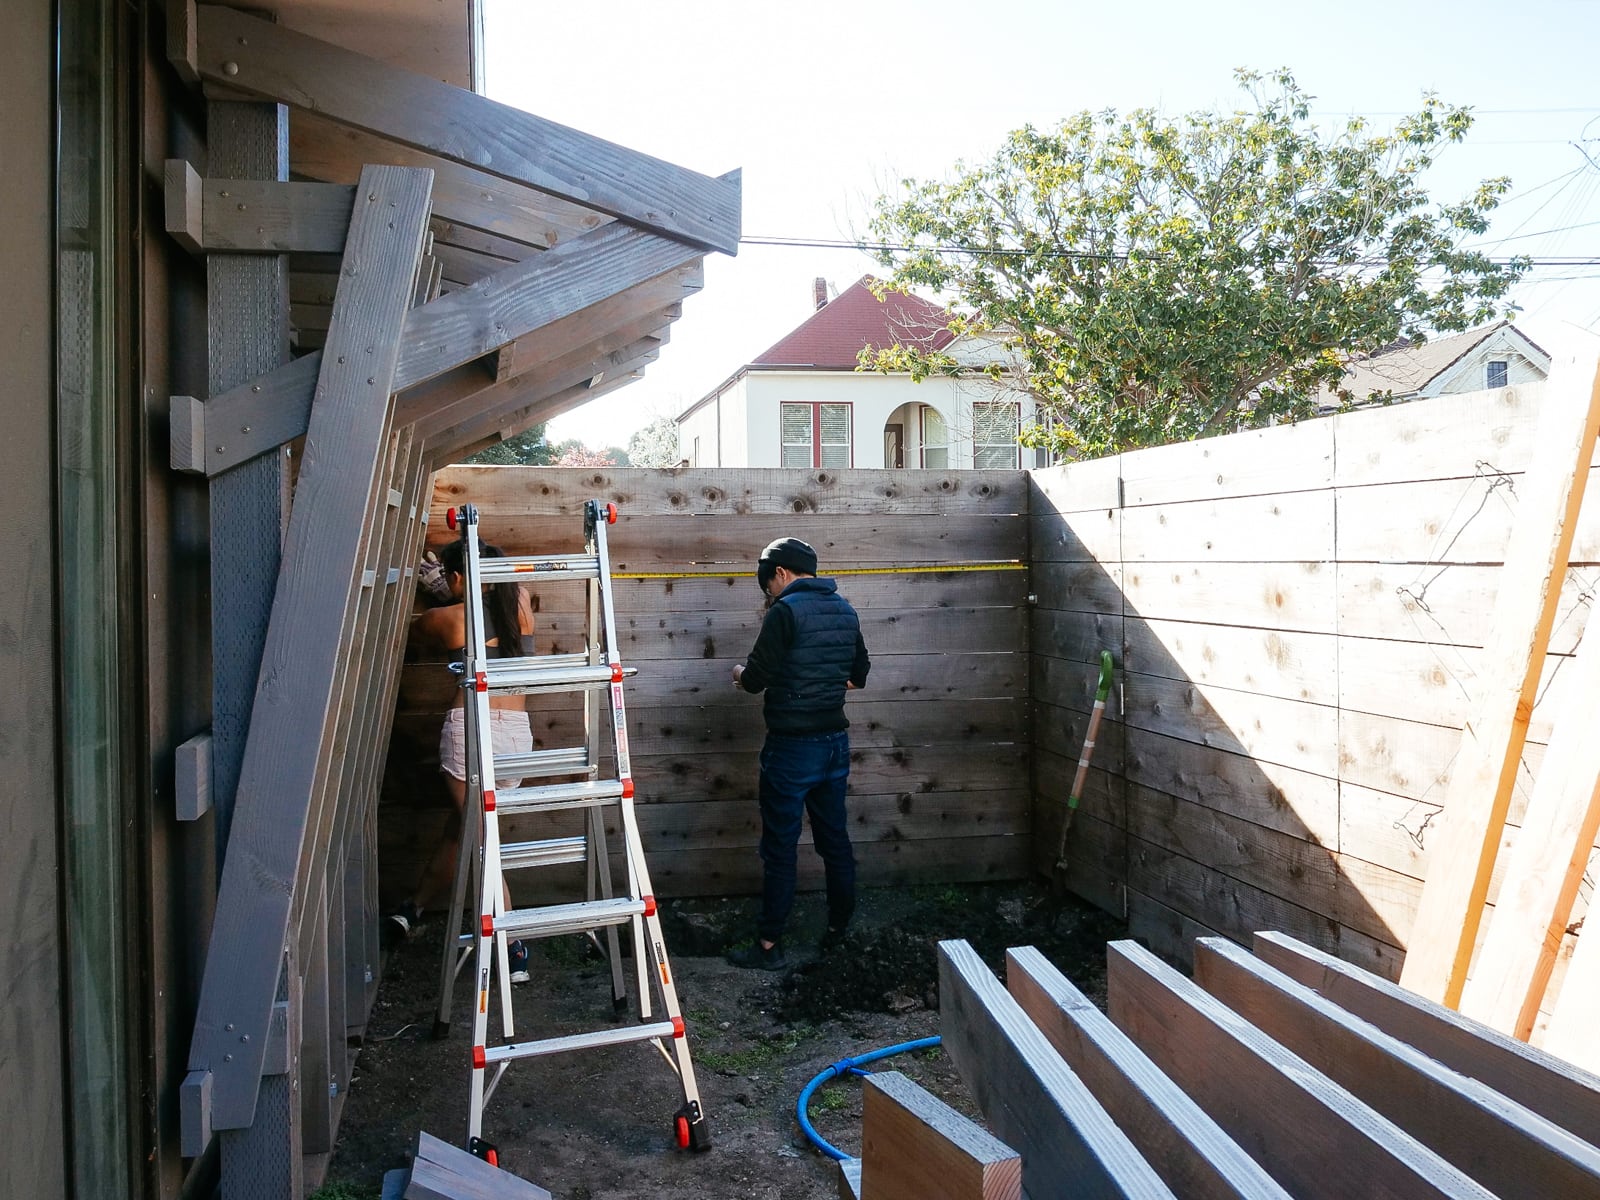
Framing up walls F and G was much more straightforward than WALL·E — these would be vertical walls, going up only to our fence line (about 6’). For wall G, we planned to use our existing fence posts (which were already concreted down 16") as our posts, adding only horizontal girts for bracing and mounting the climbing surface to.
First we had to remeasure and replan, to see if our original plan still made sense. On a second pass, we decided to cut the height of these two walls, to (1) block less sunlight, (2) not be such an eyesore for the neighbors, and (3) avoid digging any more post holes.
For wall F (the vertical wall adjoining the cave wall), we put up a straightforward balloon frame in place using 2x6s, Simpson Strong-Ties, and some screws — a relief after WALL·E.

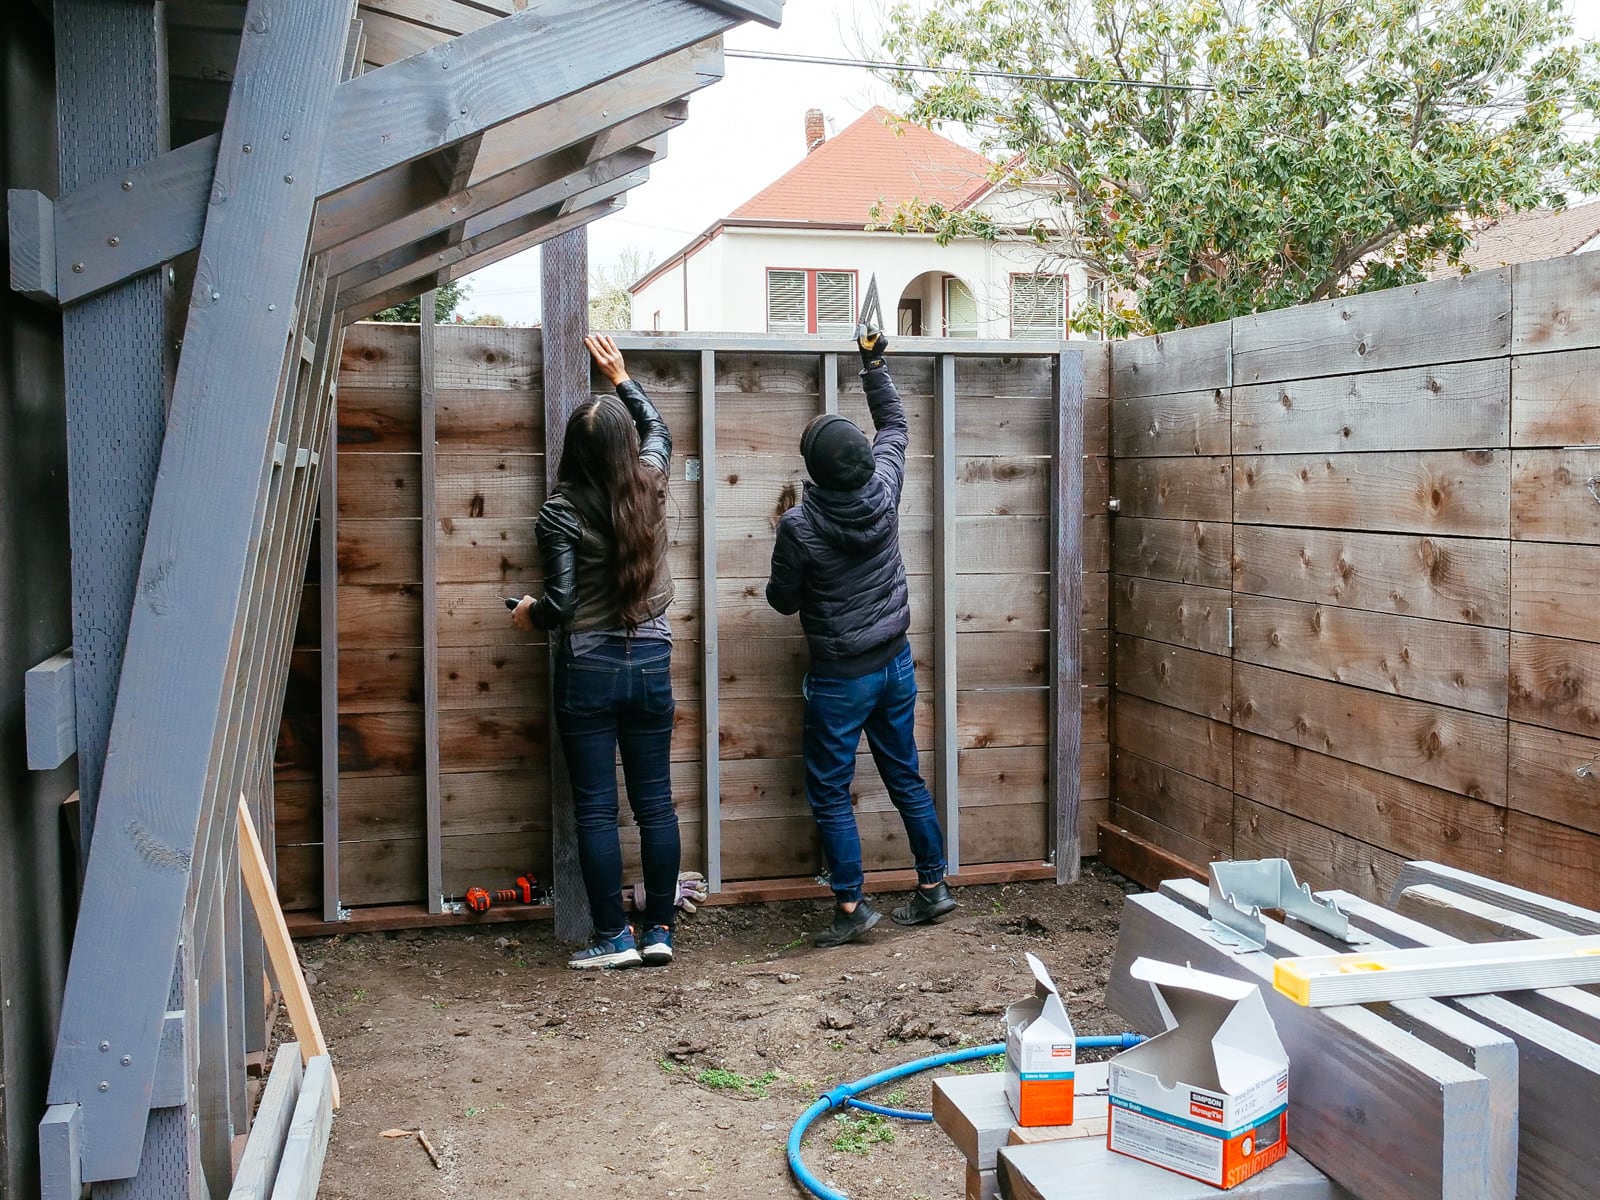
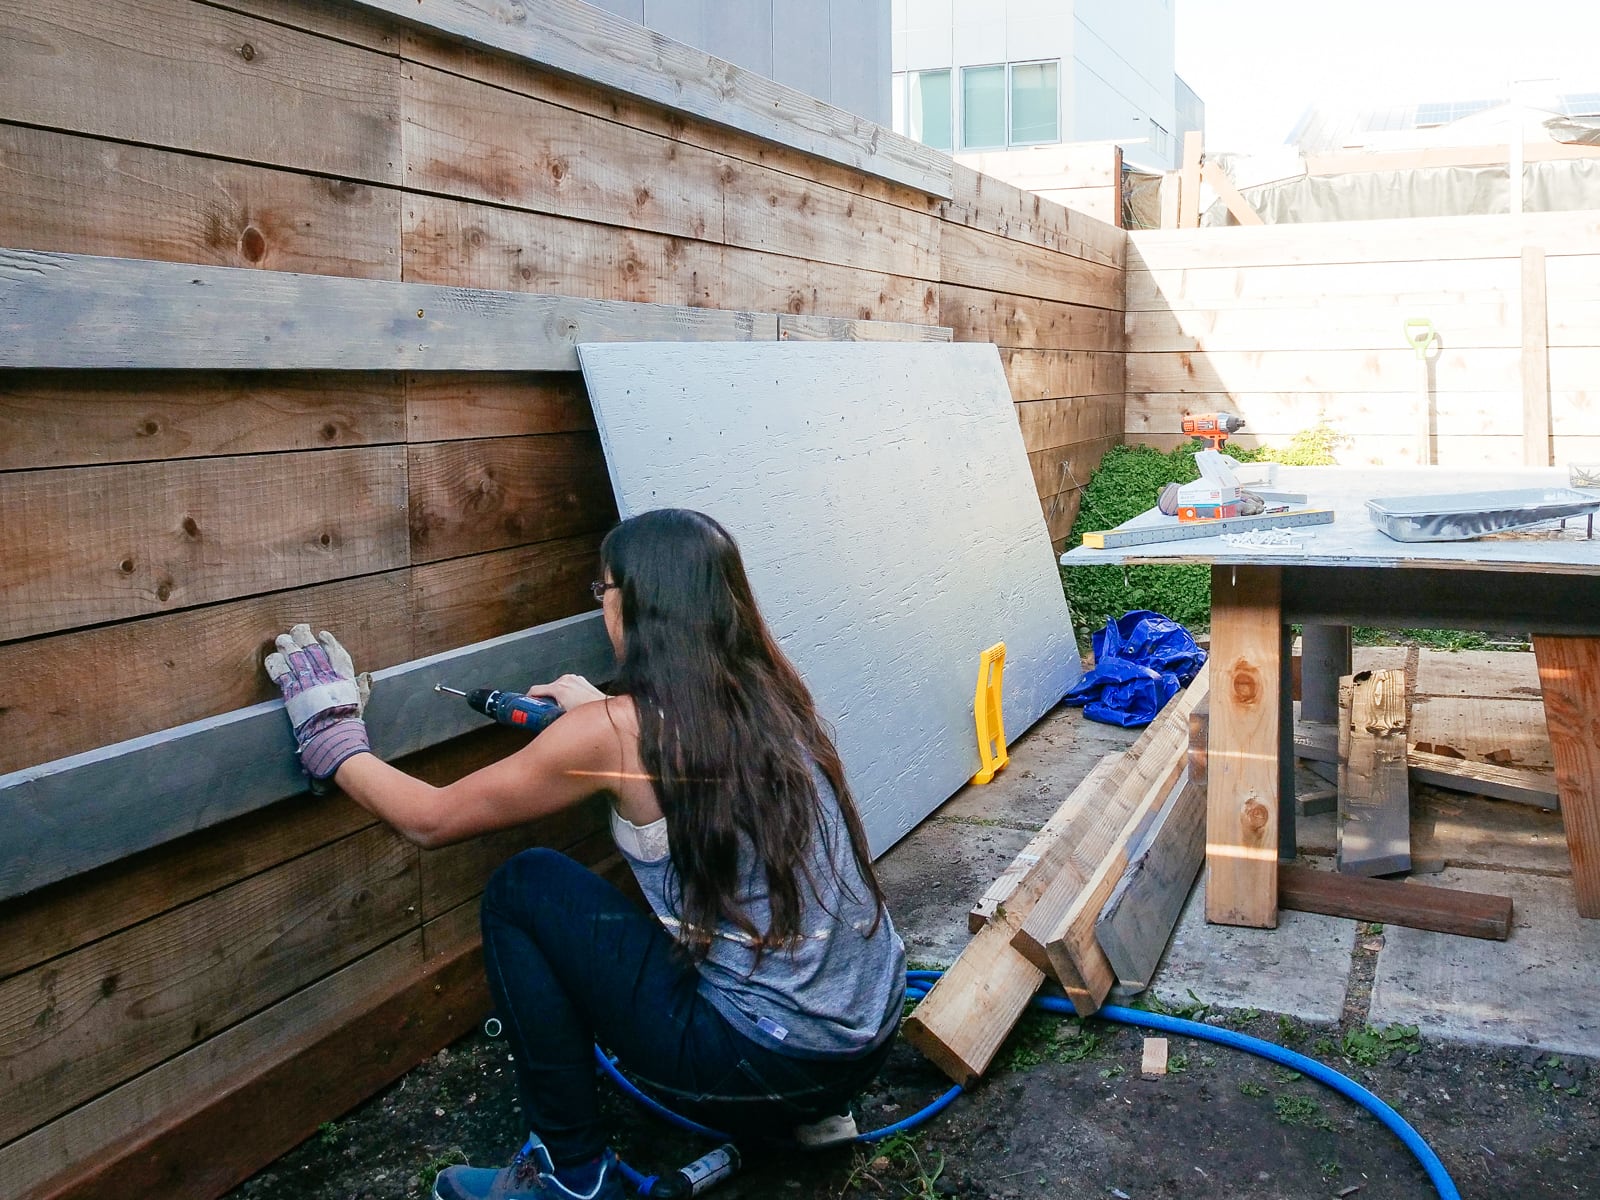
For wall G (a totally-vertical 16’-wide traverse wall), we cross-braced our 4x4 fenceposts with horizontal 2x6 girts attached with structural screws.
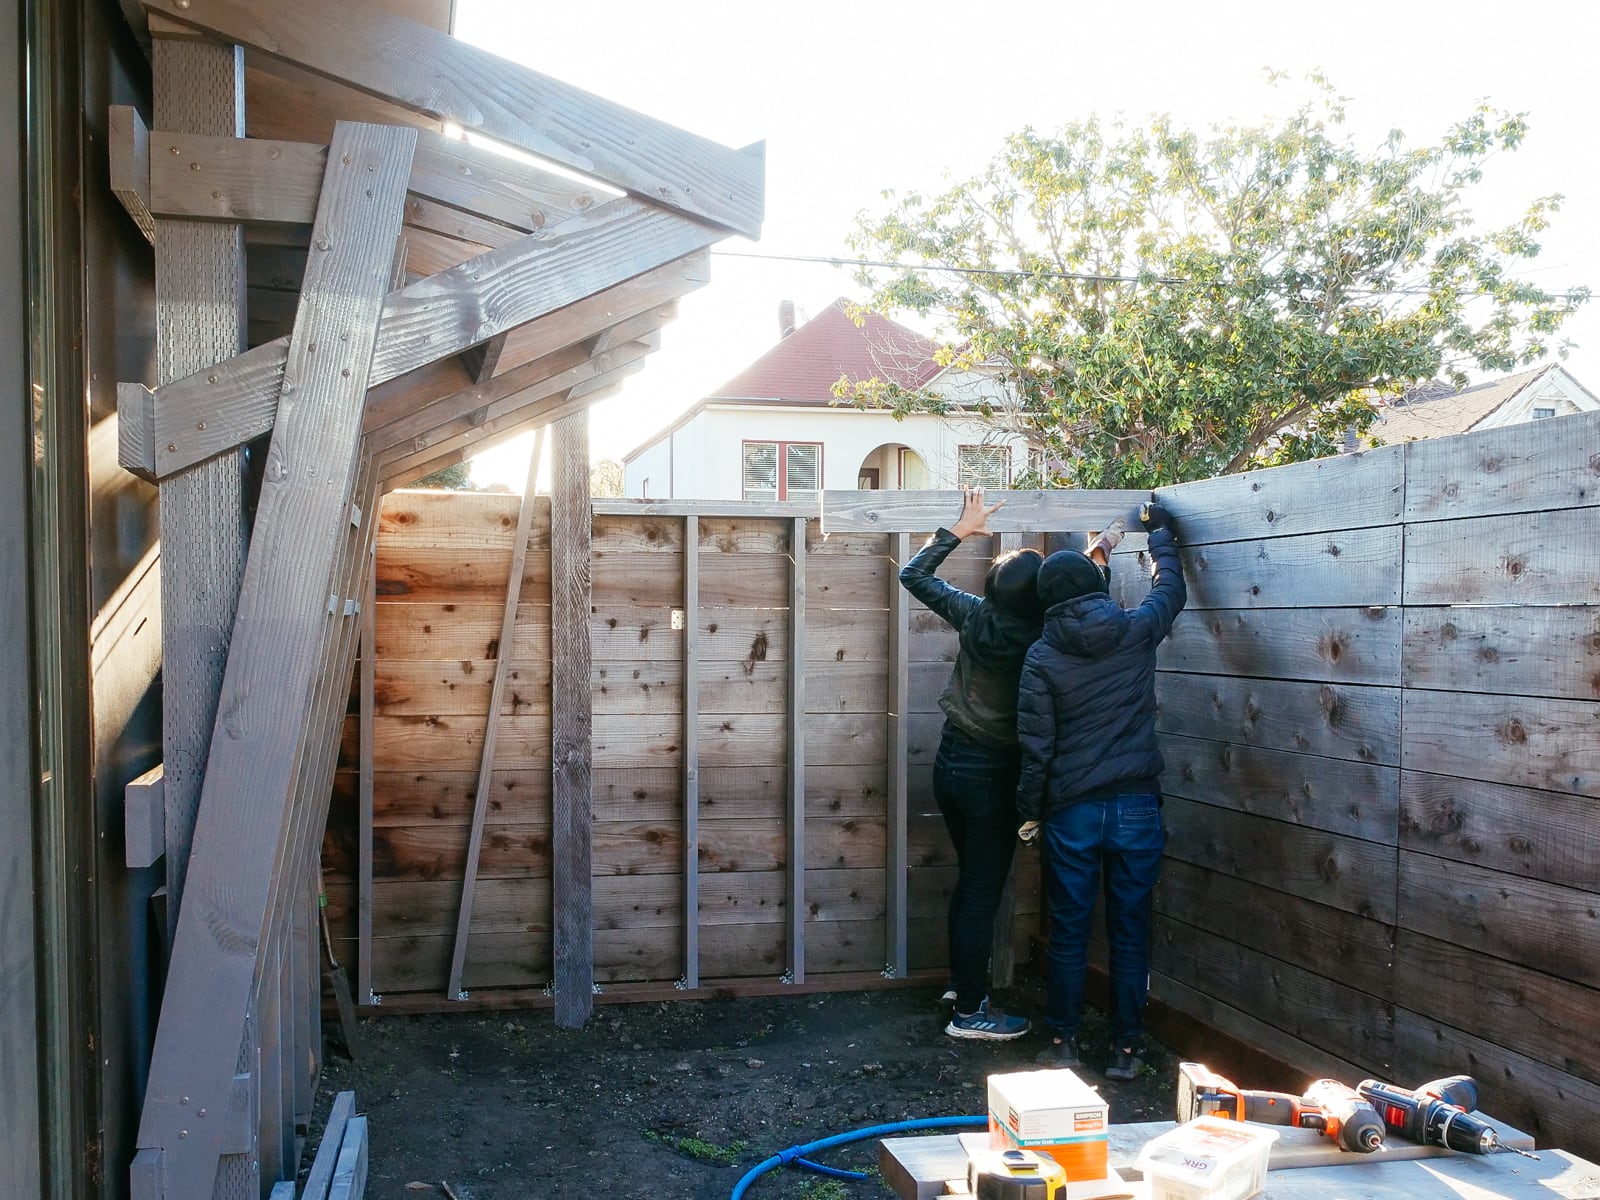
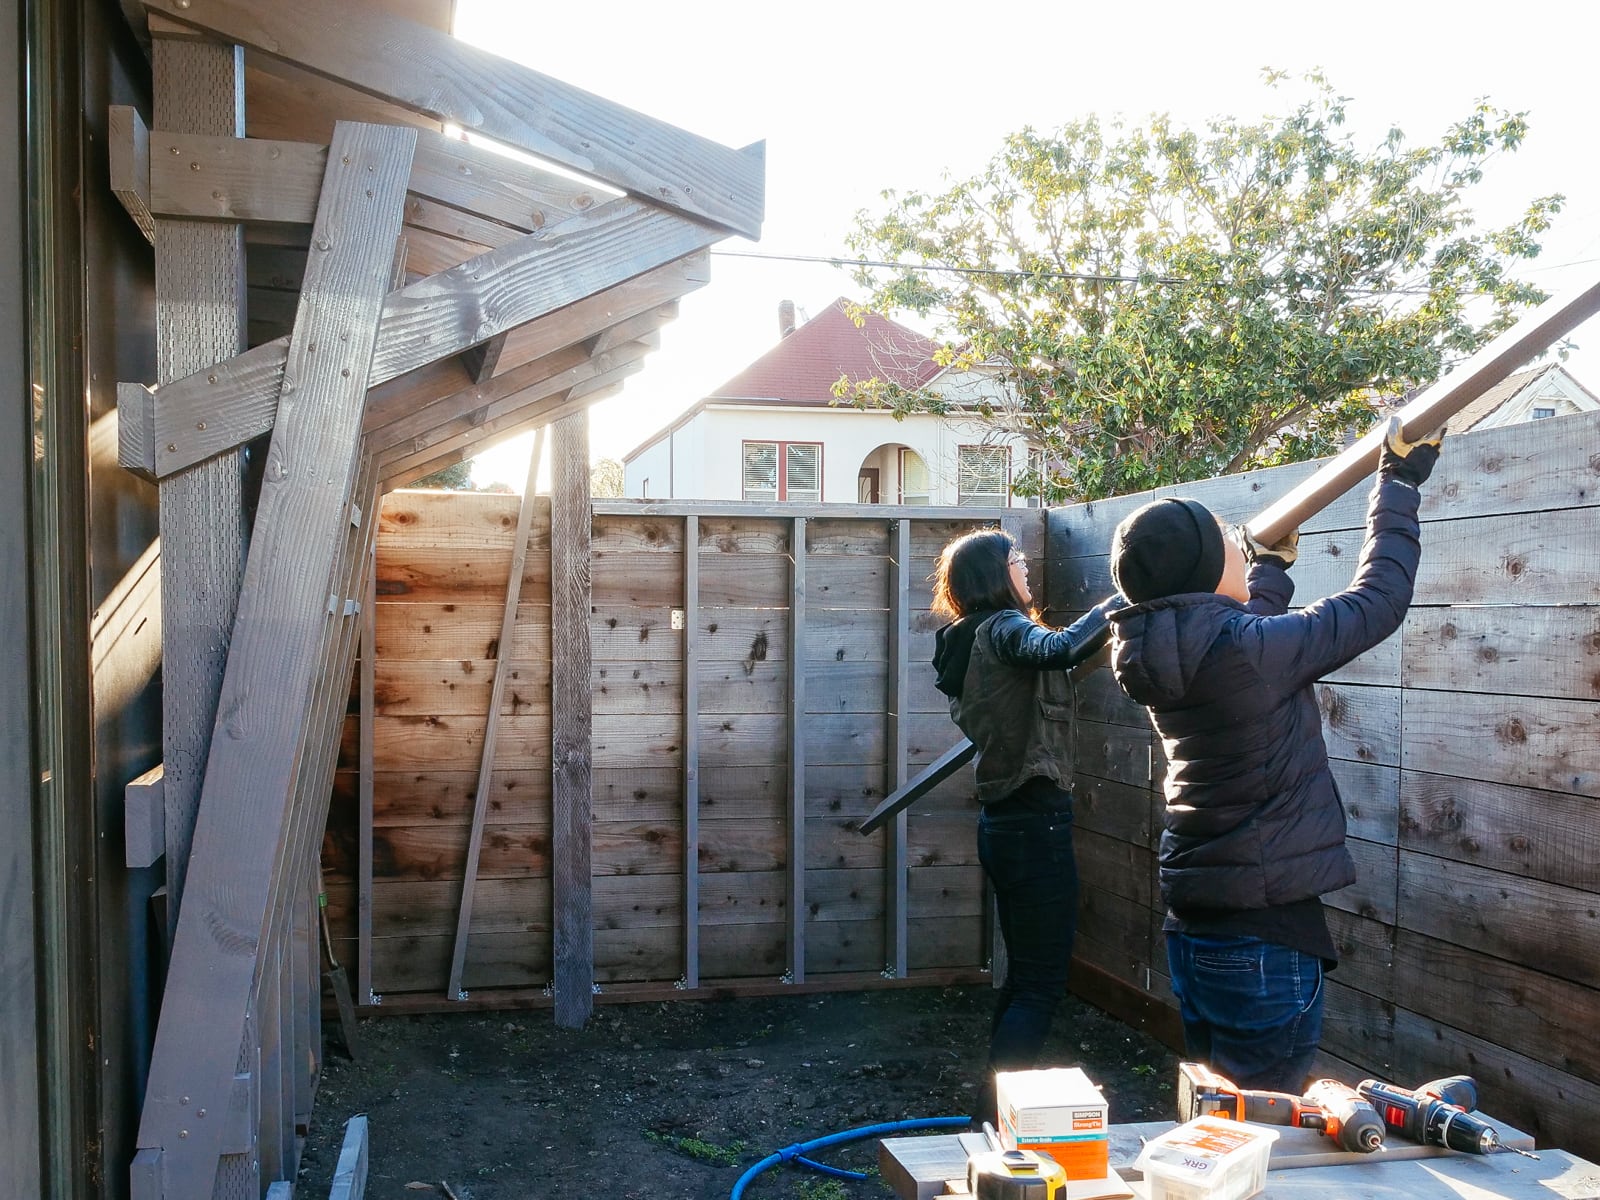
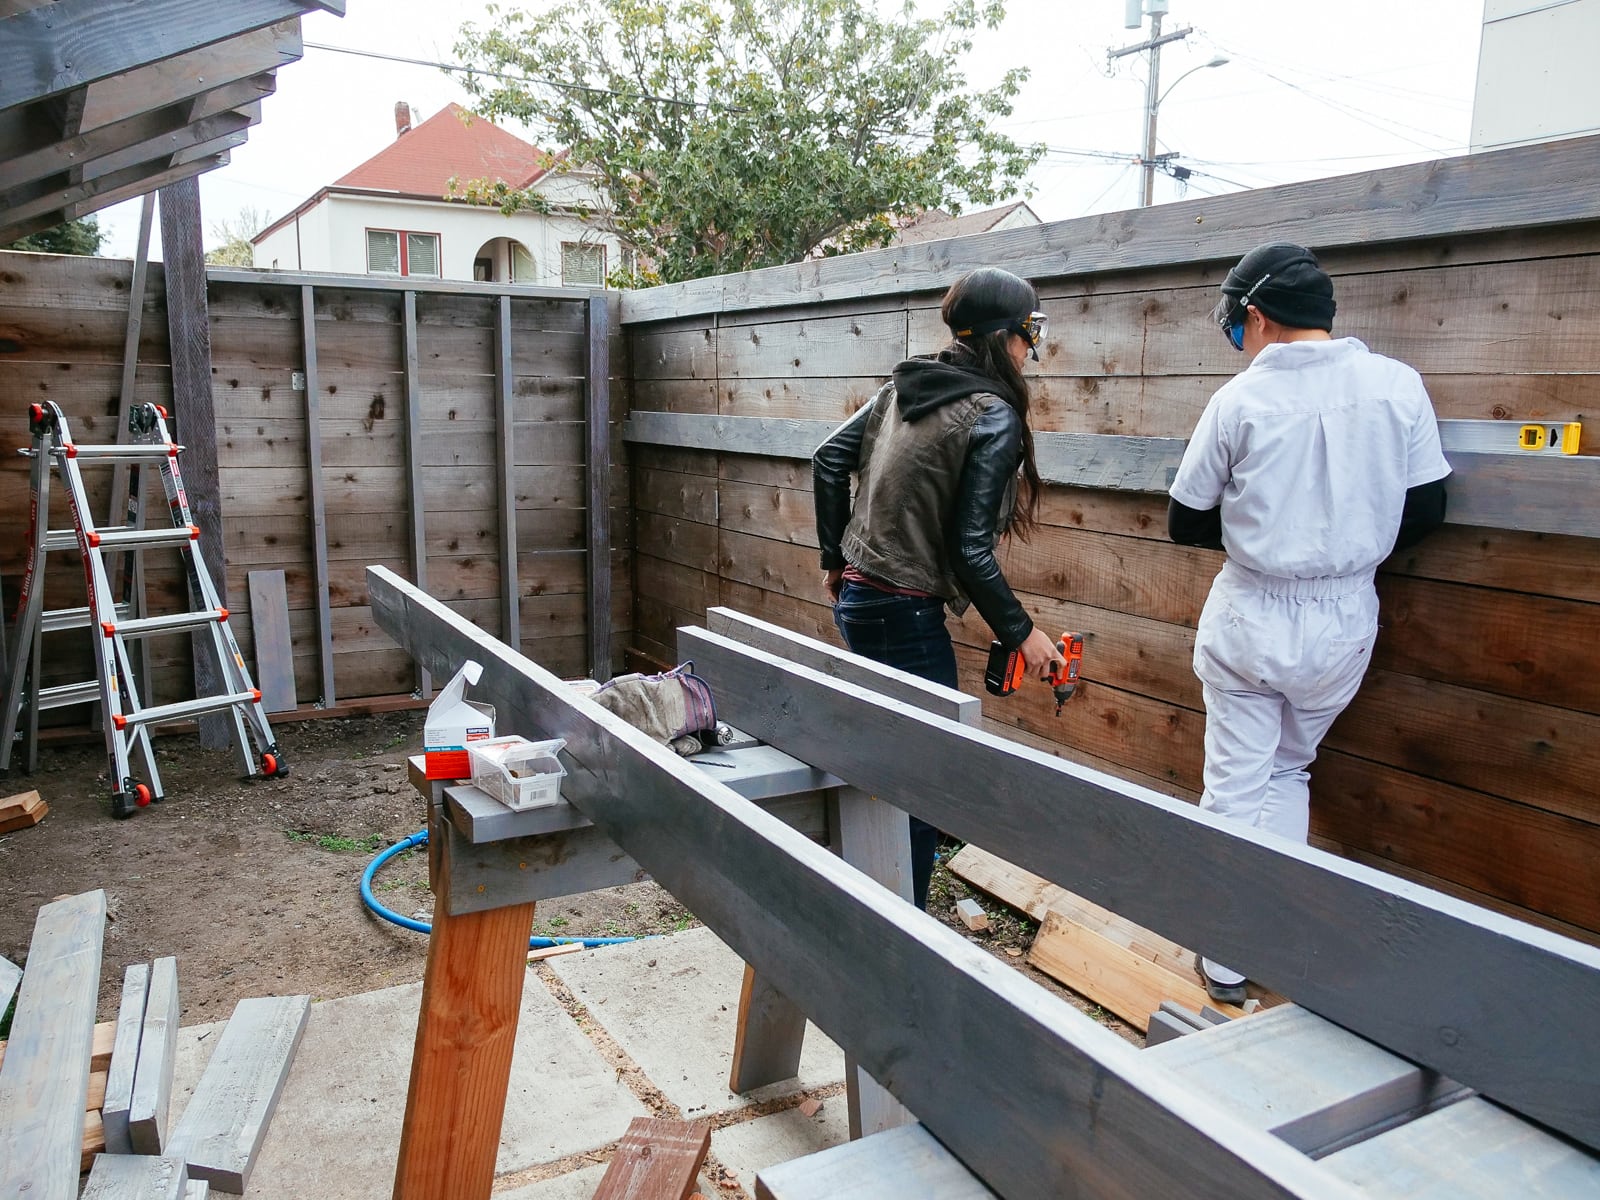
9. Back to WALL·E: framing the topmost section
To put up the framing for the 0° vertical section at the top of WALL·E, we procrastinated for two weeks, decided we might never complete the project, then called in help from pro contractor team S and C. With them on the team it was a breeze and a joy.

Phew. Framing complete. Next post: okay but what about the climbing part? (===, what’s the fastest way to mount 800 T-nuts?)
P.S.: references
Special thanks to jennsends and MattBangsWood for information, dispelling our distrust of YouTube (a little), and inspiration.