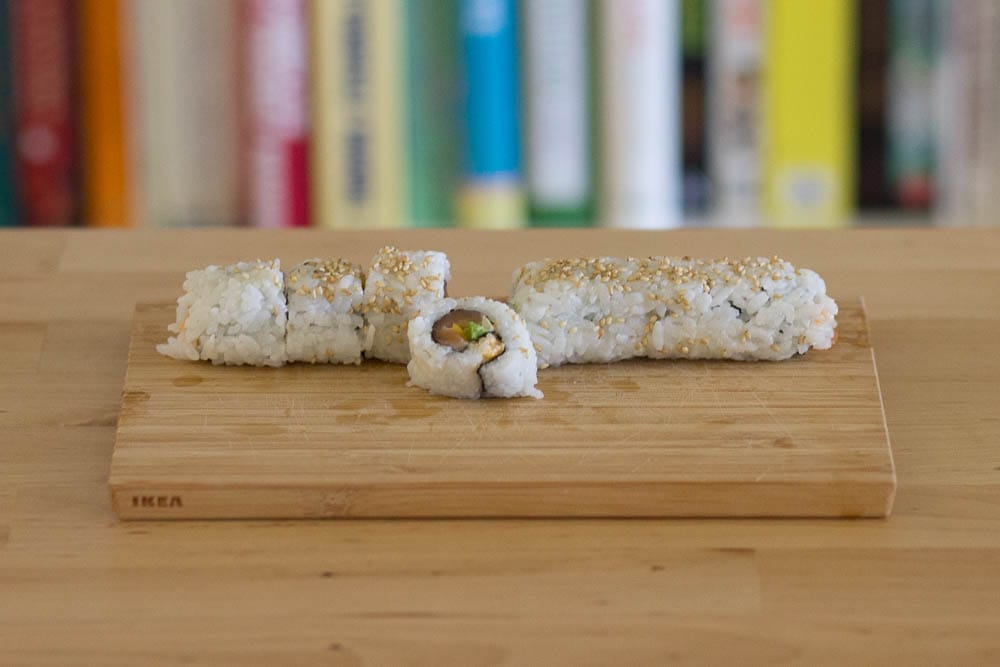
I’ve always felt appropriative making sushi, being neither Japanese nor highbrow; but I do love fish, the sea, and the idea of paying obeisance to fish and the sea. Notes:
Tools and things
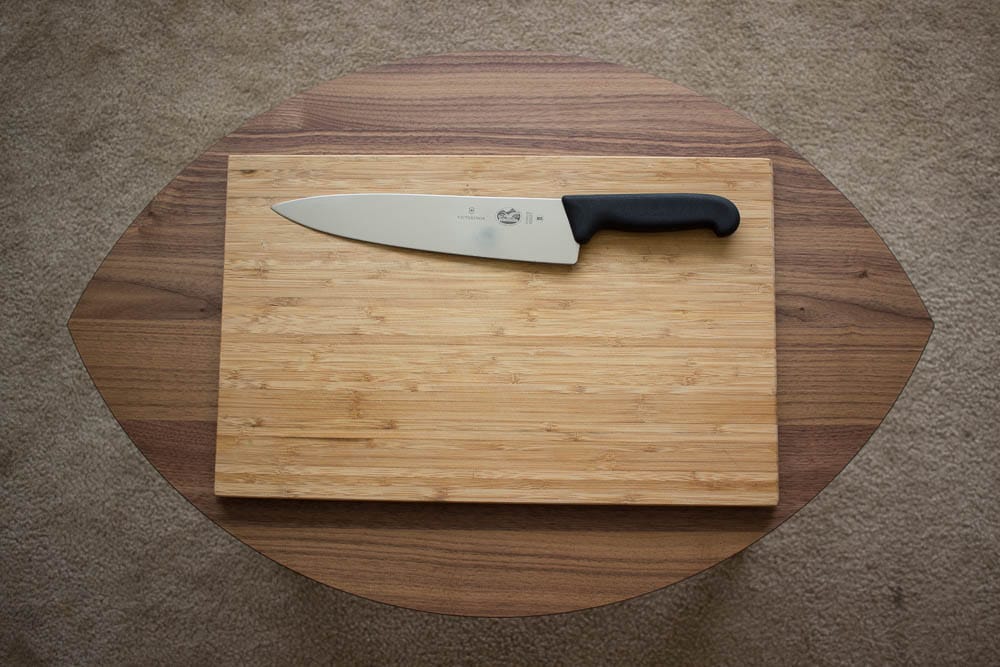
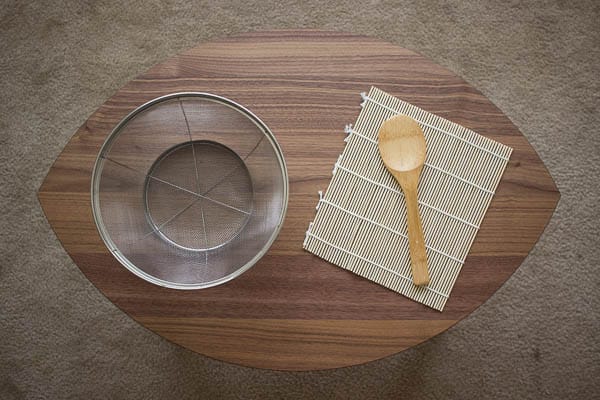
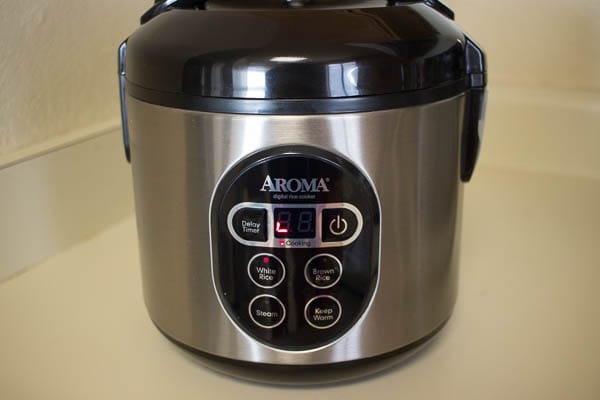
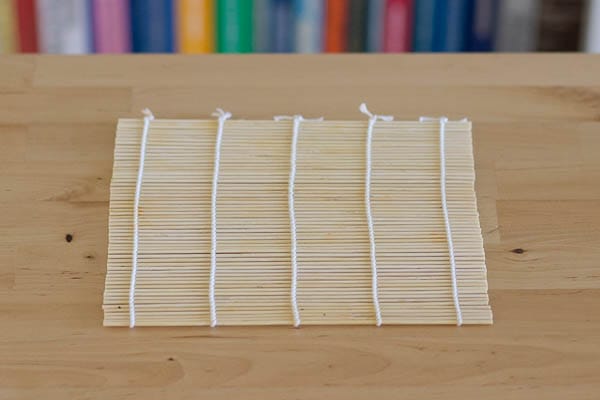
Rolled sushi is forgiving: the ingredients are on the inside, so the pieces don’t need to be as visually perfect as in nigiri. This means you can get away with a non-fish-specific knife, as long as it’s sharp. Also helpful: a colander for rinsing rice, a sushi rolling mat, a rice spatula, and an automatic rice cooker.
Making the rice
Sushi rice is supposed to be a little chewier than plain white rice, so it needs to be cooked with less water than usual. For four sushi rolls, try 2 cups of rice and 2 1⁄3 cups of water.
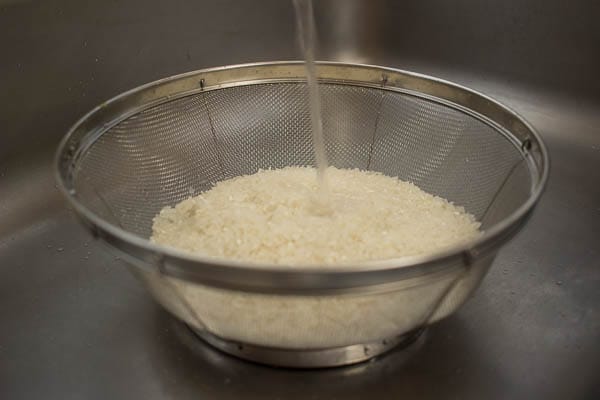
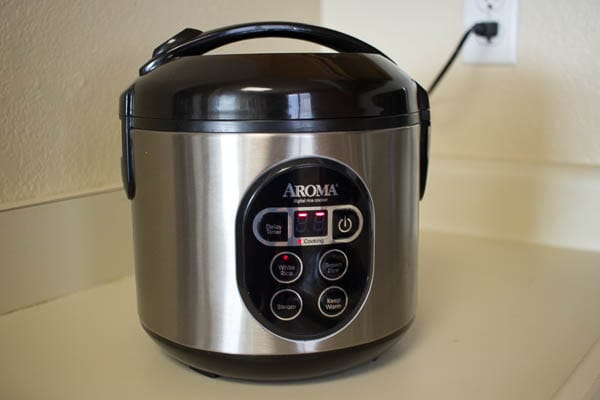
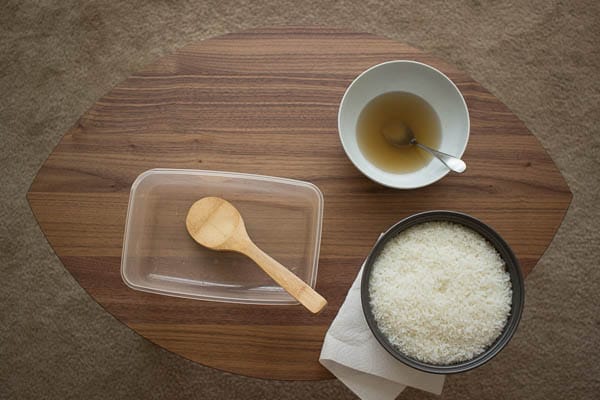
Meanwhile, mix the vinegar: combine 3 T rice vinegar, 3 T sugar, and 1 T salt in a non-metallic bowl, then heat and stir until the sugar dissolves.
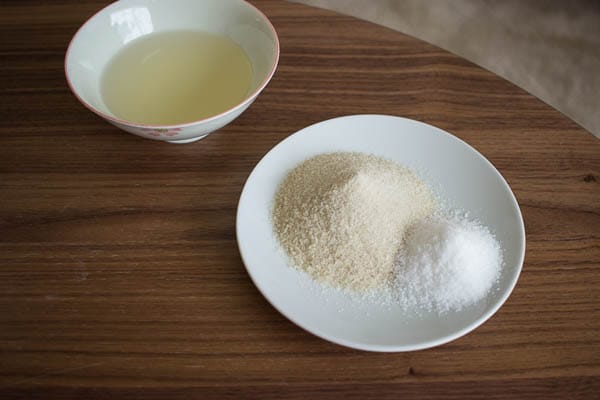
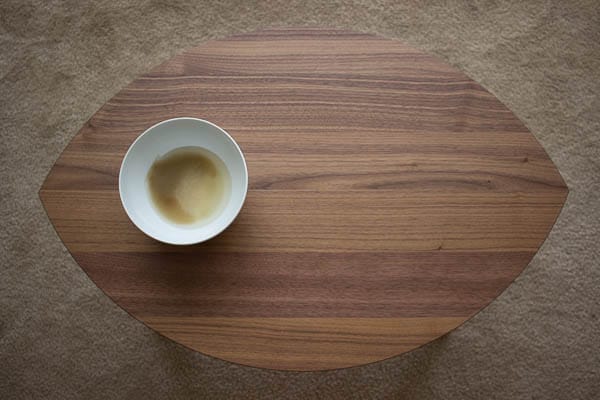
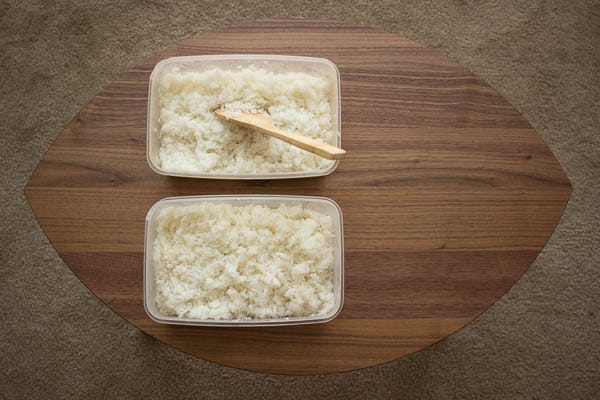
To make the rice shiny and chewy, you need to cool it as quickly as possible while mixing in the vinegar. Traditionally, this is done in a wide, shallow tub made of Japanese cypress, which absorbs excess moisture and speeds cooling. If you don’t have one (they’re pricey), you can use any wide, shallow, non-metal container. Try to use something that lets you spread the rice over the largest possible surface area to cool. As you spread out the rice, move the spatula horizontally through the grains to separate them while pouring in the vinegar mixture.
Prepping the other parts
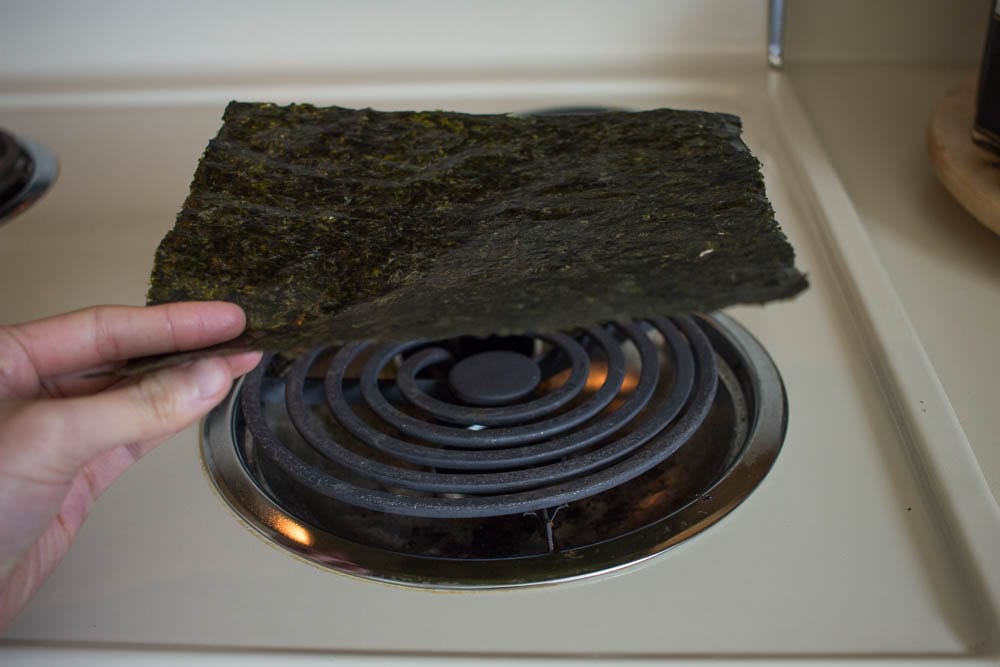
Toast the seaweed over a hot surface for a few seconds, just until crisp.
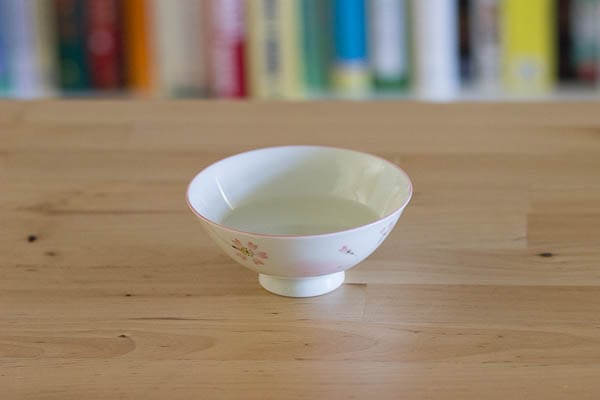
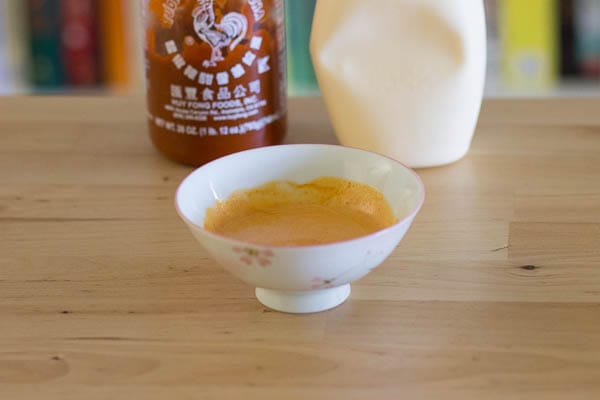
To stop the rice from sticking to your hands later, mix up a bowl of “hand vinegar” to keep your fingers moist: 3 T water plus 1 T rice vinegar. If you like, mix up some spicy mayo: 3 parts Kewpie to 1 part Sriracha.
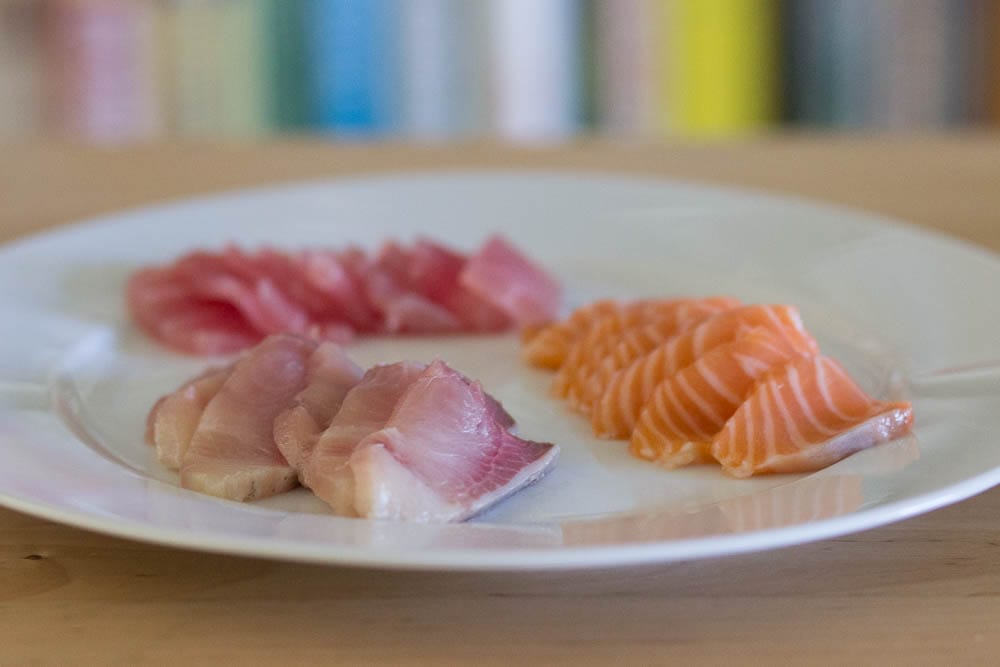
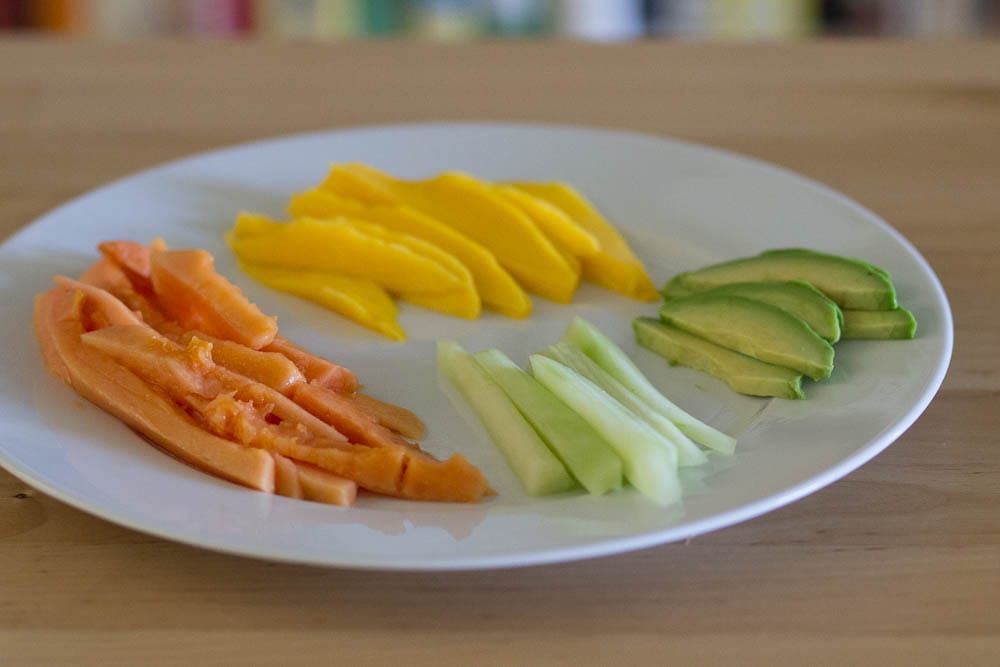
Cut up whatever ingredients you want to roll up (here: tuna, salmon, yellowtail, mango, papaya, cucumber, and avocado).
Normal rolling: Outside-out
Lay your rolling mat down on a clean, flat surface.
Lay the sheet of seaweed with its prettier side facing down.
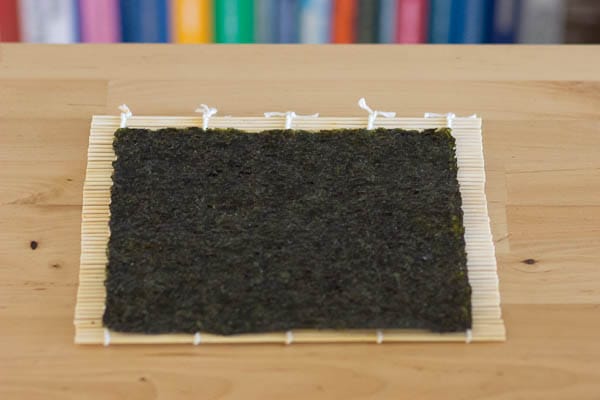
Dip your fingers in the hand vinegar to keep the rice from sticking to you.
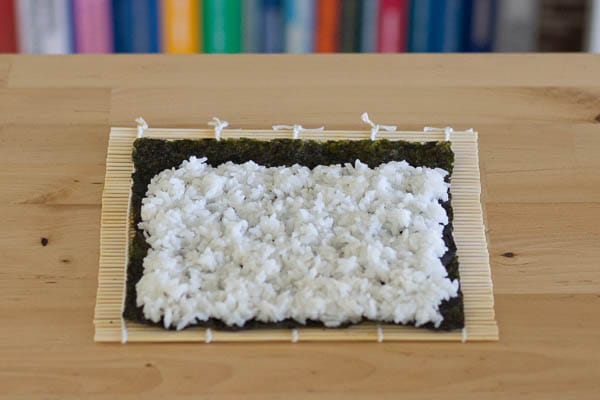
Spread the rice out evenly, leaving an empty strip at the far end.
Lay your ingredients across the rice, about a third of the way in.
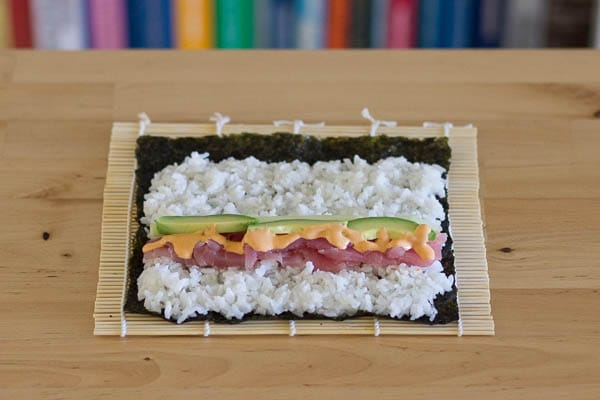
Roll up the sushi, starting from the side closest to you. (I find it easiest to hold the ingredients with my fingertips while rolling upward with my thumbs.) Hold the mat around the formed roll for a few seconds to shape it.
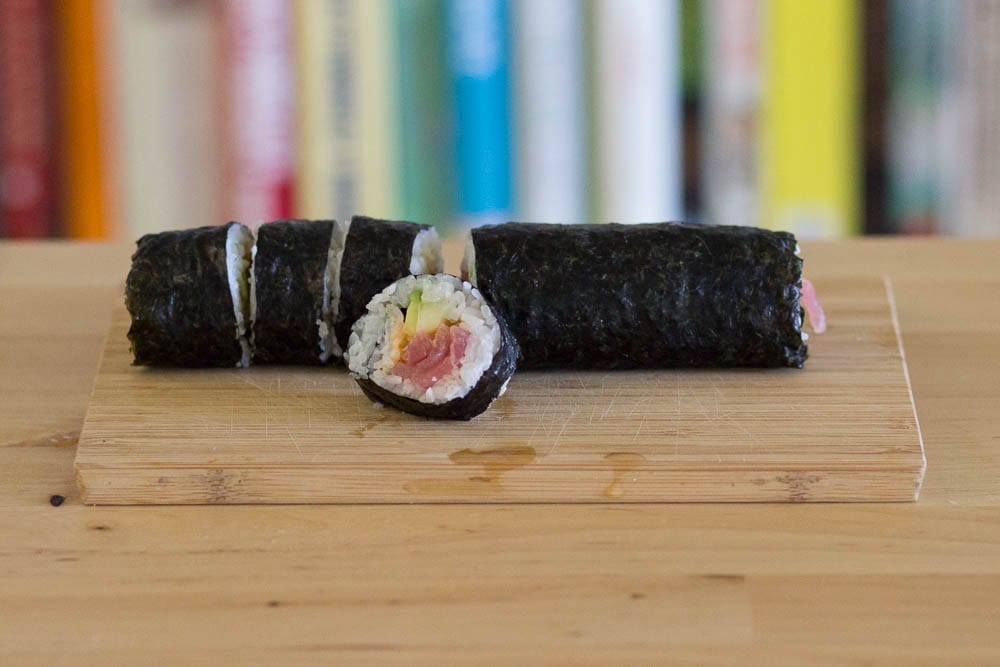
Place the sushi on a cutting board with the seam at the bottom, and using a wet knife blade cut the roll in half and each half into fourths.
Alternative rolling: Inside-out
Wrap the mat in plastic wrap before you start, so that the rice doesn’t stick. Use half a sheet of seaweed instead of a full sheet.
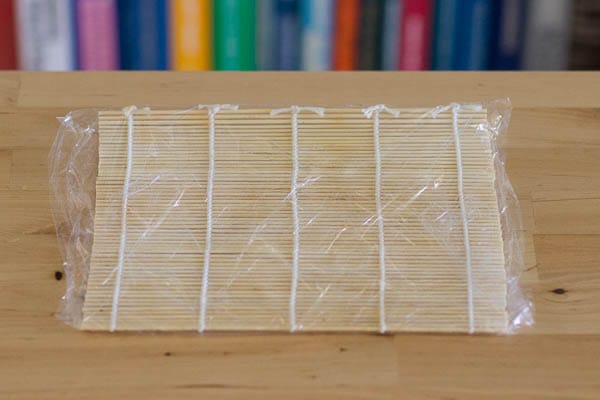
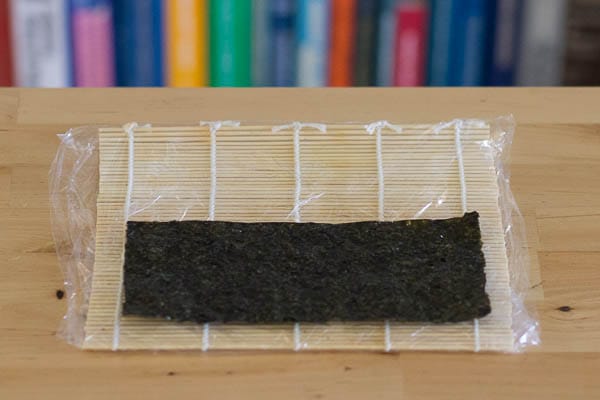
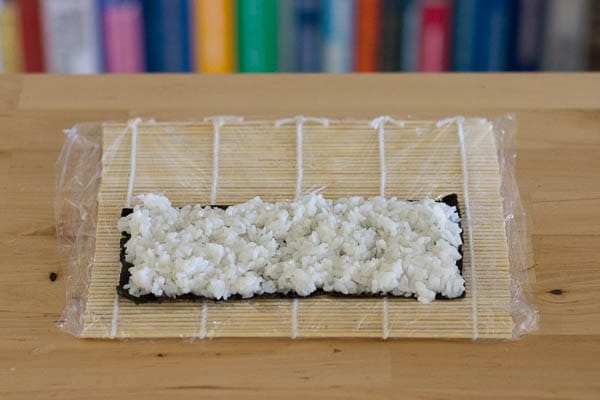
Spread the rice out the same way, but don’t leave any empty strip.
Flip the rice-and-seaweed sheet over, then place your filling on top.
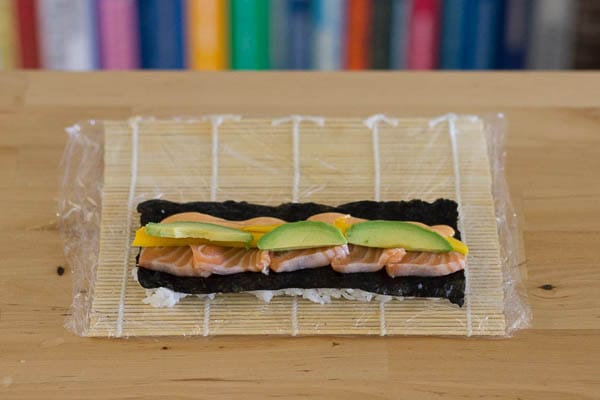
Roll the sheet up, add some white or black sesame seeds if desired, and cut into eighths.
